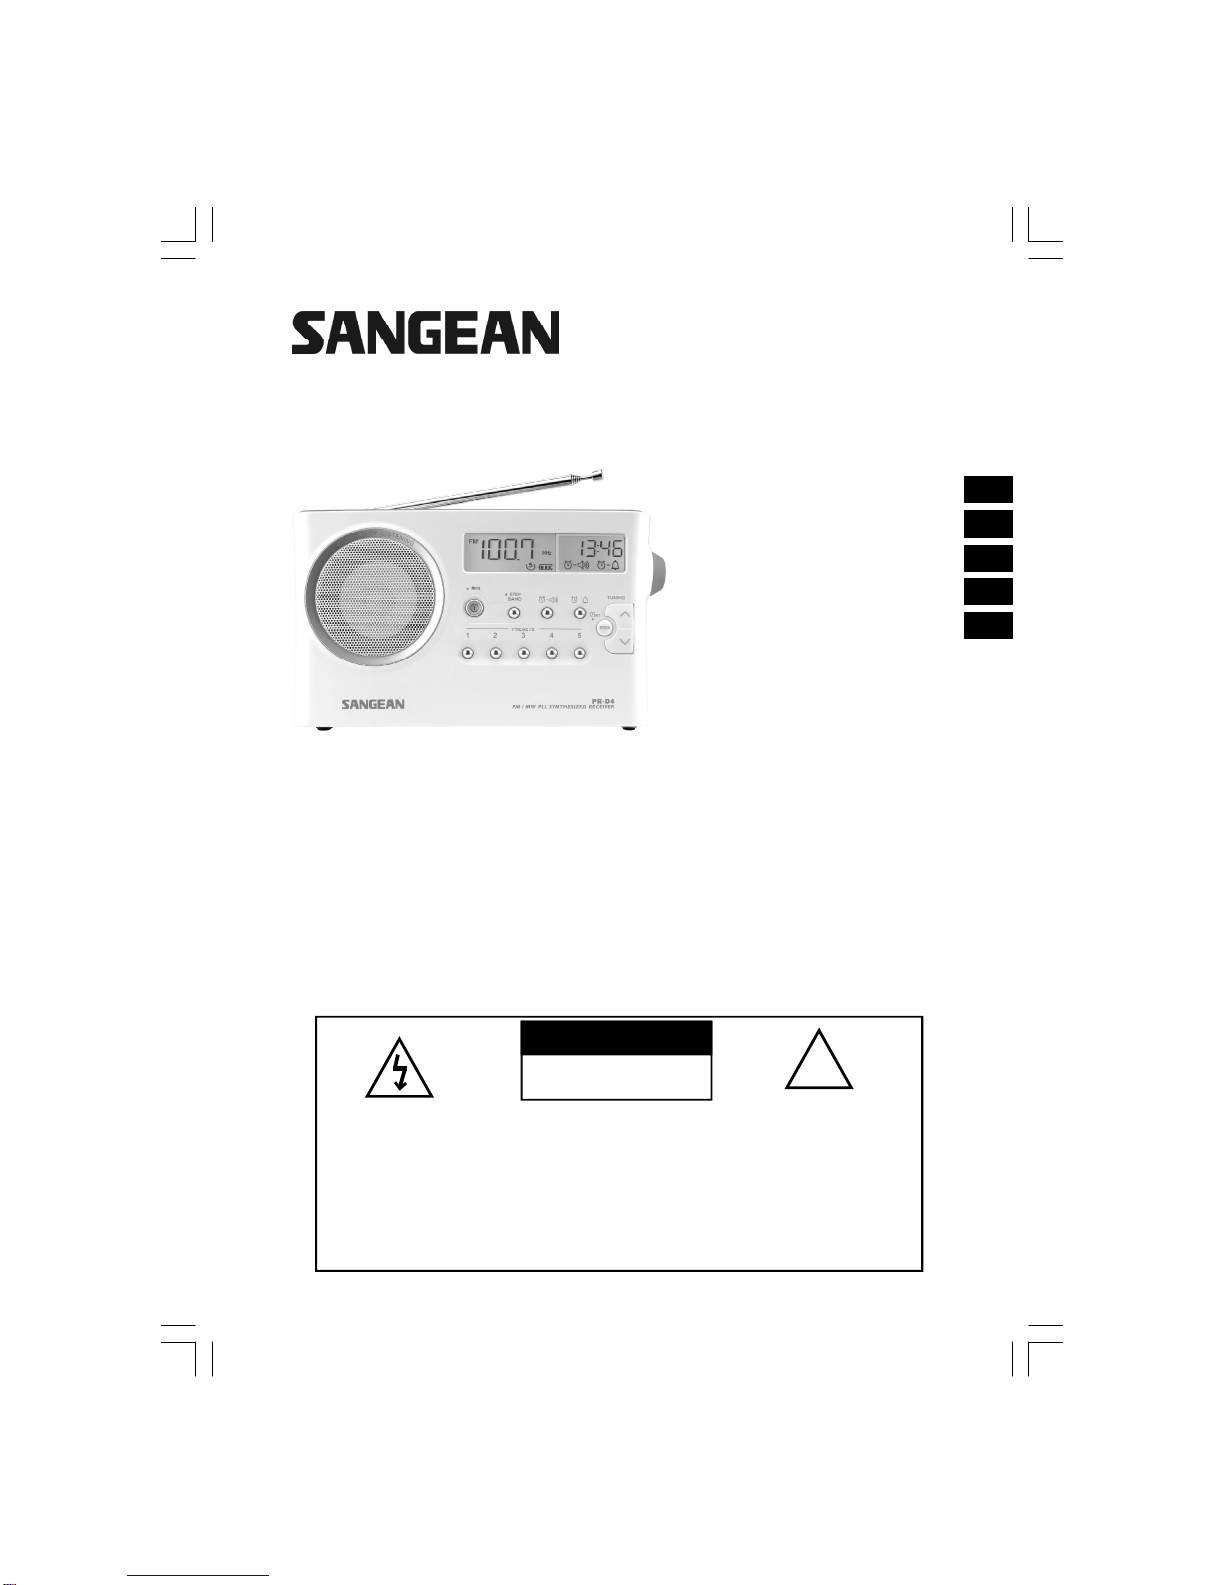
Sangean PR-D4 User manual

PR-D4
Operating instruction
Moded’emploi
Instruccionsdemanejo
Gebruiksaanwijzing
Bedienungsanleitung
GB
F
E
NL
D
WARNING:
TOPREVENTFIREORELECTRICSHOCKHAZARD,DO
NOTEXPOSE THISPRODUCTTORAINORMOISTURE.
THELIGHTNING
FLASHAND ARROW-
HEADWITHINTHE
TRIANGLEISAWARN-
INGSIGNALERTING
YOUOF“DANGEROUS
VOLTAGE”INSIDETHE
RADIO.
CAUTION:TOREDUCETHE
RISKOFELECTRIC
SHOCK,DONOTREMOVE
THEBACK,NOUSERSER-
VICEABLEPARTSINSIDE.
REFERSERVICINGTO
QUALIFIEDSERVICEPER-
SONNEL.
CAUTION
RISKOFELECTRIC
SHOCKDONOTOPEN
THEEXCLAMATION
POINTWITHINTHE
TRIANGLEISAWARN-
INGSIGNALERTING
YOUOFIMPORTANT
INSTRUCTIONS
ACCOMPANYINGTHIS
RADIO.
!

IMPORTANTSAFETY INSTRUCTIONS
1.Readtheseinstructions.
2.Keeptheseinstructions.
3.Heed all warnings.
4.Followallinstructions.
5.Donotusethisapparatusnearwater.
6.Cleanonlywithdrycloth.
7.Donotblockanyventilationopenings.Installinaccordancewith
themanufacturer’sinstructions.
8.Donotinstall nearanyheatsourcessuchasradiators,
heatregisters,stoves,orotherapparatus(including amplifiers)
thatproduceheat.
9.Donotdefeatthesafetypurposeofthe polarized or
grounding-type plug.Apolarized plug hastwobladeswith
one widerthan theother.Agrounding type plug hastwoblades
and athirdgrounding prong.The wide blade orthe thirdprong
areprovided foryoursafety.If the provided plugdoesnotfit
intoyouroutlet. consultanelectrician forreplacementofthe
obsoleteoutlet.
1

10.Protectthe powercordfrombeing walked on orpinched
particularlyatplugs,conveniencereceptacles,andthe point
wheretheyexitfromthe apparatus.
11.Onlyuseattachments/accessoriesspecified bythe
manufacturer.
12.Useonlywiththe cart, stand,tripod,bracket, ortablespecified
bythemanufacturer,orsoldwiththe apparatus.When acartis
used,usecaution when moving the cart/apparatuscombination
toavoidinjuryfromtip-over.
13.Unplugthisapparatusduringlightningstormsorwhenunused
forlong periodsoftime.
14.Referall servicing toqualified servicepersonnel.Servicing is
required when the apparatushasbeen damaged inanyway,
suchaspower-supplycordorplug isdamaged.liquidhasbeen
spilled orobjectshavefallen intothe apparatus,the apparatus
hasbeen exposed torainormoisture,doesnotoperate
normally,orhasbeen dropped.
15.ToReducethe Risk ofFireorElectricShock,DonotExpose
ThisApplianceToRainorMoisture.
16.The Shock HazardMarking andAssociatedGraphicalSymbolis
provided on the bottompanelofunit.
17.Apparatusshall notbe exposed todripping orsplashing and no
objectsfilled withliquids,shall notbe placed on the apparatus.
GB
2

3

4
GB
Controls
TuningUp/Down
Scan tuning andTimesetting
Presetbuttons
VolumeControl
LCD display
Buzzeralarm set
Radioalarm set
Band andTuning step selection
Powerbutton
Headphone socket
DC inputsocket
Telescopicaerial
Batterycompartment
LCD Display
Sleep and snoozestatus
Frequency
Band indicator
Presetstations
Batterypower
Frequencyunit
Radioalarm
Buzzeralarm
Clock
Timeset
PMforclock
10
1
2
3
4
5
6
7
8
9
11
12
13
A
C
B
D
E
F
G
H
I
J
K

5
Batteryoperation
1.Removethe batterycoverontherearofthe unitbypressing
the catch.
2.InsertfourUM-1(Dsize)batteriesintothe spacesin
the compartment.
3.Takecaretoensureall batteriesareinserted withcorrectpolarity
asshownonthe rearcabinet. Replacethe batterycover.
4.Reduced power,distortion and a“stutteringsound”orlowbattery
sign isflashingwithan “E“shownon the displayareall signsthat
the batteriesneed replacing.
5.If the radioisnottobe used foranyextended period oftime,
itisrecommended thatthe batteriesareremoved fromthe radio.
Using AC poweradaptor
(notsuppliedinsomemarkets)
TheACpoweradaptorrequired forthisunitshouldbe 6voltsDC
at400 mAcenterpinnegative.
Insertthe adaptorplug intotheDC socketon theleft side of
the radio.Plugthe adaptorintoastandardmainssocketoutlet.
Whenevertheadaptorisused,the batteriesareautomatically
disconnected.TheACadaptorshouldbe disconnected fromthe
mainsupplywhennotinuse.

6
GB
Setting theclock
1.Clock can be seteitherthe radioispoweron oroff.
2.Displaywill show“-:--“when the batteriesareinstalled orwhen
the radioisconnected tothe mainssupply.
3.Press the button formorethan 2seconds,displaywill flashtime
setsymboland alsothe hourdigits,followed byabeep.
4.PressTuningUp/Downbuttonstosettherequiredhours.
5.Press button,the minutedigitswill flash.
6.PressTuningUp/Downbuttonstosetrequiredminute.
7.Press the button tocompletetimesetting.
Operating theradio
Thisradioisequipped withthree tuningmethods–Scan tuning,
ManualtuningandMemorypresetsrecall.
Scantuning
1.Press the Powerbuttontoturnontheradio.
2.Selectthe required waveband bypressing the Band button.
ForFMband fullyextend and rotatetelescopicaerialtoget
bestreception.ForMW(AM) band,rotatethe radiotoget
bestsignal.
3.Press and releaseScan button (longpress Scan button morethan
2secondswill activatetimesetting),the radiowill up searchand
stop automaticallywhen itfindsaradiostation.
Press the Scan button againtopick up the found station .
Note:
The radiowillcontinue tosearchnextavailablestationsifyou
do notpress Scan againwhen itfindsaradiostation.
4.RotatetheVolumecontroltogetrequiredsound level.
5.Toturnoff theradio,press thePowerbutton.
Displaywill showOFF.

7
Manualtuning/station searching
1.Press the Powerbuttontoturnontheradio.
2.Selectthe required waveband bypressing the Band button.
Adjustthe antenna asdescribed above.
3.Asinglepresson eithertheTuningup ordownbuttonwill change
the frequencyinthefollowingincrements:
FM:50 or100 kHz
MW:9or10 kHz
4.Pressand holdeitherTuningUporDownbuttonuntilthefrequency
inthe displaybeginstochange rapidly.Releasethe button.
Yourradiowill searchthe selected waveband and stop
automaticallywhenitfindsastation ofsufficientstrength.
5.RotatetheVolumecontroltogetrequiredsound level.
6.Toturnoff theradio,press thePowerbutton.
Displaywill showOFF.
Storing stationsinpresetmemories
Thereare5memorypresetsforeachwaveband.
1.Press the Powerbuttontoturnontheradio.
2.Tune torequired station usingone ofthe methods
previouslydescribed.
3.Press and holddownthe required presetuntil the radiobeeps.
The presetnumberwill appearinthe displayand the station will
be stored underchosen presetbutton.
4.Repeatthisprocedureforthe remaining presets.
5.Stationsstored inpresetmemoriescan be overwritten by
following aboveprocedures.

8
GB
Recalling stationsfrompresetmemories
1.Press the Powerbuttontoturnontheradio.
2.Selectthe required waveband.
3.Momentarilypressthe requiredPresetbutton,the presetnumber
and station frequency will appearinthe display.
Setting theradioalarm
When the radioalarm isselected,the radiowillturnonand playthe
chosen radiostation atthechosen alarm time.The radioalarm will
continueforonehourunlessturnedoff bypressingthePowerbutton.
Press the Powerbuttonwhilstthealarm isactivatedwill cancelthe
alarmfor24hours.
Note:
Radioalarm can be activated onlyuntil bothradioalarm timeand
radioalarmed station areset. Radioalarm will be automatically
switched buzzeralarm whentheradioisinlowbatterystatusorthe
selected radioalarm station signalistoo weak.
a.Setting radioalarm time:
1.The radioalarm can be seteitherradioison oroff.
2.Press and releaseradioalarm button,the radioalarm symbol
will flash.
3.During radioalarm flashing,press button formorethan
2secondsfollowed byabeep tone.
4.DisplayHourwillflash,usingTuningUP/Downtoselectthehour
then press button againtoconfirm hoursetting.
5.Followsameproceduresofsetting hourtosetrequired minute.
Press button againtocompletealarm timesetting .

9
b.Setting radioalarmedstation:
1.During setting radioalarm timeand radioalarm symbol
isflashing,press Band button toactivatethe radiotoselect
requiredwake-up band andstation bymanualtuningand recall the
presetstations.
2.When aboveradioalarm timeand station areset, press and hold
radioalarm button for2secondsfollowed byabeep tone to
switchalarm on oroff.Displaywill showwhen radioalarm
isset.
Note:
If newradioalarm station isnotselected,itwill selectthe last
alarm station.
Setting theHWS(HumaneWake System)
buzzeralarm
Abeep tonewill activatewhen selectingthe HWSalarm.
The alarm beep will increaseinvolumeevery15 secondsforone
minutefollowedbyone minutesilencebeforerepeatingthecycle.
TheHWSalarmwillsoundforonehouruntilturningoffbypressing
the Powerbutton.Press the Powerbutton whilstthe alarm is
activated will cancelthealarm for24hours.
1.The HWSbuzzeralarm can be seteitherradioison oroff.
2.Press andreleasethe HWSbuzzeralarm button ,
the symbolwill flash.
3.Duringthe symbolflashes,longpress the button formore
than 2secondsfollowed byabeep tone and displayHourdigit
will flash.

10
GB
4.UsingTuningUp/Downbuttontoselectrequired alarm hour,
then pressScan button again.The Minutedigitwill then flash.
5.UsingTuningUp/Downbuttontoselectrequiredalarm minute,
then press button againtocompletealarm setting.
6.Press andholddownBuzzeralarm button formorethan
2secondsfollowed byabeep tone toswitchon oroff the alarm.
Displaywill appearwhen buzzeralarm hasbeen set.
Snooze function
1.Whilstthe alarm isactivated,pressanybuttonsexceptthe
Powerbuttonwill activethe snoozefunction.The radioor
HWSbuzzeralarm will be silenced withintervalof5minutes.
2.The displaywill flashboththe snoozesymboland the
alarm symbol.Thesnoozefunction can be repeatedlyduringthe
1hourthatthe alarmsareactive.
Sleepfunction
The sleep timerwill automaticallyswitchoff the radioafterapreset
timehaselapsed.
1.Pressand continuetoholddownthe Powerbuttonformorethan
2seconds,followed bybeep tone,the displaywill cyclethrough
the availablesleep timesinthe order60-45-30-15-120-90-60.
Releasethe Powerbutton when the required sleep timeappears
inthe display.The symbolwill appearinthe displayand the
radiowill playthe laststation selected .
2.Tocancelthesleepfunction,pressthePowerbutton,
the symbolwill disappearand radioisoff.

11
Display backlight
Pressanybuttonswill illuminatethe LCDdisplayforapprox.
15 seconds.Duringscanningstationsand alarm activated,
willalsoautomaticallyilluminatethedisplay.
Setting tuning step
Tuningstepsonsomecountriesaredifferentfromwhereyou
purchasetheradio.If youbuythe radioinEurope and intendtouse
inNorthernAmericaorsomeSouthernAmerican countries,
youmayhavetoadjusttuningstepsotheradiomaycontinue
toserveyouwell.
Whileradioisswitched off, long press Step/Band button formore
than 2secondswillfirstshowcurrentFMtuningstep.
Continue pressingStep/Band button forapprox.another5seconds
until displayFMand 50 kHz(tuningstep)flashing followedbyabeep.
BypressingTuningup/downbutton,youmayadjustto100kHzper
tuningstep.
AfterFMtuningstep isreset, pressingStep/Band button again,
displaywill showMWand flash9kHz.BypressingTuningup/down,
you mayadjustto10kHzpertuningstep.Completethe settingby
pressingStep/Bandbutton.
Headphonesocket
A3.5mm headphone socketlocated on the left-hand ofyourradio
isprovided forusewitheitherheadphonesoran earpiece.
Insertingaplugautomaticallymutestheinternalspeaker.

12
GB
Specifications
PowerRequirements
ACPoweradaptor
Batteries
BatteryLife
FrequencyCoverage
CircuitFeature
Loudspeaker
OutputPower
Headphonesocket
AerialSystem
DC 6V400mAcenterpinnegative
4XUM-1(Dsize)
Approx.170 hoursoflistening for4hours
adayatnormalvolumeusingalkalinecells
FM87.50 –108 MHz
MW522 –1629 kHz(9kHz/step)or
MW520 –1710 kHz(10 kHz/step)
3inches4ohm
800mW
3.5mm dia.
Telescopicaerial

13

14
CONSIGNES DESÉCURITÉIMPORTANTES
1.Lisezattentivementcesinstructions.
2.Conservezcesinstructionsàportéede lamain.
3.Prêtezattentionàtouslesavertissements.
4.Suiveztouteslesinstructions.
5.N’utilisezpascetappareil àproximitéd’eau ou dans
unenvironnementhumide.
6.Utilisezun chiffonouuntissupropreetsecpour
nettoyerl’appareil.
7.Nebloquezpaslesorificesd’aération.Installezl’appareil
conformémentauxinstructionsdufabricant.
8.N’installezpasl’appareil àproximitéde sourcesde chaleur
(radiateurs,registresde chaleur,poêlesetautresappareils,
ycomprislesamplificateurs,quiproduisentde lachaleur).
9.Nedésactivezpaslesdispositifsde sécuritéde lafiche polarisée
ou avectige de terre.La fiche polariséeprésentedeuxbroches,
dontune estpluslarge que l’autre.La fiche àtige de terre
présentedeuxbrochesainsiqu’une tige de miseàlaterre.
La broche large ou latige de terrecontribuentàvotresécurité.
Silafiche fourniene convientpasàlaprisede courant,
adressez-vousàun électricien pourremplacerlaprisede
courantobsolète.
F

15
10.Veillezàceque lecordon d’alimentation ne puisseêtreécrasé
ou coincé,en particulierau niveau desprises,desobjets
contournés etàson pointde raccordementàl’appareil.
11.Utilisezuniquementlescordonsetaccessoiresrecommandés
parlefabricant.
12.Utilisezcetappareil uniquementaveclechariot, lesupport,
letrépied,laconsoleou latablerecommandéparlefabricantou
fourniavecl’appareil.Sivousutilisezun chariot, veillezàne pas
fairebasculerl’appareil lorsd’un déplacementdu chariot.
13.Débranchezl’appareil en casd’orage ou s’il ne doitpasêtre
utilisé pendantune période prolongée.
14.Pourtouteréparation,adressez-vousàuntechnicienqualifié.
Une révision s’imposelorsque l’appareil aétéendommagé
d’une quelconque manière,parexemplesilecordon
d’alimentation ou lafiche estdétérioré,sidu liquide s’est
répandu ou sidesobjetsontétéintroduitsdansl’appareil,
sil’appareil aétéexposé àlapluieou àl’humidité,s’il ne
fonctionnepasnormalementou s’il asubiune chute.
15.Enraison desrisquesd’incendieou de chocélectrique,
n’exposezjamaiscetappareil àlapluieou àl’humidité.
16.La marque de risque de chocélectrique etlesymbolegraphique
correspondantsontapposés surlaplaque de fond de l’appareil.
17.Protégezcetappareilcontretoutesgouttes,toutruissellementet
touteéclaboussure.Aucunobjetcontenantdu liquide nedoity
êtredéposé.

16
F
Commandes
Syntonisation Haut/Bas
Balayage etRéglage de l’horloge
Boutonsdesprésélections
ContrôleduVolume
Écran àcristauxliquides
Réglage de l’alarmeparsonnerie
Réglage de l’alarmeradio
Bande de fréquencesetÉchellede syntonisation
Marche/Arrêt
Prisecasque
Prised’alimentation CC
Antenne télescopique
Compartimentàpiles
ÉcranLCD
Indicateurd’Arrêtprogramméetde Rappelde l’alarme
Fréquence
Indicateurde Bande
Présélectionsde stations
Niveau de charge despiles
Unitédesfréquences
Alarmeradio
Alarmesonnerie
Horloge
Réglage de l’horloge
Indication d’horloge PM(après-midi)
10
1
2
3
4
5
6
7
8
9
11
12
13
A
C
B
D
E
F
G
H
I
J
K

17
Fonctionnementsurpiles
1.Retirezlecouvercledu compartimentàpilesàl’arrièrede
l’appareil,en appuyantsurlecrochet.
2.InsérezquatrepilesD(UM-1)danslesemplacementsprévus
danslecompartiment.
3.Veillezàinsérerlespilesen respectantlespolarités indiquées
àl’intérieurdu compartiment. Replacezlecouvercledu
compartimentàpiles.
4.Lespertesde puissance,lesdistorsions,un «son saccadé» etle
voyantde pilesfaibles(un «E»clignotesurl’afficheur) indiquent
que lespilesdoiventêtreremplacées.
5.Sivousne comptezpasutiliserlaradiopendantune longue
période,il estconseilléde retirerlespilesde l’appareil.
Utilisation del’adaptateursecteur
(non fournidanscertainspays)
L’adaptateursecteurutilisé aveccetappareil doitfonctionnersur
6voltsCC à400 mAàbroche centralenégative.
Insérezlafiche de l’adaptateurdanslapriseCC surlecôtégauche
de laradio.Branchezl’adaptateursurune prisesecteurstandard.
Lorsque l’adaptateurestutilisé,lespilessontautomatiquement
déconnectées.L’adaptateursecteurdoitêtredébranchéde
l’alimentation secteurlorsqu’il n’estpasutilisé.

18
F
Réglagedel’horloge
1.L’horloge peutêtrerégléeque laradiosoitalluméeou éteinte.
2.Une foislespilesinstalléesdansl’appareil ou lorsque laradio
estbranchéeàl’alimentation secteur,l’afficheurindique “-:--”.
3.Appuyezpendantplusde 2secondessurlebouton .
Le symbolede réglage de l’horloge etleschiffresdes
heuresclignotentàl’écran etl’appareil émetun bip.
4.UtilisezlesboutonsTuningHaut/Baspourréglerlesheures.
5.Appuyezsurlebouton .Leschiffresdesminutesclignotent.
6.UtilisezlesboutonsTuningHaut/Baspourréglerlesminutes.
7.Appuyezsurlebouton pourterminerleréglage de l’horloge.
Utilisation delaradio
Cetteradioproposetroisméthodesde réglage desstations–
Balayage desfréquences,Réglage manueletRappeldes
stationsmémorisées.

19
Balayagedes fréquences
1.AppuyezsurleboutonPower(marche/arrêt)pourallumerlaradio.
2.Choisissezune bande de fréquencesàl’aide du bouton Band.
Pourlaréception de stationsFM,étirezcomplètementl’antenne
télescopique etorientez-làde sorteàobtenirune réception
optimale.Pourlaréception desstationsde labande MW(AM),
tournezl’appareil jusqu’à obtenirun signalde qualité.
3.Appuyezbrièvementsurlebouton Scan (lafonction de réglage
de l’horloge s’activelorsque lebouton Scan estenfoncé pendant
plusde 2secondes).L’appareil lancelarecherche en montant
danslesfréquencesets’arrêteautomatiquementlorsqu’il trouve
unestation.AppuyezunenouvellefoissurleboutonScan pour
restersurlastation trouvée.
Remarque:
Sivousn’appuyezpasànouveau surlebouton Scanlorsque la
radiotrouveune station,larecherchecontinuerajusqu’à la
prochaine station disponible.
4.Tournezlebouton de réglage duVolumesonoreau
niveau souhaité.
5.Pouréteindrelaradio,appuyezsurlebouton Power
(marche/arrêt).L’indication OFF apparaîtàl’écran.
Other manuals for PR-D4
2
Table of contents
Languages:
Other Sangean Radio manuals

Sangean
Sangean PR-D12BT User manual

Sangean
Sangean WR-22WL User manual

Sangean
Sangean WR-11 User manual

Sangean
Sangean SR-32 User manual

Sangean
Sangean HDR-18 User manual

Sangean
Sangean SG-622 - MANUAL 2 User manual

Sangean
Sangean DPR-45 User manual

Sangean
Sangean WR-2CL User manual

Sangean
Sangean DPR-69B User manual

Sangean
Sangean DT-140 User manual

Sangean
Sangean PR-D2 User manual

Sangean
Sangean WR-2 User manual

Sangean
Sangean MMR-77 User manual

Sangean
Sangean BTR-160 User manual

Sangean
Sangean DDR-3 User manual

Sangean
Sangean WR-3 User manual

Sangean
Sangean WR-2 User manual

Sangean
Sangean U4 DBT+ User manual

Sangean
Sangean ATS-909X 2 User manual

Sangean
Sangean H205 User manual