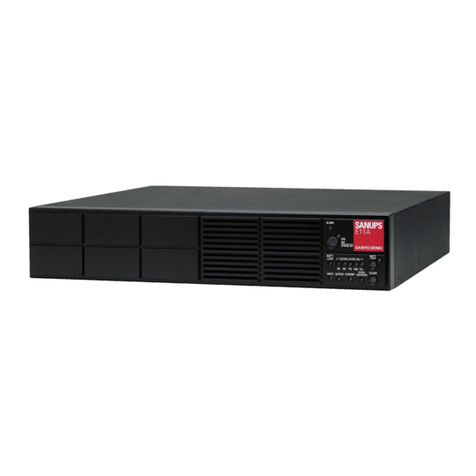
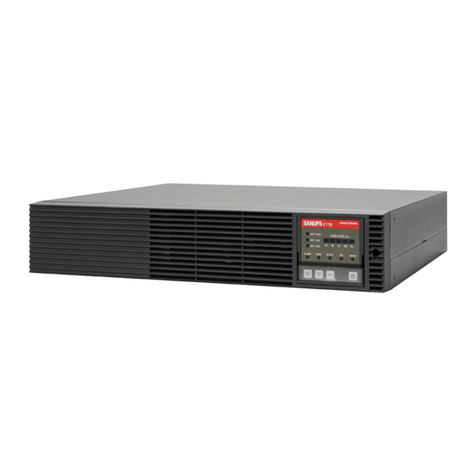
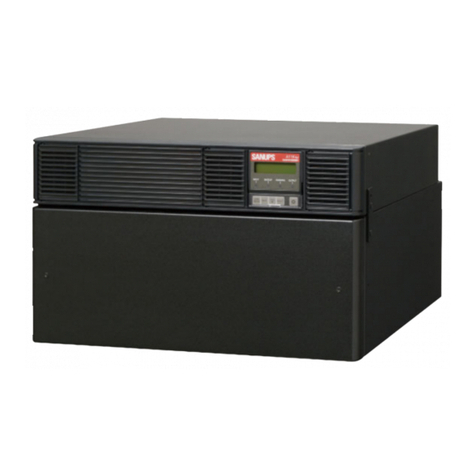
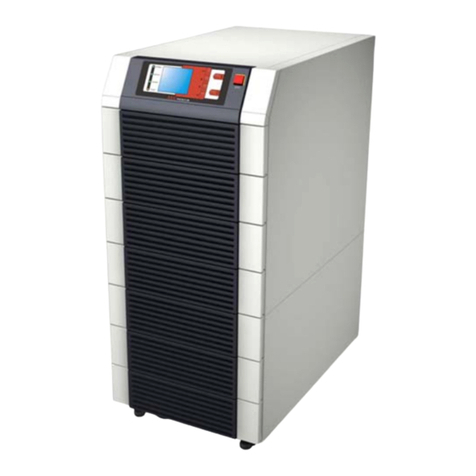
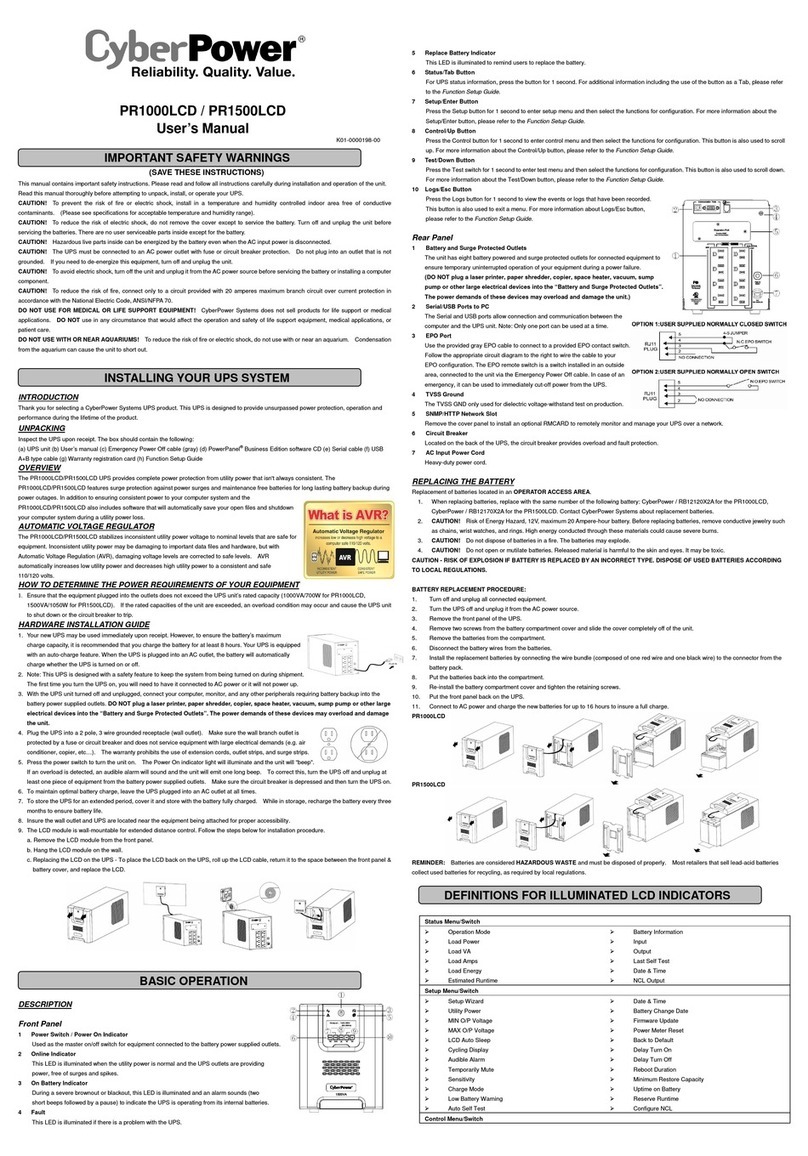
Sanyo Denki SANUPS E11A Series User manual

Uninterruptible Power Supply
E11A(TYPE C) Series
A11F102/152 Series
Contact Signal Interface Card
(Terminal type)
User Manual
Table of Contents
Introduction
Safety Precautions
1. Confirming Package Contents -------------------- 1
2. Contact Signal Interface Card Part Names ---- 1
3. Contact Signal Interface Card Installation ------ 2
4. UPS Settings ------------------------------------------ 5
5. External Signals (“CONTACTS SIGNAL”) --------8
6. Special Functions ---------------------------------------9
SANYO DENKI CO., LTD.
DWG.No. M0009173C

Introduction
Thank you for choosing this product. This document contains important safety
precautions for users and service technicians.To ensure proper operation and
reliability throughout the useful life this device, read this manual prior to use and
keep it nearby for future reference.
Safety Precautions
Read this manual carefully before installing, operating, performing maintenance, or
inspecting this device in order to understand all instructions and related safety
precautions.
Usage and Storage Precautions
Never operate or store the equipment in the following environmental
conditions, as doing so may cause malfunction, damage or deterioration,
which could result in fire and/or injury:
zIn ambient environmental conditions other than those specified
(temperatures outside the range of 0 to 40°C (32 to 104°F), and relative
humidity outside of the range of 30% to 90%).
zWhere the device is exposed to direct sunlight.
zWhere the equipment is directly exposed to heat from a heat source, such
as a stove.
zWhere the device may be subject to vibration or physical shock.
zNear a device that may emit sparks.
zIn the presence of dust, salt, or corrosive or flammable gas.
zOutdoors.
CAUTION
!

- 1-
1. Confirming Package Contents
When opening the package, confirm that the following items are included.
Contact your nearest sales representative if you find any discrepancy.
・Contact Interface Card 1 set
・Communication Cable (20cm) 1 pcs
・User Manual (this document) 1 copy
2. Contact Signal Interface Card Part Names
Fig. 2-1 Contact Signal Interface Card Exterior (Front View)
Fig. 2-2 Contact Signal Interface Card Exterior (Bottom View)
Table 2-1 Parts Description
Name Description
①AUX IN
(D-SUB 9-pin female)
Connector for communication with the UPS:
When receiving the status signal from the UPS*,
power will also be supplied to the contact signal
interface card.
②CONTACTS SIGNAL
(TERMINAL BLOCKS)
External status signal connector:
Outputs the UPS status signals via dry (no
voltage) contacts.
* UPS is an abbreviation for “Uninterruptible Power System”.
①②
①
②

- 2-
3. Contact Signal Interface Card Installation
Follow steps (1) through (6) to install the Contact Signal Interface Card.
Caution:
•If the device is shipped with the Contact Signal Interface Card preinstalled,
proceed from step (5).
(1) Preparation
The Contact Signal Interface Card should be installed only after the UPS has been
shut down completely. If the UPS is in operation, follow the instructions of “Operation
Shutdown (If UPS is not to be used for a week or more)” in the UPS Instruction
Manual, and shut down the UPS completely.
CAUTION
!
Before installing the Contact Signal Interface Card, the UPS
must be completely shut down. Inserting the card when the
UPS is not shut down completely may result in electric shock.
(2) Remove the protective cover
Remove the cover from the rear panel of the UPS.
①Remove the screws from both locations, and then the cover from the UPS.
Note that one of the screws will be used for securing the Contact Signal Interface
Card.
Note: The protective cover will not be used after inserting the card, but should
be stored in a safe place in case of future need.
Fig. 3-1 Rear panel cover removal(E11A)
①
Two screws

- 3-
(3) Insert the Contact Signal Interface Card
Insert the Contact Signal Interface Card into the card slot on the rear panel of
the UPS as shown in the Fig. 3-2.
Fig. 3-2 Inserting the Contact Signal Interface Card (UPS rear panel)
(4) Secure the Contact Signal Interface Card
Secure the Contact Signal Interface Card to the UPS using one of the screws
removed in step (2).
Insert the remaining screw into the cover securing position, to prevent losing
it.
Contact Signal Interface Card
Cover securing position Contact Signal Interface
Card securing position

- 4-
(5) Connect the Contact Signal Interface Card and the UPS using the accessory
cable
Use the communication cable to connect the “CARD I/F” connector of the
UPS and the “AUX IN” connector of the Contact Signal Interface Card as
shown in the Fig.3-3.
Fig. 3-3 Connection to the UPS using the communication cable (UPS rear panel)
(6) Connect the computer and the Contact Signal Interface Card using the
signal cable
Use the special signal cable to connect the “CONTACTS SIGNAL” TERMINAL
BLOCKS of the Contact Signal Interface Card to the computer.
Contact Signal
Interface Card
AUX IN
UPS
CARD
I/F
Computer
(Load devices)
Connect with the signal cable
Communication cable
(Accessory)
When the UPS is E11A series, Installation of the Contact Signal
Interface Card and the UPS setting procedures are now complete.
Start the UPS according to the procedures in the UPS Instruction Manual.
Even if interface setteing of E11A is set to “Workstation mode” or to
“Standalone mode”, UPS works.
In addition, you cannot use the Contact Signal Interface Card and the LAN
Interface Card at the same time.
In the case of E11A, only TYPE C can be connected to this CARD.

- 5-
4. UPS Settings(A11F series)
There are two communication mode settings for the UPS.
•Standalone mode
•W/S mode (Workstation mode)
Set the UPS to Standalone mode when using this Card.
Follow the procedures described on pages 6~7 to verify and change the UPS
mode settings.
Note that if the card was factory preinstalled, this step is unnecessary.
Caution:
If the UPS is set to W/S mode, the Interface Card cannot be used.
Also, this card cannot be used with power control software (SANUPS SOFTWARE)
that requires a PC I/F connector for serial connection. If PC shutdown capability is
required while using this Card, the communication settings in the power control
software must be set to “Contact Connection”.

- 6-
01 2
01 2
Mode verification and setting modification
(1) Start the UPS
Operating mode verification and setting changes are done using the operating unit
and the display of the UPS front panel. Begin by starting the UPS.
Follow the procedures for startup operation as described in the UPS Instruction
Manual.
(2) Verify the operating mode and modify settings using the operating unit and
the display
Verify the operating mode and modify settings
following the procedures described in the UPS
Instruction Manual.
(3) Disable the Automatic startup
Verify and change settings following the
procedures described in the UPS Instruction
Manual.
For more information about the ring signal
startup, refer to "§6 Special Functions" of this
manual.
Fig. 4-1 LED display when standalone mode is selected
Caution:
When the UPS starts, power will be supplied from the outlet.
It is recommended to disconnect the load devices before starting the UPS.
●-Blinking
○-Off
●-Blinking
○-Off
Fig. 4-2 LED display when the ring signal is set to “Disabled”

- 7-
(4) Stop the UPS
When setting modifications are complete, stop the UPS. Follow the
procedures of the UPS Instruction Manual to properly shut down the UPS.
Installation of the Contact Signal Interface Card and the UPS setting
procedures are now complete.
Start the UPS according to the instructions in the UPS Instruction Manual.
Caution:
•If any load devices were disconnected, reconnect them at this time.
•If any settings were modified, stop the UPS completely. Otherwise,
any changes in the settings are not validated, and will not take effect.

- 8-
5. External Signals (“CONTACTS SIGNAL”)
Signal Name Description
AC Input Fault
This signal is output when there is a failure in the
commercial power supply, or when voltage is
insufficient. (Make contact, Break contact)
Low Battery voltage
This signal is output when the battery voltage falls
below the preset value. (Make contact or Break
contact. Default : Make contact) Note 3
AC Output
This signal is output when AC output is supplied to
the load devices via OUTPUT1 or 2.
(Make contact, Break contact) Note2
Bypass Output
This signal is output when bypass output is
supplied to the load devices. (Make contact or
Break contact. Default : Make contact) Note 3
Signal
output
UPS Fault
This signal is output when a fault occurs in the
UPS. (Make contact or Break contact.
Default:Makecontact) Note3
Note 1.These signal outputs are non-voltage contacts, with a contact
capacity of AC 110V/DC 24V 0.2A.
Note 2.In the case of A11F, when using OUTPUT1,2 and supplying the
output, this Card output a signal.
Note 3.“Low Battery voltage”, “Bypass Output” and “UPS Fault” can
choose of Make contact or Break contact. Default is Make contact.
Fig. 5-1 Contact Signal Interface Card Exterior (Bottom View)
Note: The figure above shows the device’s status when stopped.
TERMINAL BLOCKS
①②③④⑤⑥⑦⑧
Low Battery Voltage
Bypass Output
AC Input Fault
AC Output
UPS Fault
2
1
8 (COM)
3
5
4
6
7
JP1A
JP1C
JP1B
UPS Fault
Low Battery voltage
Bypass Output
b a b a b a
a
Make contact
Break contact
Short pin
b
a
b
Short pin

- 9-
6. Special Functions
The AC output signal is capable of sending a ring signal* (depending on the
computer type, this may be called a “modem signal”). To use the ring signal, this
setting should be modified as described below. After changing the settings, the
UPS must be completely stopped and then restarted for the setting to take effect.
E11A (TYPE C):
•Modify the settings according to the procedures in the UPS User Settings
Guide.
A11F102,A11F152:
•Modify the settings according to the procedures in the UPS Instruction
Manual.
Ring signal startup settings
[Disabled]:
UPS output (OUTPUT 1 or 2)
AC output signal (4 pin – com)
[Enabled] (Factory setting):
UPS output (OUTPUT 1 or 2)
AC output signal (4 pin – com)
*What is a ring signal?
A ring signal is a false modem signal sent to the computer’s serial port. When
the computer receives this signal, it automatically boots up. The serial port and
the motherboard of the computer must support the ring signal feature in order
to use this function.
After starting the UPS output,
ON (2 sec) and OFF (1 sec) is
repeated for 30 seconds (ring
il)
ON
OFF
ON
OFF
ON
OFF
ON
OFF
Caution:
If the AC output signal is used as is, the following settings are necessary:
E11A (TYPE C):
•Set the " Setting a Ring Signal" of the UPS User Settings Guide to “Do
not output”
A11F102, A11F152:
•Set the " Setting the automatic start of the computer” to “Do not start”.
Other manuals for SANUPS E11A Series
2
This manual suits for next models
2
Table of contents
Other Sanyo Denki UPS manuals

Sanyo Denki
Sanyo Denki SANUPS E11A Series User manual

Sanyo Denki
Sanyo Denki Sanups A11J User manual

Sanyo Denki
Sanyo Denki S-A11KL202B0015SS 00 Series User manual

Sanyo Denki
Sanyo Denki SANUPS E11A102U-J User manual

Sanyo Denki
Sanyo Denki Sanups ASE-H series User manual
Sanyo Denki
Sanyo Denki Sanups A11J User manual

Sanyo Denki
Sanyo Denki SANUPS E11B User manual

Sanyo Denki
Sanyo Denki SANUPS E11A Series User instructions

Sanyo Denki
Sanyo Denki SANUPS E11A202U User manual

Sanyo Denki
Sanyo Denki SANUPS E11B-Li User manual