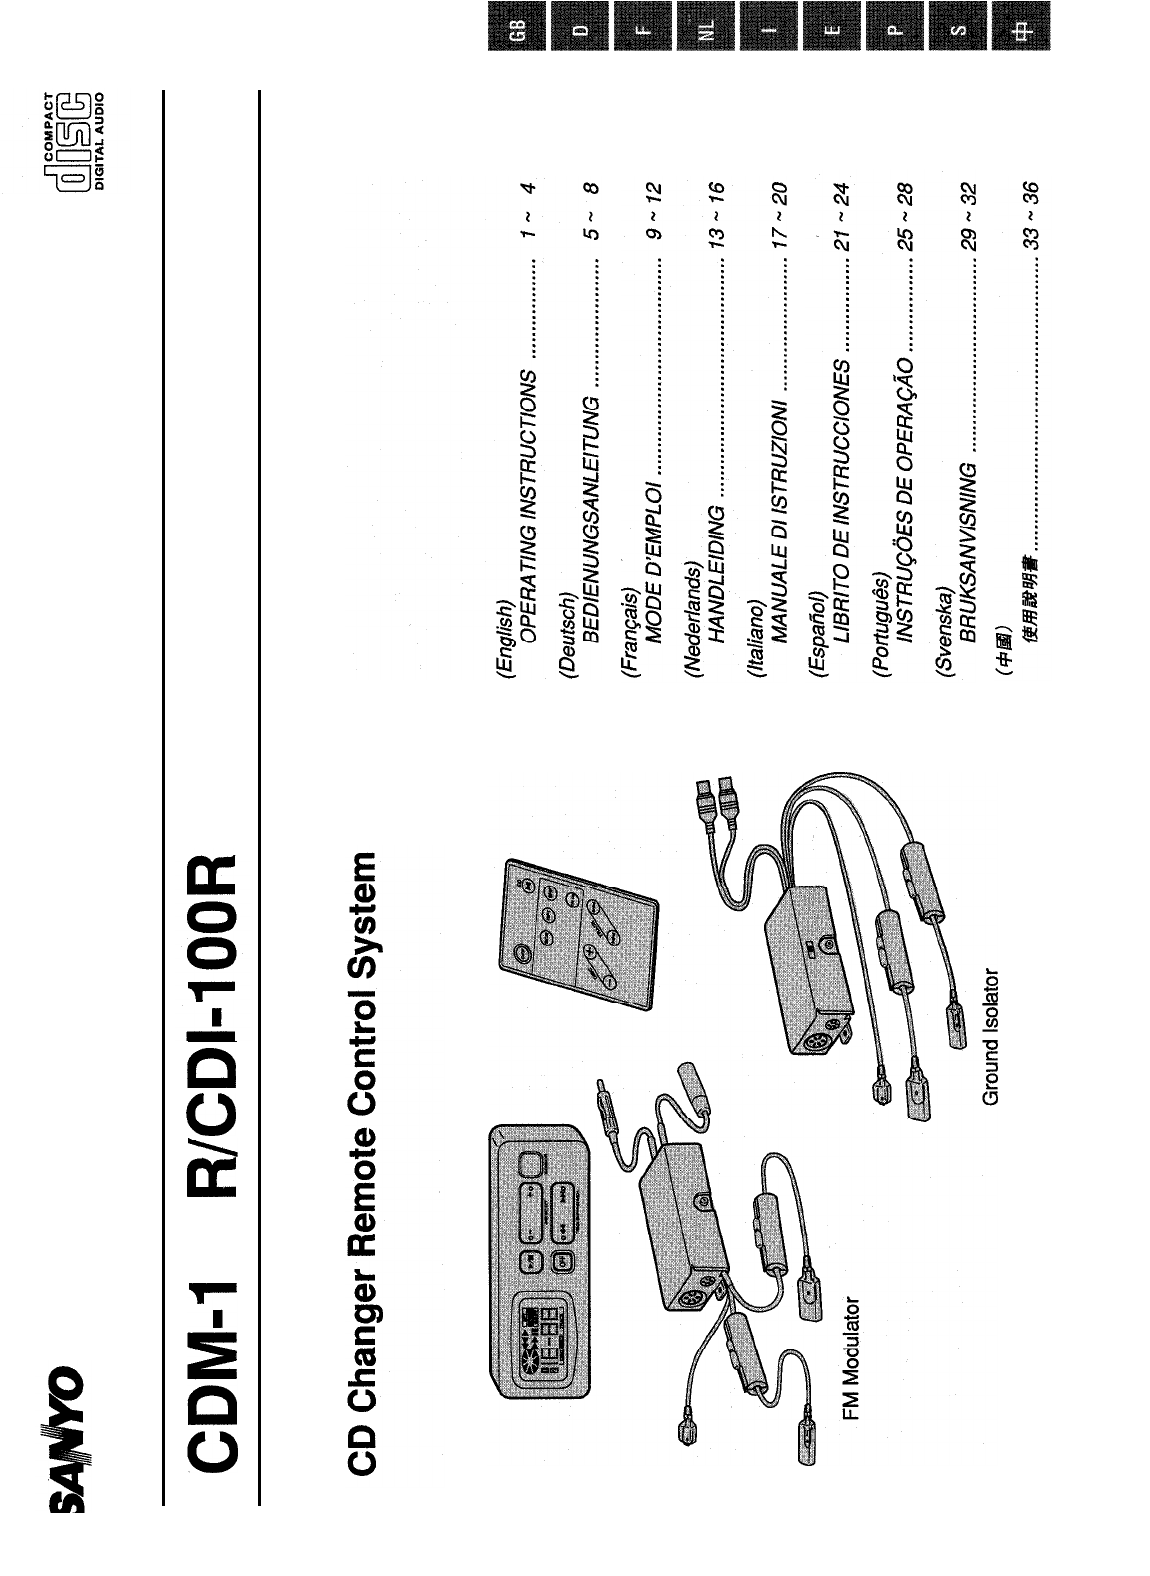
CD CHANGER OPERATION
Listening to The CD Play
When optional SANYO CD Changer (FXD-Cl 00 or FXD-C200) are connected.
n
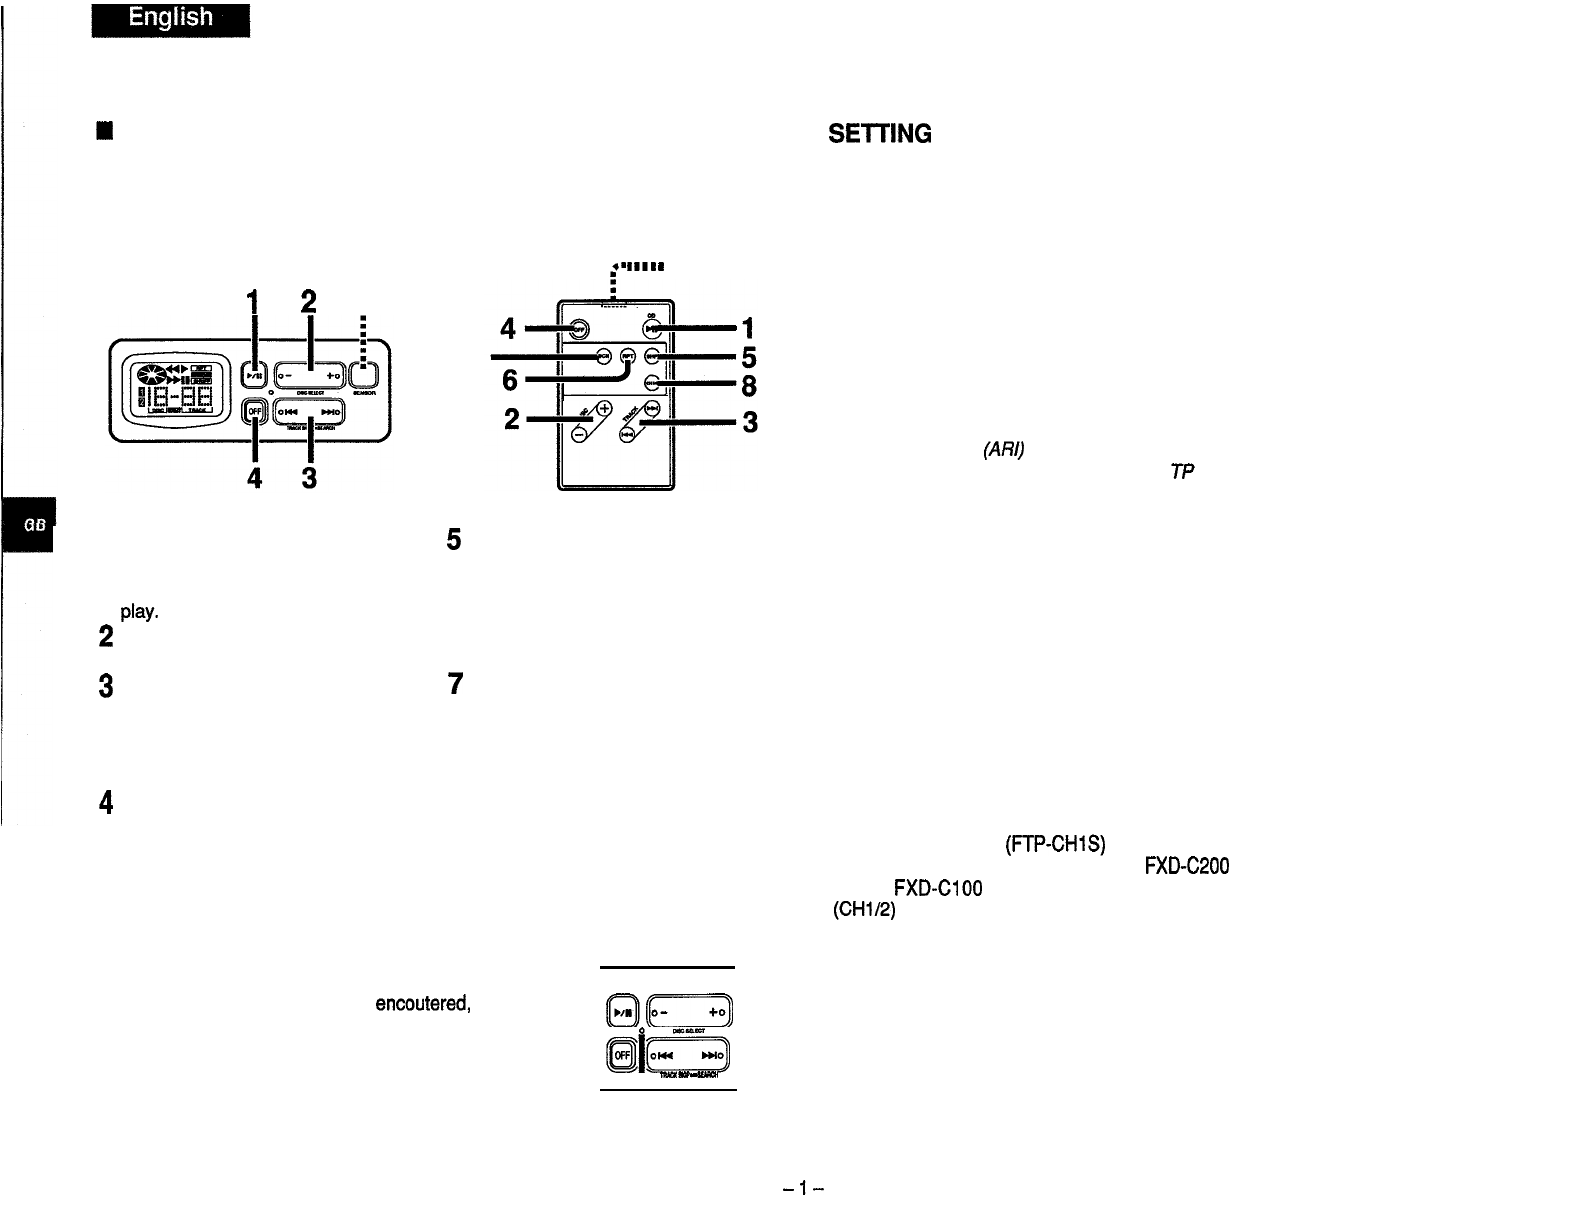
Playing a CD
Press the play/pause button
(@
) or
(0).
[,]
appears on the display and play
starts.
Adjust the volume and tone using the FM car stereo to which the system is con-
nected.
l
When using the system for the first time or when the CD magazine has just
been replaced, play starts from the first track on the first disc.
HTo temporarily stop CD play
Press the play/pause button
(0
) or
(0)
during play. [IB] appears on the dis-
play and play is temporarily stopped.
Press the button again to resume play starting from where it was stopped.
* When the pause mode is maintained for 5 minutes or more, the power will be
automatically turned off.
n
Selecting the disc to be played
Display the number of the disc to be heard using the disc selector button
(a
or
e
1.
To advance to the next disc, press
3
or
3.
To return the previous disc, press
E
or
c
.
H
Selecting a track
Display the number of the track to be heard using the track skip button
(0
or@&).
To advance to the next track, press
3
or
B-
To return the previous track, press
E
or
E
twice.
* Pressing
E
or
c
once returns play to the start of the track now being
played.
w
Skipping to a particular part of a track
When the track skip button
(c-1
or
e)
is kept depressed, [44] or
[H]
flashes, and play is skipped to the desired part of a track in the forward or back-
ward direction.
To skip forward, keep
3
or
3
depressed.
To skip backward, keep
c
or
E
depressed.
The pause mode is established when the track skip button is kept depressed until
the start or end of the disc is reached.
Playing in Other Modes
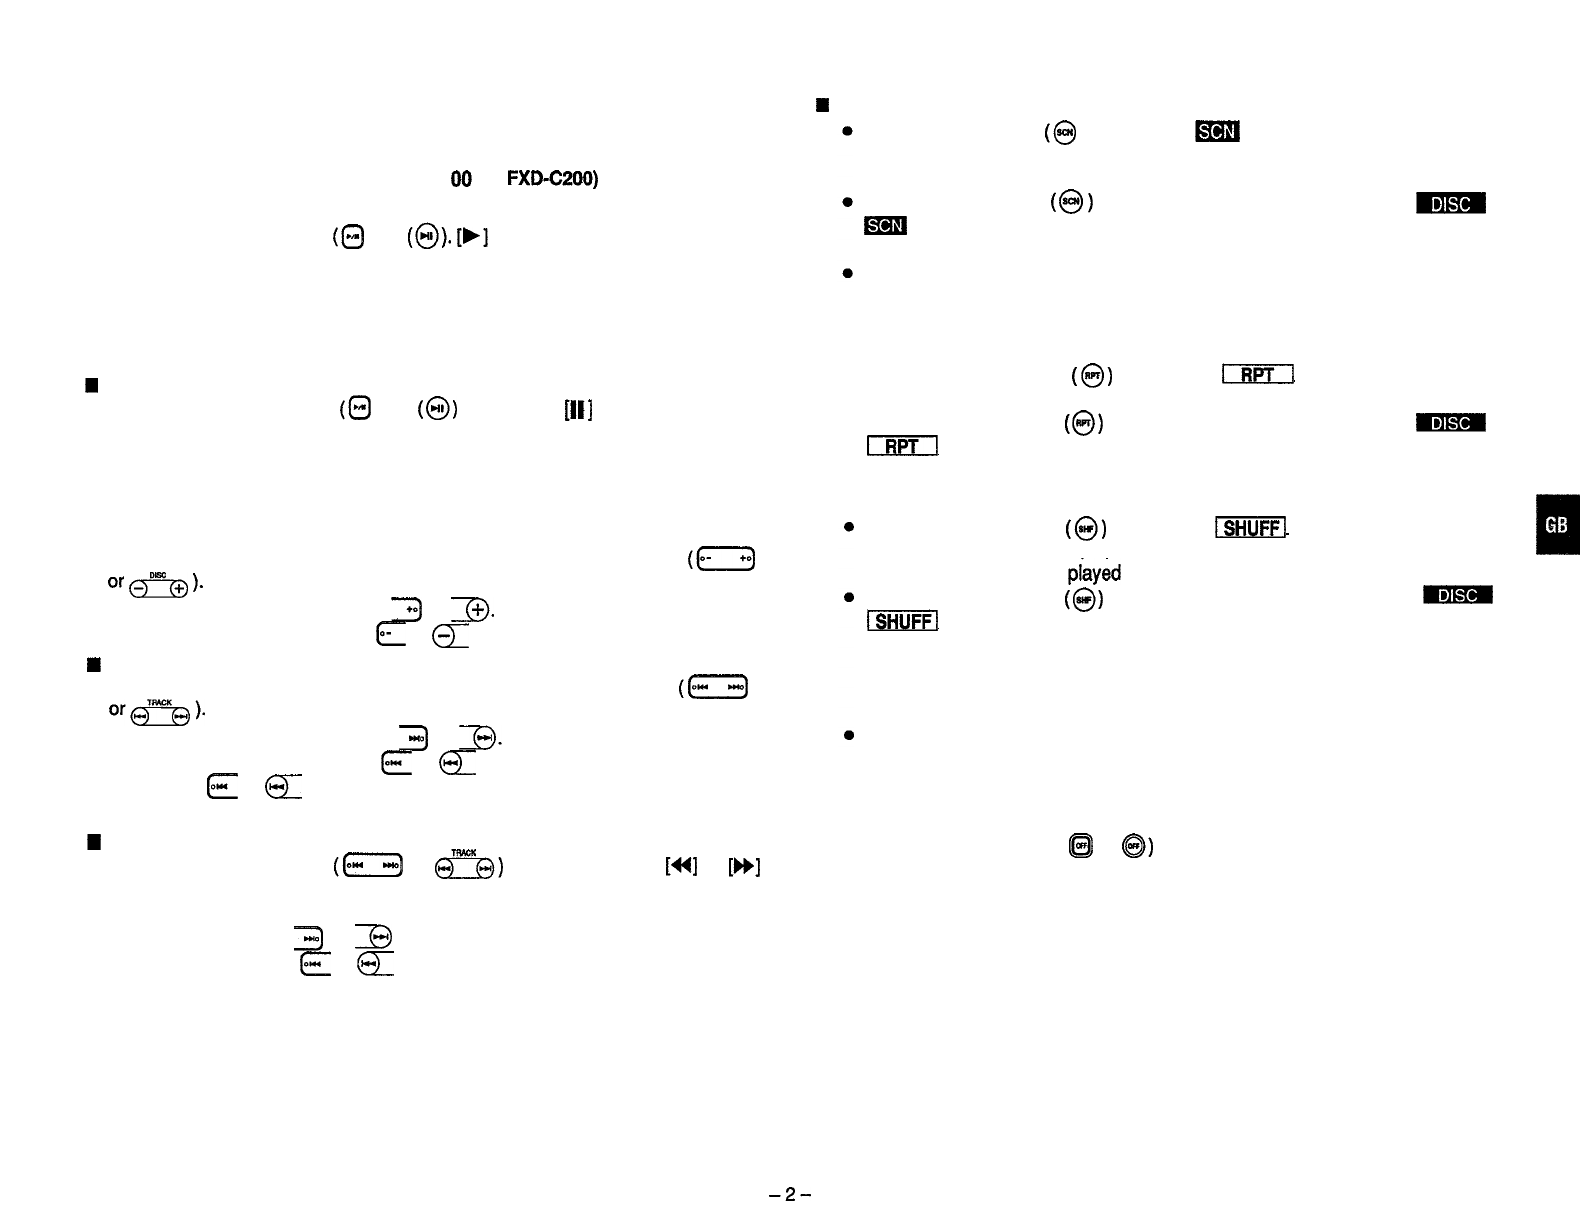
W
Scan play
When the scan button
(@
) is pressed,
m
appears, and the intro of each
track on the disc now heard is played for 10 seconds each, and this operation
is repeated.
When the scan button
(@)
is pressed for two seconds or more,
m
m
appears, and the intro of each track on the disc now heard is played for
10 seconds each, and this operation is repeated for the next disc.
Press the scan button again while the intro of a track or disc you want to hear
in its entirety is being played. Normal play is resumed starting from the track
during which the scan play function was released.
n
Repeat play
l
When the repeat button
(@)
is pressed,
171
appears, and the track
now heard is played repeatedly.
l
When the repeat button
(@)
is pressed for two seconds or more,
m
-1
appears, and the disc now heard is played repeatedly.
l
Press the repeat button again to release the repeat play function.
n
Shuffle play
When the shuffle button
(0)
is pressed,
IsHUiFF
appears, and the tracks
on the disc now heard are played in a random order. When all the tracks have
been played, they will be played again, this time in a different random order.
When the shuffle button
(@)
is pressed for two seconds or more,
m
-1
appears, the sequence in which the discs are to be played is first re-
arranged and then the sequence in which the tracks are to be played is
rearranged, after which the tracks on the first disc are played. When all the
tracks on the first disc have been played, operation advances to the next disc
whose tracks are then played.
Press the shuffle button again to release the disc shuffle play function.
Listening to the radio or tape
Press the power off button (
@
or
@)
to stop the CD play, and listen to the radio
or tape.
l
Noise is heard and the reception deteriorates when listening to the radio without
stopping CD play first.
To resume CD play, set the radio’s FM frequency to 89.1 MHz or 88.7 MHz and
press the play/pause button.
-2-