Sanyo CLT-9965 User manual

CLT-9965
INSTRUCTION MANUAL
900-MHz
Digital Spread Spectrum
Cordless Telephone
with Call Manager Features
IMPORTANT
Charge the handset battery pack for a full 15 hours before using your
cordless handset for the first time.
www.sanyocanada.com
CLT9965 ENG-5/10 5/10/01 10:25 Page i

Congratulations on your purchase of the CLT-9965 cordless telephone.
This phone is designed for reliability, long life, and outstanding performance utilizing the
latest in 900- Hz Digital Spread Spectrum technology.
Note: Some illustrations in this manual may differ from the actual unit for
explanation purposes.
●900- Hz Digital Spread Spectrum Technology
●Call anager Features*: Caller ID, Caller ID on Call Waiting and Call Waiting with Options
*Each feature works with your network service. A subscription required.
●50-Number Caller ID List
●Programmable Network Service Key
●Voice ail Waiting Indicator on the Base and Handset
●One-Touch VOICE AIL Access on the Handset
●3-Line, 16-Character Backlit Handset Display
●Lighted Handset Keypad
●20-Name/Number Directory
●Last 3-Number Redial
●HandsFree Speakerphone in the Handset
●10-Day Standby Battery Life/6-Hour Talk Time
●Out of Range Warning
●20-Channel Auto/ anual Scan
●Call Time Display
●Pulse/Tone Dialing
●Page/Handset Locator
●Handset Earpiece and Speaker Volume Controls
●Ringer Volume Control with Off setting
●Belt Clip and Headset Jack
●Wall- ountable
●Hearing Aid Compatible
900-MHz Digital Spread Spectrum echnology utilizes a “wider frequency
band” vs. a “single narrow band” used in standard digital transmissions. The
result is the clarity of digital sound, extended range and a secure conversation
with virtually no interference from other 900- Hz cordless phones or radio
transmission devices.
The clearest channel is automatically selected for each transmission. The phone
selects one of over 65,000 digital security codes for the handset and base.
These features enhance your phone’s security and also prevent unauthorized
calls as a result of your phone being activated by other equipment.
Introduction
Features
CLT9965 ENG-5/10 5/10/01 15:06 Page ii

1. Handset antenna
2. Headset jack cover
3. HandsFree speaker
4. Battery compartment
5. Earpiece speaker
6. LCD display
7. TALK/END key
8. ENU/SERVICE key
9. Voice ail key (1/ )
10. Left cursor key (TONE/*/)
11. REDIAL/PAUSE key
12. E ORY key
13. CALL REVIEW/VOLU E (up) key
14. icrophone
15. CALL ID/FLASH key
16. Right cursor key ( #/ )
17. SELECT key
18. DELETE/SCAN key
19. SPEAKER key
20. CALL REVIEW/VOLU E (down) key
21. Handset charging contacts
Controls and functions
1
2
4
3
5
6
7
8
10
11
9
12
13
14
15
20
21
19
18
17
16
CLT9965 ENG-5/10 5/10/01 10:25 Page iii

23
24
25
26
27
22
28
29 30 31
22. Bottom bracket
23. Handset retainer
24. Base charging contacts
25. PAGE/FIND key
26. CHARGE/IN USE indicator
27. VOICE AIL indicator
28. Base antenna
29. TONE/PULSE switch
30. DC power input
31. Phone jack
CLT9965 ENG-5/10 5/10/01 10:25 Page iv

E1
Introduction/Features ..............................................inside front cover
Controls and Functions............................................inside front cover
Getting started
Read this first..........................................................................................E2
Step 1: Checking the package contents.........................................E3
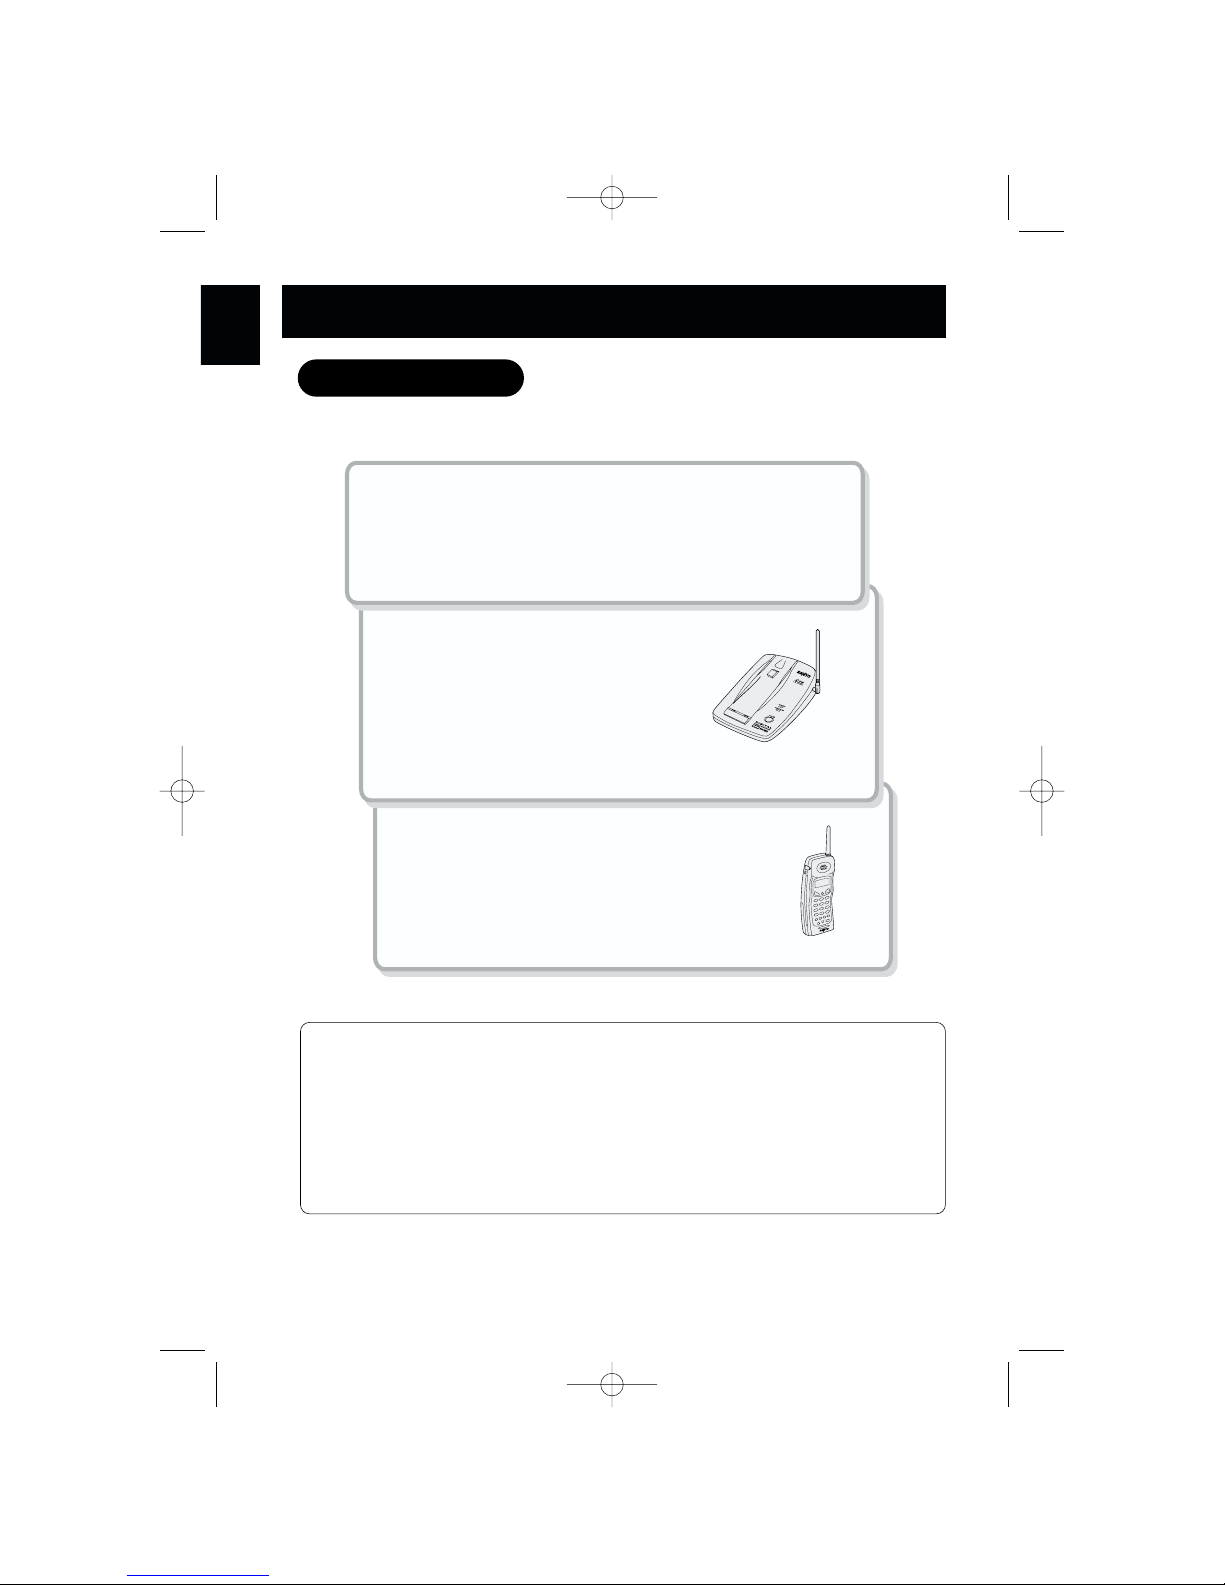
Step 2: Setting up the base unit .......................................................E4
Desktop use .............................................................................E5
ounting the base unit on a wall ......................................E7
Step 3: Preparing the battery pack ..................................................E9
Basics
aking a call ........................................................................................E11
HandsFree Speakerphone in the Handset ...................................E12
Receiving a call....................................................................................E13
Call Waiting ..........................................................................................E13
Lighted keypad ....................................................................................E14
Scanning ...............................................................................................E14
Adjusting the ringer and earpiece volume...................................E14
Redialing a call.....................................................................................E15
Directory
Storing phone numbers and names ..............................................E17
aking calls from the directory ......................................................E19
Editing a stored name and/or phone number ............................E21
Erasing a stored name and phone number .................................E23
Caller ID features
Caller ID .................................................................................................E24
When the telephone rings................................................................E26
Viewing the Caller ID list...................................................................E27
Deleting information from the Caller ID list .................................E28
Using the Caller ID list .......................................................................E30
Using Caller ID on Call Waiting service.........................................E32
Advanced calling features
List of features .....................................................................................E33
Voice mail access ...............................................................................E34
Paging ...................................................................................................E35
Accessing calling features ...............................................................E36
Pre-programmed calling features...................................................E37
Adding new features .........................................................................E38
Call Waiting with Options.................................................................E40
Additional Information
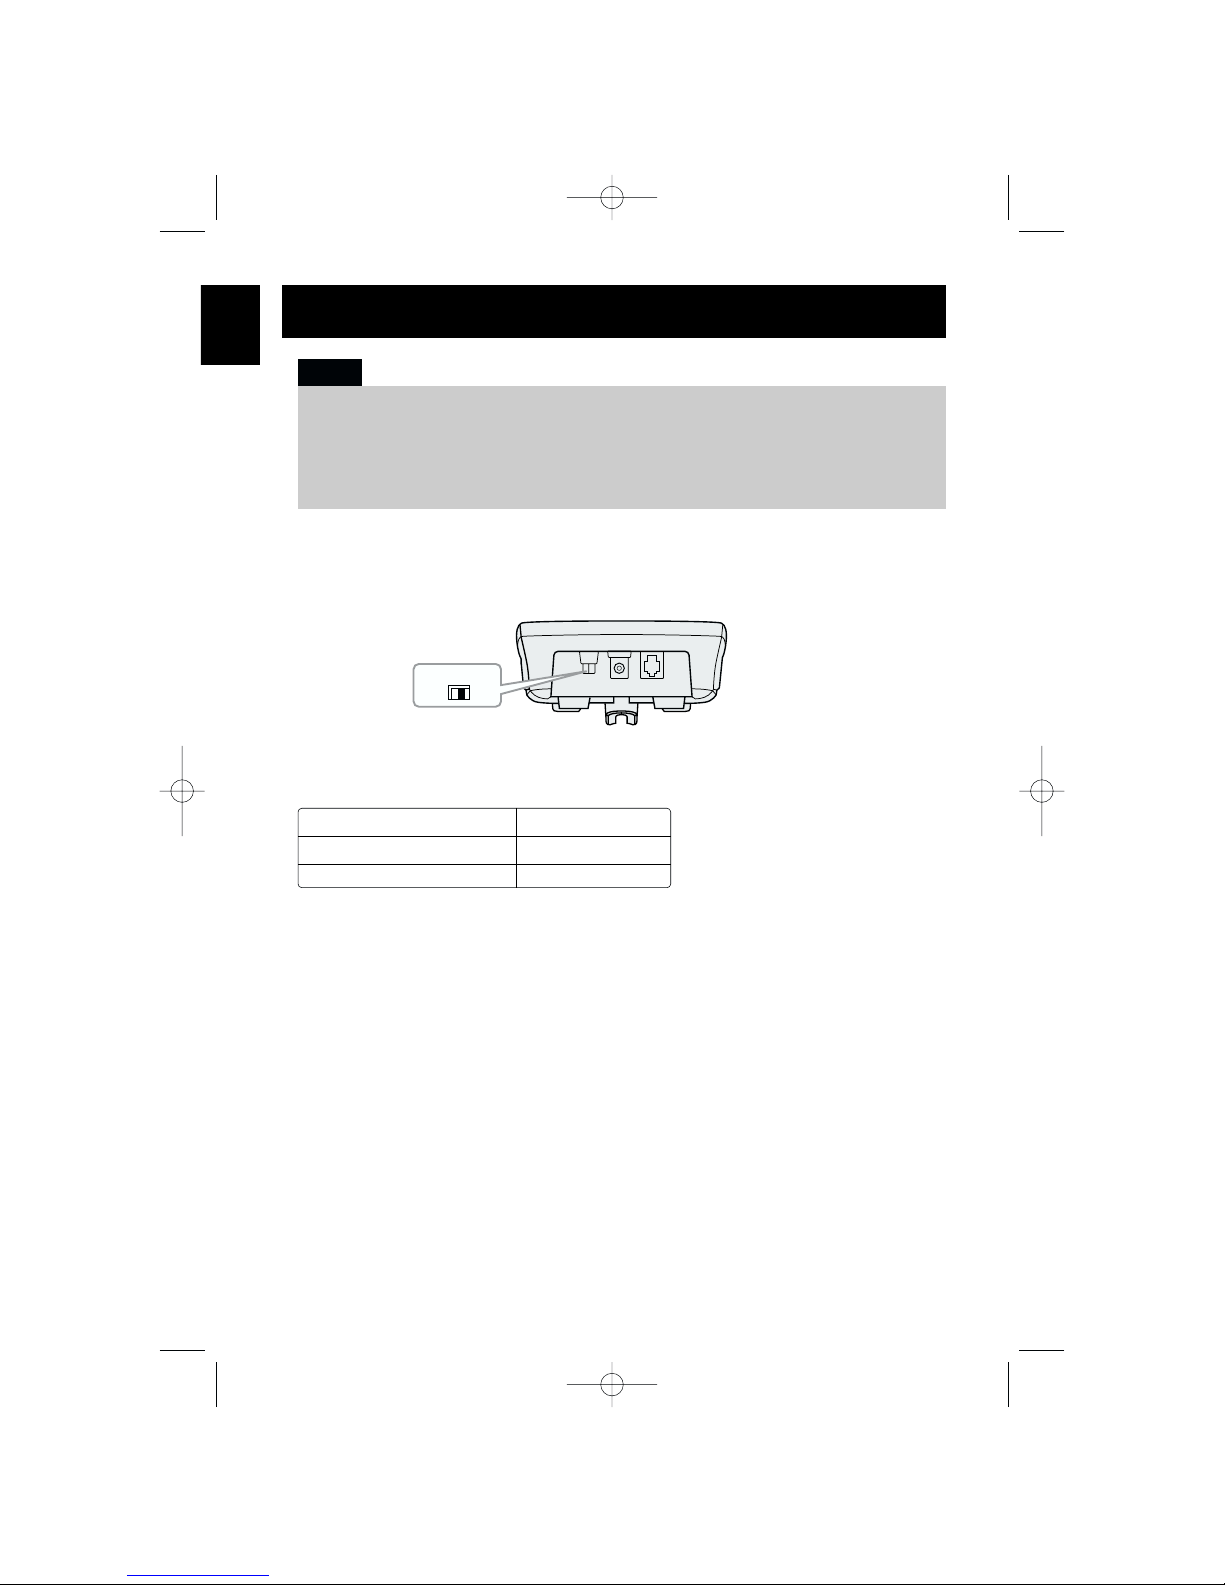
Changing the digital security code.................................................E41
Out of Range ........................................................................................E41
Installing the belt clip.........................................................................E42
Headset installation ...........................................................................E42
Note on power source.......................................................................E43
aintenance ........................................................................................E43
Troubleshooting......................................................................................E44
Technical Information...........................................................................E45
Warranty ...................................................................................................E46
Sanyo On Site (SOS) Information ....................................................E47
Getting Started
Basics
Directory
Caller ID
Features
Advanced Calling
Features
CONTENTS
Additional
Infor ation
CLT9965 ENG-5/10 5/10/01 10:25 Page 1

E2
This cordless telephone must be set up before use. Follow these steps:
Step 1 (page E3)
Unpack and check the telephone and accessories.
Step 2 (page E4 to E8)
Choose the best location to set
up the base unit.
Base unit
Step 3 (page E9 to E10)
Insert the battery pack into the handset. You
must charge the battery pack for at least
15 hours before using the phone.
Handset
About the digital security code
This cordless telephone uses a digital security code to prevent unauthorized access to
your base unit. This security code prevents other cordless handsets from making calls
through your base unit.
A random security code will be assigned automatically between your base unit and
handset when you charge the battery pack for the first time.
If you want to reset the security code, see page E41.
GETTING STARTED
Read this first
CLT9965 ENG-5/10 5/10/01 10:25 Page 2

E3
ake sure you have received the following items in the package.
• Base unit • Handset • AC adaptor
(AD 210)
• Rechargeable
battery pack
(3KR 600AAL)
• Telephone line
cord (1)
• Bottom bracket
for desktop use
and wall mounting
• This Owner's Manual
• Belt clip
Checking the package contents
GETTING STARTED
CLT9965 ENG-5/10 5/10/01 10:25 Page 3

E4
Avoid places near electrical equipment such as refrigerators, computers, TVs,
microwaves or fluorescent lamps. These may cause interference or reduce the operating
range of the cordless telephone.
Do the following steps:
• Choose the best location
• Connect the base unit
• Choose the dialing mode
• The location should be close to both a phone jack and a continuous power outlet which is
not switchable.
• Be sure there is sufficient space to raise the base antenna fully to a vertical position.
• The base can be placed on a desk, tabletop or mounted on a standard wall plate.
Notes:
Setting up the base unit
GETTING STARTED
CLT9965 ENG-5/10 5/10/01 10:25 Page 4

When connecting the power cord, make sure it does not create a trip or
fire/electrical hazard. Avoid places where it could become chafed.
E5
Connect the base unit
If you want to install the base unit
on the wall, see page E7.
To telephone outlet
To TEL LINE
To DC IN 9V
AC adaptor
(supplied)
Telephone line cord
(supplied)
3
2
To AC outlet
1
Snap the bottom bracket into the notches on the base.
2
Connect the AC adaptor to the
DC IN 9V
jack and to a standard 120-V AC wall outlet.
Then raise the antenna to a vertical position.
3
Connect the telephone line cord to the
TEL LINE
jack and to a telephone outlet.
Note:
Desktop use
GETTING STARTED
To assure proper handset charging, the bottom bracket must be attached.
Note:
1
CLT9965 ENG-5/10 5/10/01 10:25 Page 5

E6
Choose the dialing mode
Depending on your dialing system, set the TONE/PULSE switch as follows:
If your dialing system is Set the switch to
Tone TONE
Pulse PULSE
If you are not sure of your dialing system
ake a trial call with the TONE/PULSE switch set to TONE.
If the call connects, leave the switch as is; otherwise, set to PULSE.
PULSE
TONE
•Use only the supplied AD-210 AC adaptor. Do not use any other AC adaptor.
•Connect the AC adaptor to a continuous power supply.
•Place the base unit close to the AC outlet so that you can unplug the AC adaptor easily.
•If your telephone outlet is not modular, contact your telephone company for assistance.
Notes:
GETTING STARTED
CLT9965 ENG-5/10 5/10/01 10:25 Page 6

E7
Standard wall plate mounting
This phone can be mounted on any standard telephone wall plate.
1
Attach the bottom bracket to the base as
shown. ake sure all tabs snap into the
notches on the base.
2
Plug the telephone line cord to the
TEL LINE
jack and the AC adaptor to the
DC IN 9V
jack.
3
Plug the telephone line cord into the
telephone outlet.
4
Fit the AC adaptor cord into the molded
channel. Then wrap the cord around the
strain relief notch.
5
Plug the AC adaptor into a standard
120-V AC wall outlet.
6
Raise the antenna to a vertical position.
7
Align the mounting slots on the base with the
mounting posts on the wall. Push in and
down until the phone is firmly seated.
1
2 7
Mounting the base unit on a wall
GETTING STARTED
CLT9965 ENG-5/10 5/10/01 10:25 Page 7

TOP
1/8 in.
3-15/16 in.
(3 mm)
(100 mm)
E8
Direct wall-mounting
If you do not have a standard wall plate, you can still mount your phone directly to the
wall. Before doing this, consider the following:
• Avoid electrical cables, pipes, or other items behind the mounting location, that could
cause a hazard when inserting screws into the wall.
• Try to mount your phone within 10 –15 feet (3 – 4.5 m) of a working phone jack to
avoid excessive cord lengths.
• ake sure the wall material is capable of supporting the weight of the base and
handset.
• Use #10 screws with anchoring devices suitable for the wall material where the base
unit will be placed.
1
Insert two mounting screws with a minimum length
of 1-3/8 inches (35.5 mm) into the wall, 3-15/16
inches (100 mm) apart. Allow about 1/8 of an inch
(3 mm) between the wall and screwheads for
mounting the phone.
2
Refer to steps 1 through 9 on pages 7 and 8 to
mount the telephone.
8
On the base unit, pull the handset retainer out
of the slot. Rotate it clockwise 180 degrees.
9
Flip the retainer. Slide it back into the slot so
that the lip of the retainer is up and the
points down. The retainer holds the handset in
place.
Handset retainer
When the belt clip is attached onto
the handset, you can hang the
handset on the wall-mounted base
with the keypad facing inside only.
Note:
GETTING STARTED
CLT9965 ENG-5/10 5/10/01 10:25 Page 8

E9
Charge the battery pack for at least 15 hours before you start using your phone.
1
Press on the battery cover and slide the cover
down until it comes off.
2
Plug in the battery pack connector with the
correct polarity (black and red wires), then insert
the battery pack into the battery compartment.
3
Slide the battery cover on until it snaps into
place.
4
Place the handset on the base.
5
ake sure that the
CHARGE/IN USE
indicator
lights. If the indicator does not light, check to
see that the AC adaptor is plugged in and that
the handset makes good contact with the base
charging contacts.
CHARGE/IN USE
BLACK
RED
Use only the battery pack supplied or the specified
Sanyo types with your phone.
Type: SANYO 3KR-600AAL or SANYO/GE GES-PCF01
Note:
Preparing the battery pack
GETTING STARTED
CLT9965 ENG-5/10 5/10/01 10:25 Page 9

E10
Battery use time (per charge)
With fully charged battery:
• Six hours continuous use.
• Ten days when the handset is in the standby mode.
Cleaning the battery contacts
To maintain a good charge, it is important to clean the battery contacts with a dry cloth
on the handset and base unit about once a month.
Do not use any liquids or solvents.
GETTING STARTED
Note:
Repeated short chargings may cause memory effect
in the battery pack, which reduces use time of the
battery. It is recommended not to replace the
handset to the base unit after each call.
Note:
While Voice Mail is displayed the battery discharges faster than
in normal standby mode. To conserve the battery charge check
your messages regularly to clear the display. (See page E34)
When the battery charge level becomes low
When the voltage of the battery pack in the handset is
very low and needs to be charged, the phone is
programmed to stop functioning in order to save power.
f the phone is not in use,
Low Battery
flashes and none of the keys will operate. f
the phone is in use,
Low Battery
flashes and the handset beeps. Complete your
conversation as quickly as possible and return the handset to the base unit for charging.
Low Battery
CLT9965 ENG-5/21 5/21/01 13:05 Page 10

Other Operations
When you want to: Do this:
Adjust the earpiece volume Press or during the call.
Temporarily switch to tone dialing Press . The subsequent numbers
(When the base is set to pulse mode) dialed will be sent as tone dialing.
Enter a pause in the dialing sequence Press REDIAL/PAUSE. E11
Dialing from standby mode
1
Enter the phone number. (Up to 32 digits.)
Example
:Enter 9057609944
2
Press
TALK/END
or
SPEAKER
.
Talk
flashes in the display.
The volume setting is displayed. For example, if
the volume is set to high, the display shows:
9057609944
Talk
9057609944
Talk
<High>
BASICS
• Press DELETE/SCAN if you enter a wrong number at step 1.
•Press and hold DELETE/SCAN to delete all numbers at once.
•You must press a key within 20 seconds or the phone will return to standby.
Notes:
Making a call
Press TALK/END Press SPEAKER
Talk
9057609944
Talk
<High>
3
The number is dialed.
The call time display
appears about 5
seconds
after line connection.
4
To hang up,
press
TALK/END
or
SPEAKER
(or place the handset on the base).
The call time display remains for about 5 seconds after disconnection.
Talk 0:00
9057609944
5:15
Talk 0:17
9057609944
CLT9965 ENG-5/10 5/10/01 10:25 Page 11

Dialing from talk mode
1
Press
TALK/END
or
SPEAKER
.
Talk
flashes on the display.
The volume setting is displayed.
For example, if the volume is set to high, the display shows:
The call-time display appears.
2
Dial the phone number.
Example
:Enter 9057609944
3
To hang up, press
TALK/END
or
SPEAKER
(or place the
handset in the base)
.
The call time display remains for about
5 seconds after disconnection.
E12
Talk
Talk
<High>
Talk 0:17
9057609944
10:03
BASICS
Note:
Repeated short chargings may cause memory effect in the battery
pack, which reduces use time of the battery. It is recommended
not to replace the handset to the base unit after each call.
• Press SPEAKER during a call to switch to HandsFree
conversation using the handset speakerphone.
• Press SPEAKER again to end the call.
• Press TALK/END to return to normal conversation using
the earpiece speaker.
HandsFree Speakerphone in the Handset
Talk
Talk
<High>
Talk 0:17
9057609944
Press TALK/END Press SPEAKER
CLT9965 ENG-5/10 5/10/01 10:25 Page 12

E13
1
The phone rings.
Inco ing call
appears.
2
Press
TALK/END
.
Talk
, the call time display and the
volume setting appear. You can also press
SPEAKER
to
answer the call.
If you subscribe to Caller ID Service, the display may show
the caller’s name/number. (See page E24)
3
Talk with the caller.
4
To hang up, press
TALK/END
or
SPEAKER
.
The call time display remains for about
5 seconds after disconnection.
Inco ing Call
Talk 0:02
Talk 0:00
<Nor al>
5:15
Any key answer when ringing
When the handset is off the base, press any handset key to answer the incoming call.
AutoTalk when ringing
When the AutoTalk setting is on, you can simply lift the handset from the base to answer
the phone. See “Setting Caller ID options” on page E24 for more details.
Note: You must subscribe to Call Waiting service to use this feature.
When a call is received during a telephone call already in progress, you hear a beep.
Press CALL ID/FLASH to switch to the new call.
If you also subscribe to Caller ID on Call Waiting (Visual Call Waiting), you will see the
name and number of the second caller. (See page E32.)
Receiving a call
Call Waiting
BASICS
Press TALK/END Press SPEAKER
Talk
<Nor al>
Talk 0:02
CLT9965 ENG-5/10 5/10/01 10:25 Page 13

E14
Ringer volume
In the standby mode, press CALL REVIEW/
VOLUME or on the handset to set
the handset ringer volume.
The phone has two ringer tones, each with
two volume levels.
Ringer A High
Ringer A Low
Ringer B High
Ringer B Low
Scanning
Lighted keypad
Adjusting the ringer and earpiece volume
BASICS
Your phone automatically selects the clearest possible channel every time you
receive or place a call. Should you wish to switch channels during a call, the handset
provides a DELETE/SCAN button.
The dialing keypad and the TALK/END key on the handset light up when you press
any key on the keypad. The light turns off if no key is pressed within 5 seconds.
Ringer off
In the standby mode or when you set the ringer
volume, press and hold CALL REVIEW/VOLUME
till “Ringer off” appears.
To resume the Ringer, press CALL REVIEW/VOLUME or .
Ringer Off
Earpiece volume/handset speaker volume
Pressing CALL REVIEW/VOLUME or during a
telephone call will change the earpiece volume/handset
speaker volume. This setting will remain in effect even after you
hang up the telephone.
When you press in Loud mode or press in Normal mode, an error tone sounds.
<High>
<Mediu >
<Loud>
<Nor al>
CLT9965 ENG-5/10 5/10/01 10:25 Page 14

TALK/END
E15
The last three phone numbers dialed can be quickly redialed.
Redialing from standby mode
1
Press
REDIAL/PAUSE.
The phone number that was last dialed appears in the
display.
2
Press
REDIAL/PAUSE
again.
Each press of
REDIAL/PAUSE
will display one of the
last three numbers dialed.
3
Press
TALK/END
or
SPEAKER
.
Talk
appears in the
display, then the volume setting is displayed.
4
Then the selected number is dialed. The call time
display appears 5 seconds after line connection.
5
To hang up, press
TALK/END
or
SPEAKER
(or place the
handset on the base). The call time display remains for
about 5 seconds.
Most
recent
•If the dialed number exceeds 32 digits, only the first 32 digits are retained for redialing.
•If no numbers have been dialed using this phone, you hear an error beep and no redialing
will be made.
Notes:
Redialing a call
BASICS
<Redial1>
9057609944
REDIAL/PAUSE
REDIAL/PAUSE
REDIAL/PAUSE
<Redial2>
2145551234
<Redial3>
9725554321
CLT9965 ENG-5/10 5/10/01 10:25 Page 15

E16
Redialing from talk mode
1
Press
TALK/END
or
SPEAKER
.
Talk
appears on the display.
2
Press
REDIAL/PAUSE
.
The last number dialed will be displayed. Only the last
number dialed can be accessed while in talk mode.
3
To hang up, press
TALK/END
or
SPEAKER
(or place the
handset on the base).
Talk
Talk
<High>
•Only the last number dialed can be accessed after TALK/END
has been pressed.
•If no numbers have been dialed using this phone, you hear an
error beep and no redialing will be made.
Notes:
BASICS
CLT9965 ENG-5/10 5/10/01 10:25 Page 16
Table of contents
Other Sanyo Cordless Telephone manuals

Sanyo
Sanyo CLT-5810 User manual

Sanyo
Sanyo CLT-9960 User manual

Sanyo
Sanyo CLT-D6614 User manual

Sanyo
Sanyo CLT-E22 User manual

Sanyo
Sanyo CLT-9902 User manual

Sanyo
Sanyo CLT-E23 User manual

Sanyo
Sanyo CLT-E30 User manual

Sanyo
Sanyo CLT-9660 User manual

Sanyo
Sanyo CLT-5812 User manual

Sanyo
Sanyo CLT-2425 User manual

Sanyo
Sanyo CLT-E30 User manual

Sanyo
Sanyo CLT-5880AUS User manual

Sanyo
Sanyo CLT-5200AUS User manual

Sanyo
Sanyo CLT-538 User manual

Sanyo
Sanyo CLT-2410 User manual

Sanyo
Sanyo CLT-2419 User manual

Sanyo
Sanyo CLT-2430 User manual

Sanyo
Sanyo LNS-W10 - Wide-angle Zoom Lens User manual

Sanyo
Sanyo CLT-2410 User manual

Sanyo
Sanyo CLT-9950 User manual