1Using the remote 5Download the Roku mobile app (optional)
The free Roku mobile app allows you to use your mobile device as a fully functioning remote with voice search and
keyboard.
• Download the Roku mobile app on your smartphone or tablet through Google Play or Apple App Store.
• Simply search for “Roku app” and choose the “Roku” app provided by Roku Inc.
• Follow the on-screen prompts and you are on your way.
CCaution:
Funai Corporation Inc. does not warrant access to the portal or to any of the services, content, software
and advertising. Funai Corporation Inc. may, in its sole discretion, add or remove access to any specific
services, content, software and advertising at any time. Although Funai Corporation Inc. will strive
to provide a good selection of services, content or software, Funai Corporation Inc. does not warrant
continued access to any specific services, and content or software.
Funai Corporation Inc. does not warrant Wireless Screencasting compatibility with all source devices such
as smartphones, tablets, laptops, etc. due to large variability in hardware, firmware, drivers, software and
implementation of wireless casting applications on these source devices. Although Funai Corporation Inc.
will strive to enhance compatibility and performance across a range of source devices, Funai Corporation
Inc. does not warrant compatibility with specific source devices.
6Connect antenna or cable (optional)
With the tuner built-in you can connect your TV to antenna or cable (free cable only, does not work with cable TV
using a set-top box) and enjoy over-the-air entertainment.
Home
My Feed
Search
Streaming Channels
Settings
Game console AntennaCable box
Antenna TV tile
1. When the setup wizard is complete, select the Antenna TV
tile from the home screen.
2. Follow the on-screen instructions.
3. Whenever you want to watch local broadcast TV, select this
tile.
• User interface may vary.
CTip:
While in the antenna TV input, you can use your remote to access additional features.
• D-Pad left: Pressing this key brings up the smart guide, a list of antenna TV channels.
• Play/Pause: Pause live TV for up to 90 minutes when a 16 GB USB drive is connected.
• RWD scan and FWD scan: Allows you to fast forward and rewind while using the Live TV Pause feature.
• D-Pad left and right: Allows you to scroll through the paused Live TV and select scenes.
For complete instructions, please visit www.sanyo-av.com to download the full version of the User manual.
This product has been manufactured by and is sold under the responsibility of Funai Corporation Inc., and Funai
Corporation Inc. is the warrantor in relation to this product.
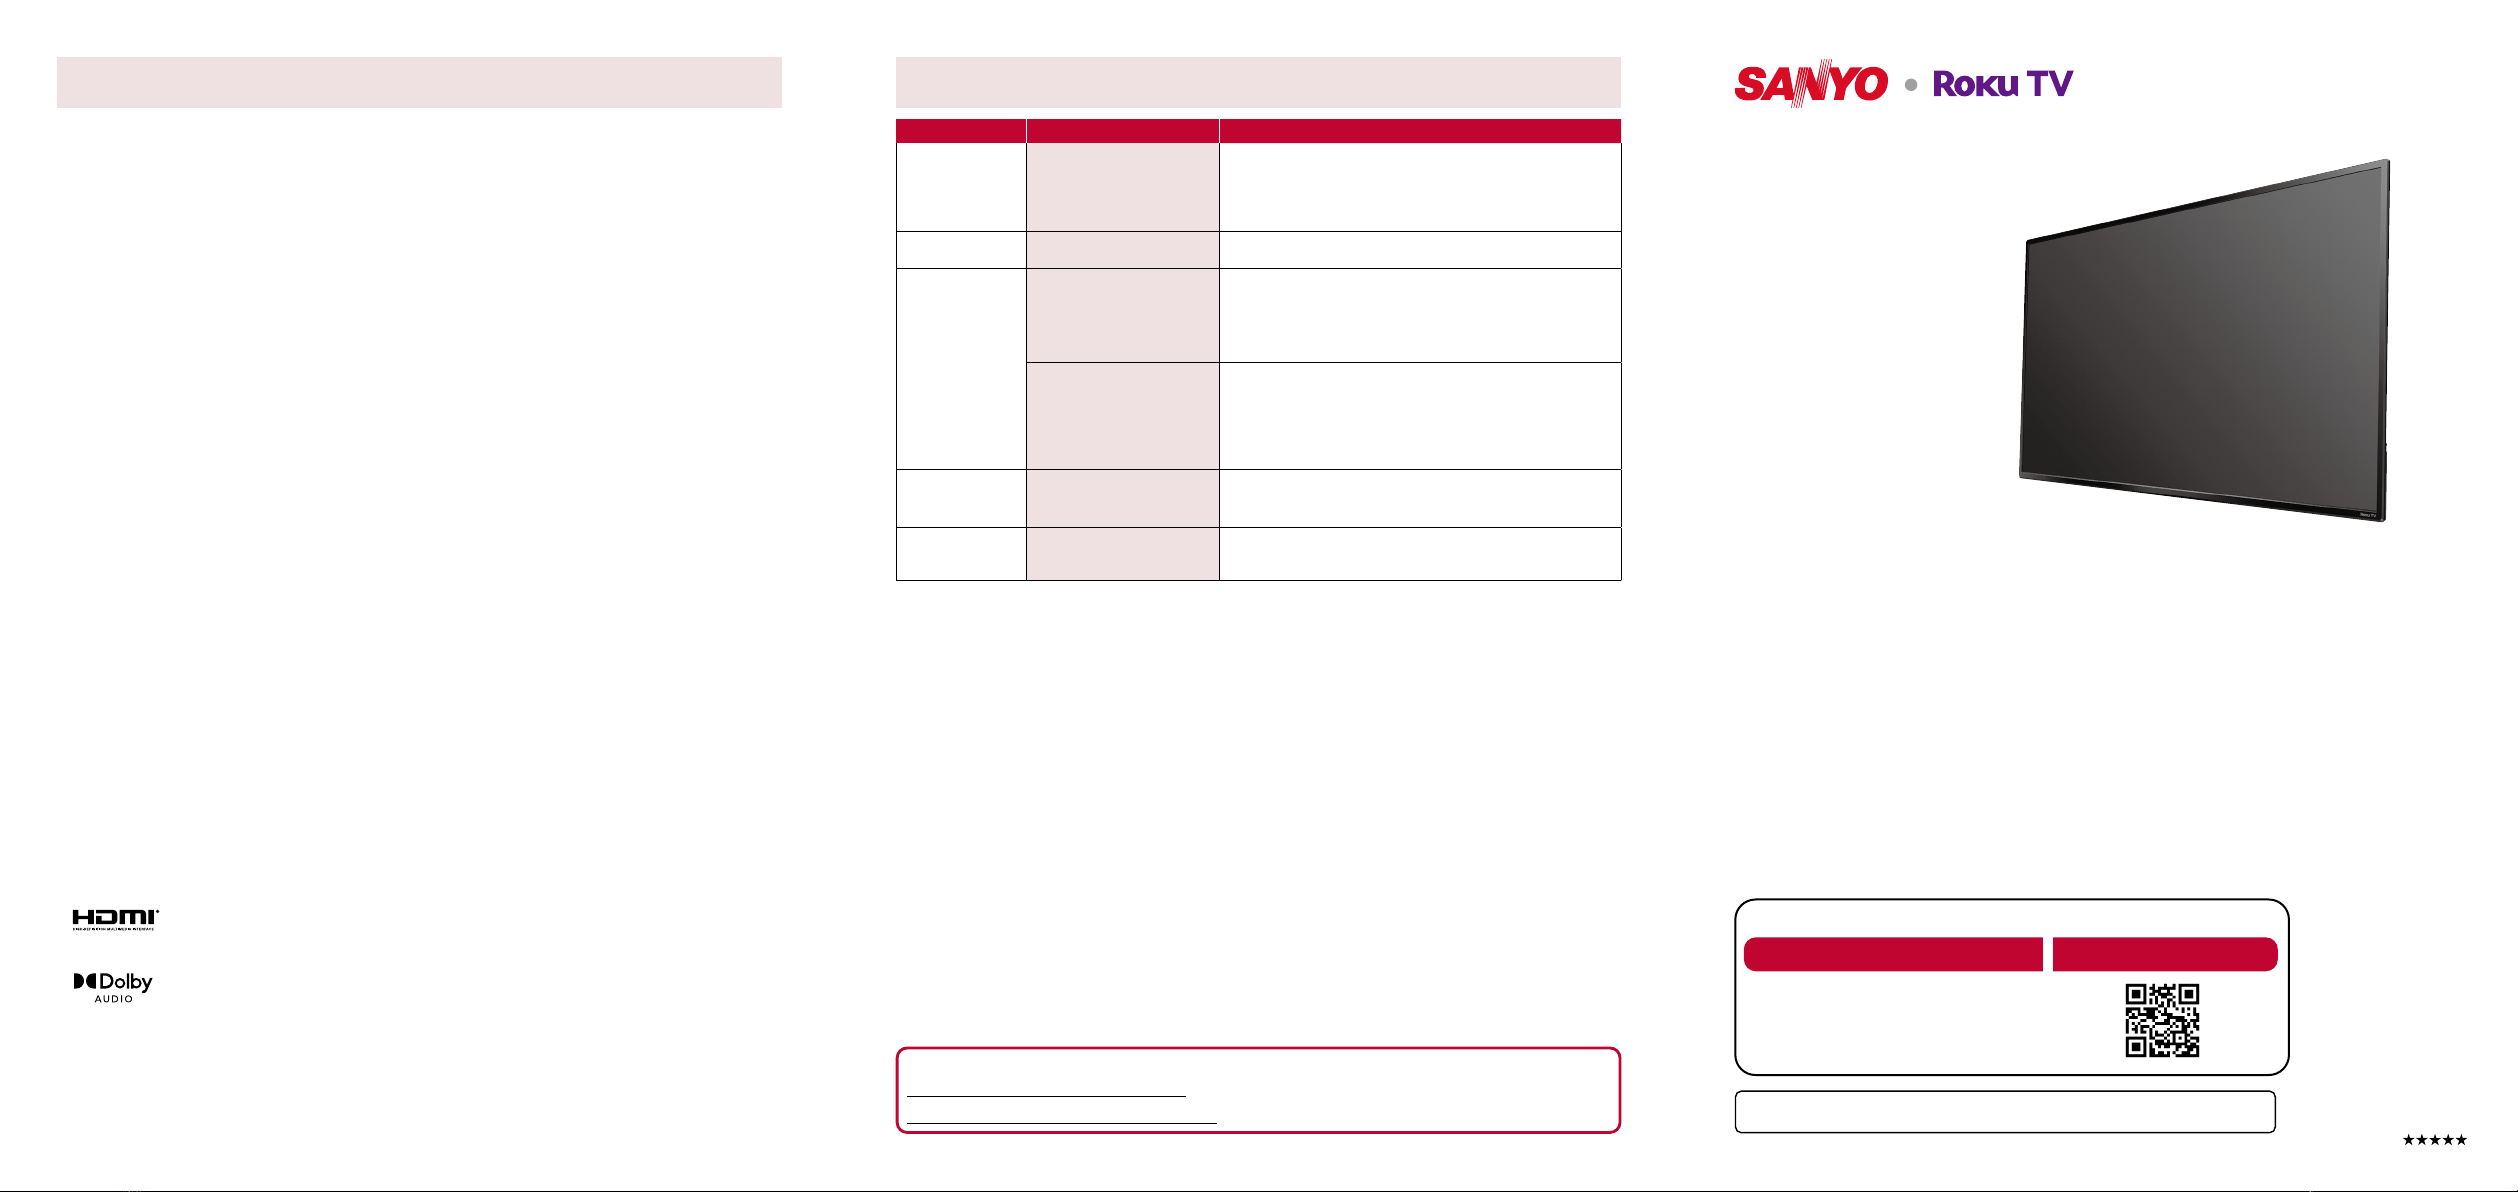
Roku, Roku TV and the Roku logo are the trademarks or registered trademarks of Roku, Inc. All other trademarks
and logos herein are the property of their respective owners.
Any liability related to SANYO products, including design and quality, is the sole responsibility of Funai Electric Co.,
Ltd. and Funai Corporation, Inc. Please contact Funai Corporation, Inc. for any questions or claims related to SANYO
products:sanyo-av.com
Specifications are subject to change without prior notice.
© 2021 Funai Electric Co., Ltd.
Power your TV remote by inserting the batteries carefully matching (+) and (-) indicated inside the battery
compartment. If your remote gets warm / hot during use, discontinue use and contact customer support
immediately at www.sanyo-av.com
a c
AAA (1.5 V)x 2
b
This remote control is designed to be incredibly intuitive for watching TV and navigating on-screen menus.
Here are some buttons you should know about.
1
2
3
6
7
49*
8
510
11
12
13
1Power
Turn TV on and off
2Back
Return to previous screen
3OK
Select an option from a menu
4Instant replay
Replay the last few seconds of streaming video
5RWD scan
Rewind streaming video, scroll left one page at a time
6Home
Return to Roku Home screen
7Directional keypad
Move up or down; The left arrow will bring up the antenna TV channel
list or Smart Guide.
The left and right arrow are used for Live TV Pause to select scenes.
8Sleep
Set the sleep timer
9Options
Access to picture settings, move streaming channel icons and more
10 FWD scan
Fast forward streaming video, scroll right one page at a time. This
button is also used to fast forward paused live TV using Live TV Pause.
11 Play / Pause
Start or pause playback. This button is also used to activate and use
the Live TV Pause feature when a 16 GB USB drive is attached to the
T V.
12 Featured channel shortcut
Lets you directly access featured channels
13 Volume / Mute
Increase / Decrease volume and mutes the TV sound
* The gives you easy access to picture settings, display options and more. Try it on every screen.
2Prepare to activate your smart TV
What you need (not included)
• Wireless router
(needed to connect your TV to the
Internet)
• Internet connection
(needed for streaming)
• Computer, tablet, or smartphone
(needed for setup)
• Roku account
(needed to access entertainment across
thousands of streaming channels)
For additional support, please see online owner’s manual at www.sanyo-av.com
Key things to know: A paid subscription or other payments may be required for some streaming channel content.
Channel availability is subject to change and varies by country.
Your Roku account
During guided setup, you will be prompted to create your Roku account online. See more information below.
• Roku accounts are free, and while a valid credit card number is not required to create your account, providing
your credit card information makes renting and purchasing entertainment from the Roku Channel Store fast and
convenient.
• If you choose to save a payment method, you will be able to seamlessly rent content and subscribe to services
without having to enter your credit card information each time.
• A unique PIN can be added to the account to prevent unauthorized purchases.
CTip:
Roku does not charge for activation support – beware of scams.
3Plug in and turn on TV
Connect the AC power cord to the AC outlet. Press the power button on the TV’s remote.
4Follow the on-screen instructions
Language
English
Deutsch
Español
Français
Let's get started
Set up environment
Set up for home use
Set up for store use
1. Once your Roku TV powers on, follow the on-screen instructions. Your Roku TV will walk you through initial setup and
help connect to your preferred wireless network.
2. Your TV will automatically detect wireless networks in your area. Have your network name and password handy and
follow the easy on-screen instructions.
3. Once you complete guided setup, your TV will automatically update with the latest software. This can take a few
minutes to update.
Your new SANYO Roku TV automatically receives regular software updates in the background when it’s connected to
the Internet. This allows it to give you a better and better experience over time.
[Infrared sensor]
The location of the IR sensor may vary
depending on the model.
or or


 User manual")