8 Installation
4. Installation
4.1 Unpacking
The filter holder and some of its accessories have a protective covering for
transportation.
t Carefully remove blind plugs, adhesive tape and similar materials.
t Remove the transport blocks on which the equipment is secured.
t Ensure that accessories and the torque wrench are ready for installation.
4.2 Installation Location
The work surface must be big enough for the equipment required for the
fermentation process. It must be easy to clean and, where relevant, to disinfect.
t Ensure that the setup surface is dimensioned in such a way that the device is easily
accessible for installation and cleaning.
t Ensure that the device is level.
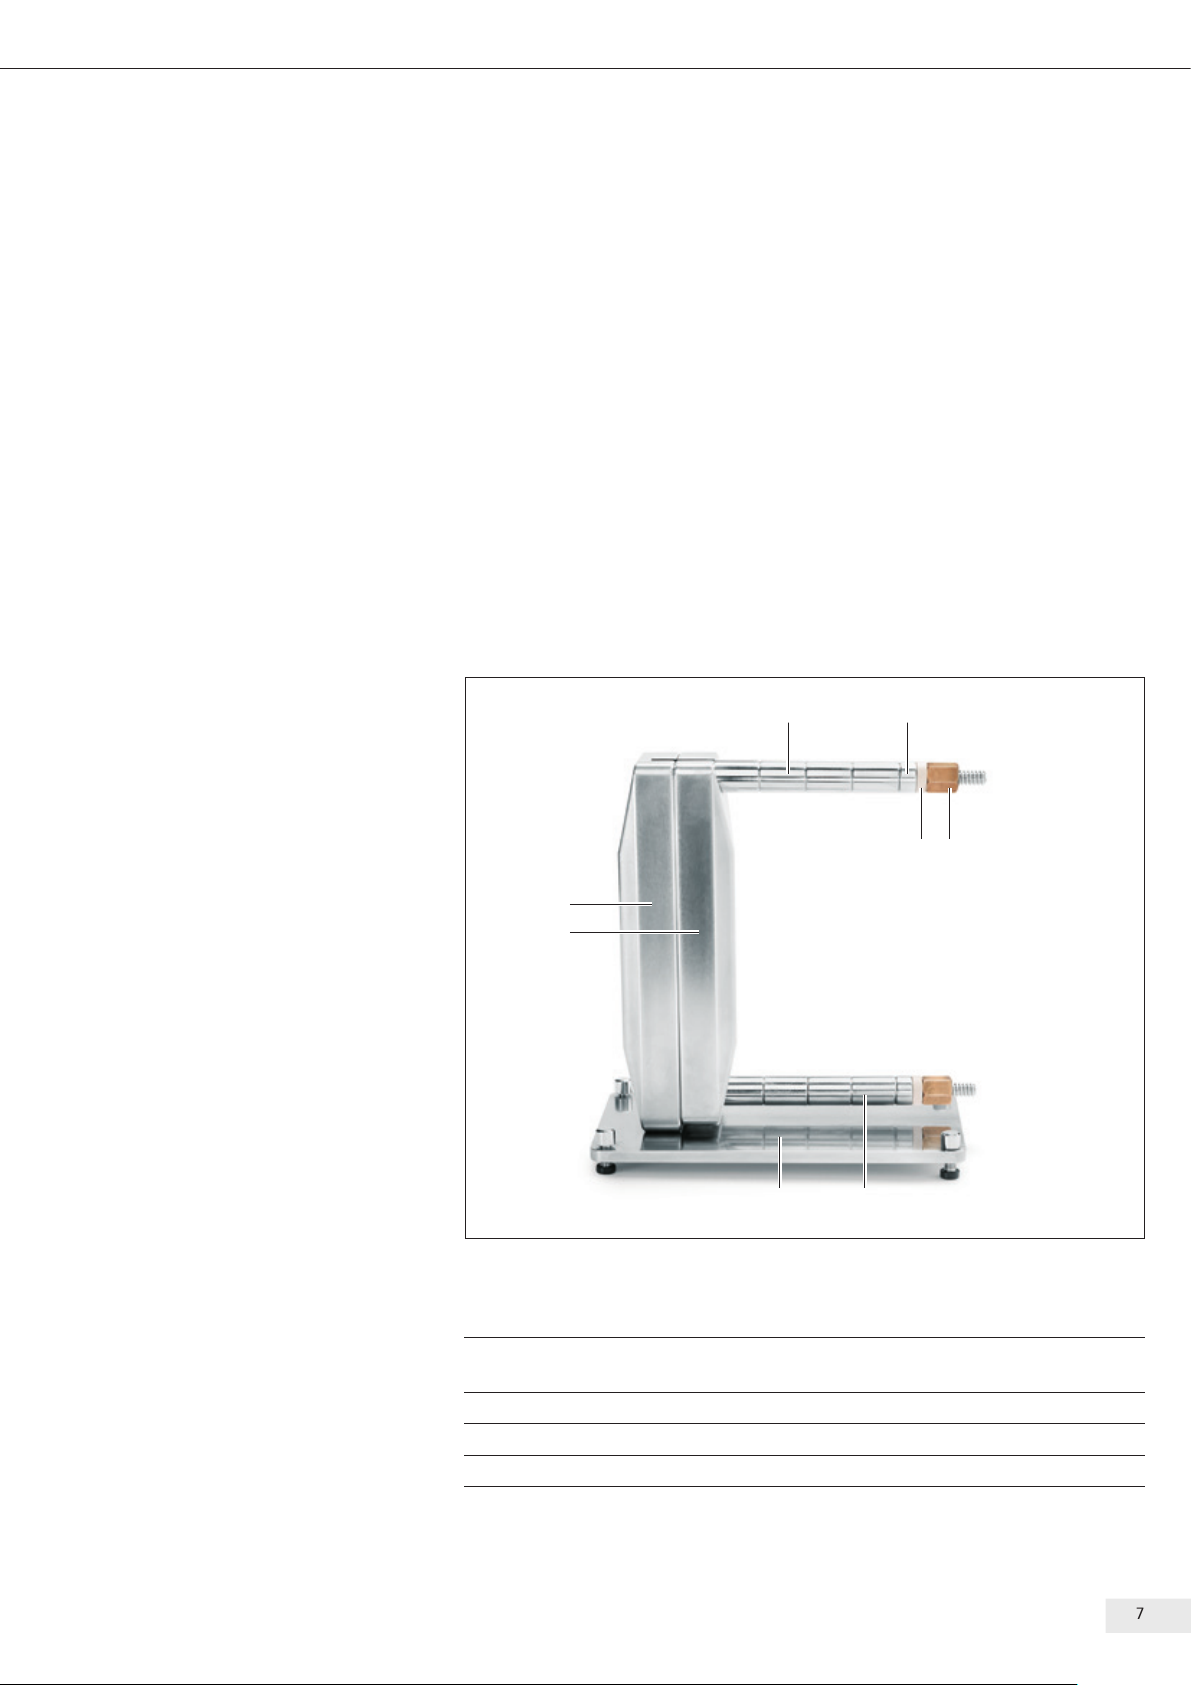
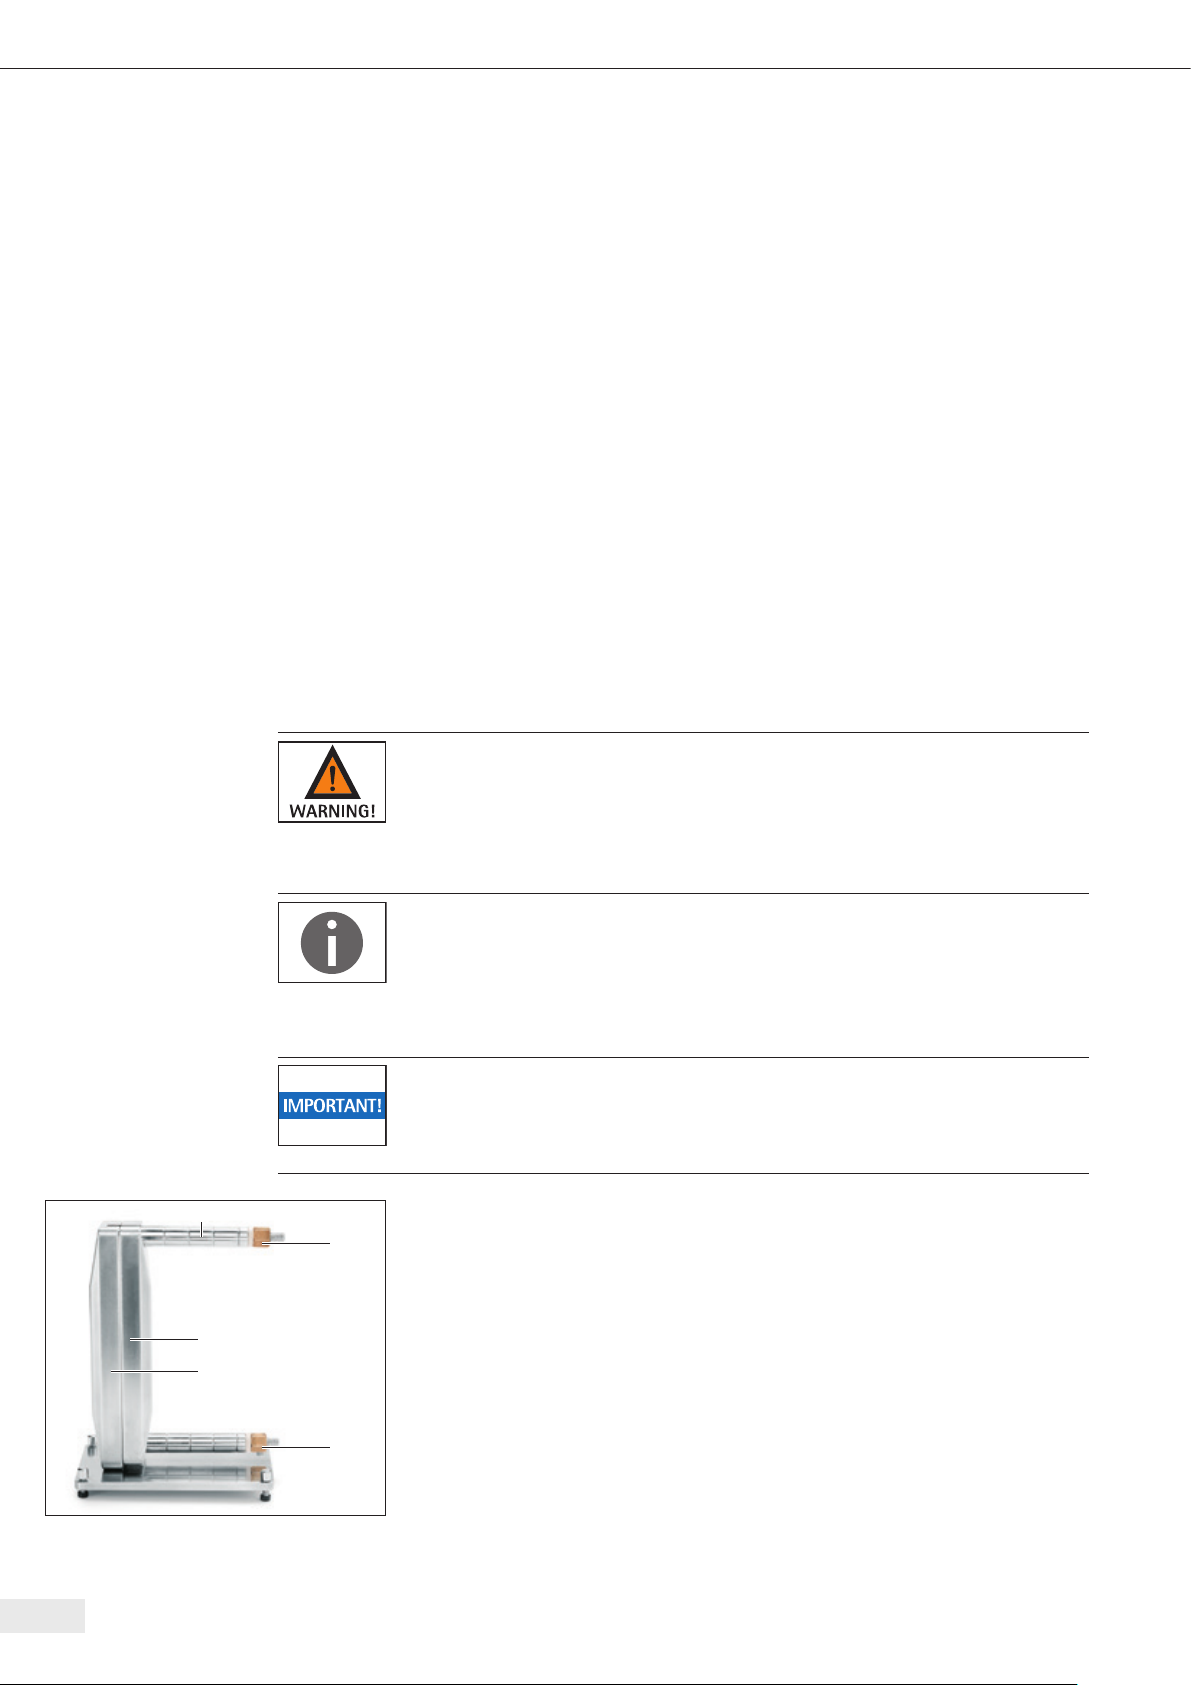
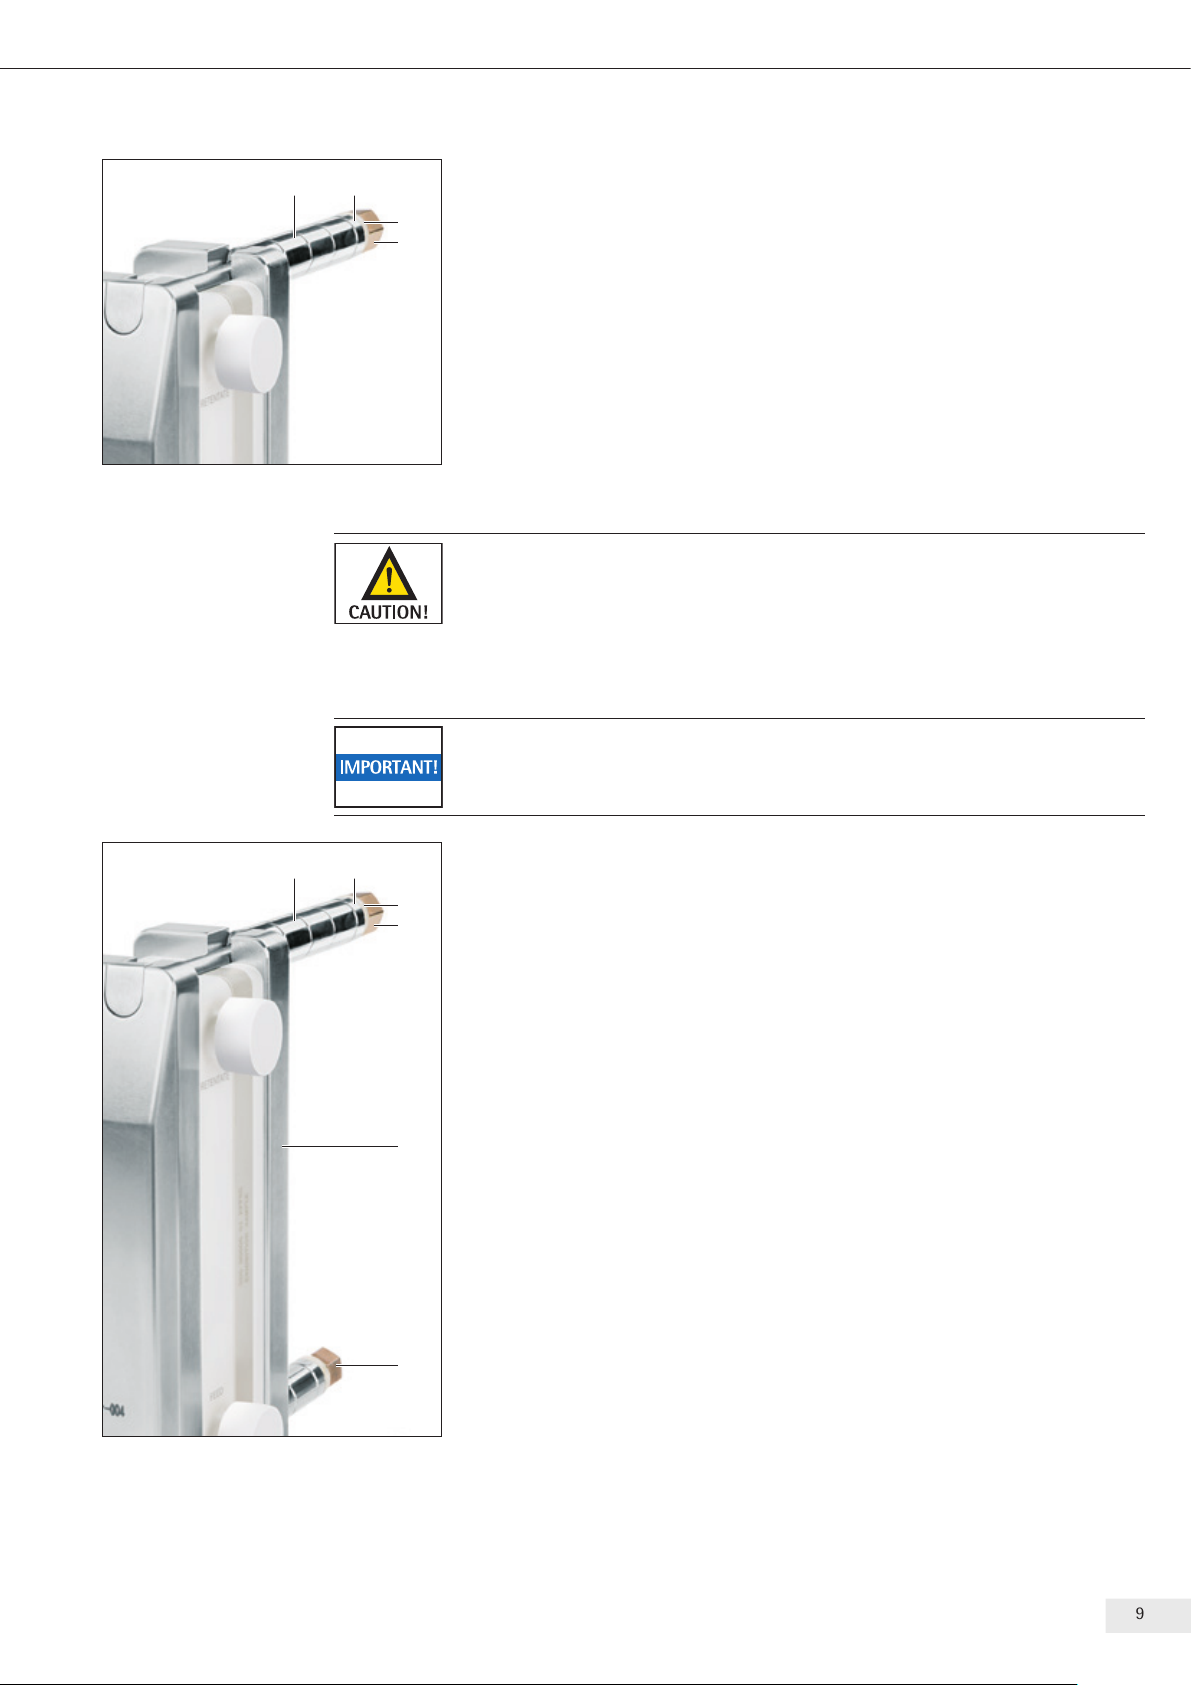
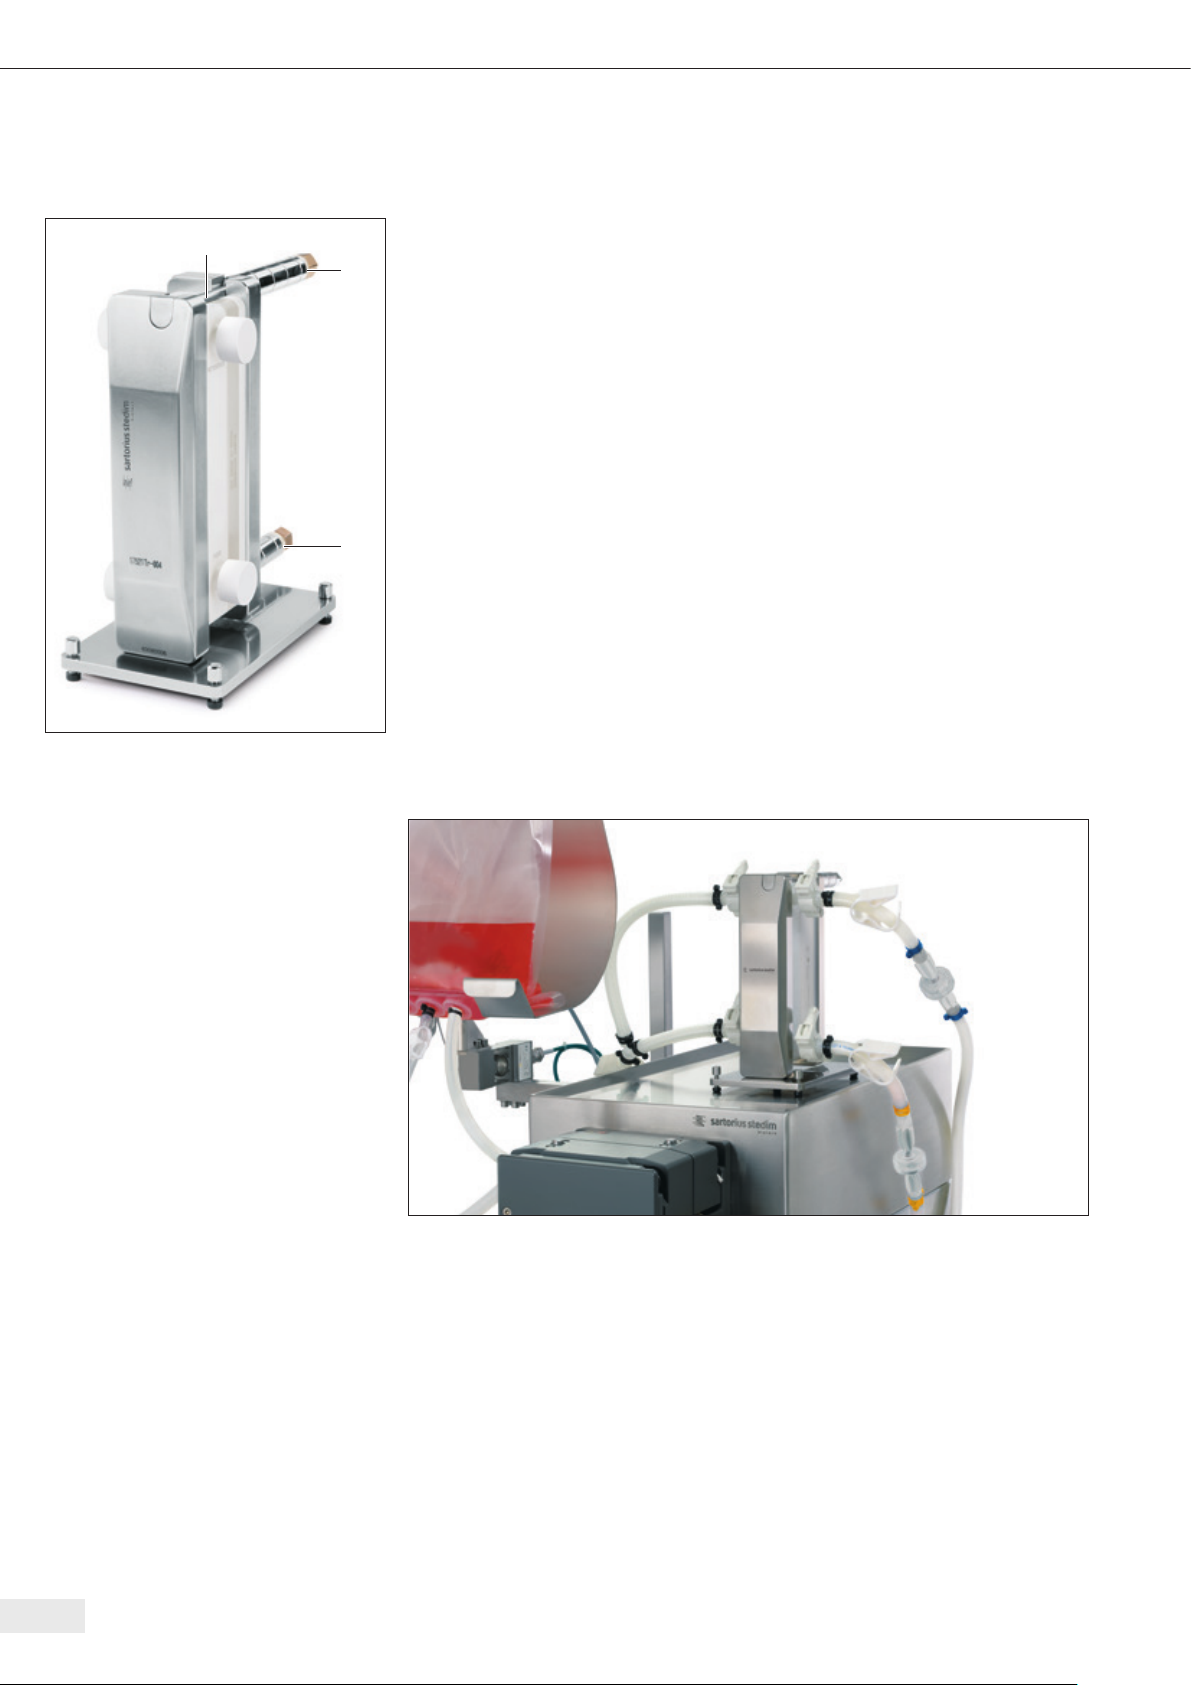
4.3 Inserting the Cassette
Danger of injury due to improper tensioning of the cassettes!
When tensioning the crossflow filter elements (TFF), it is imperative that the required
tightening torque be maintained. Deviating tightening torques can lead to severe
injuries or destruction of the filter cassette itself.
− You will find the required tightening torques in the documentation for the
crossflow filters (TFF).
The following tightening torques are recommended for devices with bronze
tensioning nuts, trapezoidal threads and PEEK plain washers (July2014). Please note
that this information is only given as general recommendations for the Sartorius
cassettes listed below.
− Ultrafilter crossflow cassette: Tightened to a torque of 17Nm
− Hydrosart microfilter crossflow cassette: Tightened to a torque of 25Nm
Keep the thread of the pull rods and tensioning nuts clean and, above all,
free of grease!
− If the threading becomes contaminated with grease or dirt, the tensioning forces
will be affected and the cassettes may be destroyed.
t If appropriate, remove used cassettes [ÆChapter “4.4 Removing Cassettes”, page 10].
t Unpack the cassette.
t Lift the top pull rod (1) upwards. For this purpose, unscrew the tensioning nut (2)
on the top pull rod.
t Unscrew the lower tensioning nut (3) far out enough for the cassette to fit into
the filter holder and push the clamping plate (5) towards the direction of the
tensioning nuts.
t From above, lower the cassette between the product plate (4) and clamping
plate(5) until the slot of the cassette is seated on the base pull rod.
− Ensure correct orientation of the cassettes connections.
t Hand-tighten the lower tensioning nut (3) slightly to fasten the cassette in this
position.
1
2
3
4
5
(Figure similar)