Product Description
1.Guide
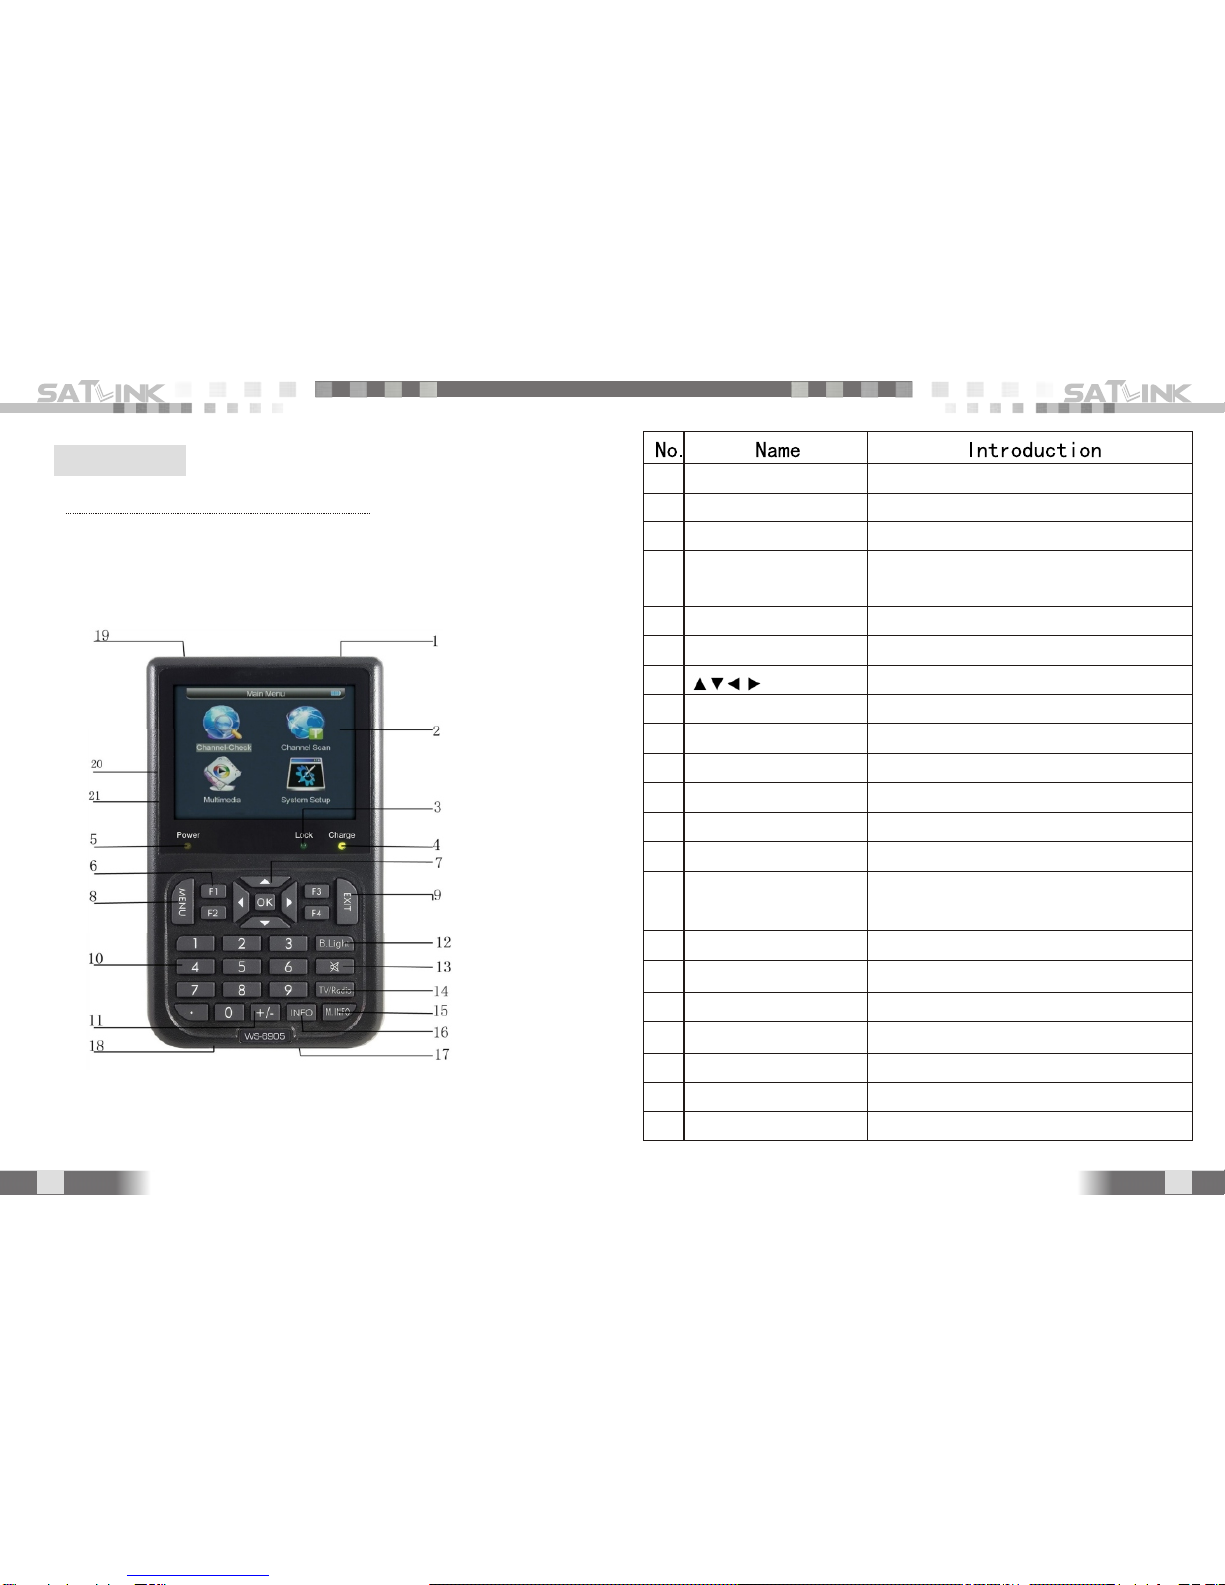
1.1 Face Panel& Button
1.2 Power On/Off
1.3Power Supply &Battery
2. Menu
2.1 Channel Scan
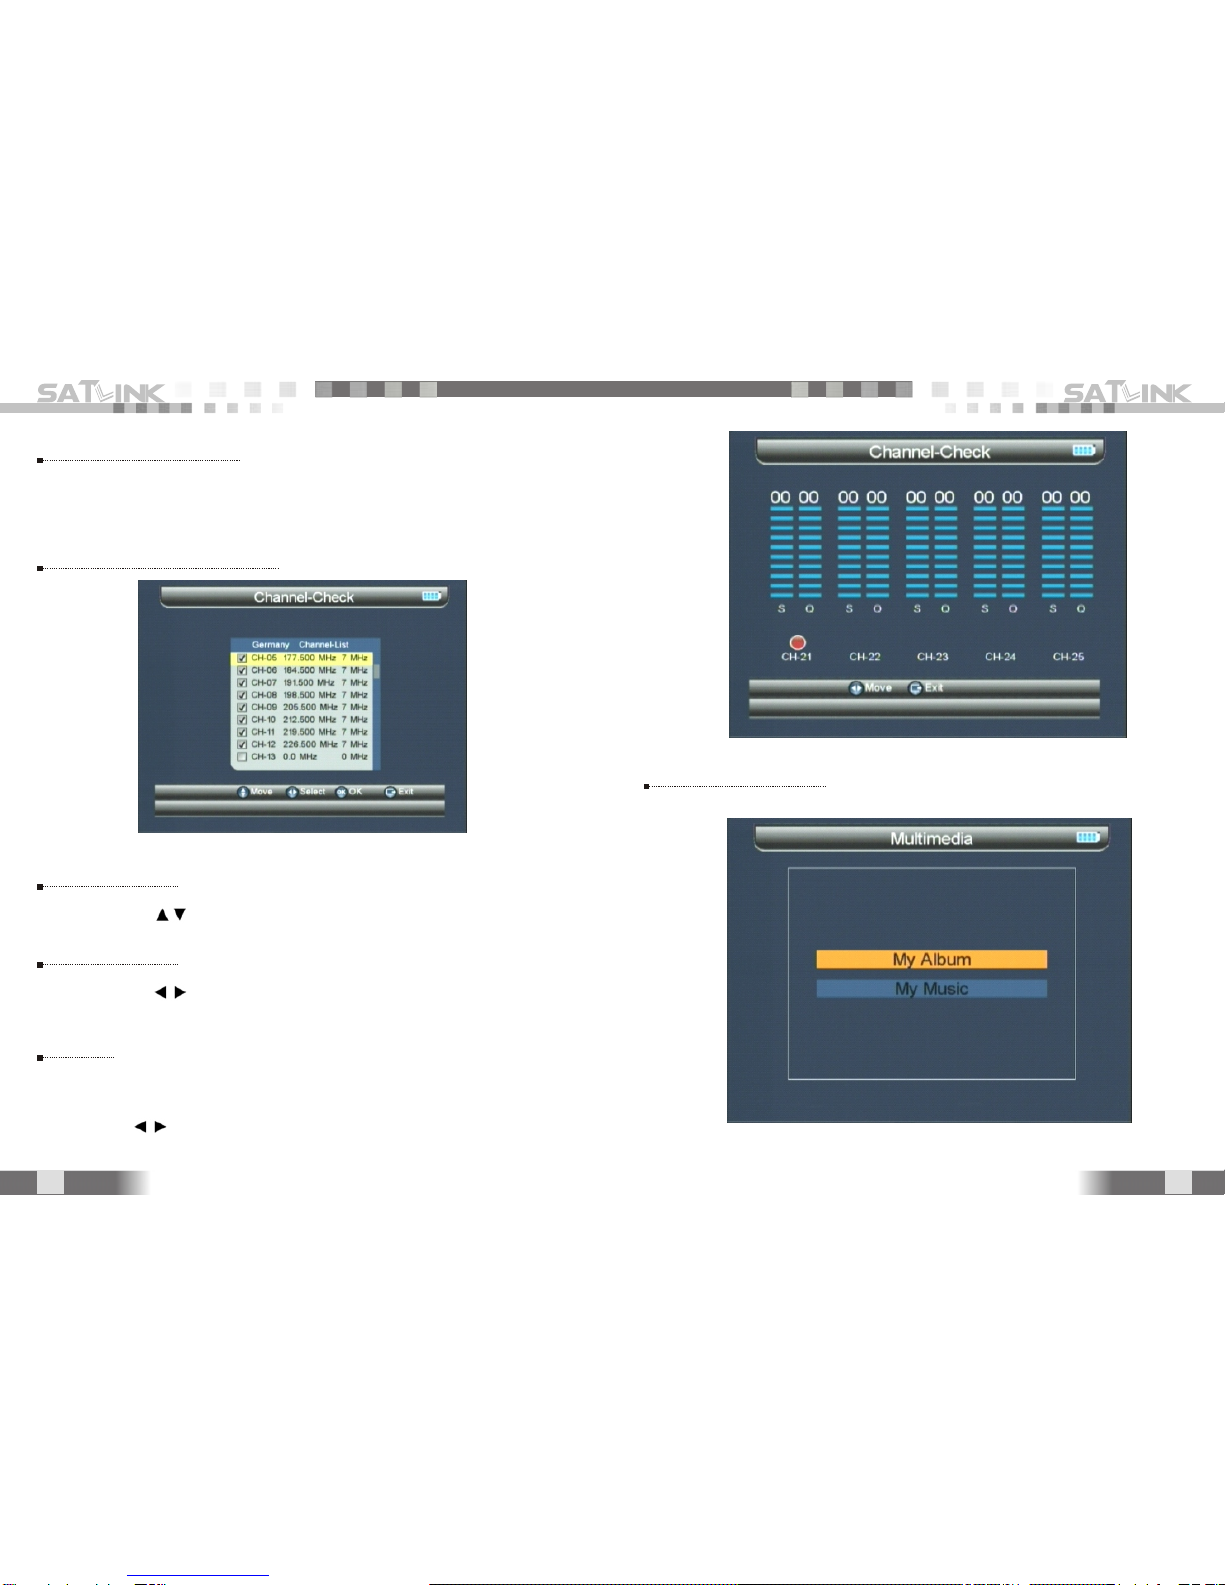
2.2 Channel Check
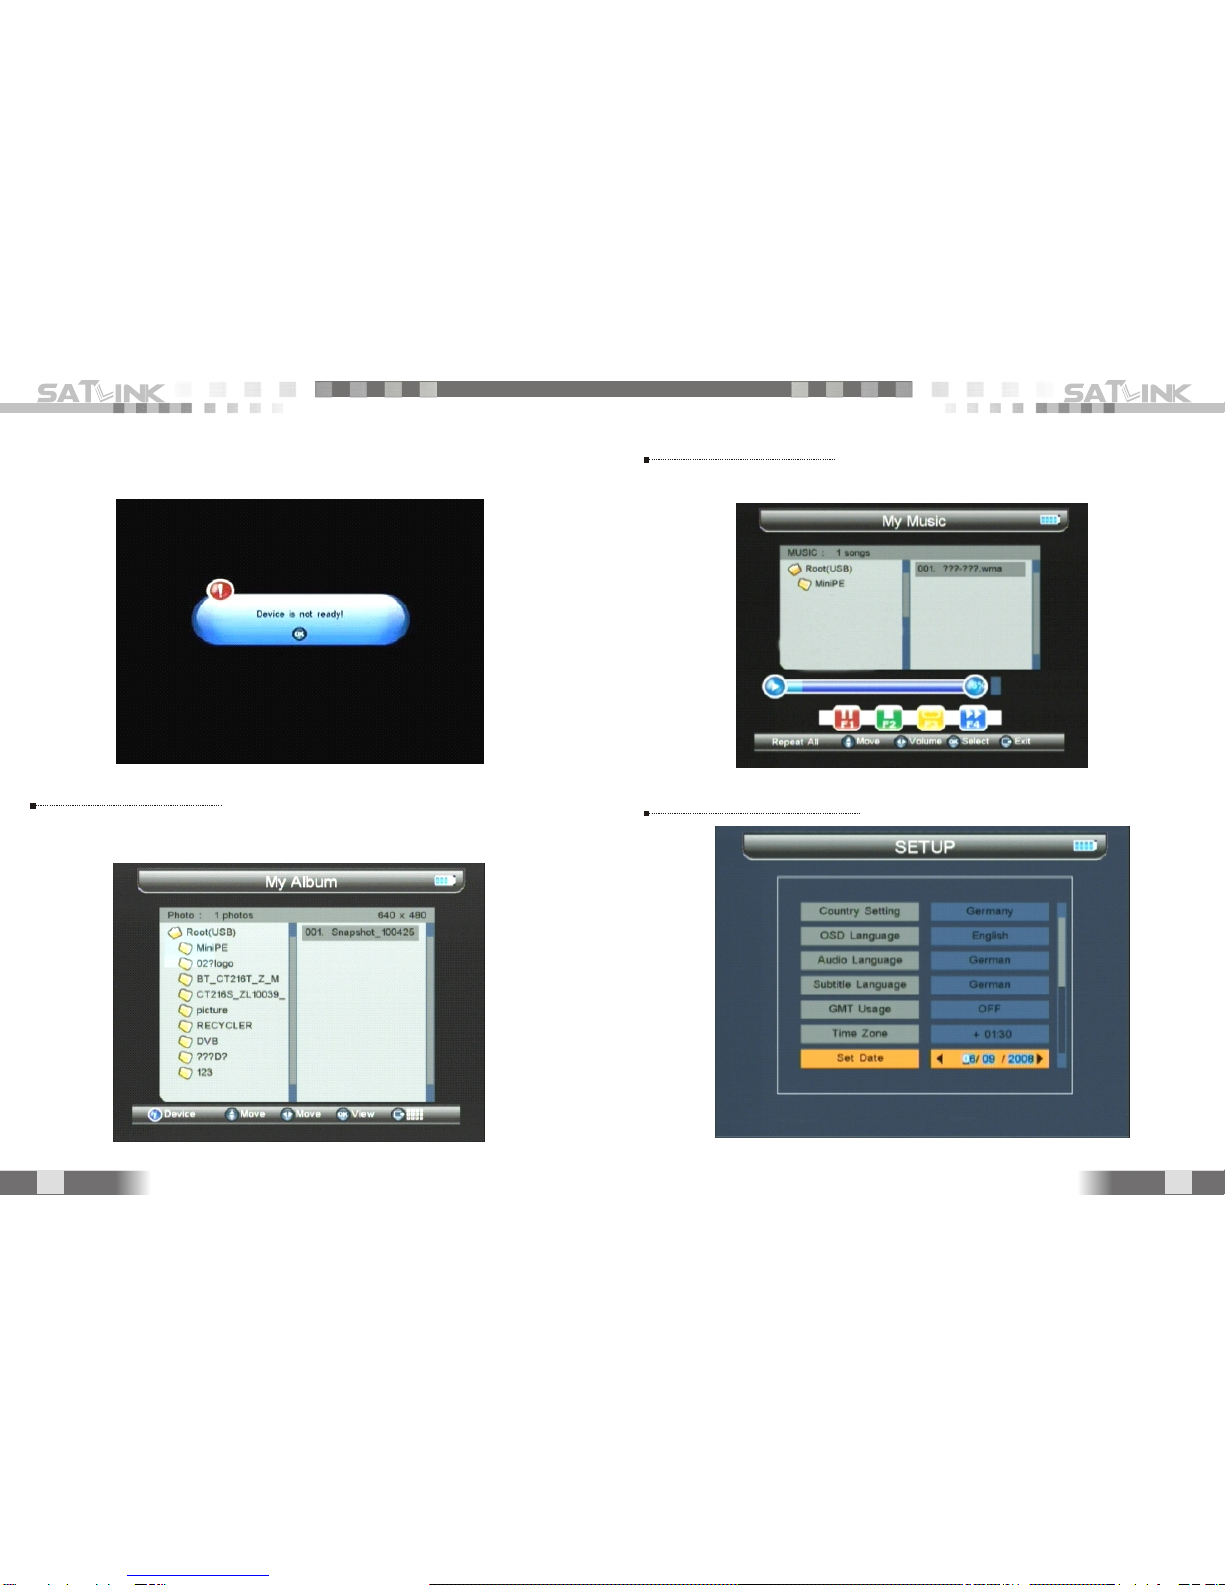
2.3 Multimedia
2.4 System Setup
3.Specification
WS-6905 User Manual
Product Description
It is a battery powered hand held DVB-T
terrestrial alignment meter demodulating DVB-T
COFDM Signal. Its very convenient for installer to
catch quick andaccurate Alignmentfor Antennato the
best direction.
It s with microprocessor controller, reliable and
stable performance. When it s turned on, channel
picture, Signal Strength and Signal Qulaity will be
showed on LCD Screen after you set up your local
DVB-T Parameter. Also, it s with multichannel Signal
indicator which isvery helpful foralignment.
It supports BER,S/N, Signal Strengthand signal
lock sound.
It detects veryfaint signal, andsupports antenna
power OFF/5V/12V/15V/18V/24V selectable.
It s with auto-protectionfor LNB short-circuit.
It includes both AV IN and AV OUT for Camera,
LCD...etc.
It s used with12V PowerAdaptor when youneed
to use externalpower.
It includes high capacity Lithium Battery 8.4V
3000mAh which works for more than4 hours after it s
fully charged.
'
''
'
'
'
'
1
1
3
3
3
4
7
8
10
13