PHONE MOUNT
MOUNT POP FILTER
INSERT STAND INTO CLAMPATTACH CLAMP TO DESK
HANG BACKDROP USING CORNER GROMMETS & HANGING HOOKS
SAVAGE BRAND NP-F750/770 AND NP-F970 BATTERIES SOLD SEPARATELY
professional photography made simple
800.624.8891 savageUniversal.com
CAMERA & PHONE MOUNTING
Any camera from a cell phone to action camera to DSLR can be used to capture the subject.
Use the third weighted table base and the third 28” upright to mount the camera.
If using a cell phone, attach the third ballhead and the included cell phone mount. After mounting the ballhead to the
upright and threading the bottom of the cell phone holder to the ballhead, press the top of your cell phone into the top
of the cell phone holder until the phone is fully inserted. Release and the tension from the holder will hold in place.
Be sure to not cover the lens on the cell phone with the holder. An action camera can be mounted to the ballhead by
threading to the ballhead using the ¼”-20 female thread on the bottom of the camera. The ballhead can then be used
to aim the camera at the subject.
For DSLR use, we recommend not using the included ballhead. Simply thread the DSLR to the upright using the ¼”-20
female thread on the bottom of the camera. The upright can then be raised or lowered to aim at the subject. If more
aiming exibility is needed for DSLR use, larger ballheads (not included) are widely available and recommended to
purchase separately.
MICROPHONE STAND MOUNTING
Clamp the included microphone holder clamp to a at table surface using the lever underneath the clamp. Unscrew the
tightening knob located on the side of the clamp. Drop the articulating microphone arm into the top of the clamp and
tighten using the side knob until secure. Thread the microphone holder into the top of the articulating microphone arm.
Slide microphone into the microphone holder for use.
POP FILTER
The pop lter can be used to eliminate the popping noise picked up by the microphone when hit by breaths of air
from speaking. The pop lter can be clamped to a table surface where possible. Optionally, the pop lter can be
clamped to the top support bar of the microphone articulating arm when table mounting is not possible.
Bend the pop lter so that it is located between the speaker and the microphone to block noise from breathing.
GREEN SCREEN BACKDROP
The Savage Pro Gamer Live Stream Accessory Kit comes with a 60” x 80” reversible chroma green/gray polyester
backdrop. The backdrop includes metal grommets for hanging at each of the four corners. The kit also comes with
a two-pack of hooks with adhesive backs to mount the backdrop on any at surface wall (optional).
Use the gray surface when a dark background is desired. The farther the backdrop is placed from the lit subject,
the darker it will appear.
Use the green surface in conjunction with a green screen software (not included) to replace the solid background
with custom imagery.
BATTERY USE (SOLD SEPARATELY)
A battery level indicator is present on the right side of the LED back panel display. The battery level indicator is only used
when the lights are powered by batteries (not included with kit). The Pro Gamer LED soft light can be used with batteries
(not included) to eliminate cords or for when household current is not available.
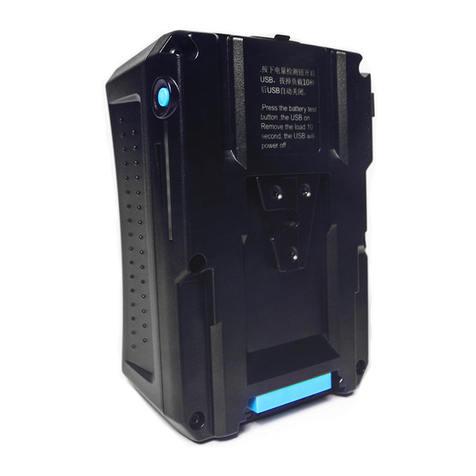
The light will accept NP-F550, NP-F750/770 and NP-F970 batteries.The only difference between these batteries is
runtime. The user can expect about 4 hours at full power using NP-F750/770 batteries or 6 hours using NP-F970
batteries.
Never plug the lights into an AC socket with the batteries attached. The lights’ AC power will not charge the batteries
while attached. Use a separate charger (not included) that is recommended for the specied batteries. Two-packs of
Savage brand NP-F750/770 and NP-F970 batteries are available separately that also include one charger. To use
batteries, simply press the battery down into the battery cradle on the back of the light. Make sure to align the side of
the battery with the two holes to the pins at the bottom of the cradle. To remove the battery, press the red button
to the left of the cradle to release. Never store the lights with the batteries attached.
REVERSIBLE
DSLR MOUNT
EXPAND


