Savillex DST-1000 Quick start guide

DST-1000
Acid Purification
System
Upgrade Instructions

Savillex DST-1000 Acid Purification System Upgrade Instructions
- 2 -
Introduction
The DST-1000 upgrade kit is applicable to DST-1000 units with serial numbers beginning with “V”. The kit
eliminates the top mounted filling funnel replacing it with a front fill tube that is easier to access. The fill tube
also has graduation marks that show the acid level in the still. A larger vent assembly also helps prevents
differential pressure build up and avoids surges when the fill tube cap is removed.
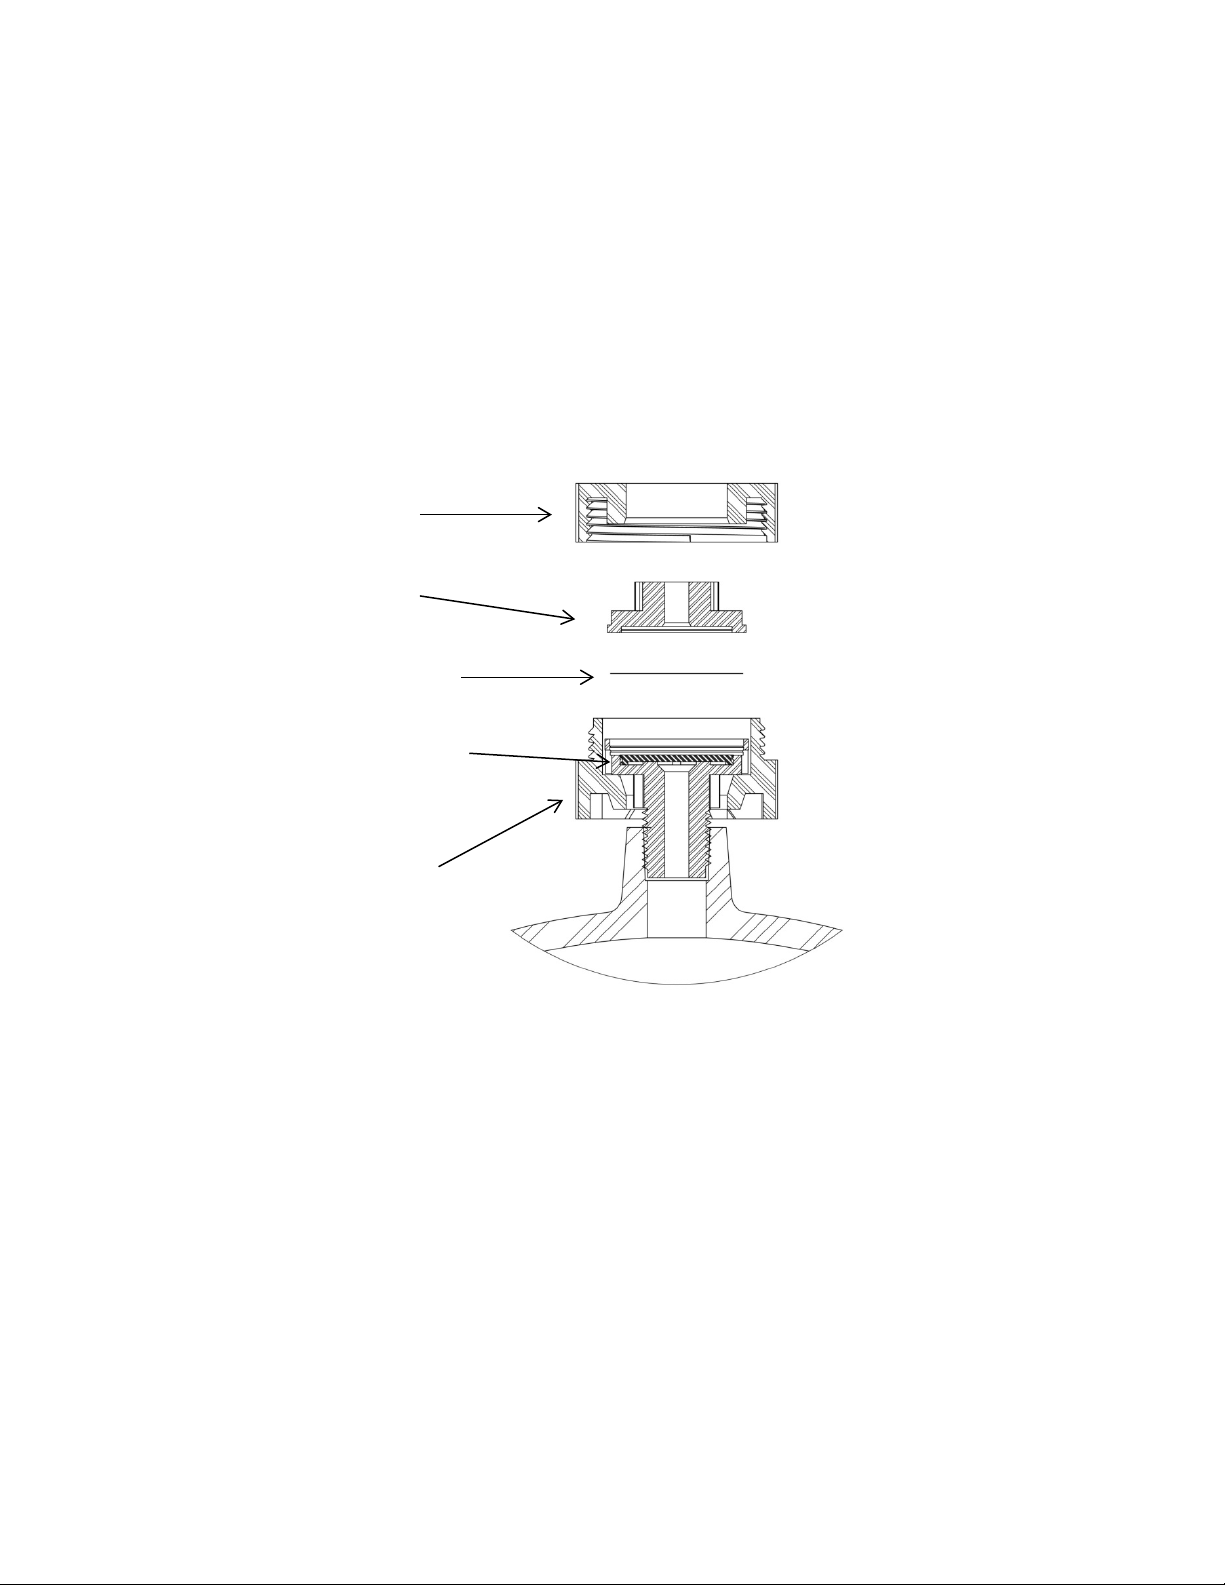
The instructions below will guide the user through the installation of the DST-1000 upgrade kit. The
installation will require removal of the existing unit’s safety funnel and stopper/dust cover, fill tube assembly,
top vent assembly, bottle bracket, and elbow drain. See red shaded items in Figure 1.
Safety Information
The following safety information should be read carefully prior to installing the upgrade kit for the DST-1000.
Installation of the DST-1000 upgrade kit may expose the user to residual acid that has previously been in the
DST-1000. Take appropriate measures and always wear recommended personal protective equipment during
the installation process.
Savillex assumes no liability for injury or damages resulting from improper handling or a failure to comply with
this information.
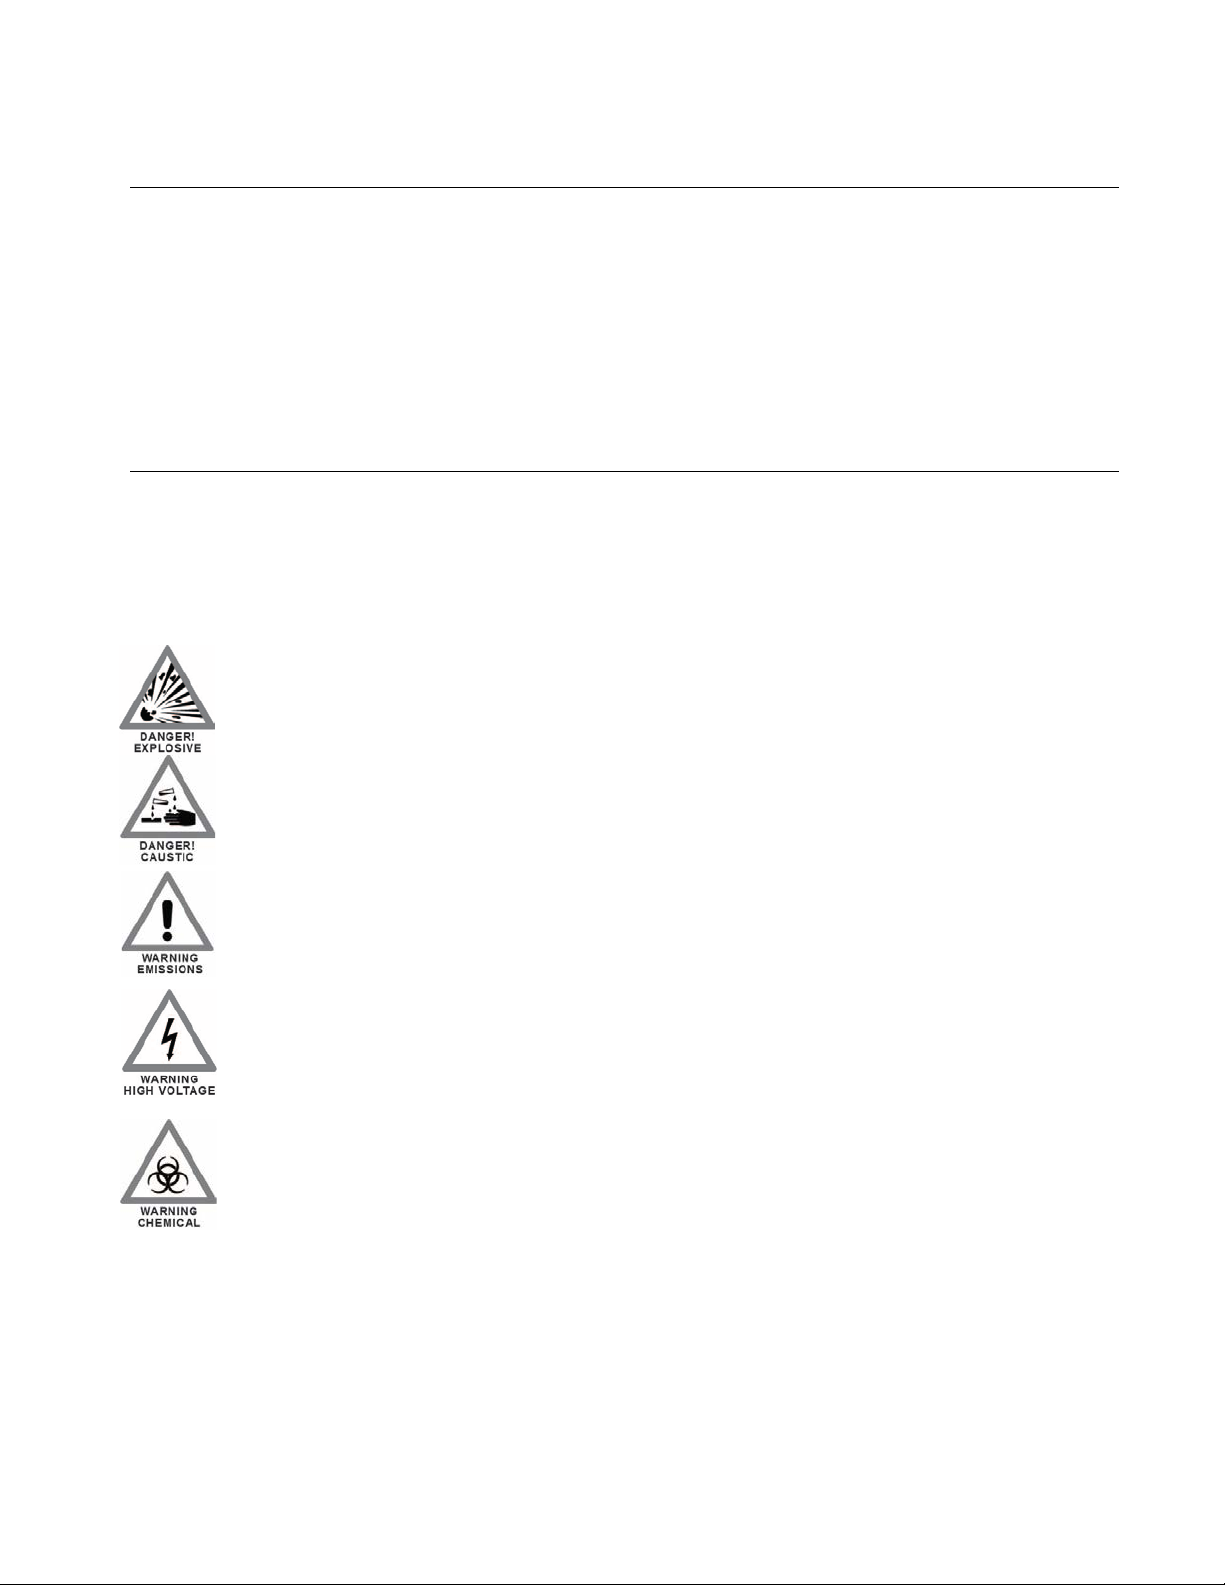
Explosive; Fire, Blast or Projection Hazard
Electrics may ignite flammable or explosive mixtures. The apparatus is not designed for organic
chemicals. Improper use of the DST-1000 with organic material may cause personal injury or
property damage.
Causes Severe Skin Burns and Eye Damage
Take appropriate precautions during filling with and dispensing of acid. In case of contact, flush
with copious quantities of water. See reagent manufacturer’s material safety data sheet (MSDS)
for safe handling instructions.
Personal Protective Equipment
Wear recommended safety apparel when handling or working with acids.
Harmful lf Inhaled
Avoid inhalation of acid vapors.
Causes Serious Eye Irritation
Wear eye protection.
Ensure the system is in a properly functioning controlled environment (e.g. fume hood). Acid
vapor is emitted from the DST-1000 during use.
The Unit Employs High Voltage!
The DST-1000 must be connected to a grounded conductor. Connect the power cord of the
control box to a grounded power source.
Chemical Hazard!
Chemical hazards associated with the connections, tubing and containers are identical to those
noted above.

Savillex DST-1000 Acid Purification System Upgrade Instructions
- 3 -
Assembly
Section 1 – Prepare Still
REMOVE ALL RESIDUAL ACID FROM STILL PRIOR TO DISASSEMBLY
It is highly recommended that all residual acid is removed from the DST-1000 prior to the installation of the
upgrade kit. This involves refluxing with deionized water following the steps below:
1. Drain any acid contents from the DST-1000 unit by opening the stopcock valve on the drain tubing and
directing the acid into an appropriate container
2. Close the stopcock valve
3. Drain any residual acid in the distillate collection channel inside of the still vessel by slightly tilting the
still in the direction of the distillate outlet and allowing liquid to flow into 1000 mL Purillex PFA collection
bottle
4. Disconnect distillate tubing, and remove the 1000 mL Purillex PFA collection bottle from bracket and
set aside. These items will be needed for the upgraded DST-1000.
5. Thread the enclosed ¼” OD ferrule plug on the distillate output port and tighten finger tight
6. Fill the DST-1000 with 500-1000 mL of deionized water
7. Turn the control knob on the power control unit to the HI setting
8. Allow the still to operate on the HI setting for the next 48 hours. The reflux action will transfer any
remaining acid inside the vessel into the deionized water in the reservoir.
9. Turn the control knob to the OFF position and allow the DST-1000 to cool.
10. Drain the DST-1000 as outlined in steps 1 & 2
11. The remaining distillate (approximately 50 mL) in the distillate collection channel inside the vessel will
also need to be drained. Carefully tilt the unit backwards so the distillate outlet is angled upwards and
the distillate has drained away from the opening.
12. Remove the ¼” OD ferrule plug from the distillate outlet and re-connect the 1000 mL Purillex PFA
collection bottle
13. Drain any residual chemical in the distillate collection channel inside of the still vessel by slightly tilting
the still in the direction of the distillate outlet and allowing chemical to flow into the 1000 mL Purillex
PFA collection bottle
14. Disconnect the DST-1000 from power outlet
15. Disconnect heater cable from heating control unit

Savillex DST-1000 Acid Purification System Upgrade Instructions
- 4 -
Section 2 – Remove Old Parts
The instructions below will guide the user through the installation of the DST-1000 upgrade kit. Installation will
require removal of the current unit’s safety funnel and stopper/dust cover, fill tube assembly, top vent
assembly, bottle bracket, and elbow drain. Items to be removed are shaded red in Fig 1.
Fig 1
Tools Required: Adjustable Wrench
1. Remove the safety funnel and stopper/dust cover. The safety funnel and stopper/dust cover are no
longer needed for the new DST-1000 and can be discarded
2. Remove the stopcock valve and drain tubing from the DST-1000. Set-aside the drain tubing and
stopcock valve fitting. These items will be used for the upgraded DST-1000.
3. Remove the fill tube assembly by unscrewing the ¼” MNPT x 3/8” ferrule connector fitting and fill tube
from top-middle of the still vessel (an adjustable wrench may be necessary to loosen and remove the
fitting). The fill tube assembly is no longer needed for the new DST-1000 and can be discarded.
4. Remove the vent assembly from the top of the vessel (an adjustable wrench may be necessary to
loosen and remove the vent assembly). The vent assembly is no longer needed for the new DST-1000
and can be discarded.
5. Disconnect distillate tubing, and remove the collection bottle from bracket and set aside. These items
will be needed for the upgraded DST-1000.
6. Remove the bottle bracket. The bottle bracket is no longer needed for the new DST-1000 and can be
discarded.
7. Lay the DST-1000 unit on its side to expose the underside of the still
8. Unscrew and remove the elbow drain fitting from the bottom of the still vessel. The elbow drain fitting
is no longer needed for the new DST-1000 and can be discarded.
Fill Tube Assembly
Safety Funnel
Stopper/Dust Cover
Elbow Drain
Bottle Bracket
Stopcock Valve and
Drain Tubing
Base Support
Column
Distillate Tubing

Savillex DST-1000 Acid Purification System Upgrade Instructions
- 5 -
Section 3 – Install Upgrade Kit
The instructions below will guide the user through the installation of the DST-1000 upgrade kit. Installation will
require the installation of several new parts to the current DST-1000 unit including the graduated fill tube, new
bottle bracket, vent tubing, filter vent assembly, new elbow drain and fill tube to vessel tubing. New parts to be
installed are shaded green in Fig 2.
Fig 2
Tools Required: Adjustable Wrench
1. With the DST-1000 on its side, install the PTFE-taped ¼” MNPT x 3/8” ferrule elbow drain fitting in the
bottom of the still. This elbow drain fitting replaces the elbow drain fitting that was removed in Section
2 (step 8). Tighten the elbow drain fitting finger tight. The open end of the elbow drain fitting should be
facing toward the front of the DST-1000.
2. Place the DST-1000 upright
3. Install the bottle bracket with fill tube on top of bottom plate of the still by snapping the bracket into
place against the support columns
4. Lay the DST-1000 on its side again
5. Connect 3/8” fill tube to vessel tubing from the tee fitting in the bottom of the fill tube to the new elbow
drain fitting in the bottom of the DST-1000 still vessel, ensure ferrule nuts are finger tight and secure
on the tubing and fittings
6. Attach stopcock valve and drain tube removed in Section 2: Step 2 to the front outlet of the tee fitting in
the bottom of the fill tube. Ensure ferrule nuts are finger tight and secure on the tubing and fittings
7. Place the DST-1000 upright
8. Place the collection bottle in the new bottle bracket and connect the bottle to the distillate output port.
Ensure the ferrule nuts are finger tight and secure on the tubing and fittings.
9. Install the new, pre-taped ¼” elbow fitting into top of dome (center port). Install the elbow fitting so that
the open end of the fitting is toward the front of the DST-1000
Fill Tube
Fill Tube to Vessel
Tubing
Filter Vent Assembly
Vent Tubing
Elbow Drain Fitting
Elbow Fitting
Tee
Fitting
Bottle Bracket

Savillex DST-1000 Acid Purification System Upgrade Instructions
- 6 -
10. Connect the supplied vent tubing to the elbow in the top of the still and to the connection port in the
front fill tube. Ensure that the ferrule nuts on the elbow and fill tube are finger tight and secure on the
tubing and fittings. See Fig 3.
Fig 3
11. Install the new, pre-taped, 25 mm filter vent assembly into top of the dome. Screw the pre-taped fitting
into the opening until finger-tight. The filter vent assembly replaces the vent assembly removed in
Section 2 (step 4).
Section 4 – Final Steps
1. Unscrew and remove the threaded cap from the graduated filling tube.
2. Carefully and slowly pour approximately 500 mL deionized water into the filling tube. DO NOT FILL
TOO QUICKLY: the water drains slowly into the reservoir. The fill tube has graduation marks which
indicate the liquid level in the reservoir.
3. While filling, check all fittings from the fill tube to the still for any leaks. If any leaks are present, check
all connections to ensure that the ferrule nuts are tight against the tubing and fitting. If leaks persist,
contact Savillex.
4. Drain the deionized water from the stopcock valve and drain tube in the front of the DST-1000. Check
for leaks as described in Step 1.
5. When all connections are confirmed leak-free, it is recommended to follow the initial cleaning
procedures in the DST-1000 user’s manual Section 4.4.
The installation of the DST-1000 upgrade kit is now complete and the upgraded DST-1000 is ready for use.
Please contact Savillex with any questions related to the installation or performance of the DST-1000.

Savillex DST-1000 Acid Purification System Upgrade Instructions
- 7 -
Section 5 – Replacing the 25 mm Filter Vent Assembly Membrane
As with the original vent assembly, it is recommended to replace the membrane in the filter vent assembly of
the upgraded DST-1000 after every 40 hours of use. Replacement instructions are below.
1. Grasp blue clamp ring while turning white clamp ring counter-clockwise to loosen
2. Remove white clamp ring and top filter body
3. Replace with new filter membrane being careful that membrane sits flat without wrinkles
4. Snap top filter body back in place by first aligning tabs with lower filter body
5. Finger-tighten by holding blue clamp ring and threading white clamp ring clockwise
Blue Clamp Ring
White Clamp Ring
Top Filter Body
25 mm PTFE Filter Membrane
(#740-450-25-3)
Lower Filter Body

Savillex Corporation
10321 West 70th St. | Eden Prairie, MN 55344-3446 USA
Phone: 952.935.4100 | Fax: 952.936.2292
www.savillex.com SM005 010516
Other manuals for DST-1000
1
Table of contents
Other Savillex Water Filtration System manuals