Using Key Operator Settings
71
7
Registering a Specified Sender
for Authorized Reception
Follow this procedure to register
specified senders for Authorized
Reception. Registration uses the
other party's Own Name (for dis-
play) or fax number. If the other
party is using a fax machine of the
same manufacturer, then registra-
tion uses the Own Name of the
other party registered on their fax
machine. If the other fax machine
is of a different manufacturer, then
registration uses the other party's
fax number.
Limitation
❒Destinations that you select as
specified senders must have
their names and fax numbers
registered on your fax machine.
Note
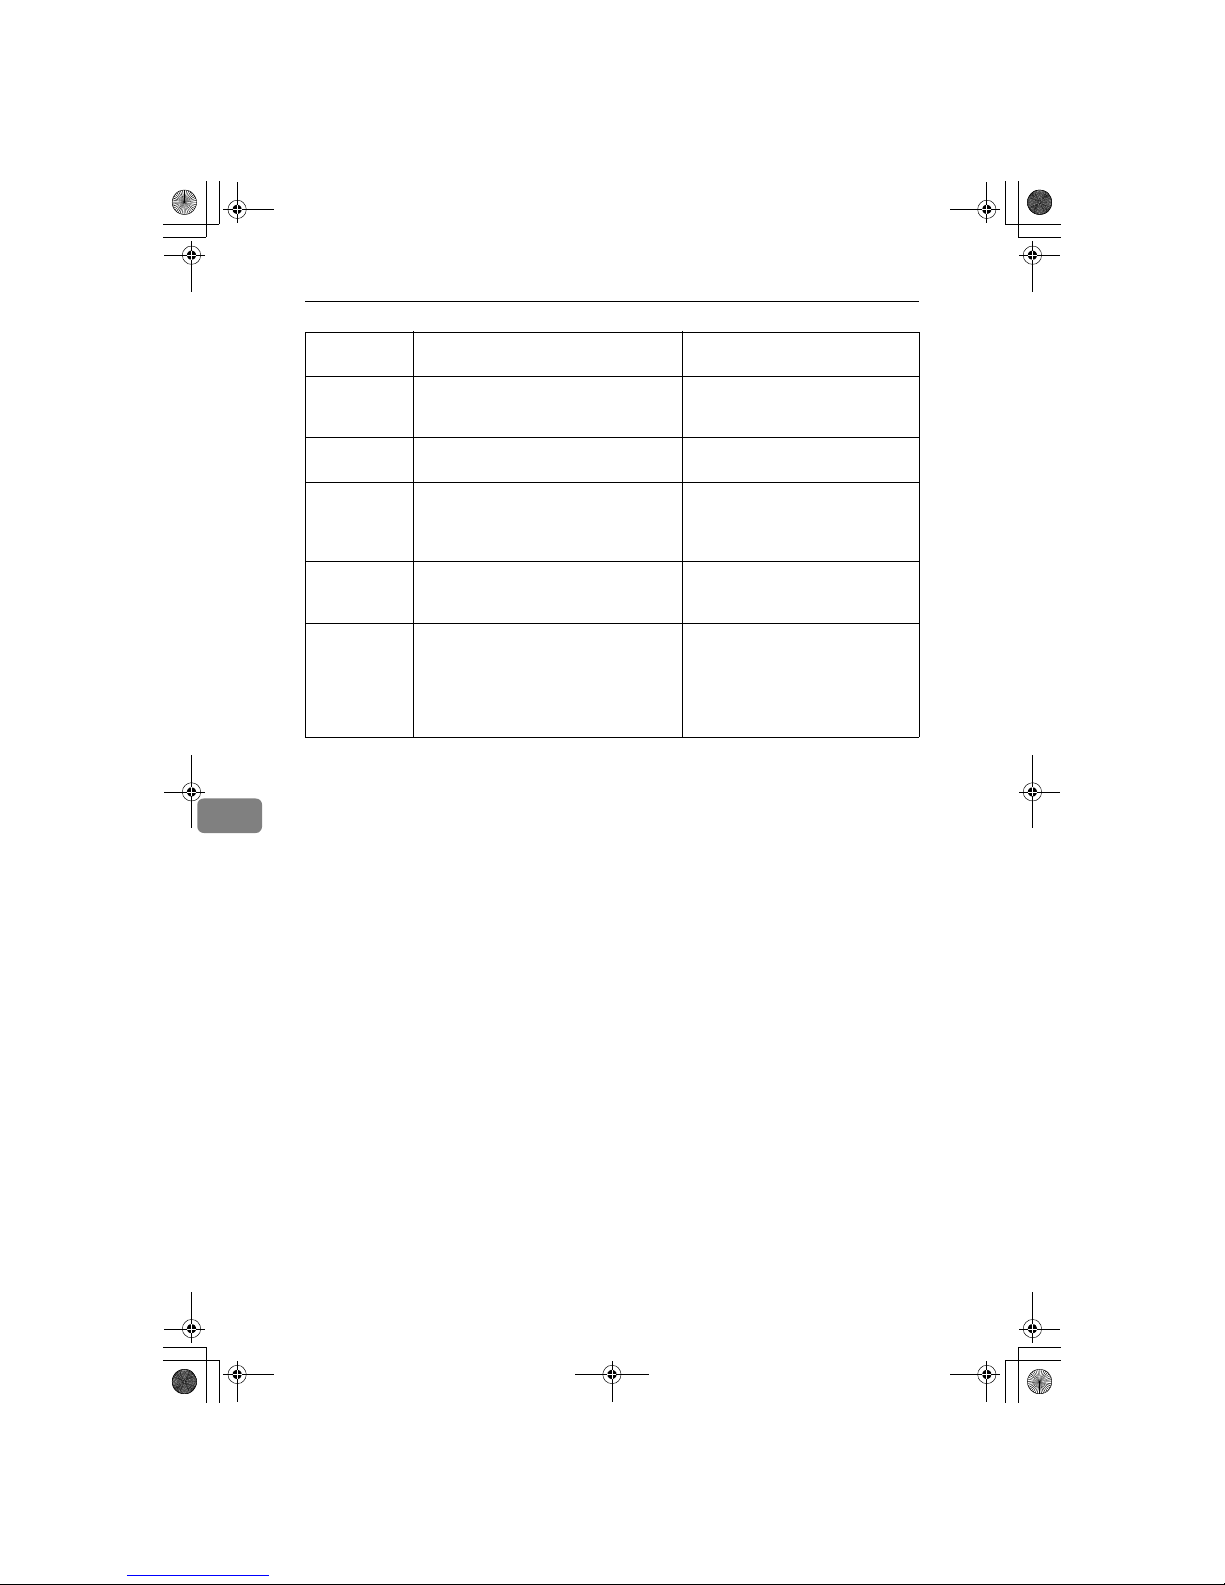
❒You can register up to a total of
30 specified senders for Autho-
rized Reception, Memory Lock,
Specified Tray, and Memory
File Transfer.
❒A specified sender name can be
up to 20 characters long.
❒You can confirm the names and
fax numbers of Specified Send-
ers by name in the printed Jour-
nal.
❒You can also confirm Specified
Senders by printing a Specified
Sender list.
❒In order to change a Specified
Sender entry, you must first de-
lete the entry, and then re-enter
it.
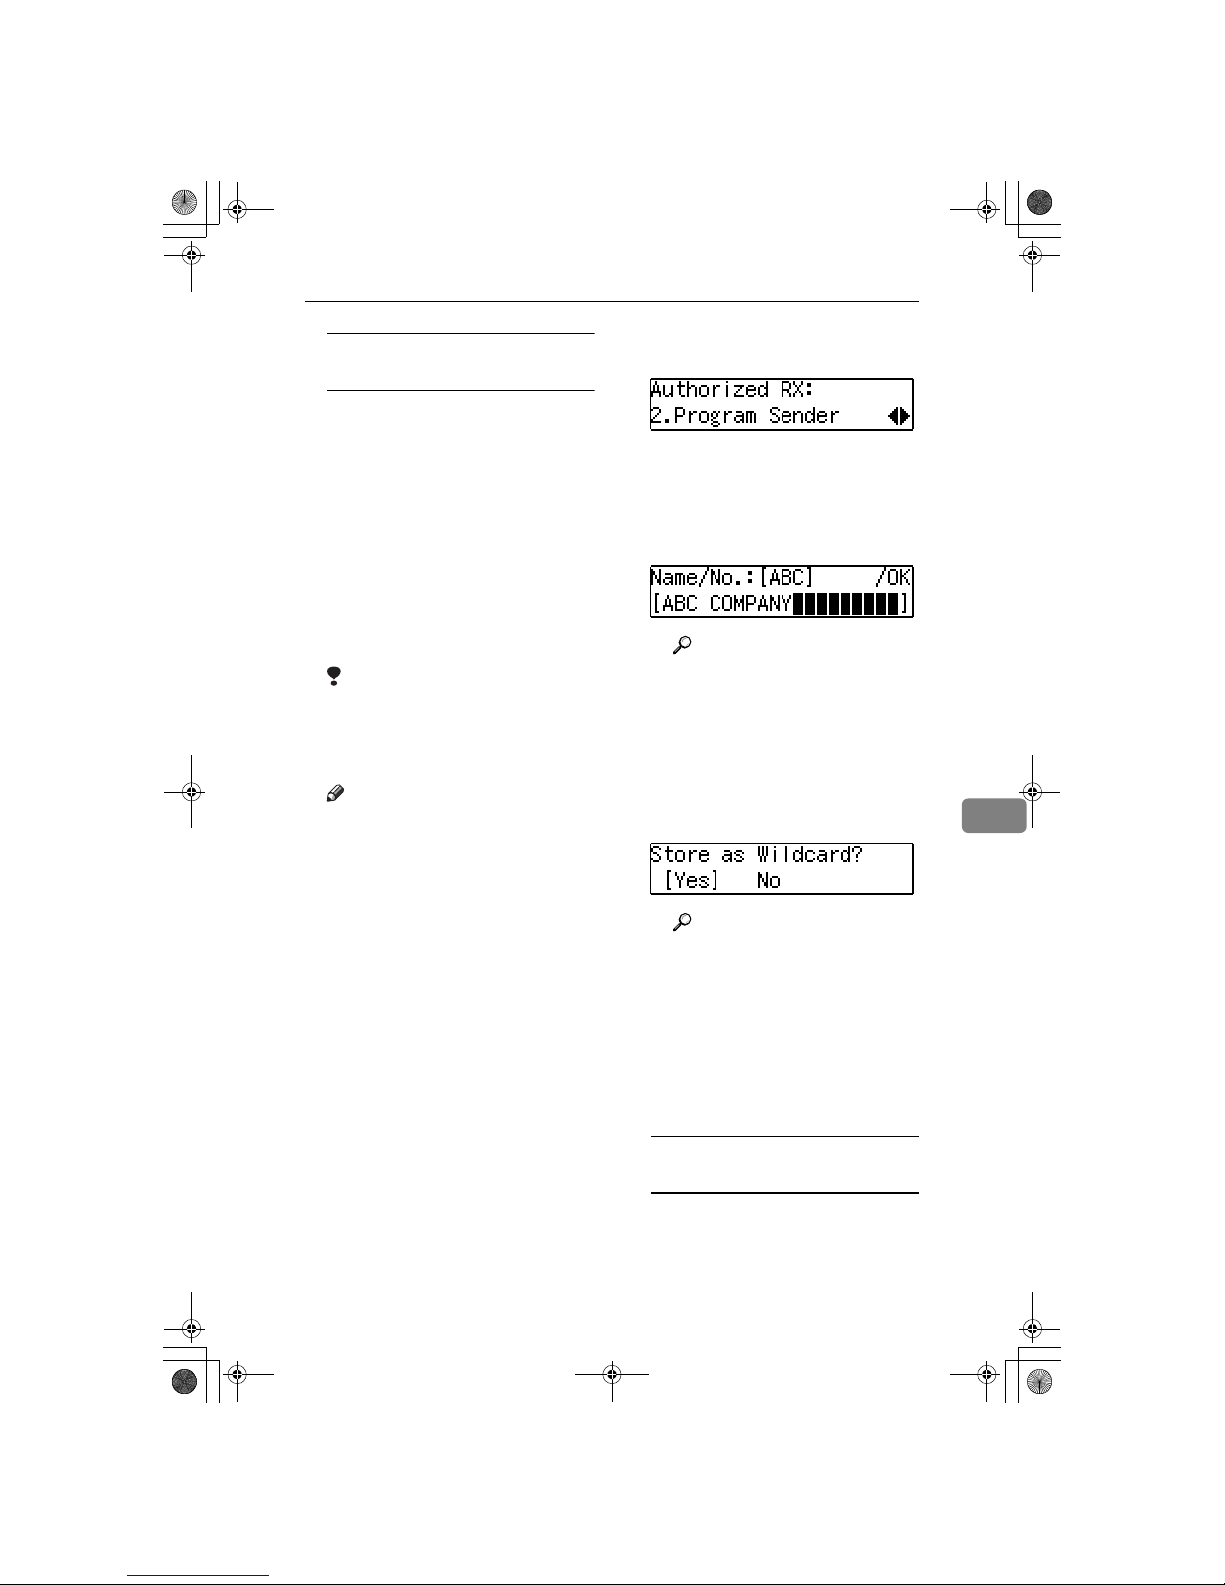
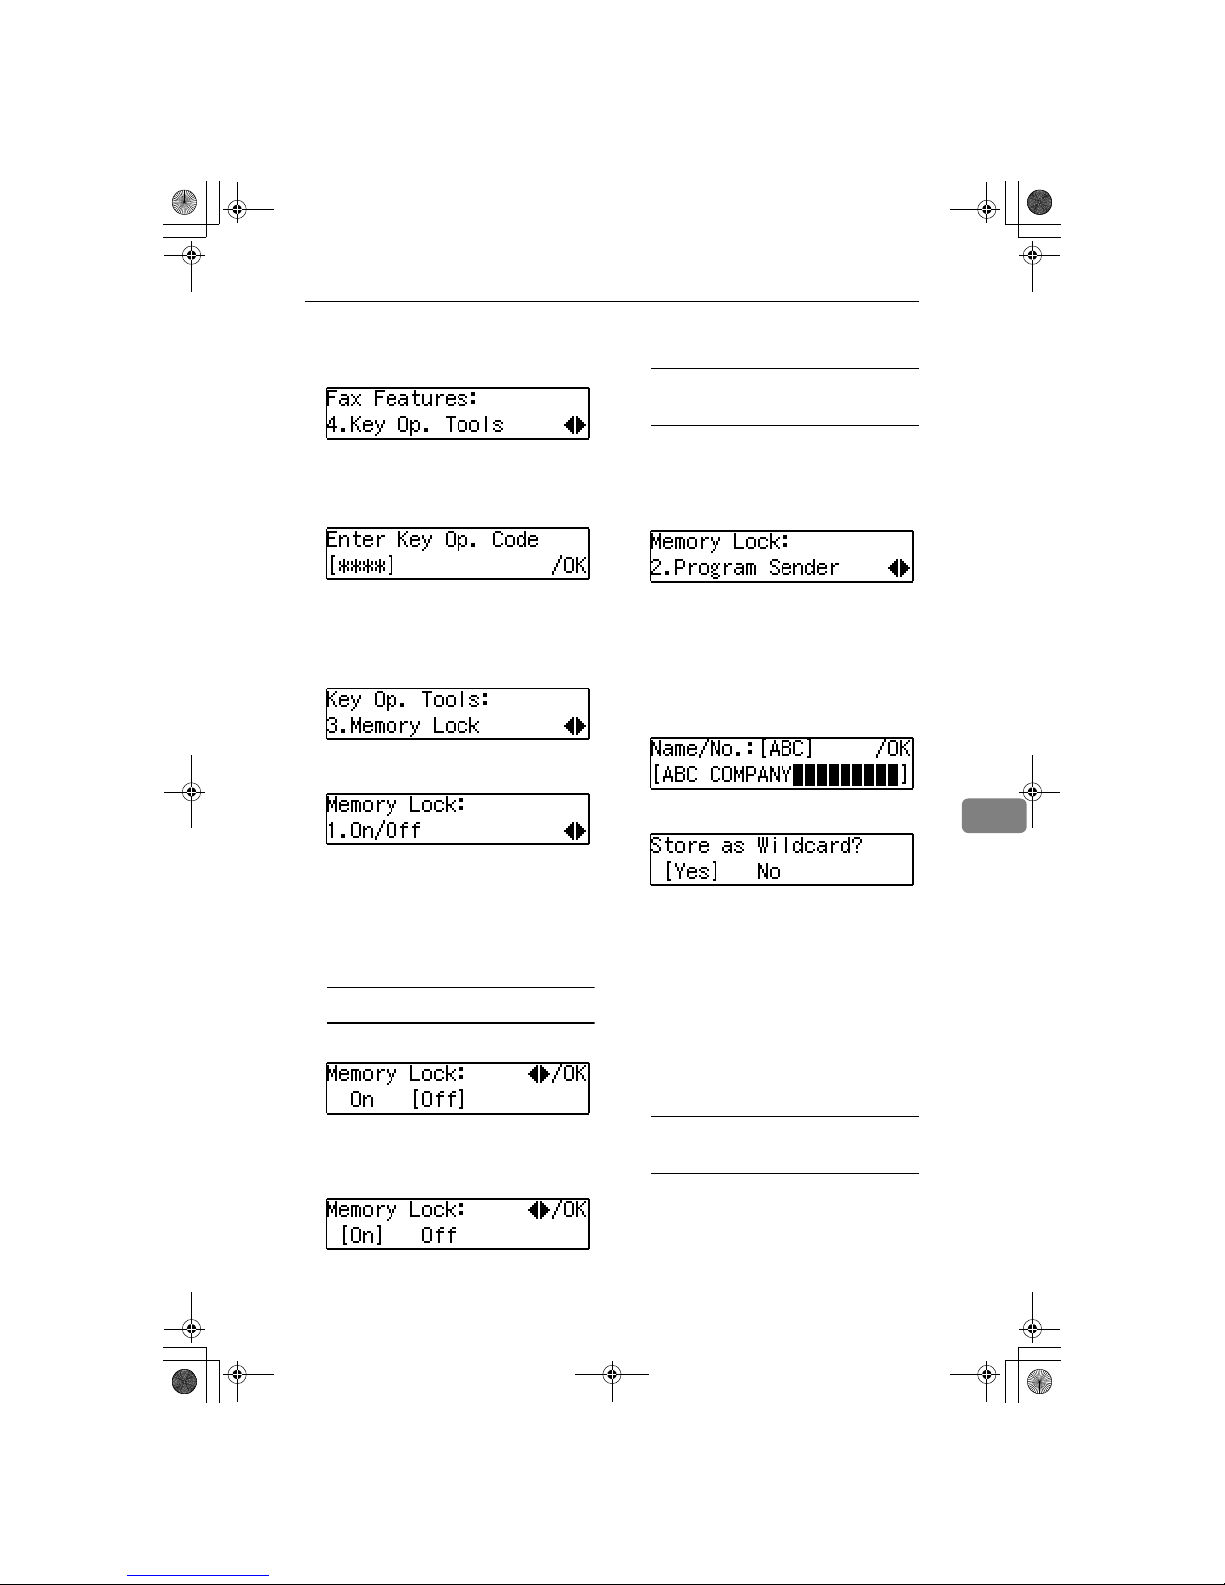
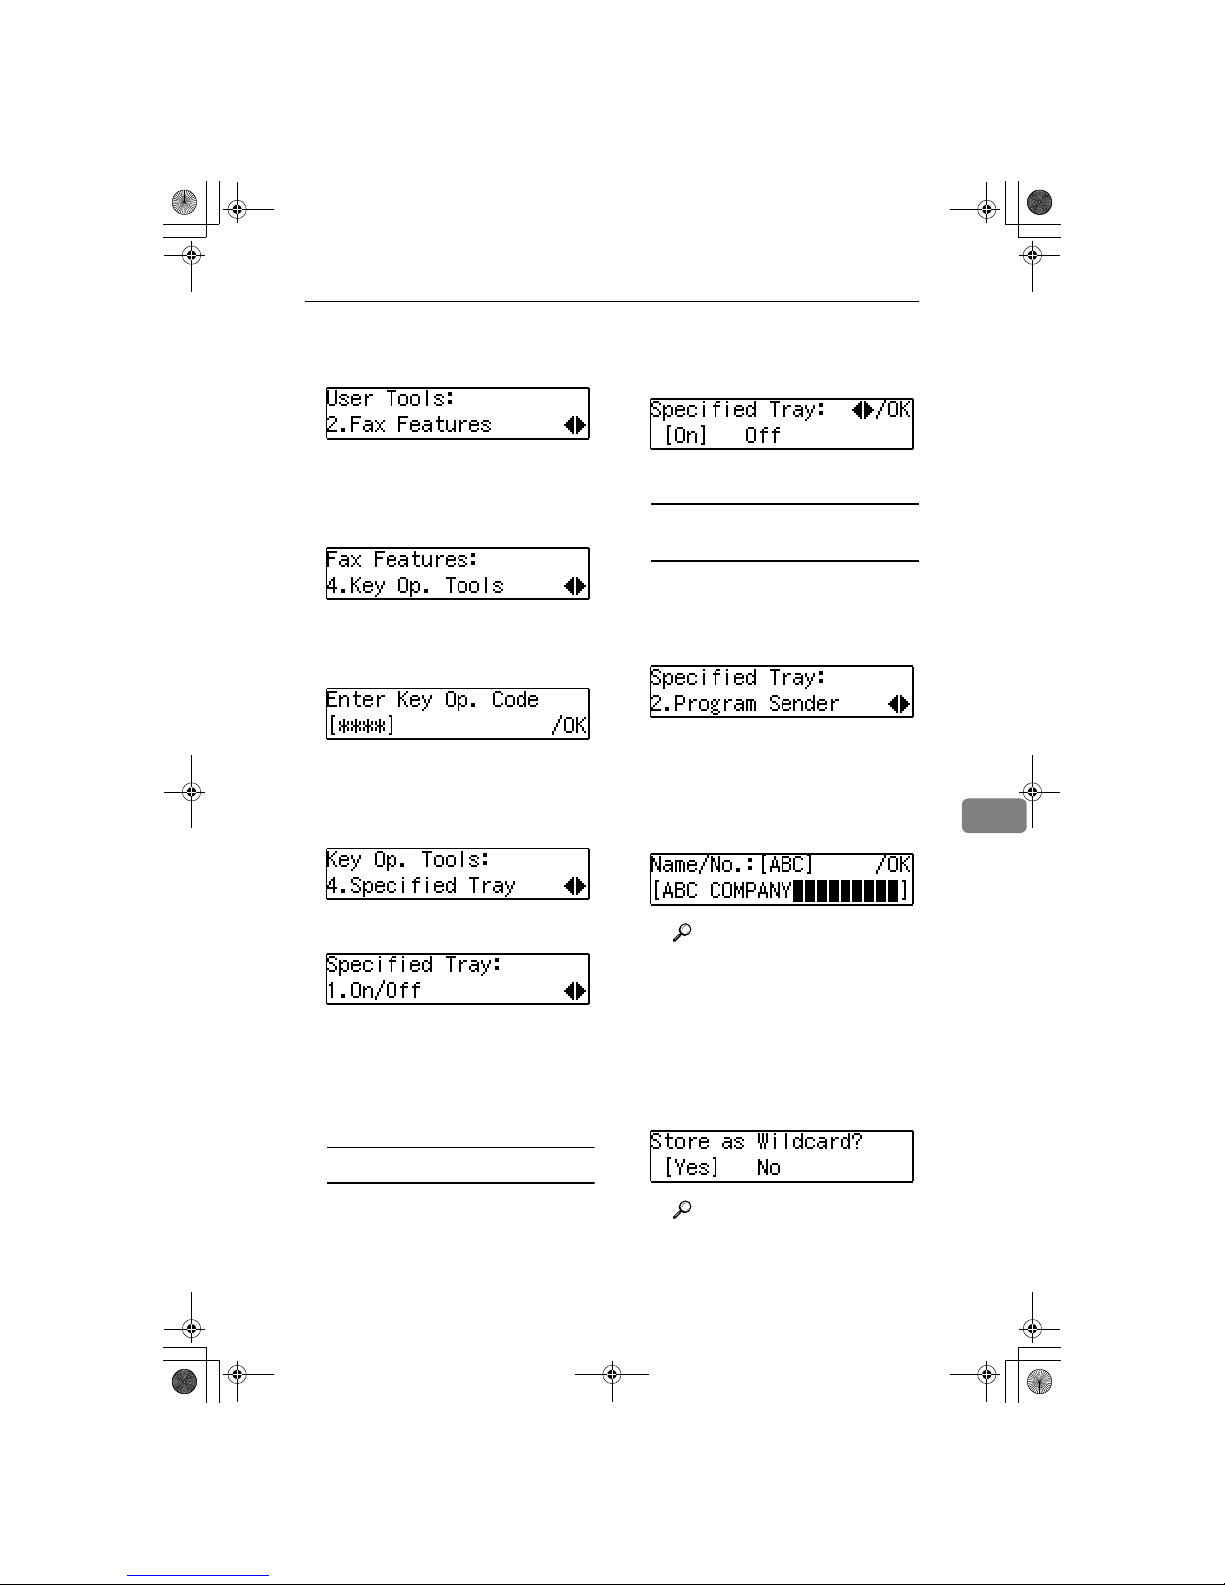
APress 0
00
0or 1
11
1until "2. Program
Sender" is displayed.
BPress the {
{{
{OK}
}}
}key.
CEnter the name for the speci-
fied sender.
Enter the other party's name or
fax number.
Reference
For details about how to en-
ter names, see p.67 “Entering
Characters”, <Basic Fea-
tures>.
DPress the {
{{
{OK}
}}
}key.
EIf you want to specify a wild-
card, press the 0
00
0or 1
11
1key to
select "Yes", or select "No".
Reference
See p.68 “Wild Cards”, <Ba-
sic Features>.
FPress the {
{{
{OK}
}}
}key.
The specified sender is regis-
tered.
If you want to register another
specified sender, repeat from
step B.
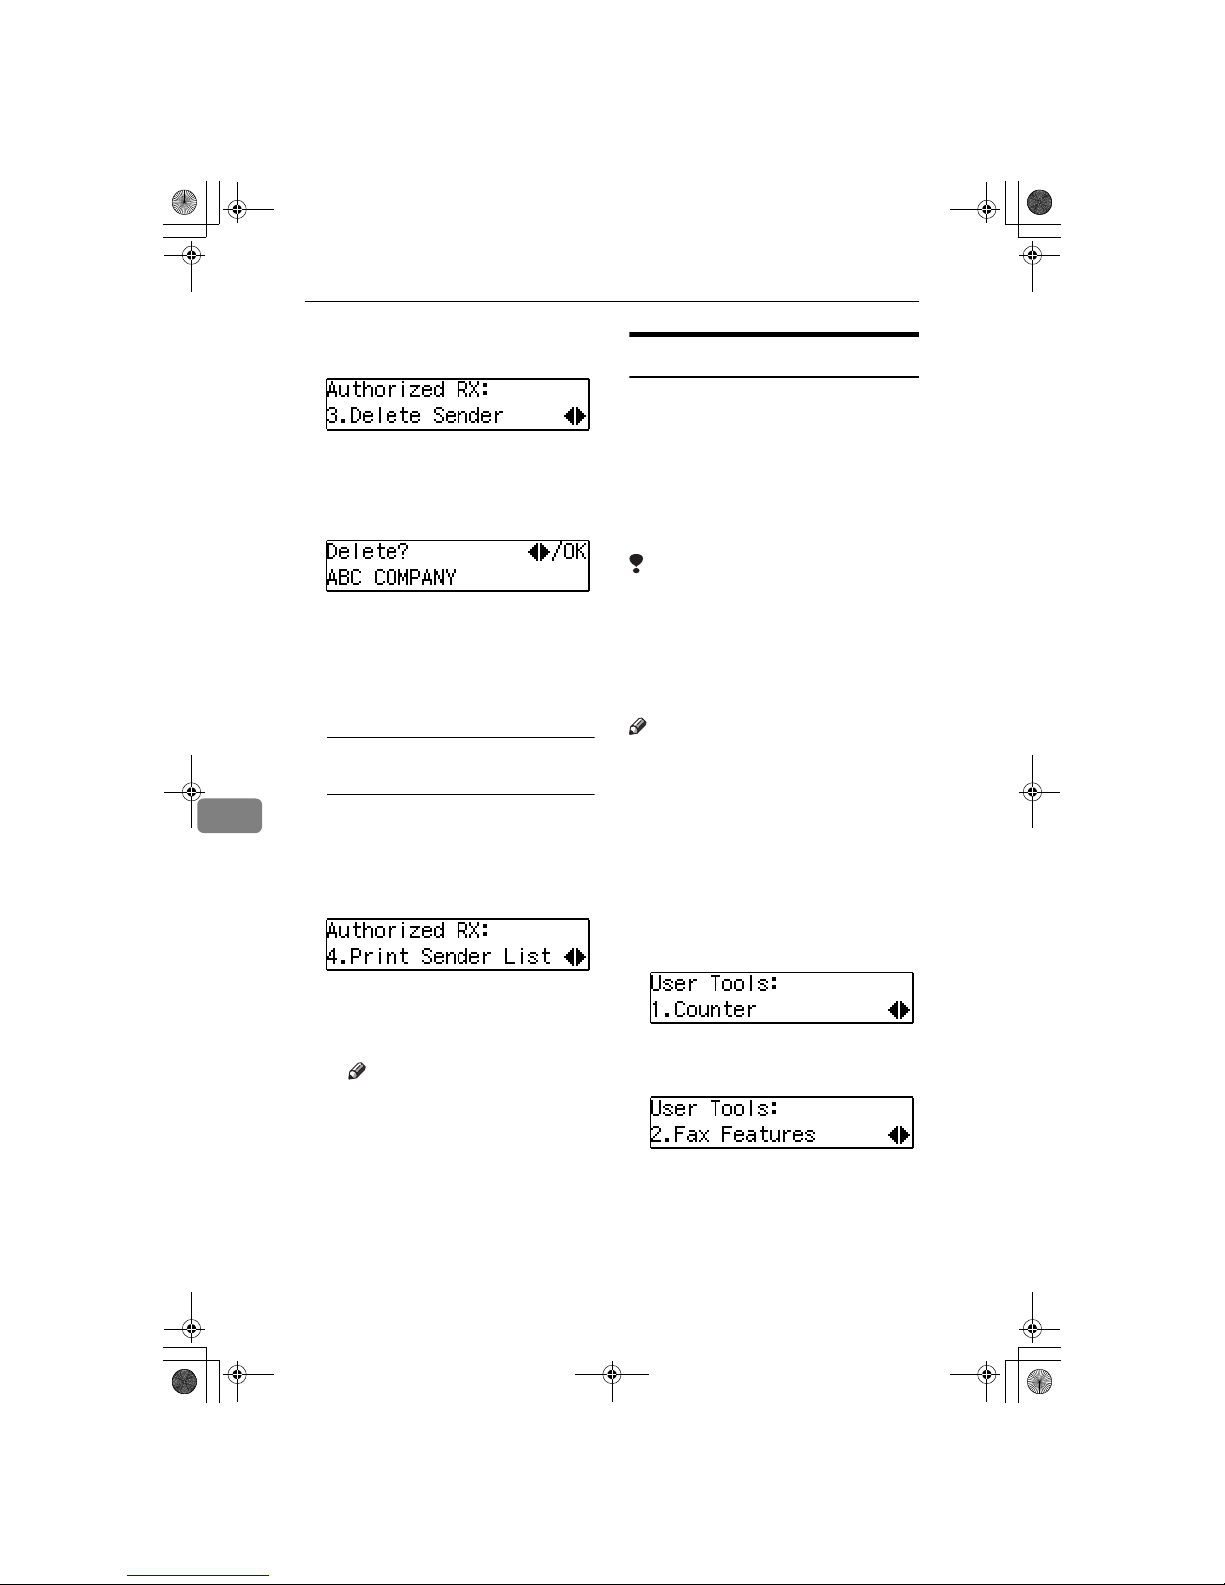
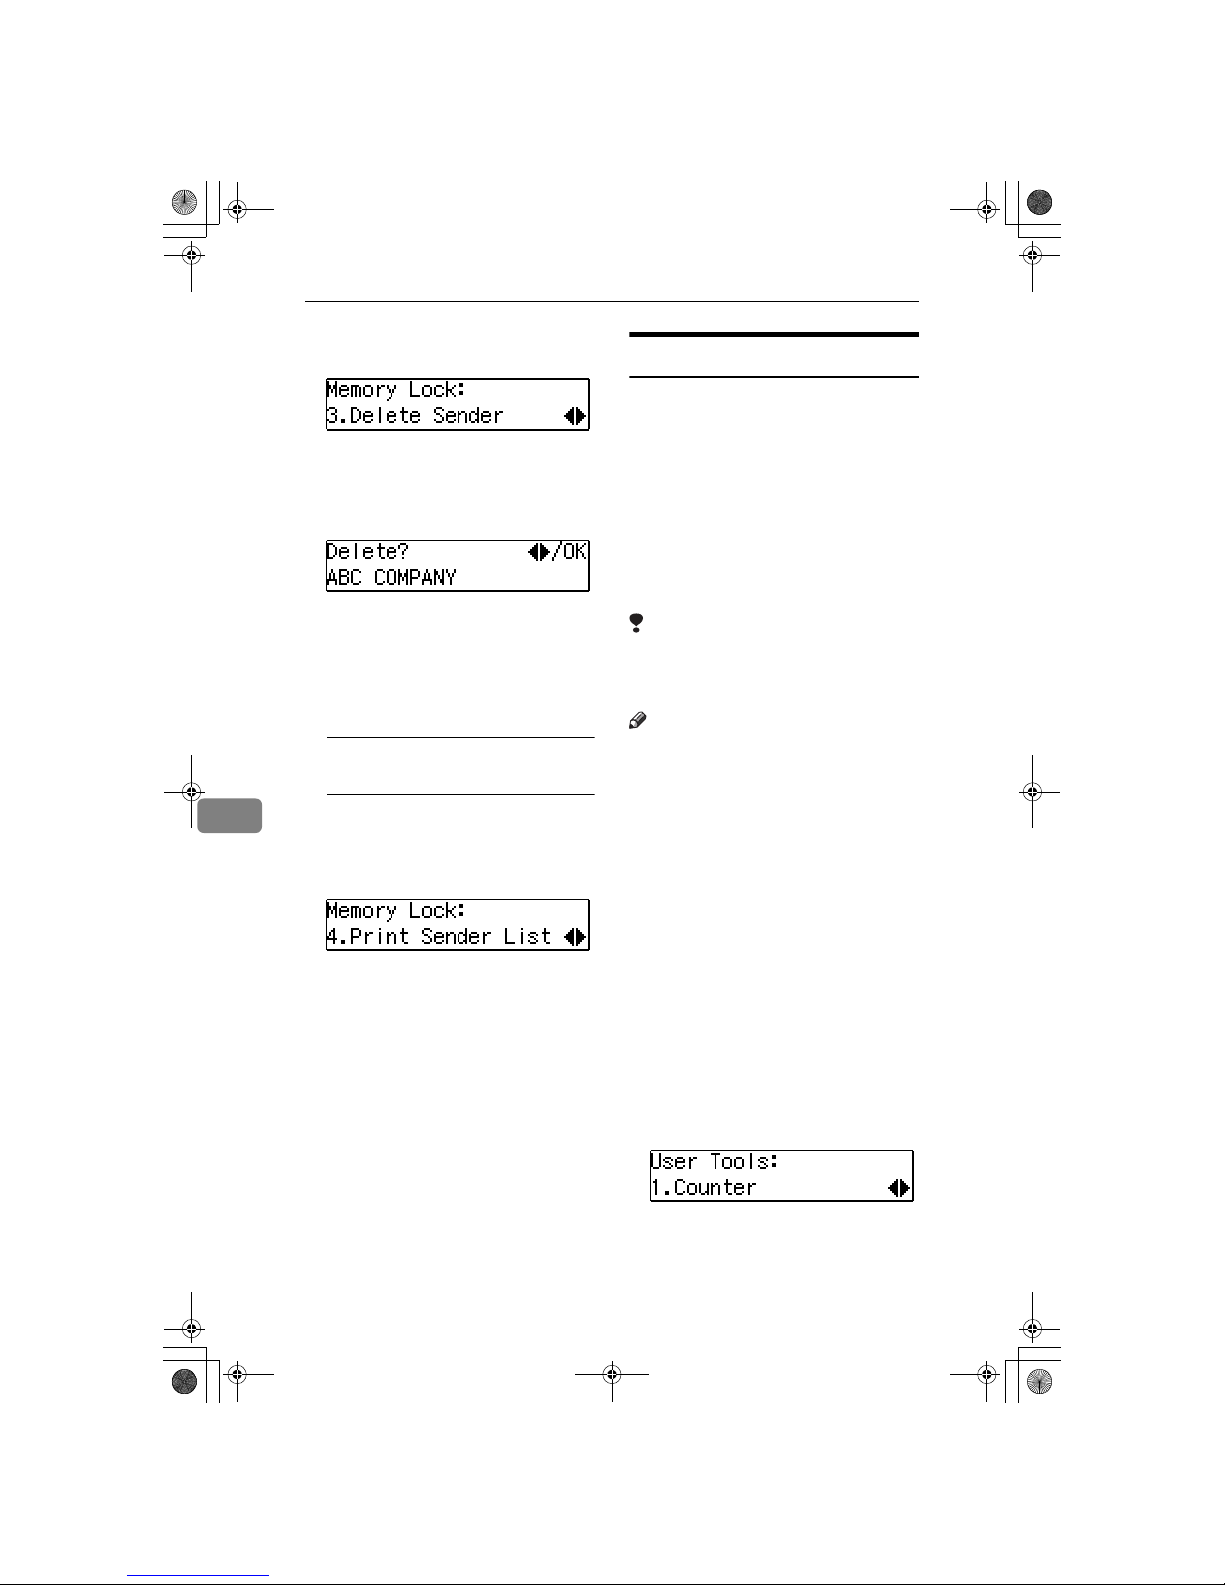
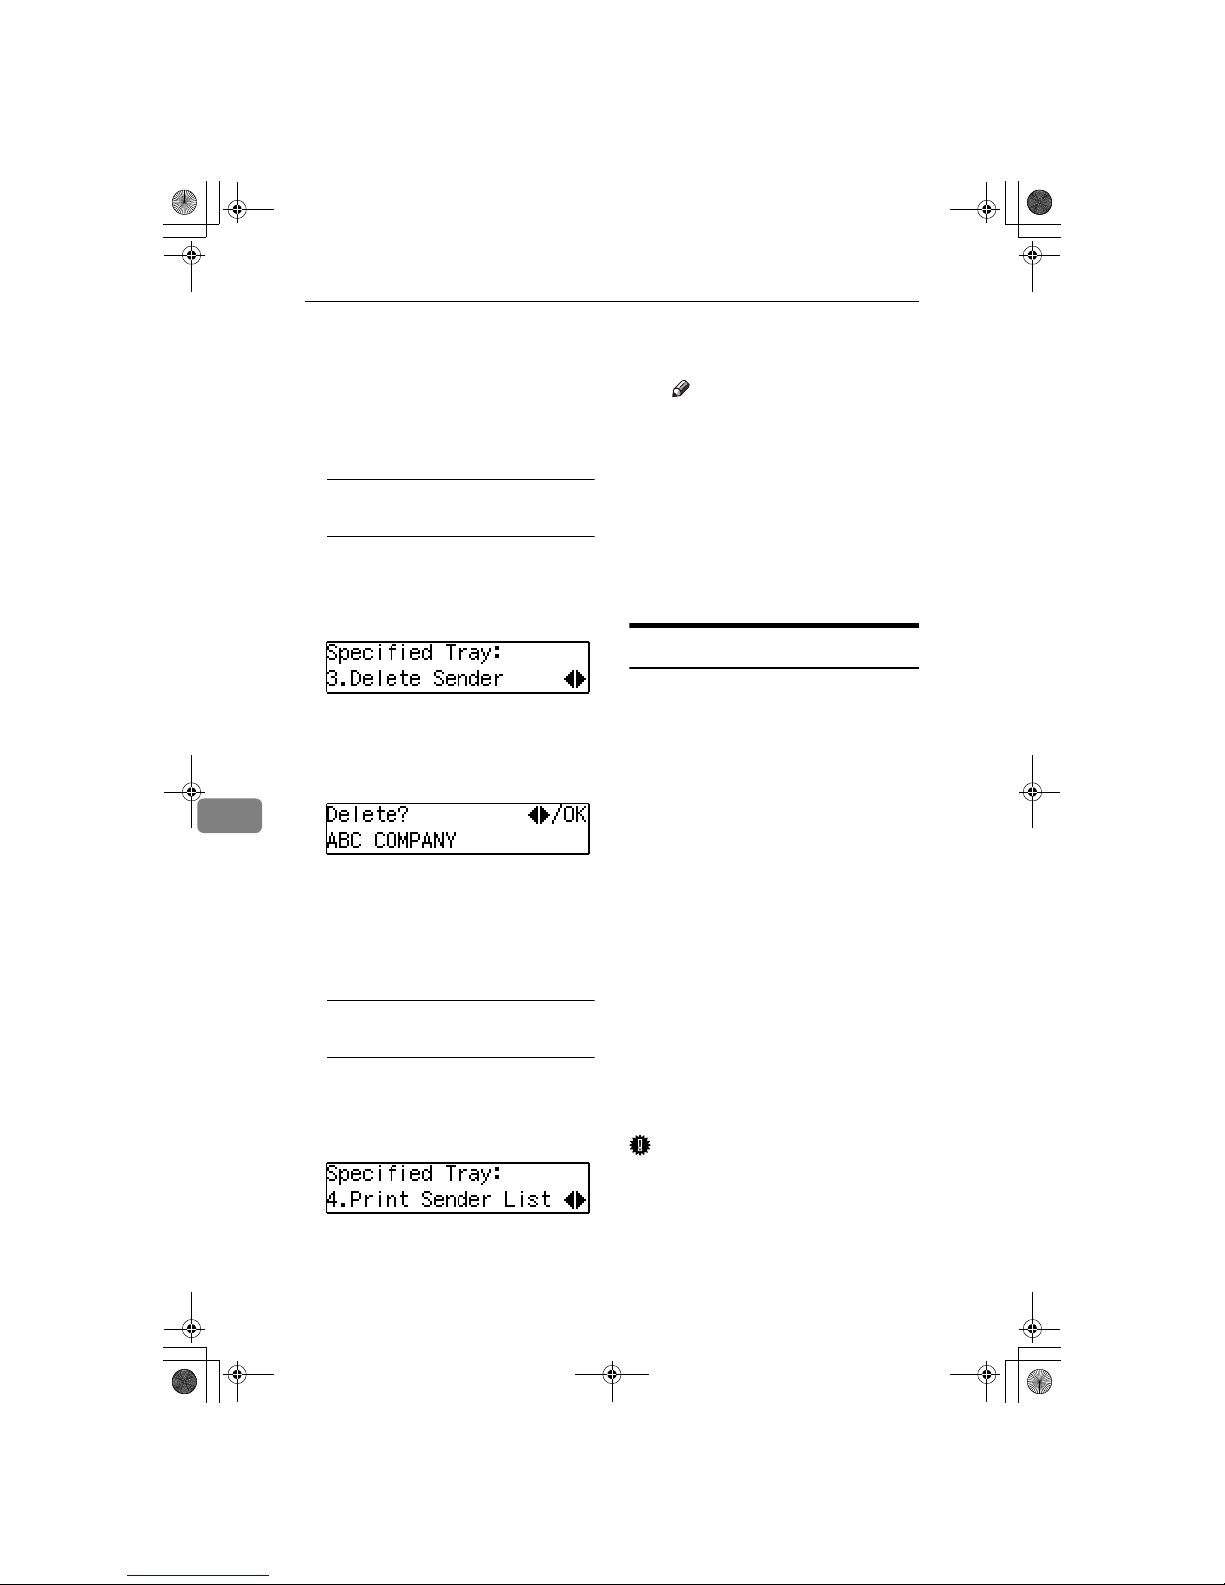
Deleting a Specified Sender for
Authorized Reception
Follow this procedure to delete a
Specified Sender.
StellaF1EN-3_FM.book Page 71 Monday, November 12, 2001 11:40 AM