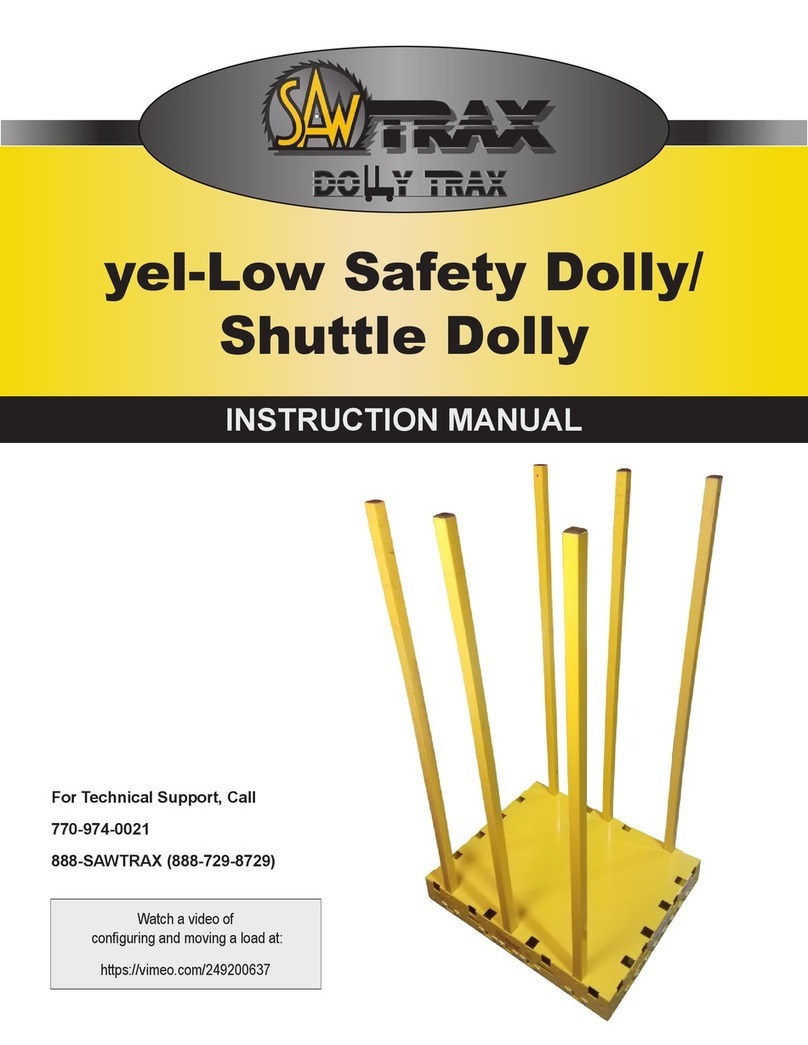
SAW TRAX Dolly Max User manual

Dolly Max
INSTRUCTION MANUAL
For Technical Support, Call
770-974-0021
888-SAWTRAX (888-729-8729)
Watch a video of
conguring and moving a load at:
https://vimeo.com/197531705

Page 2
PARTS OF THE DOLLY MAX

Page 3
ABOUT THE DOLLY
The Dolly Max allows you to effortlessly load and move for
Demolition, Yard Work, Remodeling, or any heavy duty
project material.
It is intended to transport goods. Any use other than intended
use can result in injury or product damage. If dolly is damaged,
defective, or missing parts, it should be taken out of use until
repaired or replaced.
An All-terrain and Portable Multi-function Cart.
Can move most any item up to 700 lbs.
(Upgrade to 1000 lbs).
UNPACKING THE DOLLY
When unpacking, CHECK TO MAKE SURE THAT THE DOLLY IS INTACT / UNDAMAGED and that all ordered parts are
included. If any parts are missing or broken, please call Saw Trax Manufacturing as soon as possible at 770-974-0021.
IMPORTANT WARNINGS AND SAFETY PRECAUTIONS
1. Use this tool for manufacturer’s recommended use only. Use other than which is described may result in injury or
property damage.
2. Do not exceed 700 lb. max. weight capacity (base model).
3. CAREFULLY AND SMOOTHLY start, stop and change direction.
4. Be aware that loads in motion have more force/weight than stationary loads. Sudden or rapid load movement may briey
create excess load force and result in product failure and/or a tipping hazard.
5. EVENLY CENTER YOUR LOAD. This equipment is designed for evenly centered loads. Off-centering of loads can
result in a dangerous operating condition and cause damage or injury.
6. When possible, KEEP LOAD STRAPPED to dolly during transport (E-Strap).
7. Use extreme caution when handling loosely stacked/packaged loads.
8. Do not use when tired or under the inuence of drugs or medication.
9. Always look in direction of travel.
10. Use caution when visibility is obstructed by load.
11. Ensure oor is clear of debris when moving a load.
12. When maneuvering a load, watch swing clearance near walls, racks, pillars and
other obstacles.
13. Do not use on uneven or slippery surfaces.
14. Be aware that the casters behave differently without a load than with a load.
15. DO NOT RIDE ON THIS EQUIPMENT. Do not carry passengers.
16. Maintain product labels and nameplates. These carry important safety information. If unreadable or missing, contact Saw
Trax Manufacturing for a replacement.

Page 4
IMPORTANT WARNINGS AND SAFETY PRECAUTIONS (Continued)
SUGGESTIONS FOR SAFEST AND EASIEST USE
Plan and prepare for the job before attempting to load the dolly
• Be sure the Dolly can handle your load's weight and size (base model: 700 lbs. max);
do not overload dolly
• Inspect dolly before each use for broken or bent areas and loose nuts/bolts
• If applicable, test brake operation before each use
• Dress Safely
* Wear sturdy shoes with nonskid soles to protect your feet from dropped loads and dolly wheels;
ANSI-approved steel-toed shoes are recommended
* Wear gloves that will provide a good grip
* Avoid loose or baggy clothing that could catch in the dolly or cause tripping
• Ensure Load Balance And Stability
* Place heavy objects at the bottom
* Evenly center your load
* Position the center of gravity of the load and saddle posts rearward over the center of the dolly, so that
all of the box casters bear the weight of the load
* Secure obects on dolly during transport to prevent shifting or falling
Operate Dolly Carefully to Minimize Physical Strain and Maximize Control
• Bend your knees and keep your back straight when loading or unloading
• Walk, do not run when transporting a load
• Never brace or brake the dolly with your foot
• When traveling downhill, stay behind the dolly
• When traveling uphill, stay in front of the dolly
• "Keep Your Eyes on the Road" and Stay Alert
* Be on the lookout for other vehicles
* Keep yourself and the dolly wheels away from dock and platform edges
* Inspect the oor for obstacles, slippery spots, inclines, blind corners, or debris that
could block casters

Page 5
OPERATING THE DOLLY MAX
1. The Dolly Max uses positionable posts to congure the dolly the way you need it. There are 10 vertical post
positions on top and 6 horizontal post position to increase surface area. The horizontal post have 4 possible
positions in the front/back and 2 positions on the sides.
*Note: You cannot use front/back and side post positions at the same time.*
2. Included wheelbarrow handle increases the functionality of the dolly. These handles have a quick install and
release with pins and brackets.
Insert post into bracket and insert locking pin when holes line up.

Page 6
Weight Capacity Upgrade
The standard Dolly Max comes with two front locking
casters. Two additinal casters can be added to
increase carry capacity from 700 lbs to 1000 lbs.
Load Situations
When loading the dolly you will want to center the load so it will not tip over. The majority of the weight should be
directly on the base. When loading sheets of material, you will want to start your load with posts positioned so the
weight is always centered on the base and move them out as necessary to prevent sideways tipping.
Maximum weight limits:
Base = 700 lbs
with casters = 1000 lbs
Side load of posts = 150 lbs at mid point / 75 lbs at top point
HELPFUL FEATURES
3. The Dolly Max has large 12.25" foam lled tires which
never go at and allow the dolly to maneuver over various
surfaces. Push with foam lled tires forward.

Page 7
ASSEMBLY (Foam Filled Tire Installation)
Required Tools
Swivel Board, Channel Lock Pliers (2)
1. Insert Axle into axle hole on either side of Cart Body and one (1) 12.25 in. Foam Filled All-Terrain
Tire.
Note: Longer tire hub stem should face to the outside of the Cart Body.
2. Place two (2) 5/8 in. Flat Axle Washers onto the axle between tire and remaining axle hole.
3. Slide Axle through remaining Tire.
Note: Longer tire hub stem should face to the side of the Cart Body.
4. Slide Axle through the remaining Axle Cart Body hole.
5. Place one (1) 5/8 in. Flat Axle Washer onto each end of the Axle.
6. Install four (4) Cotter Pins into drilled holes on Axle using Channel Lock Pliers (2) to secure.
Note: Two (2) Axel washers should be located between cotter key and Cart Body and two (2) washers should be
placed between the inside tire wall and axle cotter pin holes.
Required Materials
2 12.25 in. Foam Filled All-Terrain Tire
1 Axle – 26 in. with 4 drilled holes
4 5/8 in. Flat Axle Washer
4 Cotter Pin

Page 8
Revised 07/31/2020.
For information on the compatibility of the Dolly Max with any products
introduced aer this date, contact Saw Trax.
Dolly Max Instruction Manual © SAW TRAX MFG. 2020
ASSEMBLY (Front Caster Installation)
Required Tools
Two (2) Combination Wrenches 3/4 in.
Install one (1) Blue Locking Swivel Caster onto each front corner of the Cart Body as follows:
1. Place one (1) Blue Locking Swivel Caster threaded stud into each of the caster holes located in the front
corners of the Cart Body over the Caster Support Brackets.
2. Place one (1) 1/2 in. Caster Flat Washer onto the threaded caster stud.
3. Place one (1) 1/2in. Caster Lock Nut onto the threaded caster stud and tighten using the two (2) combination
wrenches.
4. Repeat steps 2 and 3 for the remaining Blue Locking Swivel Caster.
Required Materials
2 Blue Locking Swivel Caster
2 1/2 in. Caster Lock Nut
2 1/2 in. Caster Flat Washer

Page 9
Saw Trax Mfg., Inc. warrants every product it sells against manufacturers' defects and each product is designed
to give years of dependable service. Your new Cart or Dolly was built from the finest components available by our
trained craftsmen.
Warranty Period:
The general warranty lasts for the time specified in the literature included with your product or on the official Saw
Trax Mfg., Inc. branded website.
• Saw Trax Mfg., Inc. products carry a limited warranty which varies in duration based upon the product.
(See Product Listing with Warranty Period)
• Accessories carry a limited warranty of 90 days from the date of receipt.
• Consumable items are defined as expendable parts or accessories expected to become inoperable within
a reasonable amount of use and are covered by a 90-day limited warranty against manufacturer's defects.
Who is Covered:
This warranty covers only the initial purchaser of the product from the date of delivery.
What is Covered:
This warranty covers any defects in workmanship or materials subject to the limitations stated below. This warranty
does not cover failures due directly or indirectly to misuse, abuse, accidents, normal wear-and-tear, improper repair,
alterations or lack of maintenance Use of these machines in the processing of metal or some other materials may
void the warranty. This warranty gives you specific legal rights, and you may also have other rights which may vary
from state to state.
Saw Trax Mfg., Inc. will repair or replace, at our discretion, any component that is determined to be defective.
Repair or replacement is limited to providing replacement parts from the factory. Saw Trax Mfg., Inc. assumes no
responsibility for making repairs on site. Parts returned to the factory must be returned freight prepaid and include a
Return Authorization (R.A.) number. Please call 770-974-0021 for a R.A. number.
How to Get Technical Support:
Please contact Technical Service by calling 888-SAW-TRAX. Please note that you will be asked to provide proof
of initial purchase when calling. If a product requires further inspection, the Technical Service representative will
explain and assist with any additional action needed.
More Information:
Saw Trax Mfg., Inc. is constantly adding new products. For complete, up-to-date product information, check with
your local distributor or visit the Saw Tax Mfg, Inc. website.
Saw Trax Mfg., Inc. sells through distributors. The specifications listed in Saw Trax Mfg., Inc. printed materials and
on the official Saw Trax Mfg, Inc. website are given as general information and are not binding. Saw Trax Mfg,
Inc. reserves the right to effect at any time, without prior notice, those alterations to parts, fittings, and accessory
equipment which they may deem necessary for any reason whatsoever.
Limitations on This Warranty:
SAW TRAX MFG., INC. SHALL IN NO EVENT BE LIABLE FOR DEATH, INJURIES TO PERSONS OR
PROPERTY, OR FOR INCIDENTAL, CONTINGENT, SPECIAL, OR CONSEQUENTIAL DAMAGES ARISING
FROM THE USE OF OUR PRODUCTS. SOME STATES DO NOT ALLOW THE EXCLUSION OR LIMITATION
OF INCIDENTAL OR CONSEQUENTIAL DAMAGES, SO THE ABOVE LIMITATION OR EXCLUSION MAY NOT
APPLY TO YOU.
Warranty and Service
Product Listing with Warranty Period:
• 90 Days- Parts, Consumable items
• 90 Days- Accessories
• 3 Year- Cart or Dolly Body
Note: Custom designed Carts/Dollies are exempt from warranty
Table of contents
Other SAW TRAX Outdoor Cart manuals
Popular Outdoor Cart manuals by other brands

Homak
Homak PROFESSIONAL Series Owner's manual & operating instructions

OSP Designs
OSP Designs MLR37-NB Assembly instructions

Spectrum Industries
Spectrum Industries Pro32 owner's manual

Hyundai
Hyundai 15EPML Operation manual

CHIEF
CHIEF PPC-2000 instruction manual

Castleton Home
Castleton Home SG-5601 Product instructions