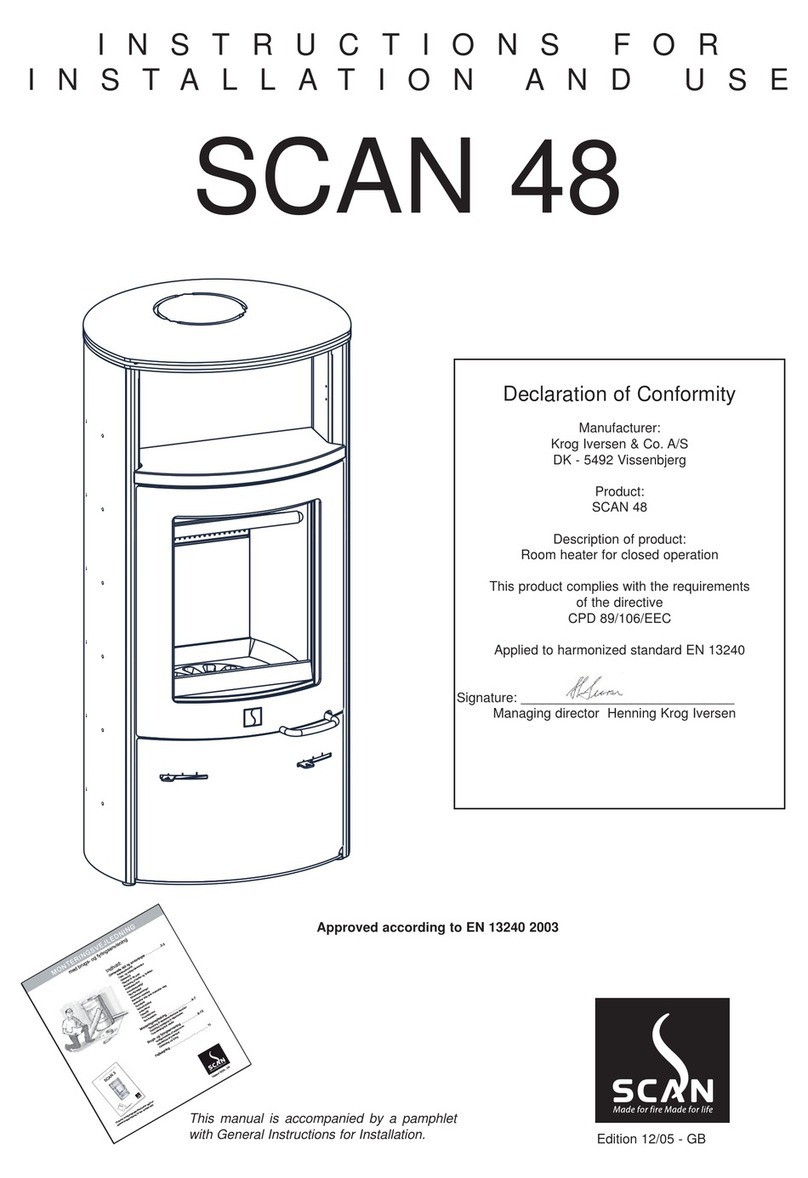
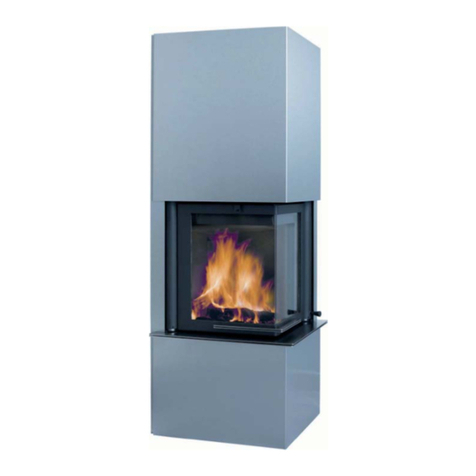
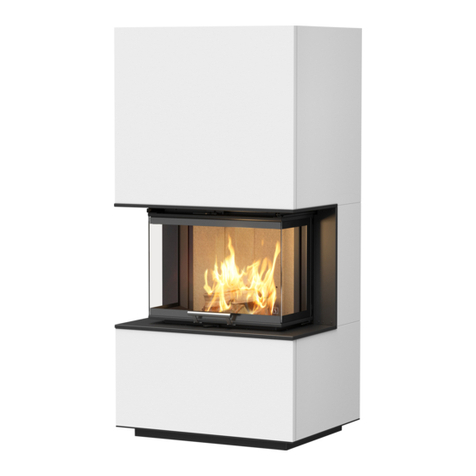
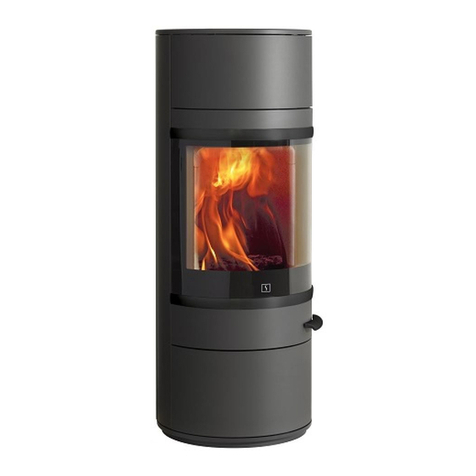
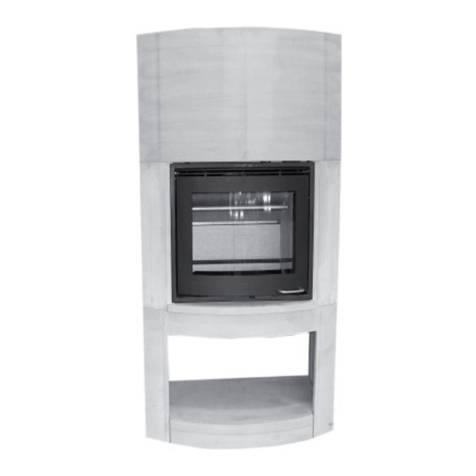
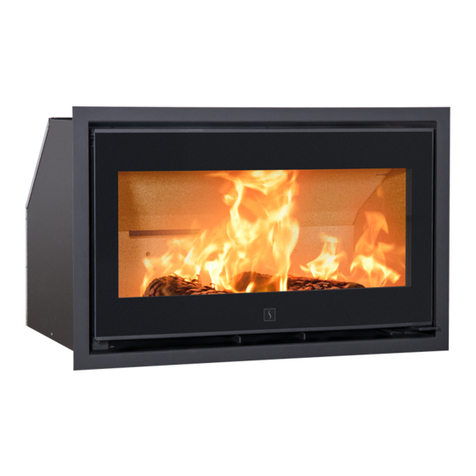
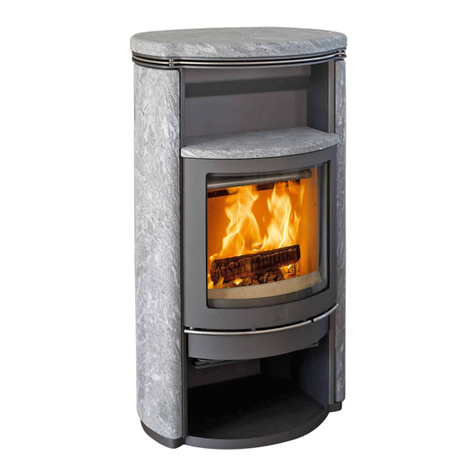
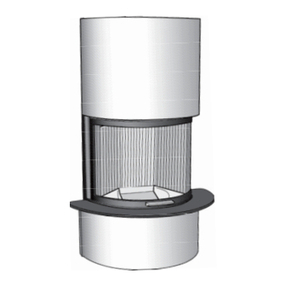
SCAN 66 series User guide

SCAN A/S - DK-5492 VISSENBJERG
ASSEMBLY- AND INSTRUCTIONS MANUAL
Scan 66 series
Product registration number
Please indicate the product registration number at any enquiry
UK
Congratulations on your new Scan wood-burning stove
You have purchased a product by one of Europe’s leading manufacturer’s of wood-burning stoves, and we are sure that you will have years of
pleasure with your purchase. To make the best possible use of your stove, it is important that you follow our advice and instructions.
Please read this Assembly- and instructions manual before you start to assemble your stove.

2CONTENTS
Table of contents
Technical data ...............................................................................................................................3
Installation
Safety
Technical data and dimensions
Dimension sketches
Type plate
Product registration number
Assembly .......................................................................................................................................10
Additional accessories
Loose parts
Disposal of packaging
Mounting of the base/wall fitting
Mounting of the burn chamber
Positioning your wood-burning stove
Distance to furniture
Distance to flammable materials, shown with insulated flue pipe
Distance to flammable materials, shown with un-insulated flue pipe
Distance to firewall
Height adjustment of stove
Load bearing foundation
Floor plate
Existing chimney and pre-fabricated element chimney
Connection between stove and steel chimney
Requirements for chimney
Connection with 90° elbow pipe
Connecting piece / top outlet
Connecting piece / rear outlet
Fresh air intake
Closed combustion system
Instruction for heating............................................................................................................ 28
CB technique
Primary air
Secondary air
Baffle plates
Ash drawer
Log guard
Lighting
Handling fuel
Maintenance ...............................................................................................................................32
Troubleshooting ........................................................................................................................ 35

3
TECHNICAL DATA
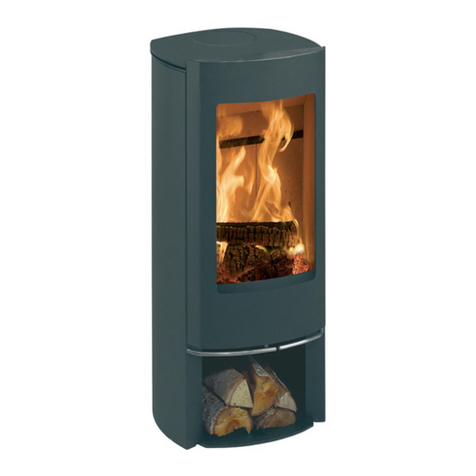
Scan 66-5
With S-Curve base
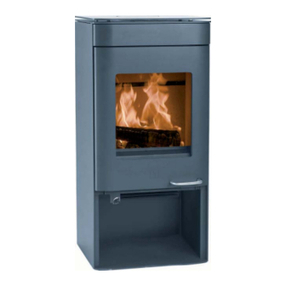
Scan 66-2
With pedestal base
Scan 66-4
With plinth base
Scan 66-1
Wallmodell
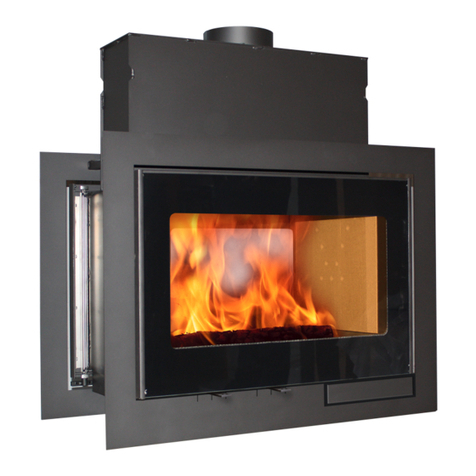
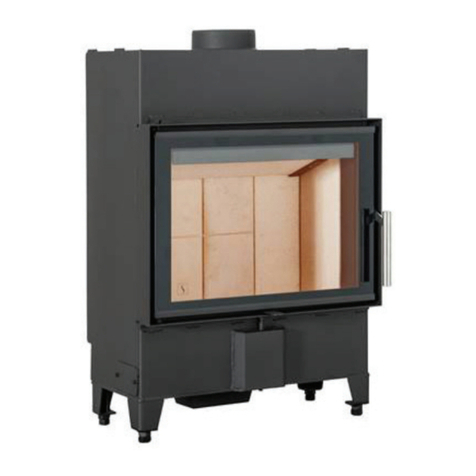
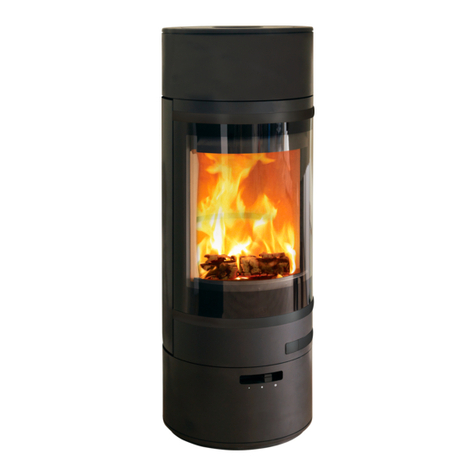
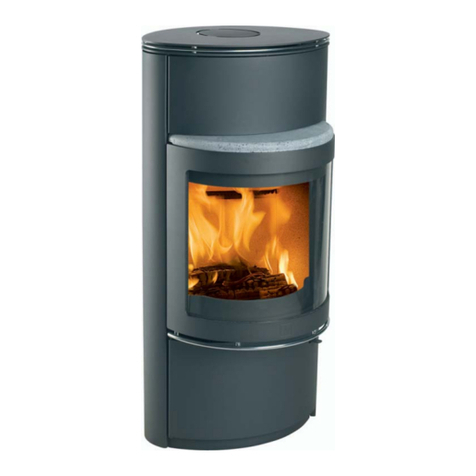
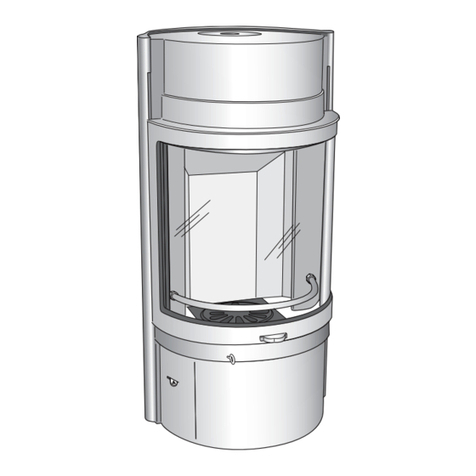
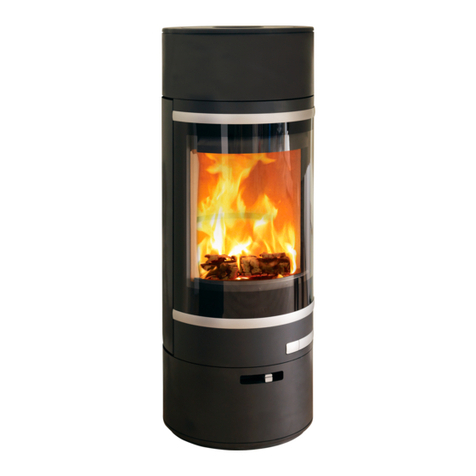
The Scan 66-series consists of:
Installation
The house owner is responsible for ensuring that installation and
assembly are in accordance with national and local building regu-
lations as well as the information provided in this Assembly and
Instruction Manual.
When you install any kind of fireplace or stove, you must inform the
local building and housing authorities. In addition you are obliged
to have the installation inspected and approved by a local chimney
sweep prior to commissioning.
To ensure best-possible functionality and safety for your installation,
we advise you to call a professional fitter.Your Scan Dealer will be able
to recommend a qualified fitter in your area. For information on Scan
Dealers, please go to http:// scan.dk.
Safety
Any changes made to the product by the dealer, fitter or user could
result in the product and safety functions not functioning as intend-
ed. The same applies to the fitting of accessories or extra equipment
not supplied by Scan A/S. This could also be the case if parts that are
necessary for the operation and safety of the stove are dismantled or
removed.

4
Scan 66 Technical data Unit
CO Emission at 13% O20,029 %
CO Emission at 13% O2367 mg/Nm3
Dust @ 13% O227 mg/Nm3
Nox@ 13% O285 mg/Nm3
Efficiency 78 %
Energy efficiency index 104,1
Energy efficiency class A
Nominel output 5kW
Chimney temperature EN 13240 302 °C
Amount of smoke 5,0 g/sek
Sub-pressure EN 13240 12 Pa
Recommended sub-pressure in connecting piece 16 - 18 Pa
Required combustion air supply 10,2 m3/h
Fuel Wood
Fuel consumption 1,72 kg/h
Amount of fuel 1,3 kg
Test in compliance with EN 13240
TECHNICAL DATA
PLEASE NOTE: You get the best use of the stove by using a ”top-down
lighting”, see page 28.
Technical data and dimensions
Materials Steel plate, cast iron, galvani-
sed sheet, vermicolite
Surface treatment Senotherm
Max. wood length 33 cm
Weight ca. 90-108 kg
Connecting piece internal diameter 144 mm
Connecting piece external diameter 148 mm
Approval type Intermittent fuelling
Intermittent operation in this context means normal use of a wood-
burning stove. In other words, you should let the fire die down until
only the embers are left before refueling.
This stove is produced in accordance with type approval for the
product, which also covers the product’s Assembly and Instruction
Manual.
The Declaration of Performance (DoP) is available from www.scan.dk

5
337
166**** 630
337
481
532
140
166****
171****
566**
117***
Front
Front
171****
366
483*
51
185
* Centre rear outlet
** Height to the beginning of the connecting
piece at top outlet
*** Fresh air intake at the back of the stove
**** Centre of fresh air intake bottom/
Connecting piece top outlet
Dimension sketch Scan 66-1 Wall
TECHNICAL DATA

382
452
171****
337
166**** 630
885**
946,5
799*
434***
185
140
481
532
366
483
Front
6
* Centre rear outlet
** Height to the beginning of the connecting
piece at top outlet
*** Fresh air intake at the back of the stove
**** Centre of fresh air intake bottom/
Connecting piece top outlet
Dimension sketch Scan 66-2 Pedestal
TECHNICAL DATA

7
171****
337
166****
946,5
434***
799*
185
140
630
380
500
885**
483
366
481
532
Front
Dimension sketch Scan 66-4 Plinth
TECHNICAL DATA
* Centre rear outlet
** Height to the beginning of the connecting
piece at top outlet
*** Fresh air intake at the back of the stove
**** Centre of fresh air intake bottom/
Connecting piece top outlet

8
943
630
337
313
301
171
166
881
796
430
1037
428 168,5
Dimension sketch Scan 66-5 S-Curve
TECHNICAL DATA

6600000
Scan 66-1
Wall mounted room heater fired by solid fuel
Standard:
Fuel type:
Operation type:
The appliance can be operated in a shared flue.
Country
EN 13240 DoP 90066601
Wood
Intermittent
EUR
Norway
Classification
Intermittent
Klasse 2
Certificate/Standard
EN 13240
ELAB-2081-NS
Approved by
Teknologisk Institut
³mN/gm72:2O%31tatsuD
C°203:erutarepmetsageulF
Wk5:tuptuotaehlanimoN
%87:ycneiciffE
Scan A/S DK 5492 Vissenbjerg
Minimum distance to combustible materials
Side: 300 mm - Front: 850 mm
CO emission at 13% O2:
Follow assembly- and instructions manual.
Use only recommended fuels.
Montage- und Bedienungsanleitung beachten.
Verwenden Sie nur empfohlene Brennstoffe.
6102-100001
0,029% 367 mg/Nm³
Germany Stufe 2 1. BlmSchV
)97DÝÝÙÝÝÚÝÝÛÝÝÜ
Freestanding room heater fired by solid fuel
)J7D:7H:
Fuel type:
Operation type:
The appliance can be operated in a shared flue.
Country
$áÚÙÛØ E&àØØÝÝÝØØ
Wood
Intermittent
EUR
Norway
Classification
Intermittent
Klasse 2
Certificate/Standard
EN 13240
ELAB-2081-NS
Approved by
Teknologisk Institut
Dust at 13% O2: 27 mg/Nm³
Flue gas temperature: 302°C
Nominal heat output: 5 kW
Efficiency: 78%
Scan A/S DK 5492 Vissenbjerg
Minimum distance to combustible materials
Side: 300 mm - Back: 150 mm - Front: 850 mm
CO emission at 13% O2:
Follow assembly- and instructions manual.
Use only recommended fuels.
Montage- und Bedienungsanleitung beachten.
Verwenden Sie nur empfohlene Brennstoffe.
1000 06-2016
0,029% 367 mg/Nm³
Schweiz
Germany Stufe 2
VKF Nr. 25728
1. BlmSchV
9
Type plate
Product regi-
stration num-
ber
TECHNICAL DATA
Type plate
All Scan wood-burning stoves are fitted with a type plate that speci-
fies the approval standards and the distance to flammable materials.
The type plate is located at the rear of the stove.
Product registration number
All Scan wood-burning stoves are provided with a product registra-
tion number.
The product registration number is located at the rear of the stove.
Please make a note of this number at the frontpage; you will always
need to quote it when contacting your dealer or Scan A/S.

1010
Scan 66-1
ASSEMBLY
Loose parts
• Glove
• Gasket
• Repair lacquer for colored stoves
Additional accessories
• Small shaped floor plate in glass or steel (steel only 66-2 & 66-5)
• Large shaped floor plate in glass or steel (steel only 66-2 & 66-5)
Disposal of packaging
Your Scan stove may come supplied with the following packaging:
WOOD PACKAGING: The wood packaging can be reused and after
final use can be incinerated as a CO2 neutral product or sent for
recycling.
POLYSTYRENE TOP: Send for recycling or waste disposal.
FOAM: Send for recycling or waste disposal.
PLASTIC BAGS: Send for recycling or waste disposal.
STRETCH FILM/PLASTIC FILM: Send for recycling or waste disposal.
Please note!
The stove must remain in the packaging during the mounting of
the wall fitting at top outlet.
If the stove is to be connected with a rear outlet, the stove must
be lifted out of the packaging and laid on e.g. a carpet, the front
facing downwards. See page 25.
Mounting of the base/wall fitting
Mount the base/the wall fitting before removing the stove from
the packaging.

)97DÝÝá
Wall mounted room heater fired by solid fuel
)J7D:7H:
Fuel type:
Operation type:
The appliance can be operated in a shared flue.
Country
$áÚÙÛØ E&àØØÝÝÝØá
Wood
Intermittent
EUR
Norway
Classification
Intermittent
Klasse 2
Certificate/Standard
EN 13240
ELAB-2081-NS
Approved by
Teknologisk Institut
Dust at 13% O2: 27 mg/Nm³
Flue gas temperature: 302°C
Nominal heat output: 5 kW
Efficiency: 78%
Scan A/S DK 5492 Vissenbjerg
Minimum distance to combustible materials
Side: 300 mm - Front: 850 mm
CO emission at 13% O2:
Follow assembly- and instructions manual.
Use only recommended fuels.
Montage- und Bedienungsanleitung beachten.
Verwenden Sie nur empfohlene Brennstoffe.
1000 08-2014
0,029% 367 mg/Nm³
Schweiz
Germany
A
B
C
A
B
C
11
2 x
6 x
4 x
1 x
The bag contains:
ASSEMBLY
PLEASE NOTE!
In order to mount the wall fitting to a chimney made of Leca-blocks
you need 6 pcs. FBS 8x70/5 US Leca screws.
The test report can be required at Scan A/S.

12
2.
335
310
108
108
310
322
1.
10 mm
3. 4.
ASSEMBLY
Mount the wall fitting on the wall.
It is important that it is level.
Mount bushing, screw and nut.
Dismount the rear plate by removing the four screws. Place
the rear plate on an even surface.
Remove the slits – use a drilling machine and nippers. Mount the rear plate loosely; it is not to be fixed, until after
the wall fitting has been mounted.

5. 6.
7. 8.
13
Mount the four screws loosely in the rear plate again, now
with the wall fitting in between. Screw the rails and the
bottom plate together in the sides. Tighten the four bottom
screws. Tighten up all screws.
Mount the bottom plate on the existing four screws. Let the rails glide down through the hole along the bottom
plate.
Mount the two adjustment screws.
ASSEMBLY

14
9.
)97DÝÝá
Wall mounted room heater fired by solid fuel
)J7D:7H:
Fuel type:
Operation type:
The appliance can be operated in a shared flue.
Country
$áÚÙÛØ E&àØØÝÝÝØá
Wood
Intermittent
EUR
Norway
Classification
Intermittent
Klasse 2
Certificate/Standard
EN 13240
ELAB-2081-NS
Approved by
Teknologisk Institut
Dust at 13% O2: 27 mg/Nm³
Flue gas temperature: 302°C
Nominal heat output: 5 kW
Efficiency: 78%
Scan A/S DK 5492 Vissenbjerg
Minimum distance to combustible materials
Side: 300 mm - Front: 850 mm
CO emission at 13% O2:
Follow assembly- and instructions manual.
Use only recommended fuels.
Montage- und Bedienungsanleitung beachten.
Verwenden Sie nur empfohlene Brennstoffe.
1000 08-2014
0,029% 367 mg/Nm³
Schweiz
Germany
12.
11.
10.
CLICK!!
ASSEMBLY
Now hook the stove onto the wall fitting on the wall. Adjust the stove so that the doors has the correct slope.
Replace the type plate on the stove with the one delivered
with the wall fitting.
Mount the screws in order to lock the stove to the wall fitting.
Adjust from the bottom.

Scan 66-2
15ASSEMBLY
(see page 26)
(see page 26)
No external combustion air
Mount the pedestal directly on the stove, without the division plate.
External combustion air from the rear
Mount the delivered cover plate, then the pedestal.
The cover plate from the rear is not to be reused.
Fasten the screws.
External combustion air from the bottom
Use the delivered division plate. First cut out the hole, mount the
division plate, then the pedestal. Fasten the screws.

16
Scan 66-4
ASSEMBLY
Prepared for external air at
the bottom.
Cut out the hole with a
pair of cutting nippers.
Fasten the four screws after mounting the base.

17
Scan 66 -5
ASSEMBLY
Place the delivered magnets on the markings on the front of the
base and mount the loose front. Please note that the base can be
mounted at the right or at the left of the stove.
Fasten the screws lightly so that it is possible to lift the stove with
base up.
Make sure that the S-base is horizontal – if necessary, use a spirit
level. Adjust the stove on the base, and then tighten the four screws.
Mount the S-shaped base on the stove before removing the packing.
Loosen the four screws (ca. 4-5 mm) so that it is possible to hook the
base on the stove.

18
100°
10,1
63
B
1
284
R
B
1
177,5
B
1
72,5B1
R
6
R6
=
÷
Click
ASSEMBLY
1 Scan 66-stove body
6 Skamol plates
2 pins for baffle plates
1 connecting piece for external
combustion air
1 log guard made of glass
Opening of the door
Push the handle backwards
in order to open the door.
Close the door without moving the
handle.

12 11
19
1
5
9
2
6
10
3
7
4
8
11 12
Please remove protection Mount the rear plate Slide the plate behind the grate
Rear plate mounted Fit the left side plate in at the top Slide the plate in place
Left side plate mounted Mount the right side plate in the
same way as the left plate
Right side plate mounted
Upper front plate Pass the plate towards the rear Lift the plate over the side plates
ASSEMBLY

20 ASSEMBLY
14
13 15
16 18
17
19 20 21
22 23 24
Mount the pins in the side plates
All burn chamber plates have now
been mounted Mount the glass log guard The stove can now be taken into
use
Push the plate a bit backwards so
that it rests on the rail in the back Lower baffle
Let the plate rest on the rail with
the air slots Push the plate backwards in order
to mount the pins
Let the plate glide back on the
upper edge Upper baffle Mount the upper baffle (the
carvings must turn backwards)
Push the plate upwards so that it
rests on the front plate
Other manuals for 66 series
2
This manual suits for next models
4
Table of contents
Other SCAN Stove manuals
Popular Stove manuals by other brands

EdilKamin
EdilKamin Simpaty Cherie Installation, use and maintenance

Harman Stove Company
Harman Stove Company P68 Installation & operating manual

Camp Chef
Camp Chef Everest MSHPX Warning & instruction booklet

Qlima
Qlima ECO 1700 installation manual

Berndes
Berndes Besser Use and care instructions

SOLZAIMA
SOLZAIMA Hidro 12 instruction manual

Coleman
Coleman 5441 Series Instructions for use

Capital fireplaces
Capital fireplaces Triton 450 Glass instructions

RIKA
RIKA Topo II operating manual

Dunsley Heat
Dunsley Heat Highlander 5 Enviro-Burn Installation and operating instructions

Leenders
Leenders Lobbe 45000 user manual

HWAM
HWAM 3600 quick start guide