PROTECTOR SYSTEM
The music reproduction quality of an audio system is highly affected by low and high frequency electrical interfering fields, caused by Wi-Fi,
cellular radio, power lines etc.With the
PROTECTORS
and their integrated trendsetting
GIGA-PULSE
technology, SCHNERZINGER has developed
aproduct category that actively eliminates the sonic effects of low and high frequency interfering fields.
The PROTECTORS significantly enhance the transmission quality of audio systems.The sonic effects include an astonishingly higher spatial
depth and resolution as well as increased broad and fine dynamics in music reproduction.
Utilizing the operating principle and efficiency of the GIGA-PULSE technology, the SCHNERZINGER PROTECTORS represent aunique solution in
the market.
An important health aspect:protector technology does not increase radiation exposure within the room.
2
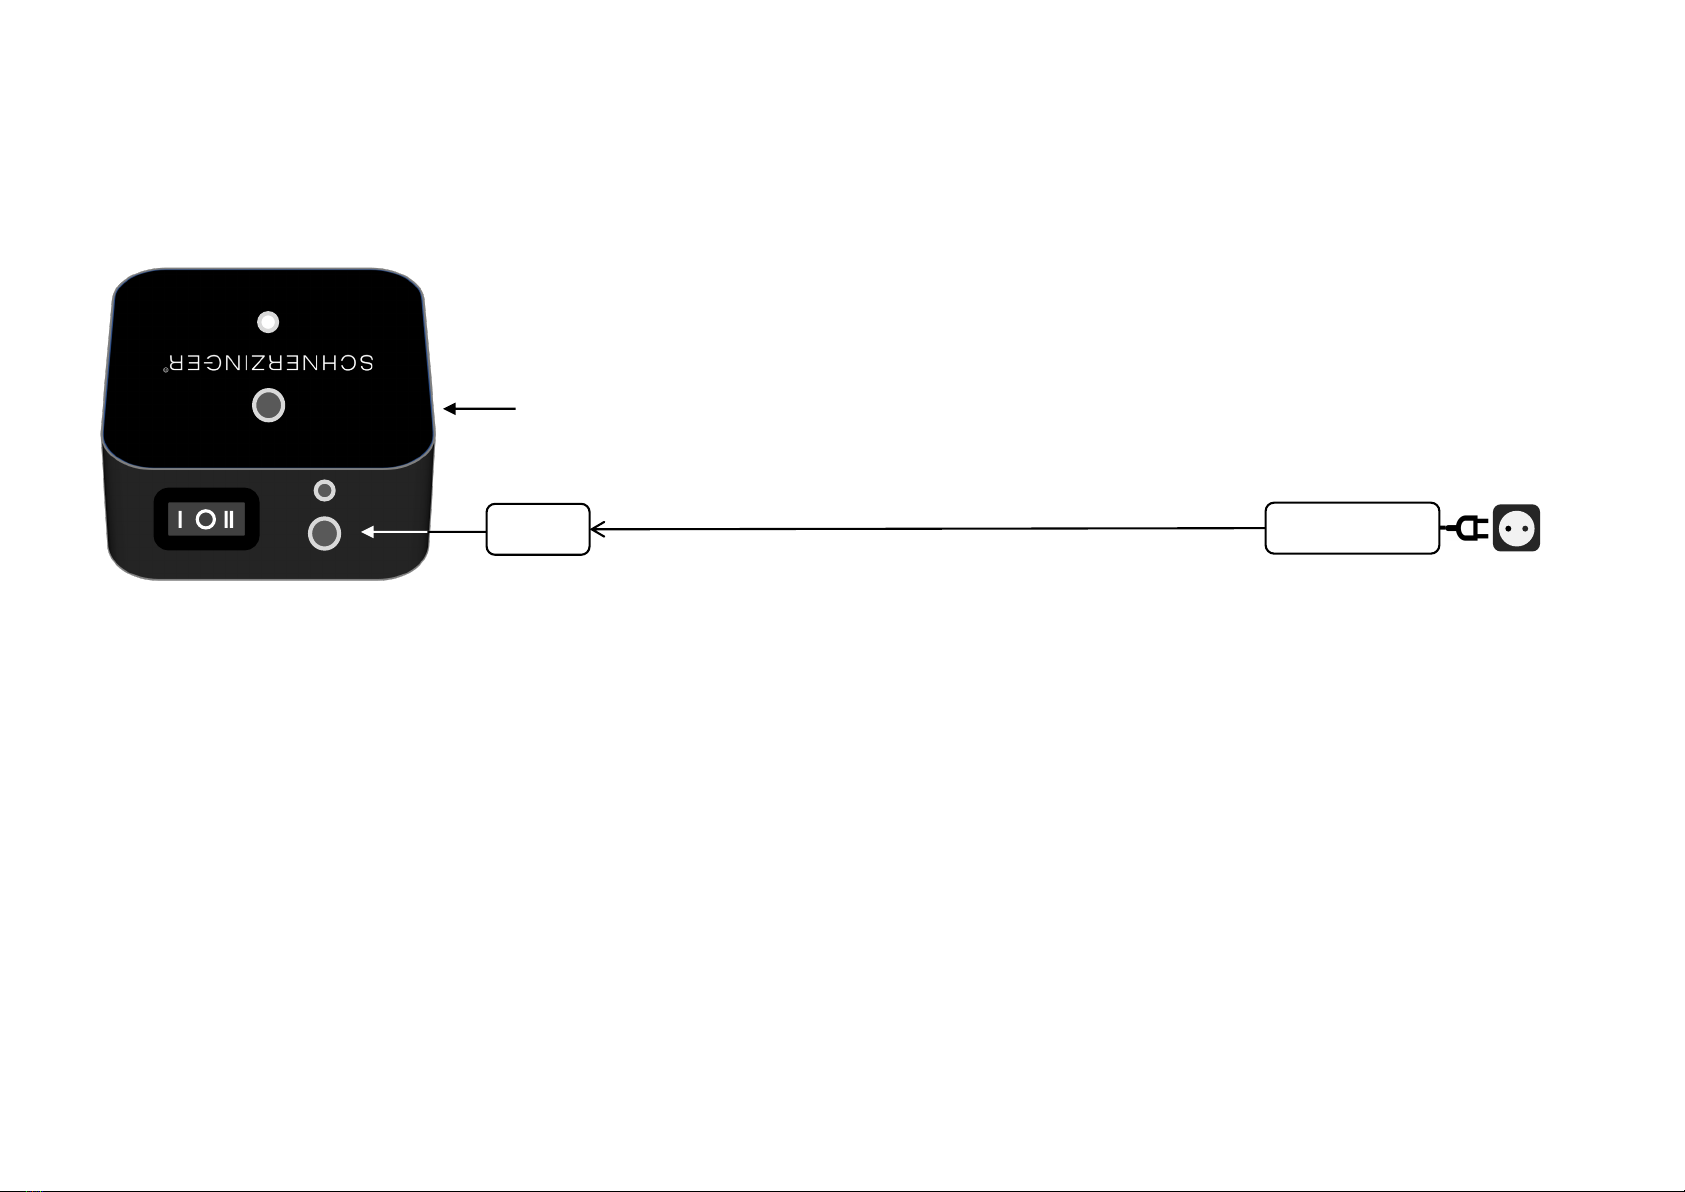
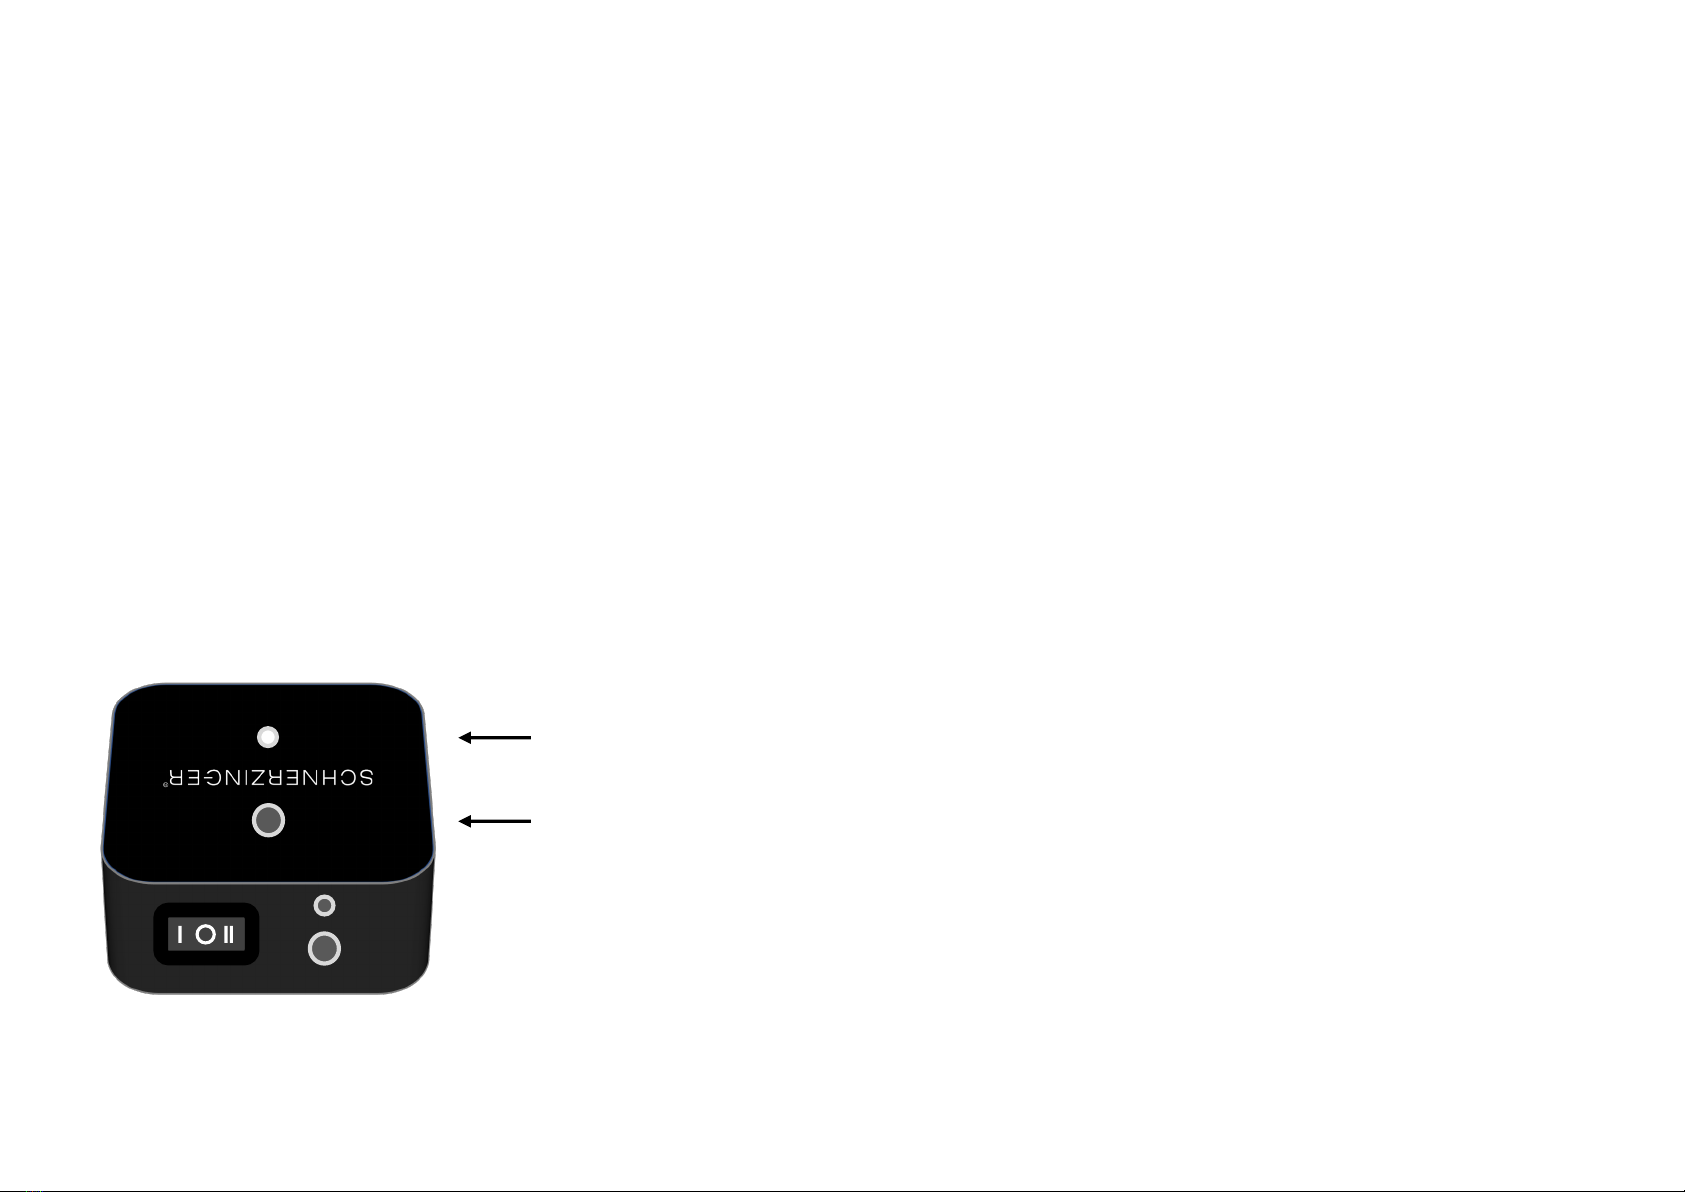
GIGA GUARD
Protection of Hi-Fi -components via direct plug-in
Wireless controlled GIGA GUARDs use GIGA-PULSE technology to clear up internal interfering fields, originating in the devices. From the master
unit they receive a dejamming signal, actively penetrating the entire device.
In order to protect the sensitive signal inside the devices against impairment, developers of high grade devices try hard to keep interfering fields
low inside of the devices by use of very low stray field components or by shielding enclosures. Problematic power filter or conditioner may help
keep external field loads away from the device, but the inner interfering fields, caused by the equipment itself and close to the audio signal,
cannot be cleared up this way.
In contrast the GIGA GUARDs actively operate right in the equipment, in the immediate vicinity of the signal-transmitting components. This
makes them an unrivaled solution on the market.
The product line comprises several specific GIGA GUARD modules for the respective application:
RCA, XLR, BNC, USB.