Scholl 26060/FB/DIG User manual

GBA C 5110 2 E
BA Page 1 of 24 März 17, 2021
Last revised 03-2021 Rev. 2
Scholl Apparatebau GmbH & Co. KG
Instructions for Use
Hot plate for flush built-in
Digital 30-150°C
Model-No. L (mm) Art.-No. Art.-No. Art.-No.
D (mm) 400 500 600
26060/FB/DIG/- 600 C 5110 C 5111 C 5112
26070/FB/DIG/- 700 C 5113 C 5114 C 5115
26080/FB/DIG/- 800 C 5116 C 5117 C 5118
Scholl Apparatebau GmbH & Co. KG
Zinhainer Weg 4
D–56470 Bad Marienberg/Germany
Phone +0049 (0) 2661 –9868-10
Fax +0049 (0) 2661 –9868-38 (Service)
Internet www.scholl-gastro.de

GBA C 5110 2 E
BA Page 2 of 24 März 17, 2021
Last revised 03-2021 Rev. 2
Scholl Apparatebau GmbH & Co. KG
TABLE OF CONTENTS
Table of contents............................................................................................................................................... 2
Preface............................................................................................................................................................... 4
1Conventions............................................................................................................................................... 5
1.1 Pictograms –General safety notes .................................................................................................. 5
1.2 Pictograms –Warning notes............................................................................................................ 7
1.3 Pictograms –Important notes ......................................................................................................... 8
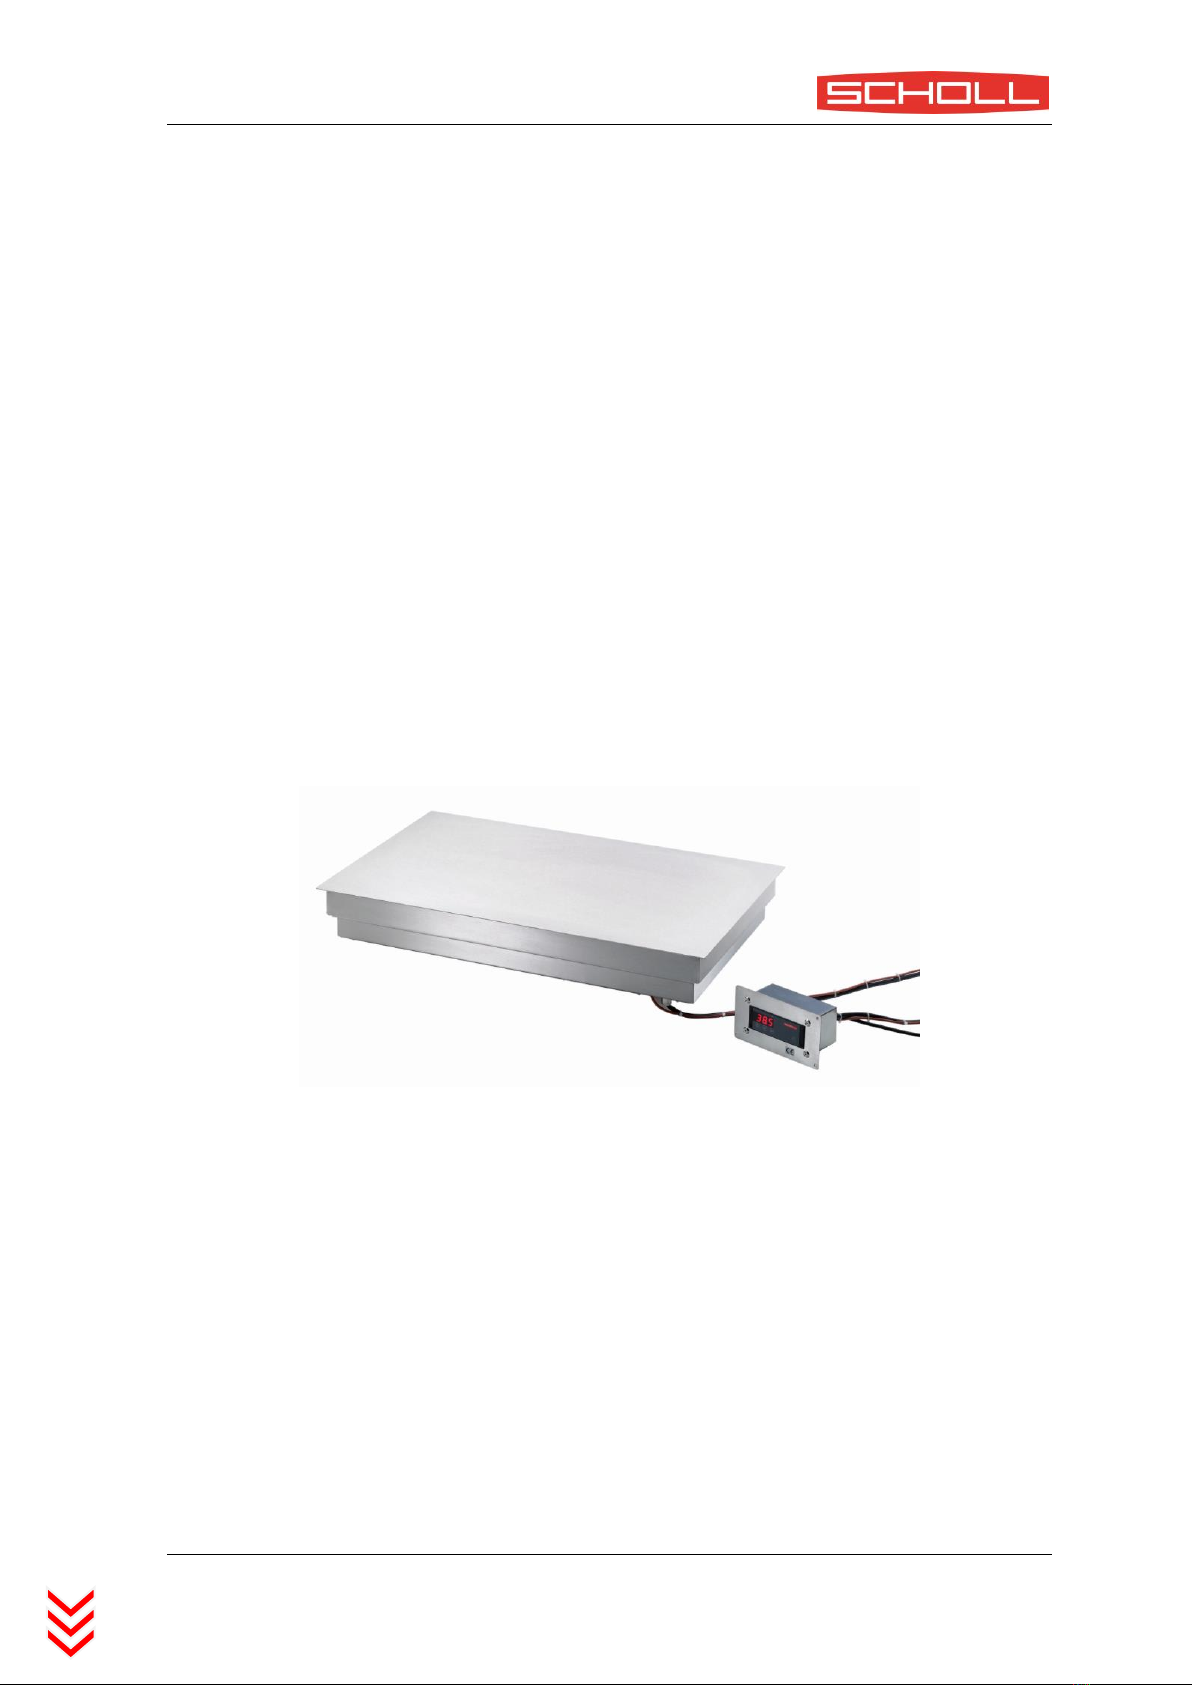
2Product information .................................................................................................................................. 9
2.1 Information regarding compliance with standards, laws and directives ......................................... 9
2.2 Safety ............................................................................................................................................... 9
3Packing, transport, intermediate storage, scope of delivery .................................................................. 10
3.1 Packing ........................................................................................................................................... 10
3.2 Transport........................................................................................................................................ 10
3.3 Intermediate storage ..................................................................................................................... 10
3.4 Scope of delivery............................................................................................................................ 10
4Installation and electrical installation ..................................................................................................... 11
4.1 Installation ..................................................................................................................................... 11
4.2 Electrical installation...................................................................................................................... 12
5Operation ................................................................................................................................................ 13
5.1 Operation temperature controller................................................................................................. 13
5.1.1 Status messages temperature controller .................................................................................. 14
5.2 Intended use .................................................................................................................................. 15
5.3 Unintended use.............................................................................................................................. 15
6Maintenance ........................................................................................................................................... 16
6.1 Maintenance and repair ................................................................................................................ 16
6.2 Cleaning and care........................................................................................................................... 16
7Troubleshooting ...................................................................................................................................... 18

GBA C 5110 2 E
BA Page 3 of 24 März 17, 2021
Last revised 03-2021 Rev. 2
Scholl Apparatebau GmbH & Co. KG
7.1 Possible malfunctions .................................................................................................................... 19
8Technical data.......................................................................................................................................... 20
8.1 Execution ....................................................................................................................................... 20
8.2 Dimensioned drawings .................................................................................................................. 20
8.3 Circuit diagrams ............................................................................................................................. 20
8.4 Spare parts list ............................................................................................................................... 21
9Disposal and Environmental Notes ......................................................................................................... 22
9.1 Disposal of packing material .......................................................................................................... 22
9.2 Disposal of the appliance ............................................................................................................... 22
10 Warranty and service ......................................................................................................................... 23
10.1 Warranty conditions ...................................................................................................................... 23
10.2 Service............................................................................................................................................ 23
10.3 Service address .............................................................................................................................. 24

GBA C 5110 2 E
BA Page 4 of 24 März 17, 2021
Last revised 03-2021 Rev. 2
Scholl Apparatebau GmbH & Co. KG
PREFACE
Congratulations!
In purchasing this new SCHOLL appliance you have chosen a product which meets highest technical stand-
ards while providing outstanding convenience in practical use.
This appliance has been designed with minimal energy consumption in mind. Used responsibly, it will serve
you well in an ecologically sound manner.
Please read the information in this manual carefully before starting up this appliance. On the following
pages you will find important notes regarding its operation, care and maintenance so that you will be able
to enjoy its use for a long time.
If a malfunction should nevertheless occur, please consult the "Troubleshooting" section first. In many cases
you should be able to remedy minor problems yourself, thus saving unnecessary service costs.
Please retain this manual carefully and pass it on to any subsequent user for his or her information and
safety.
A quality product, properly treated, will give you many years of satisfactory service.
We trust you will enjoy using this product!
Yours sincerely
Gustav Scholl Apparatebau GmbH & Co. KG

GBA C 5110 2 E
BA Page 5 of 24 März 17, 2021
Last revised 03-2021 Rev. 2
Scholl Apparatebau GmbH & Co. KG
1 CONVENTIONS
1.1 PICTOGRAMS –GENERAL SAFETY NOTES
Be sure to observe these Instructions for Use as well as the safety notes to prevent
injuries or damage to health or property. Do not alter or modify this appliance.
Never use a defective appliance. If you suspect the unit of being faulty or discover
an unusual noise or smell, turn off the power switch and pull the plug out of the
socket-outlet, or otherwise disconnect the appliance from the mains and de-
energize it (i.e., ensure that it no longer carries any voltage). Do not use this appli-
ance when its power cord is damaged.
Failure to observe this warning may result in a fire hazard or electrical shock!
Maintenance and repair work must be carried out only by qualified professionals
using original spare parts and accessories. Do not attempt to carry out repairs on
this appliance yourself!
Connect this appliance to suitably earthed mains outlets only. Ensure that your
mains power supply conforms to the data stated on the nameplate of the appliance.
Failure to observe this warning may result in a fire hazard or electrical shock!
This appliance is not intended to be used by persons (including children) of limited
physical, sensory or intellectual abilities, or lacking in experience and/or knowledge,
unless they are supervised by a person responsible for safety who instructs them in
the use of the device. Children should be supervised to ensure they will not play
with this appliance.
Do not run the power cord near heat sources, over sharp edges, etc. Always pull on
the plug, not the cord, to remove it from a socket-outlet since the cord might be
damaged as a result. Do not allow cords to hang unsupported. Route the cord so
that it will not form a tripping hazard!
Do not allow this appliance to operate unattended. Ensure that the appliance is
switched off before inserting the plug into an electrical socket-outlet. Avoid starting
the unit unintentionally. Connecting the unit to the mains with its power switch set
to ON may cause accidents.
Protect this appliance from moisture (water spray, rain). Any penetration of water
into the unit will increase the risk of an electrical shock.

GBA C 5110 2 E
BA Page 6 of 24 März 17, 2021
Last revised 03-2021 Rev. 2
Scholl Apparatebau GmbH & Co. KG
Do not touch the surfaces of the appliance. The surfaces of this appliance may get
hot. Please allow the unit to cool down fully before cleaning or stowing it. Never
cover this appliance.
Burn injury or fire hazard!

GBA C 5110 2 E
BA Page 7 of 24 März 17, 2021
Last revised 03-2021 Rev. 2
Scholl Apparatebau GmbH & Co. KG
1.2 PICTOGRAMS –WARNING NOTES
Before any cleaning, maintenance or repair work is carried out, the appliance must
be disconnected from the mains and de-energized. To do so, it is not enough to set
the power switch to OFF. Instead, the mains plug must be pulled or the electrical
circuit must be de-energized, respectively. Check that no voltage is present before
opening the appliance, and lock out the circuit to make it safe against re-energizing.
Cleaning must only be performed by qualified persons who have read and under-
stood these Instructions for Use and are familiar with applicable hygiene rules. En-
sure that care is exercised during cleaning of the unit.
Cleaning of stainless steel
For light cleaning, wipe down the surface with a cloth or soft brush/sponge soaked
in warm water which contains a small amount of dishwashing detergent. Follow this
up by wiping with clear water until no cleaning agent residue remains on the sur-
face, as the latter might cause discoloration or stains. Finish by rubbing the surface
dry.
To remove more stubborn or extensive residue, a stainless steel cleaning product
may be used.
Never use any of the following for cleaning:
aggressive or bleaching products, i.e., containing active oxygen, chlorine, or
caustic/corrosive constituents.
abrasive cleaning products such as scouring creams/pastes, steel wool, saponi-
fied steel wool, metal or plastic sponges, or sponges with a scratchy surface
(scouring side).
Never use steam and/or pressure jet cleaning equipment to clean this appliance!
This might damage the appliance to the point where it may
pose a hazard to your life!
The total permitted regeneration and hot-holding time according to HACCP will be
exceeded after 3 hours.
Risk of potential health impairment!
Allow the unit to cool down before starting any cleaning work.
Burn hazard!

GBA C 5110 2 E
BA Page 8 of 24 März 17, 2021
Last revised 03-2021 Rev. 2
Scholl Apparatebau GmbH & Co. KG
1.3 PICTOGRAMS –IMPORTANT NOTES
DANGER
indicates an immediately threatening hazard.
Failure to observe this warning notice will result in severe physical injury or death.
WARNING
indicates a potentially dangerous situation.
Failure to observe this warning notice may result in severe physical injury or
death.
CAUTION
indicates a potentially harmful situation.
Failure to observe this notice may result in damage to property.
DANGER –electrical voltage
indicates an immediately threatening hazard.
Failure to observe this warning notice will result in severe physical injury or death.
CAUTION! IMPORTANT
Improper use may result in minor injuries or damage to property.
In addition to these Instructions for Use, a number of accident prevention and other
regulations apply with regard to the operation of this appliance. As regards food
handling, please observe HACCP rules concerning compliance with hygiene require-
ments.
If you have any questions, please contact your supervisor(s) or safety representa-
tive.
This product must not be disposed of in domestic waste.
Please arrange for proper recycling of this product via your local provider of waste
disposal services.

GBA C 5110 2 E
BA Page 9 of 24 März 17, 2021
Last revised 03-2021 Rev. 2
Scholl Apparatebau GmbH & Co. KG
2 PRODUCT INFORMATION
Hot plates are electrically heated and are used for keeping the preheated food and baked goods on output
temperature. Hot plates are feeded from above using appropriate dishes.
2.1 INFORMATION REGARDING COMPLIANCE WITH STANDARDS,LAWS AND DIRECTIVES
This appliance conforms to the following:
Standards, laws, directives
2014/35/EU
Low Voltage Directive
2014/30/EU
EMC Directive
2.2 SAFETY
This appliance conforms to accepted technical rules and relevant safety codes.
However, proper use of the appliance is a prerequisite for effectively preventing
damage or accidents. Please comply with the notes provided in these Instructions
for Use.
Further safety notes, refer to section
1.1 Pictograms –General safety notes
1.2 Pictograms –Warning notes
1.3 Pictograms –Important notes

GBA C 5110 2 E
BA Page 10 of 24 März 17, 2021
Last revised 03-2021 Rev. 2
Scholl Apparatebau GmbH & Co. KG
3 PACKING,TRANSPORT,INTERMEDIATE STORAGE,SCOPE OF DELIVERY
3.1 PACKING
The type of packing employed will depend, to a large extent, on the adopted shipping mode and route.
Except where otherwise agreed by contract, packing will conform to the "HPE Packing Guideline" defined by
the German Federal Association of the Wooden Materials, Pallets and Export Packing Industry and by the
German Engineering Federation.
3.2 TRANSPORT
Particular care must be exercised during shipping and handling of this appliance to prevent damage result-
ing from exposure to excessive force or careless loading/unloading.
Shocks during shipping and handling must be avoided.
The appliance itself must be handled with care.
3.3 INTERMEDIATE STORAGE
Appliances not to be installed immediately upon delivery must be carefully stored in a protected place. For
the duration of such storage they must be properly covered to prevent any ingress of dust and moisture
into the unit.
3.4 SCOPE OF DELIVERY
The content of the delivery is stated in the delivery note and must be checked for completeness upon re-
ceipt.
Any damage in transit and/or missing items must be reported in writing immediately.

GBA C 5110 2 E
BA Page 11 of 24 März 17, 2021
Last revised 03-2021 Rev. 2
Scholl Apparatebau GmbH & Co. KG
4 INSTALLATION AND ELECTRICAL INSTALLATION
4.1 INSTALLATION
Before the installation of the appliance, observe the following:
Inspect the unit for any defect or damage sustained in transit.
Check all screw connections for tightness.
Familiarize yourself with the Instructions for Use and with the conditions for the safe operation of this
appliance.
Practice:
Place the hot plate at a suitable location.
Prepare cut-out for hot plate in on site worktop.
Prepare cut-out for temperature controller built-in casing in on site counter top.
Screw off the front cover from the temperature controller built-in casing.
Guide the temperature controller built-in casing through the cut-out opening from behind.
Screw the front cover to the temperature controller built-in casing again.
Attach the front cover to the on site counter cover.
Attach the hot plate from above in the workplace section.
Seal the hot plate edge.
Clean the unit before the first use according to chapter "Cleaning and care”.

GBA C 5110 2 E
BA Page 12 of 24 März 17, 2021
Last revised 03-2021 Rev. 2
Scholl Apparatebau GmbH & Co. KG
4.2 ELECTRICAL INSTALLATION
The appliance may only be installed by a qualified electrician whilst taking into
account the applicable regulations!
Connect this appliance to suitably earthed mains outlets only. Ensure that your
mains power supply conforms to the data stated on the nameplate of the appliance.
Failure to observe this warning may result in a fire hazard or electrical shock!
Before putting the appliance into service, observe the following:
Faulty equipment must not be taken into operation!
Legal requirements and the connection conditions of your local power supply company must be fully
observed.
Electrical safety functions must be carried out and checked for operability.
Full protection against electric shock hazard must be ensured by the installation.
This device is protection class I, the mains connection line has a protective conductor.
This device is equipped with a mains connection line with plug.
This device must be set up so that the plug is freely accessible; otherwise, an on-site upstream separat-
ing device (e.g. switch with at least 3 mm contact opening width) must be installed to ensure complete
disconnection from the mains.

GBA C 5110 2 E
BA Page 13 of 24 März 17, 2021
Last revised 03-2021 Rev. 2
Scholl Apparatebau GmbH & Co. KG
5 OPERATION
The hot plate has a digital temperature controller. The temperature controller switches the hot plate on
and off and the temperature can be adjusted from 30°C to 150°C.
5.1 OPERATION TEMPERATURE CONTROLLER
LED status indication heating
UP DOWN SET STANDBY
Key
Function
Key UP
With this key the temperature setpoint can be increased; the SET key must be pressed for this.
Key DOWN
With this key the temperature setpoint can be decreased; the SET key must be pressed for this.
At alarm the buzzer function can be switched off with this key.
Key SET
While this key is pressed, the temperature setpoint is displayed.
While this key is pressed, the temperature setpoint can be changed with the keys UP and
DOWN.
Key STANDBY
This key puts the controller into standby mode.
Pressing the key a second time, restarts the unit.

GBA C 5110 2 E
BA Page 14 of 24 März 17, 2021
Last revised 03-2021 Rev. 2
Scholl Apparatebau GmbH & Co. KG
Display and LED
Description
Temperature controller is switched off (Standby-Mode).
Temperature controller is switched on.
Temperature is 55°C (actual value).
Heating is active (LED 1 lights).
If none of the keys is pressed, the display indicates the actual value of the temperature. Pressing the SET
key, the setpoint shows on the display.
If the setpoint is to be changed, the SET key is to be kept pressed while adjusting the setpoint with the keys
UP and DOWN.
Please note that the setpoint can only be changed within the set setpoint limits.
The LED 1 lights up when the temperature controller heats.
The set temperature (set value) will be stored even after switching off the temperature controller. The last
set temperature (set value) is active after switching on the temperature controller.
5.1.1 STATUS MESSAGES TEMPERATURE CONTROLLER
Message
Cause
Error elimination
“AUS” or “OFF”
Standby modus, no regulation
Switch on with STANDBY key
F1L
Sensor error,
short-circuit at sensor
Check sensor
F1H
Sensor error,
open-circuit at sensor
Check sensor
Buzzer
Temperature alarm or sensor error
The buzzer function can be switched off
with the DOWN key.
EP, display flashes
Data loss at parameter memory
(Contact is switched off)
If error cannot be eliminated by switching
on/off, the controller must be repaired.

GBA C 5110 2 E
BA Page 15 of 24 März 17, 2021
Last revised 03-2021 Rev. 2
Scholl Apparatebau GmbH & Co. KG
5.2 INTENDED USE
Practice:
Switch on the hot plate with the temperature controller (STANDBY key).
The display of the temperature controller shows the actual temperature (actual value).
Press the SET key to display the set temperature (set value).
Set the temperature controller to the desired temperature (SET key, UP key, DOWN key).
The LED 1 lights up when the temperature controller heats.
After the heating time, the device is ready for operation and can be equipped with the foods to be
kept warm.
The food must be preheated and must not be deep-frozen!
Please use suitable crockery for best heat performance.
For switching off after use of the hot plate:
Switch off the temperature controller (STANDBY key).
Let the hot plate cool off.
The set temperature (set value) will be stored even after switching off the temperature controller. The last
set temperature (set value) is active after switching on the temperature controller.
Do not touch the device surfaces. The surfaces of the device may grow hot. Please
let the device cool off entirely before cleaning it. Do not cover the device.
Danger of burns and fire!
5.3 UNINTENDED USE
Please observe strictly:
Hot plates are not for defrosting/warming up of deep-frozen/cooled food.
Hot plates are not for cooking food.

GBA C 5110 2 E
BA Page 16 of 24 März 17, 2021
Last revised 03-2021 Rev. 2
Scholl Apparatebau GmbH & Co. KG
6 MAINTENANCE
6.1 MAINTENANCE AND REPAIR
Maintenance and repairs on the appliance must only be carried out by an author-
ized professional observing applicable safety regulations.
Improperly executed work will put your safety at risk!
Before any cleaning, maintenance or repair work is carried out, the appliance must
be disconnected from the mains and de-energized. To do so, it is not enough to set
the power switch to OFF. Instead, the mains plug must be pulled or the electrical
circuit must be de-energized, respectively. Check that no voltage is present before
opening the appliance, and lock out the circuit to make it safe against re-energizing.
6.2 CLEANING AND CARE
Before any cleaning, maintenance or repair work is carried out, the appliance must
be disconnected from the mains and de-energized. To do so, it is not enough to set
the power switch to OFF. Instead, the mains plug must be pulled or the electrical
circuit must be de-energized, respectively. Check that no voltage is present before
opening the appliance, and lock out the circuit to make it safe against re-energizing.
Never use steam and/or pressure jet cleaning equipment to clean this appliance!
This might damage the appliance to the point where it may
pose a hazard to your life!
Allow the unit to cool down before cleaning it. Burn hazard!
Stainless steel is particularly susceptible to scratching!
Remove lime, grease and starch residue immediately to avoid the formation of
stains.
When using a cleaning product, observe the instructions for use provided by its
manufacturer.

GBA C 5110 2 E
BA Page 17 of 24 März 17, 2021
Last revised 03-2021 Rev. 2
Scholl Apparatebau GmbH & Co. KG
Cleaning must only be performed by qualified persons who have read and under-
stood these Instructions for Use and are familiar with applicable hygiene rules. En-
sure that care is exercised during cleaning of the unit.
Cleaning of stainless steel
For light cleaning, wipe down the surface with a cloth or soft brush/sponge soaked
in warm water which contains a small amount of dishwashing detergent. Follow this
up by wiping with clear water until no cleaning agent residue remains on the sur-
face, as the latter might cause discoloration or stains. Finish by rubbing the surface
dry.
To remove more stubborn or extensive residue, a stainless steel cleaning product
may be used.
Never use any of the following for cleaning:
aggressive or bleaching products, i.e., containing active oxygen, chlorine, or
caustic/corrosive constituents.
abrasive cleaning products such as scouring creams/pastes, steel wool, saponi-
fied steel wool, metal or plastic sponges, or sponges with a scratchy surface
(scouring side).
We recommend you to clean the stainless steel surface once per week using a
standard commercial stainless steel care product. This will result in the formation of
a protective layer which prevents discoloration of the stainless steel surface.
In any event, observe the product manufacturer's instructions and try each product
in a small area first before applying it to a larger surface.

GBA C 5110 2 E
BA Page 18 of 24 März 17, 2021
Last revised 03-2021 Rev. 2
Scholl Apparatebau GmbH & Co. KG
7 TROUBLESHOOTING
Repairs must be carried out by an authorized specialist in compliance with applica-
ble safety codes and regulations.
Improperly executed work will put your safety at risk!
Note that some work must only be carried out by an electrical specialist. According to DIN EN 60204-1:
2011-01, specialists are "persons who by reason of their relevant training and experience are capable of
recognizing risks and avoiding potential hazards."
Some malfunctions you may be able to remedy yourself. Always check first if the problem is due to an oper-
ating error. Repairs are not free of charge, even within the warranty period, if the problem is caused by an
operating error or if you have failed to observe any of the following instructions.
Before any cleaning, maintenance or repair work is carried out, the appliance must
be disconnected from the mains and de-energized. To do so, it is not enough to set
the power switch to OFF. Instead, the mains plug must be pulled or the electrical
circuit must be de-energized, respectively. Check that no voltage is present before
opening the appliance, and lock out the circuit to make it safe against re-energizing.
Work at the electrical installation must only be performed by qualified
electricians!
Maintenance and repair work must be carried out only by qualified professionals
using original spare parts and accessories. Do not attempt to carry out repairs on
this appliance yourself!

GBA C 5110 2 E
BA Page 19 of 24 März 17, 2021
Last revised 03-2021 Rev. 2
Scholl Apparatebau GmbH & Co. KG
7.1 POSSIBLE MALFUNCTIONS
Malfunction
Cause
Remedy
Hot plate does not heat
Defective plug/electrical cord
DANGER!
Hazardous electrical voltage.
Pull out the mains plug and bar
product from further use.
To be remedied by an electrical
specialist.
Hot plate does not heat
Overheating protection has
switched off the hot plate.
Let the device cool off until the
overheating protection switch-
es off again on its own.
Hot plate does not heat
Heating faulty
Exchange heating
Hot plate does not heat
Error message temperature
controller
See chapter 5.1.1

GBA C 5110 2 E
BA Page 20 of 24 März 17, 2021
Last revised 03-2021 Rev. 2
Scholl Apparatebau GmbH & Co. KG
8 TECHNICAL DATA
8.1 EXECUTION
Chrome nickel steel 18/10
Continuously adjustable temperature from 30°C - 150°C by loosely attached digital controller
Voltage 230 V~, power 1000-1500 W
Connecting cable approx. 2 m long, with right angle plug
Connecting cable temperature controller built-in casing to hot plate approx. 1,2 m long
Thickniss of plate 2 mm, setback 15 mm all around
Mounting height 170 mm
Cut-out dimensions: Length minus 25 mm, Depth minus 25 mm
Hot plate for flush built-in digital 30-100°C
Model Length Art.-No. D = 400 mm Art.-No. D = 500 mm Art.-No. D = 600 mm
26060/FB/DIG/- 600 mm C 5110 2 x 500 W C 5111 2 x 500 W C 5112 2 x 500 W
26070/FB/DIG/- 700 mm C 5113 2 x 500 W C 5114 2 x 500 W C 5115 2 x 500 W
26080/FB/DIG/- 800 mm C 5116 2 x 630 W C 5117 2 x 500 W C 5118 3 x 500 W
8.2 DIMENSIONED DRAWINGS
Dimensioned drawings are available upon request.
The information in the dimensioned drawings always take precedence over the summary of the technical
data in chapter 8.1.
8.3 CIRCUIT DIAGRAMS
Circuit diagrams are available upon request.
This manual suits for next models
11
Table of contents
Other Scholl Cooktop manuals
Popular Cooktop manuals by other brands

Bosch
Bosch NGP745UC - 30"4 Burner Cooktop NGP Series... installation manual

KitchenAid
KitchenAid KECC500WBL2 parts list

Inalto
Inalto IE60T user manual

NuWave
NuWave PIC TITANIUM user manual

Electrolux
Electrolux E36EC70FSS - 36" Drop-In Electric Cooktop Dimension Guide

Dacor
Dacor Heritage Induction Pro Range installation instructions