manuals.online logo
Brands
  1. Home
  2. •
  3. Brands
  4. •
  5. Security Brands
  6. •
  7. Transmitter
  8. •
  9. Security Brands 14-R300 User manual

Security Brands 14-R300 User manual

ON
1 2 3 4 5 6 7 8 9 10
INSTRUCTIONS
Model 14-R300
1 of 2
IN THE BOX
Make sure you have everything shown here.
NOTE:The CR2032 battery comes pre-installed.
Visor Clip
Button 1
LED
Button 2
DIP Switches on Receiver 300
(default positions)
WHAT’S WHAT
The 300-MHz Transmitter has two programmable buttons and
a status LED. Each button can be paired to a separate
receiver or the same receiver.
SETUP
1. On your 300-MHz receiver, set DIP switches to
desired positions.
NOTE:For best results, we recommend using
the Security Brands Receiver 300 (14-REC300).
NOTE:By default, both sets of DIP switches on
switch positions of the Receiver 300 and other
300-MHz receivers. For security reasons, we
recommend using custom DIP switch positions.
NOTE:Some DIP switches may be labeled
to the position labeled 0 on the remote, and
position labeled as OPEN.
2. Open 300-MHz Transmitter unit by removing two screws
on bottom side and pulling case apart. Remove
visor clip if needed for easier access.
NOTE:Make sure the circuit board stays
attached to the base of the remote unit and
300-MHz Transmitter
300-MHz Transmitter
the 300-MHz Transmitter are matched to the default DIP
call
(972) 474-6390
or email
[email protected]
NEED
HELP
Two-Year Limited Warranty
Visit securitybrandsinc.com/warranty/ for details
1234567890ON
INSTRUCTIONS
2 of 2
Model 14-R300
© 2021 Security Brands, Inc. All rights reserved. I-14R300-EN Rev. A (5/2021)
WARNING! AUTOMATIC GATES CAN CAUSE
SERIOUS INJURY OR DEATH!
ALWAYS CHECK THAT THE GATE PATH IS
CLEAR BEFORE OPERATING!
REVERSING OR OTHER SAFETY DEVICES
SHOULD ALWAYS BE USED!
3.
corresponding to button you want to program.
NOTE:Pay attention to the markings on the
circuit board showing which set of DIP switches
corresponds to which button.
4. Set DIP switches to match those set on receiver.
5. Repeat procedure for second button if desired.
Otherwise, close unit and secure with screws.
NOTE:The second button can be paired with the
HOW TO USE
1. Make sure you are in range of 300-MHz receiver
you want to control.
2. Press remote button linked to desired receiver.
LED should light.
3. Receiver will respond and operate gate/door.
NOTE:If the receiver does not respond, make sure it
has power and that the remote LED is lighting when
a button is pressed. If not, check the battery. If the
receiver still does not respond, make sure its antenna
is not inside a metal box, the DIP switch positions
match on both remote and receiver, and if it is a
third-party receiver, make sure the frequency jumper
is in the 300-MHz position.
(default positions for both buttons)
300-MHz Transmitter
Find DIP switches on 300-MHz Transmitter unit
DIP Switches on 300-MHz Transmitter
FCC Statement:
Any Changes or modifications not expressly approved by the party responsible for compliance could void the user’s
authority to operate the equipment. This device complies with part 15 of the FCC Rules. Operation is subject to the
following two conditions:
(1) This device may not cause harmful interference, and
(2) This device must accept any interference received, including interference that may cause undesired operation.
Note: This equipment has been tested and found to comply with the limits for a Class B digital device, pursuant to
part 15 of the FCC Rules. These limits are designed to provide reasonable protection against harmful interference
in a residential installation. This equipment generates, uses and can radiate radio frequency energy and, if not
installed and used in accordance with the instructions, may cause harmful interference to radio communications.
However, there is no guarantee that interference will not occur in a particular installation. If this equipment does
cause harmful interference to radio or television reception, which can be determined by turning the equipment off
and on, the user is encouraged to try to correct the interference by one or more of the following measures:
—Reorient or relocate the receiving antenna.
—Increase the separation between the equipment and receiver.
—Connect the equipment into an outlet on a circuit different from that to which the receiver is connected.
—Consult the dealer or an experienced radio/TV technician for help.

Other Security Brands Transmitter manuals

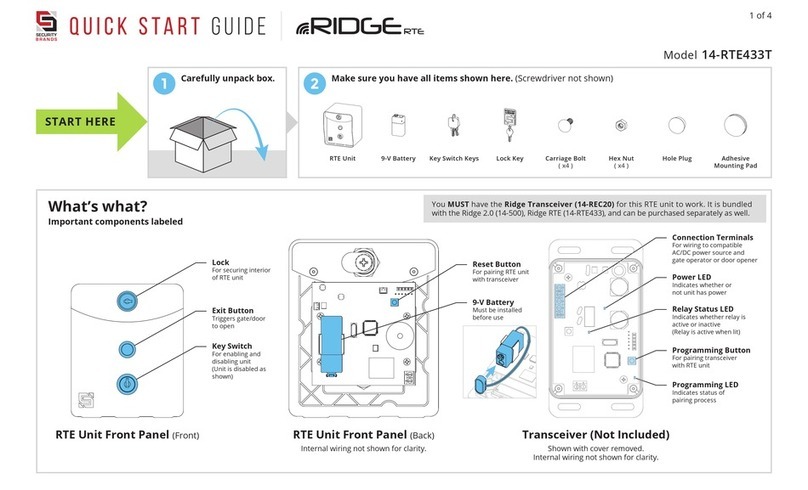
Security Brands RIDGE RTE 14-RTE433T User manual

Security Brands

Security Brands RIDGE RTE 14-RTE433T User manual

Security Brands RIDGE RTE 14-RTE433T User manual

Security Brands

Security Brands RIDGE RTE 14-RTE433T User manual

Popular Transmitter manuals by other brands

AFRISO DMU 01 Translation of the original operating manual

AFRISO

AFRISO DMU 01 Translation of the original operating manual

Analytical Technology F12D Series manual

Analytical Technology

Analytical Technology F12D Series manual

Endress+Hauser HART Flowmeter Proline 400 Brief operating instructions

Endress+Hauser

Endress+Hauser HART Flowmeter Proline 400 Brief operating instructions

Becker CentronicPLUS EC548 PLUS Assembly and operating instructions

Becker

Becker CentronicPLUS EC548 PLUS Assembly and operating instructions

API DuoPak APD 2063 quick start guide

API

API DuoPak APD 2063 quick start guide

Erone SETMC433-BD quick start guide

Erone

Erone SETMC433-BD quick start guide

Ramsey Electronics CUBE 2000 instruction manual

Ramsey Electronics

Ramsey Electronics CUBE 2000 instruction manual

Gentner TX-37A Specifications

Gentner

Gentner TX-37A Specifications

Honeywell 5834-4EN installation instructions

Honeywell

Honeywell 5834-4EN installation instructions

Procare EF6237 quick start guide

Procare

Procare EF6237 quick start guide

Tellur FMT-B6 user manual

Tellur

Tellur FMT-B6 user manual

ABB TTF350 operating instructions

ABB

ABB TTF350 operating instructions

RADEMACHER DuoFern 9491 Safety instruction

RADEMACHER

RADEMACHER DuoFern 9491 Safety instruction

Craftsman 139.53778 owner's manual

Craftsman

Craftsman 139.53778 owner's manual

DX DXE-TFS4-160B manual

DX

DX DXE-TFS4-160B manual

Erone SETMC433-BD quick start guide

Erone

Erone SETMC433-BD quick start guide

Smith Meter UPT Installation service

Smith Meter

Smith Meter UPT Installation service

PR electronics 3186A product manual

PR electronics

PR electronics 3186A product manual

manuals.online logo
manuals.online logoBrands
  • About & Mission
  • Contact us
  • Privacy Policy
  • Terms and Conditions

Copyright 2025 Manuals.Online. All Rights Reserved.