SENAO SR-436S User manual

1
SR-436S Installation Guide
Section 4.0 system components
With sophisticated digital signal processing and high quality design, SR-436S
provides users unparallel mobility and flexibility in a wide variety of business settings
as we’ve shown in the previous demonstration. SR-436S system components include:
¾Base unit/station
¾Handset
¾Charger
¾External antenna
¾Lightning protection kit
Section 4.1 system configurations
Our product configurations can be either the “adjunct” system as the wireless
extensions behind the tradition wired PBX or the “stand-alone” system to replace the
traditional key phones system.
#4.11:“adjunct to wired PBX” (using flash)
SR-436S can work off any analog port of PBX that complies with FCC rule part 68.
SR-436S can serve as the wireless extension inside the corporation/ work space. For
those mobile workers who need to talk on the go, they can bring the SR-436 handset
moving around the facility and keep internal/external communication.
#4.12: “stand-alone” system
SR-436S can serve as the stand-alone wireless PBX system for SoHo, small office
environments. You can plug in up to 4 telephones line into SR-436S base station and
have the instant 4-line access capability. (when O.S. go to this part, turn the SR-436S
to the back side to show 4 phone jacks design)
P
B
X
Analog
port SR-436S
base unit
Teleco/
PSTN
H/
S
H/
S

2
Section 4.2: Installation
#4.21 indoor installation
To get the optimal range performance out of SR-436S, please follow the indoor
installation guide. The rule of thumb is to place the base unit as high as possible
(using flash to show the installation) and avoid concrete obstacles such as wall and
pillar (using flash to show the installation; show the design of SR-436S base unit to
illustrate the capability of wall-mountable.) Please don’t install the base unit just to fit
the phone jack or power source which might decrease the range performance (using
flash to show the installation.)
4 lines
PSTN
SR-436S
Base unit
H
/S
H
/S
H
/S
Mount the base unit as high as possible!
Î
C
orrect installation
Install base unit in the mid of the
officeÎcorrect installation

3
#4.22 outdoor installation
You can even extend the outdoor coverage by installing the optional external antenna.
The higher the antenna is installed, the better the communication will be. The ground
plane should be at least 3 meters above the ground. No obstruction ca be observed
within 3 meters from the antenna (please refer to the attached diagram for the correct
installation guideline; please use actual video shooting or flash to illustrate)
Please don’t install the base unit
next to the wall or pillar (concrete
obstacles) Îincorrect installation
Please don’t install the base unit
just to fit the phone jack or power
source Îincorrect installation

4
Section 4.3: Set up and basic operation
#4.31 handset registration
SR-436S can accommodate up to 90 users within the system, which means up to 90
handsets can be registered to the single base unit. Handset packaged along with the
system is pre-registered in the factory with handset ID as “10”. It’s pretty easy to
register additional handsets into the system by following the instruction:
¾Step 1: press handset menu key, then press number “6” to enter the handset
registration mode
¾Step 2: press and hold the base’s registration (REG) button for 2 seconds until
the L1, L2, L3, and L4 LED light up.
¾Step 3: press hardest key “1” to complete the registration process. The base unit
will assign the 2-digit handset ID (between 11 and 99) to handset user. The
assigned ID will be displayed on handset’s LCD, representing the successful
registration. Please refer to the advanced registration section if you want to
obtain a specific handset ID.
¾Step 4: you can follow the same process to register extra handsets
#4.32 call transfer~ #4.33 call forwarding
To make a phone call, just press “TALK”, wait for the dial tone, and then enter phone
number. Press “END” once you finish the phone conversation. To make an intercom
call, press “2-WAY” key followed by the two-digit handset ID to establish the internal
communication. Press “END” once you finish the conversation.
Besides basic phone operation, SR-436S can perform some typical functions offered
by the PBX system such as call transfer, call forwarding, and 3-way conferencing.
Here are the operation guidelines:
While a telephone call is in progress, you can place the call on hold and transfer the
call:
¾Step 1: press “Hold” using the right soft key
¾Step 2: press “option” using the right soft key again to enter the menu selection
¾Step 3: press number “2” and enter the two-digit handset ID to call another
handset extension such as “12”
¾Step 4: you can perform either “unannounced” call transfer by pressing “end”
before the destination handset answers or “announced” call transfer by talking to
another handset user first then press “end” to discontinue the communication.

5
A handset can direct the base station to forward all future phone calls to another
handset or another phone number:
¾Step 1: press “menu” key; then press “5” to enter the “settings” mode
¾Step 2: press “3” to turn on the call forwarding function
¾Step 3: use up/ down arrow key to view all options from “off”, “another handset”,
and “external line.” Make your selection then press “save” to confirm your
choice. The pre-setting in the factory is “off.”
¾Step 4: A warning message “all calls are forwarded” will appear on the handset
LCD.
¾Step 5: To cancel the call forwarding, repeat the procedure as above and select
“off.”
#4.34 Voice mail
SR-436S offers the built-in voice mail system which allows people to leave voice
message if you were not able to answer the call at that moment.
¾Step 1: press “MENU” and follow by pressing number “4” to enter the voice
mail mode
¾Step 2: enter the number of the mailbox (which equal to your handset ID) and
your password. The default password is “0000”. You can change the password
later on.
¾Step 3: once the valid mailbox number and password being entered, you will see
the number of new voice messages and old voice messages shown upon the LCD
display
¾Step 4: Follow the voice prompt to play new messages, old messages, or change
mailbox settings
¾Step 5: After playing a message, handset can follow the voice prompt to replay
current message, play the next message, play the previous message, delete the
current message, or transfer (not copying) the current message to another
handset.
You can access the voice mail outside the system by calling the base unit. As soon as
you hear the main greeting message, you can enter the “*” key twice promptly to
enter the voice mail mode. Once you successfully key-in the voice mail number and
password, you can access the voice mail remotely!
Other manuals for SR-436S
1
Table of contents
Popular Accessories manuals by other brands
Ecolink
Ecolink WST-212 Installation instructions & user manual
NATURE & DECOUVERTES
NATURE & DECOUVERTES TAKU manual

Siemens
Siemens SITRANS LVL200S operating instructions
GOLDENSEA UV
GOLDENSEA UV UV4C-H user manual

Takuma
Takuma e-Foil user guide
Southwest Windpower
Southwest Windpower WHISPER 42 FOOT (13 Meter) TOWER KIT for SKYSTREAM... manual
TEXA
TEXA NXT04 Installation, operation and maintenance manual
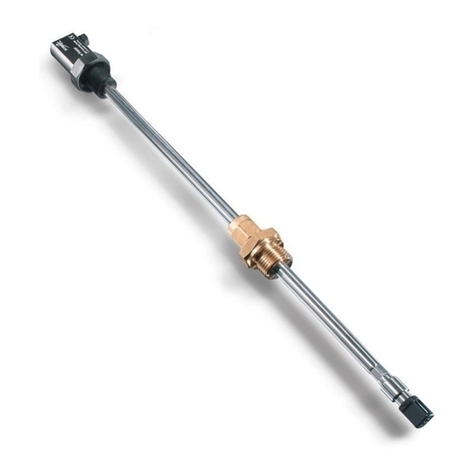
Schmidt
Schmidt SS 20.261 Instructions for use
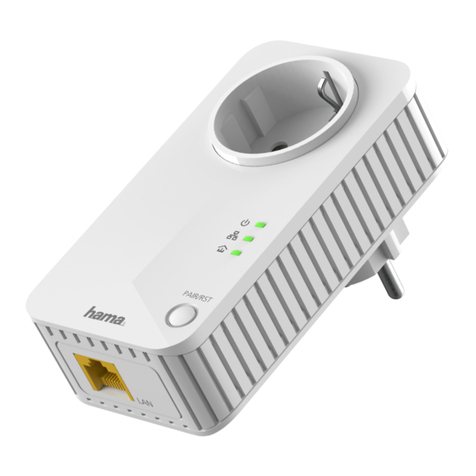
Hamach
Hamach Powerline 600 Mbps Set operating instructions
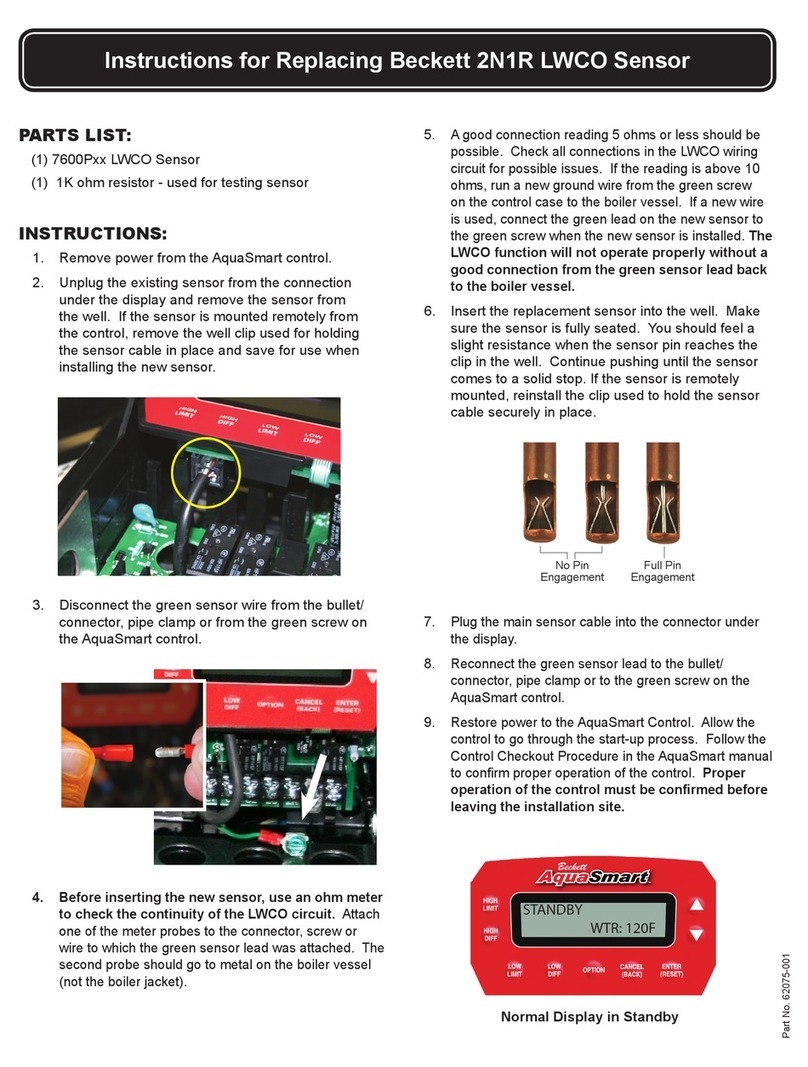
Beckett
Beckett 2N1R LWCO 7600P Series instructions

Reebok
Reebok RBMC11980 user manual
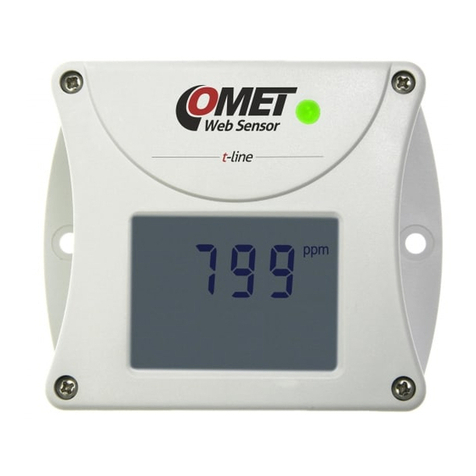
Comet System
Comet System Web Sensor T5540 user guide
