manuals.online logo
Brands
  1. Home
  2. •
  3. Brands
  4. •
  5. senses akustik
  6. •
  7. Indoor Furnishing
  8. •
  9. senses akustik CARA User manual

senses akustik CARA User manual

INSTALLATION MANUAL CaRA
Senses Akustik | | Installation manual CARA
Fitting ool
2Measuring ape 3Drill Machine
1Brush
4Screw Driver 5Screw 6Adhesive
To ensure proper assembly of your product, it's important to follow these guidelines:
Before beginning assembly, ensure that all parts and hardware are present and accounted for.
Lay out all the parts and hardware in a clear, well-lit area to make sure everything is easil
accessible.
Read through the assembly instructions carefully before starting the process.
If assembling with a partner, communicate clearly and work together to avoid mistakes.
Use the appropriate tools, as specied in the instructions, to avoid damaging the product.
If the product is heavy or awkward to lift, use two or more people to avoid in
j
ury an

damage.
F
ollow the step-by-step instructions carefully, ensuring that each part is assembled correctl
before moving on to the ne
x
t step.
O
nce assembly is complete, check all connections and hardware to ensure that everything i

tight

and

secure.
Senses Akustik | | Installation manual CARA
Assembly Instructions
Step A: Begin by preparing the wall surface using Plyboard
gypsum, or MDF to create a zero-level surface. Ensure that th
surface is clean and free of any dust, dirt, or debris.
Step B: Apply adhesive to both the wall surface and the bac
of the Cara panel. Use the recommended adhesive and appl
it evenly to ensure proper adhesion.
WALL SURFACE
PLYWOOD
GYPSUM BOAR
OR M.D.F
PASTIN
CHEMICAL VISTA
Senses Akustik | | Installation manual CARA
Step C: Carefully place the Cara panel onto the wall surfac
accordin to the drawin details provided. Be sure to ali n i
properly and press rmly to ensure a secure bond.
Once the adhesive has fully cured, your nal produc
will be ready to use and will look aestheticallypleasin .
Care and Maintenance
Senses Akustik | | Insta ation manua CARA
Routine Cleaning
To keep your products looking its best, it's important to remove dust on 
weekly basis. Use a vacuum cleaner to gently remove dust without rubbing th
brush on the fabric, as this can wear out the bers. Avoid rubbing to
frequently to prevent scratching or damaging the fabric.
For stains, use a microber cloth and a neutral, non-abrasive detergent withou
additives. Gently make circular movements to remove the stains without leavin
any cleaning residues.
To clean metal surfaces, use a damp cloth with warm water and a neutra
detergent. Rub it thoroughly to remove any dirt or grime.
Assembly, Shue & Rearrangements
When moving or rearranging your product, it's important to always use two o
more people to avoid damage or injury. Whether moving it short or lon
distances, lift the panels or, more conveniently, dismantle the structure an
reassemble it in its new position. This will help ensure that your product i
properly secured and remains in good condition.
Placement & Positioning
To ensure the longevity of your product, avoid placing it near direct hea
sources or water sources, such as outdoors. This can cause damage to th
product and reduce its lifespan.
Please note that these maintenance and care instructions are provided as a service onl
and should not be interpreted as a warranty. These instructions are intended to help yo
take care of your product and maintain its appearance and function over time. However
individual results may vary depending on a variety of factors, including usage pattern
and environmentalconditions.
[email protected] www.sensesakustik.com

Other senses akustik Indoor Furnishing manuals

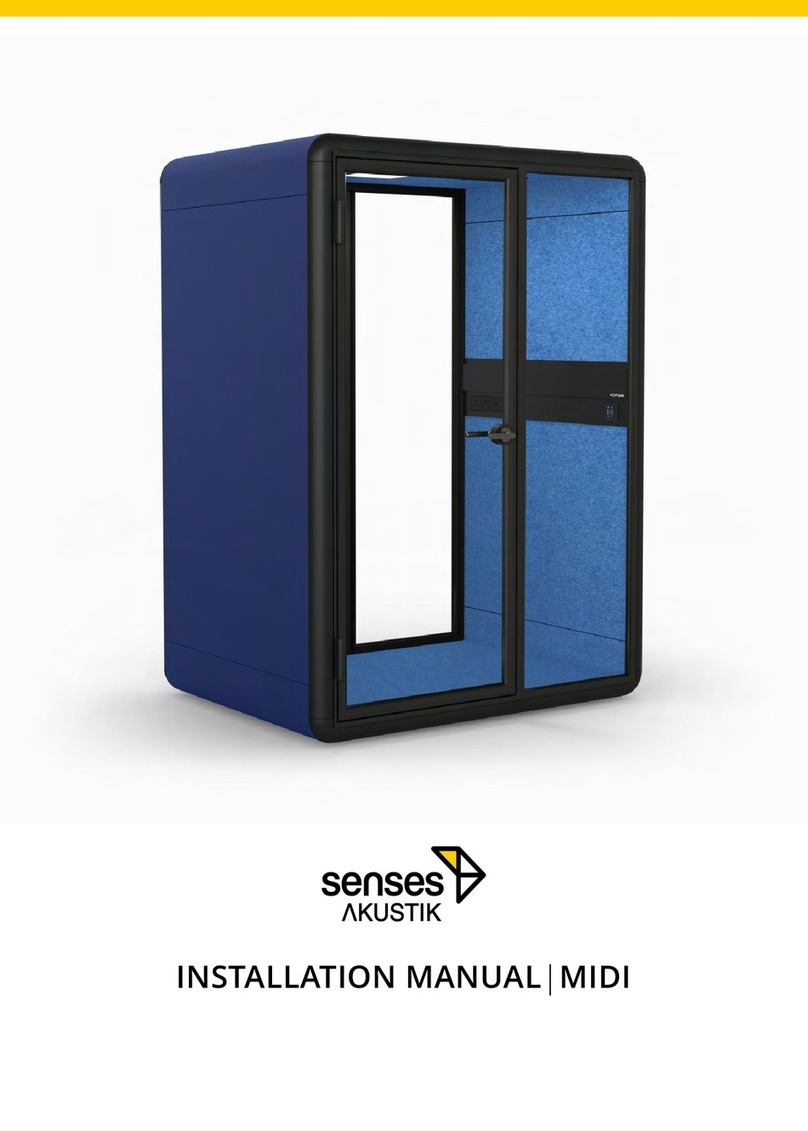
senses akustik MIDI User manual

senses akustik

senses akustik MIDI User manual

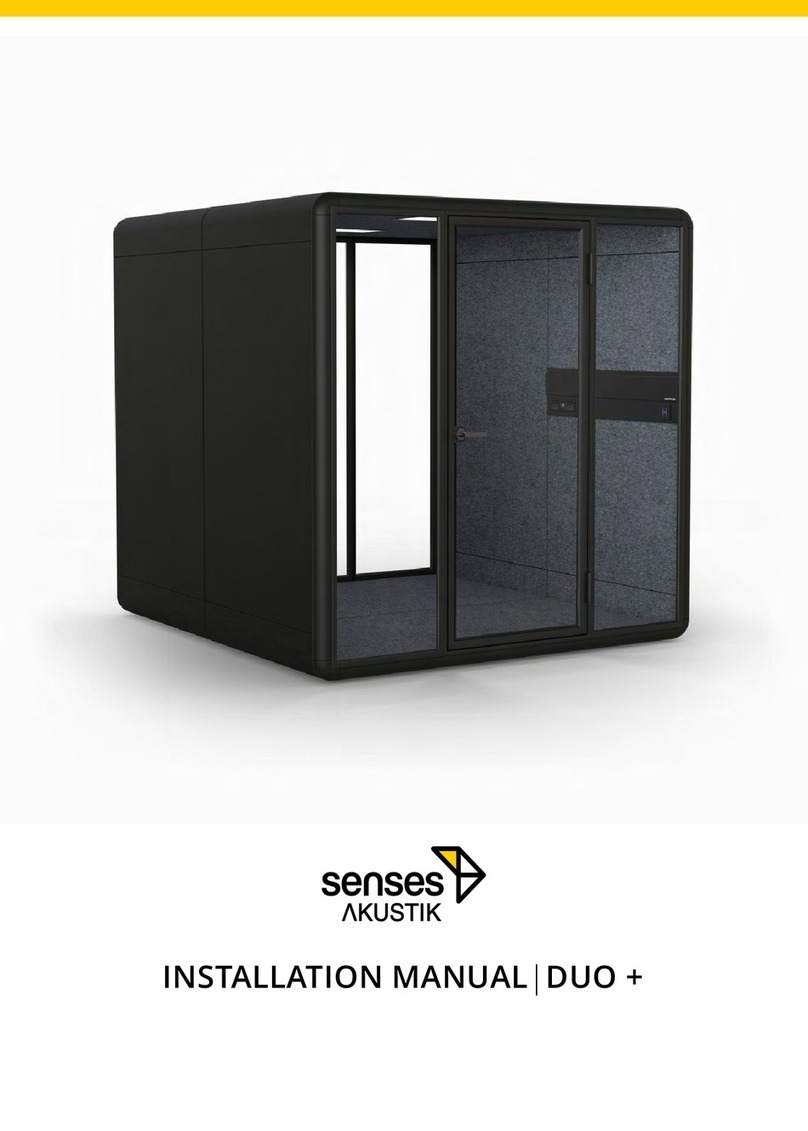
senses akustik DUO + User manual

senses akustik

senses akustik DUO + User manual

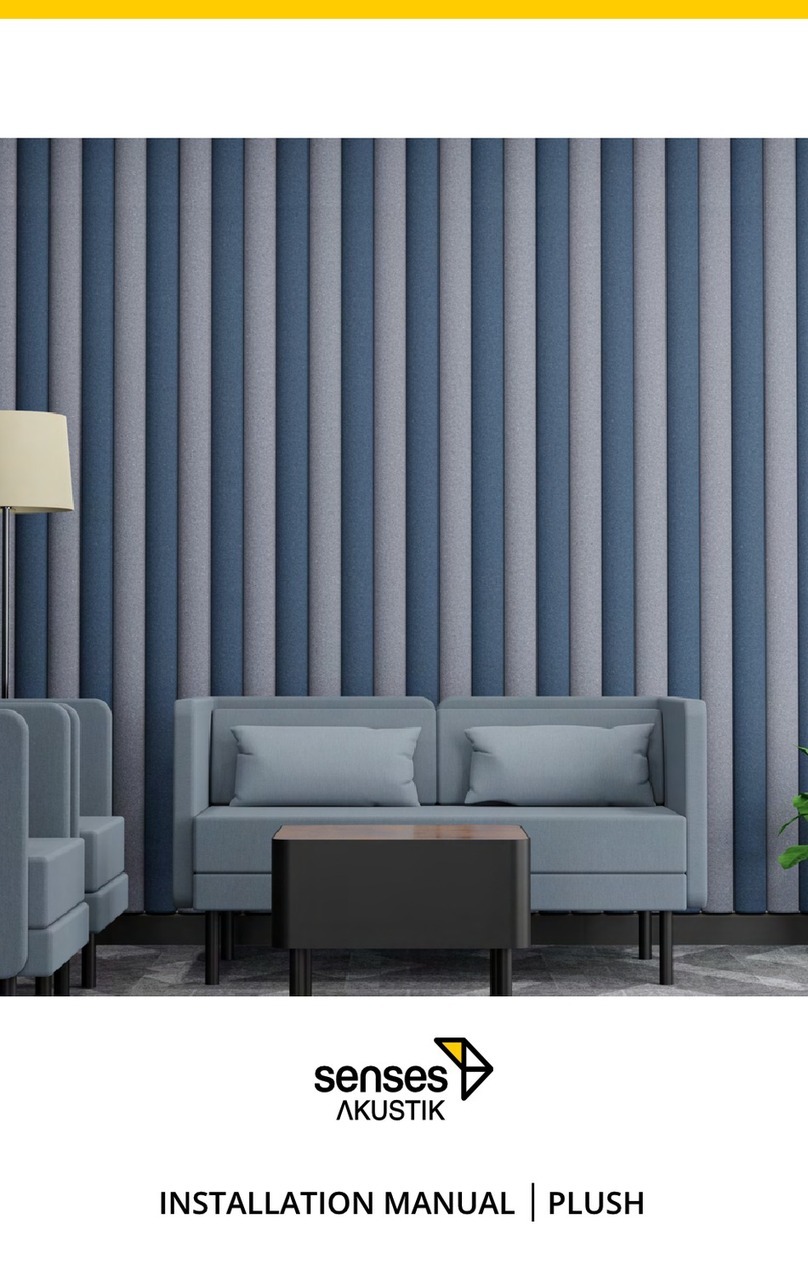
senses akustik PLUSH User manual

senses akustik

senses akustik PLUSH User manual

senses akustik DUO User manual

senses akustik

senses akustik DUO User manual

Popular Indoor Furnishing manuals by other brands

PAIDI 3T3S CLAIRE Instructions for use

PAIDI

PAIDI 3T3S CLAIRE Instructions for use

Havit GC939 user manual

Havit

Havit GC939 user manual

Crosley Furniture CO7166 manual

Crosley Furniture

Crosley Furniture CO7166 manual

Runfine RFVA0069B Operator's manual

Runfine

Runfine RFVA0069B Operator's manual

Seaside Casual MAD Adirondack Chair 280 Assembly instructions

Seaside Casual

Seaside Casual MAD Adirondack Chair 280 Assembly instructions

LDI SAFCO Rumba 2050 Assembly instructions

LDI

LDI SAFCO Rumba 2050 Assembly instructions

Rev-A-Shelf 486-30VSBSC-BM-1 quick start guide

Rev-A-Shelf

Rev-A-Shelf 486-30VSBSC-BM-1 quick start guide

Lightolier Calculite R7029 specification

Lightolier

Lightolier Calculite R7029 specification

Argos Newport Chest Pack Assembly instructions

Argos

Argos Newport Chest Pack Assembly instructions

swissflex uni 14 95RF bridge operating instructions

swissflex

swissflex uni 14 95RF bridge operating instructions

Germania 1386 Assembly instruction

Germania

Germania 1386 Assembly instruction

Royal Catering RCTR-90 user manual

Royal Catering

Royal Catering RCTR-90 user manual

DURAVIT Vitrium VT 7156 Mounting instructions

DURAVIT

DURAVIT Vitrium VT 7156 Mounting instructions

Sunjoy A601002201 Assembly instruction

Sunjoy

Sunjoy A601002201 Assembly instruction

Classic Exhibits Magellan Designs VK-1091 manual

Classic Exhibits

Classic Exhibits Magellan Designs VK-1091 manual

Living & Co Tahoe Tall Boy 4 Drawer instruction manual

Living & Co

Living & Co Tahoe Tall Boy 4 Drawer instruction manual

Leick Home 9240-WTGL Assembly instructions

Leick Home

Leick Home 9240-WTGL Assembly instructions

Lifestyle Solutions Bench Table Ottoman Assembly instructions

Lifestyle Solutions

Lifestyle Solutions Bench Table Ottoman Assembly instructions

manuals.online logo
manuals.online logoBrands
  • About & Mission
  • Contact us
  • Privacy Policy
  • Terms and Conditions

Copyright 2025 Manuals.Online. All Rights Reserved.