manuals.online logo
Brands
  1. Home
  2. •
  3. Brands
  4. •
  5. SENSINOVA
  6. •
  7. Accessories
  8. •
  9. SENSINOVA PR15 User manual

SENSINOVA PR15 User manual

TECHNICAL SPECIFICATION
PR15
Fig 1
Fig 2
SN-PR15 is a PIR motion sensor, a new energy-saving switch. It adopts three good sensitivity detectors in
an integrated circuit. This sensor gathers automatism, convenience, safety, energy-saving, and practical
functions. It utilizes the infrared energy from the human body as a control signal source and it can start
the load at once when one enters the detection field. It can automatically identify day and night and is
easy to install and is a widely used product.
INSTALLATION
(1) Avoid pointing the detector towards objects with highly
heating vents, air conditioning units, light, etc.
reflective surfaces, such as mirrors, etc.
(2) Avoid mounting the detector near heat sources, such as
in the wind, such as curtains, tall plants, etc.
(4) Loosen the screw on the bottom and unload the bottom (refer to figure1).
(3) Avoid pointing the detector towards objects that may move
(6) Fix the bottom with an inflated screw on the selected position (refer to figure2).
(7) Install back the sensor on the bottom, tighten the screw and then test it.
Connect the power wire into the connection-wire column according to
the connection-wire diagram.
(5) Pass the power wire through the hole with a gasket in the bottom.
WARNING
ŸCheck that the power supply is disconnected
ŸCover or shield any adjacent live components
ŸEnsure that the devices can’t switch on
ŸMust be installed by a professional electrician.
ŸDisconnect the power source
Electric shock can be fatal and may lead to death.
FUNCTIONS
Can easily identify day and night
- It can work during the daytime as well as the night when it is adjusted on the “sun or 2000 LUX ”
position (max). It can work in less than 3 LUX ambient light when adjusted on the “3” position (min).
As for the adjustment pattern, please refer to the testing pattern.
Time delay is added continually
- This sensor will restart to time from the moment it receives the second induction signal within
the first induction.
Adjustable time delay
- The time delay can be set according to the customer’s desire. The minimum time is 10 sec +/- 3 sec,
and the maximum is 15 Min +/- 2 min.
POWER SOURCE
POWER FREQUENCY
RATE LOAD
TIME DELAY
DETECTION RANGE
DETECTION DISTANCE
AMBIENT LIGHT
INSTALL HEIGHT
DETECTION MOTION SPEED
WORKING TEMPERATURE
WORKING HUMIDITY
IP RATING
POWER CONSUMPTION
NO. OF WIRES
220-240 V AC
50 Hz
1200W (Incandescent), 300W (LED LOAD)
Min. 10 sec +/- 3 sec, Max. 15 Min +/- 2 min
o
180
o
12m (r) max (<24 C)
<3-2000LUX
1.8 - 2.5m
0.6-1.5m/s
o o
-20 C to +40 C
<93%RH
IP65
Approx. 0.9W
3
PR15 PIR MOTION SENSOR
CONNECTION-WIRE DIAGRAM
Fig 4
Fig 3
Note: When testing in daylight, please turn LUX knob to (SUN) position, otherwise the sensor could not work!
lamp will have no signal at the beginning. After a warmup
Turn the LUX knob clockwise to the maximum (sun),
will turn on if the sensor receives the induction signal. If there is no induction signal,
the load should stop working within 10sec ± 3sec, and the lamp would turn off.
and then turn the TIME knob anti-clockwise to
the minimum (10s).
After the power switches on, the sensor and its connected
Turn the LUX knob anti-clockwise on the minimum(3). The sensor will work if the
ambient light is less than 3 LUX (darkness). Under no induction signal condition, the
sensor should stop working within 10sec ± 3sec
of 30 seconds, the sensor can start working, and the lamp
TEST
CALIBRATION
Time setting
The light can be set to stay ON for any time between approximately 10 seconds(turn TIME
knob fully anti-clockwise) and a maximum of 15 minutes(turn TIME knob fully clockwise).
Any movement detected before this time elapses will reset the timer. You can adjust it
according to locations and site requirements. It is recommended to select the shortest
time to adjust the detection zone and perform the walk test.
Light control setting
The chosen light response threshold can be adjusted from approximately 3-2000LUX.
Turn it fully anti-clockwise to select the dusk-to-dawn operation and turn it fully clockwise
to select continuous daylight operation. You can adjust it according to locations and site
requirements. The knob must be turned fully clockwise when adjusting the detection
zone and performing the walk test in daylight.
APPLICATION
Daylight Function
The hold time is set to 30 seconds, and LUX is set to or 2000.
The light switches on when it detects movement, and when people leave, it switches off after
the hold time is lapsed (30 seconds).
Applications: dim places such as basement parking, underpass
No Daylight Function
The hold time is set to 30 seconds, and LUX is set to 300
The light switches on when it detects movement, and it switches off after 30 seconds
of no movement.
Applications: corridor, staircase
When the motion is detected with
sufficient daylight (>300LUX),
the light remains OFF.
When the motion is detected with
insufficient daylight (<300LUX),
the light switches ON.
After the last detection and the
present hold time-lapse(30 seconds),
the light switches OFF.
When the motion is detected,
the sensor will switch on the light
to 100% brightness.
After the people leave the detection
area, the light remains at 100%
brightness within the hold time.
After the last detection and the
present hold time-lapse (30 seconds),
the light switches OFF.
180°
12m12m
1.8-2.5 meters
12 meters
NOTE
ŸDo not install it near metal and glass as they may affect the sensor.
ŸFor your safety, please don’t open the case if you find a hitch after the installation.
ŸDo not install it on an uneven and shaky surface.
ŸNo obstructive objects should be in front of the sensor as it affects the detection.
ŸOnly an electrician or an experienced human can install it.
TROUBLESHOOTING
The load will not work Wrong light control is selected
Faulty load
The main switch is switched OFF
Adjust the setting change load
Turn the switch ON
There is a continuous movement in the detection zoneThe load is always on Check there is any continuous
motion in the detection range
The sensor is not mounted for detecting
the movement reliably
The load is ON without any
identifiable movement
Securely mount the enclosure
Malfunction Cause Remedy
Rapid movements are being suppressed to minimize
the malfunctioning or the detection
The load will not work despite
the movement
Clear the lens

Other SENSINOVA Accessories manuals

SENSINOVA PC308 User manual

SENSINOVA

SENSINOVA PC308 User manual

SENSINOVA PR15 User manual

SENSINOVA

SENSINOVA PR15 User manual

SENSINOVA SN-PR46B User manual

SENSINOVA

SENSINOVA SN-PR46B User manual

Popular Accessories manuals by other brands

Waterpik ION user manual

Waterpik

Waterpik ION user manual

Waterpik waterflosser WP-860 quick start guide

Waterpik

Waterpik waterflosser WP-860 quick start guide

Rosslare SH-62 installation instructions

Rosslare

Rosslare SH-62 installation instructions

ROSE DISPLAYS ROPOLE-OMNI HEAD WITH MAGNETS manual

ROSE DISPLAYS

ROSE DISPLAYS ROPOLE-OMNI HEAD WITH MAGNETS manual

Laird Outdoor Cooler Series Specification and user manual

Laird

Laird Outdoor Cooler Series Specification and user manual

nedis DOORB212WT quick start guide

nedis

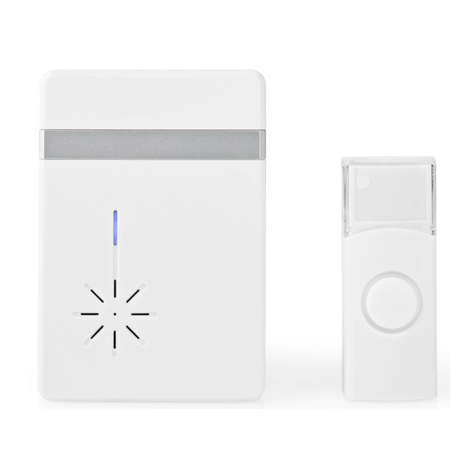
nedis DOORB212WT quick start guide

Detcon FP-700 instruction manual

Detcon

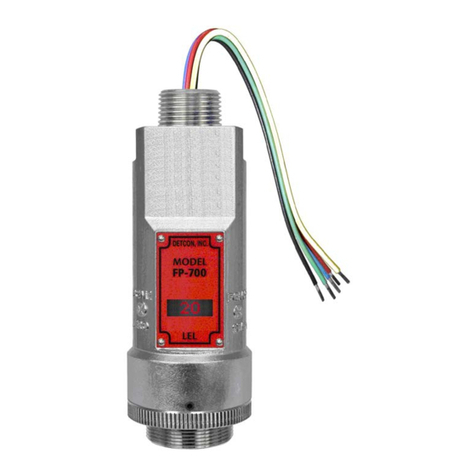
Detcon FP-700 instruction manual

esera EOS 100 quick guide

esera

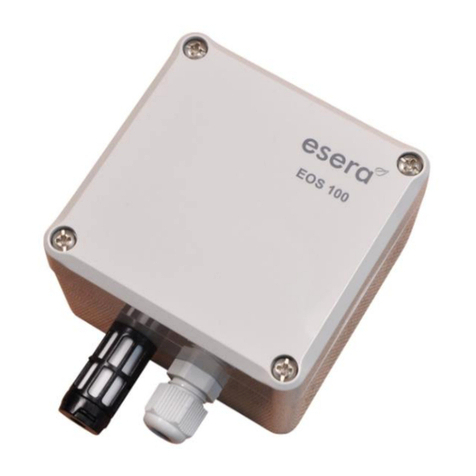
esera EOS 100 quick guide

NEVADANANO MPS user manual

NEVADANANO

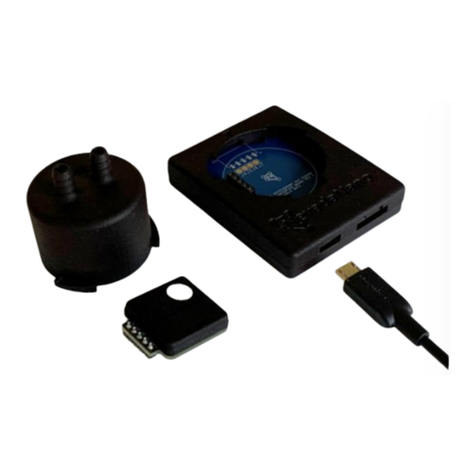
NEVADANANO MPS user manual

Hytronik HCD418/DH manual

Hytronik

Hytronik HCD418/DH manual

eDecks King Edward Fitting instructions

eDecks

eDecks King Edward Fitting instructions

IFM Electronic efector 200 OGT Series operating instructions

IFM Electronic

IFM Electronic efector 200 OGT Series operating instructions

Osram LEDVANCE 4058075814677 operating instructions

Osram

Osram LEDVANCE 4058075814677 operating instructions

IFM Electronic Efector 200 operating instructions

IFM Electronic

IFM Electronic Efector 200 operating instructions

QOLSYS IQ PANEL installation manual

QOLSYS

QOLSYS IQ PANEL installation manual

Philips GC010/00 quick start guide

Philips

Philips GC010/00 quick start guide

Autonics PSAN Series manual

Autonics

Autonics PSAN Series manual

IFM Electronic efector200 O7H2 Series operating instructions

IFM Electronic

IFM Electronic efector200 O7H2 Series operating instructions

manuals.online logo
manuals.online logoBrands
  • About & Mission
  • Contact us
  • Privacy Policy
  • Terms and Conditions

Copyright 2025 Manuals.Online. All Rights Reserved.