Copyright © Safe Fleet June 2018 | All rights reserved | Part #: 700-1112 R1
DS2 Camera 2
Quick Install Guide
Service
If your DS2 Camera 2 is to be returned for service, please call toll free 1.877.630.7366 or
1.844.899.7366, and provide the model and/or serial# of your unit.
Ask for a Return Merchandise Authorization (RMA) number. An RMA# allows the Service
Technicians to better track your product when it comes in for service. Please show the RMA# on
the outside of the package. ANY PRODUCT SENT WITHOUT AN RMA# MAY BE REFUSED.
Technical Support
Phone: 1.877.630.7366
Documentation
Additional copies of this guide, along with other supporting
documentation can be found on the SafeFleet Community
(https://community.seon.com/documents/)
Camera Kit:
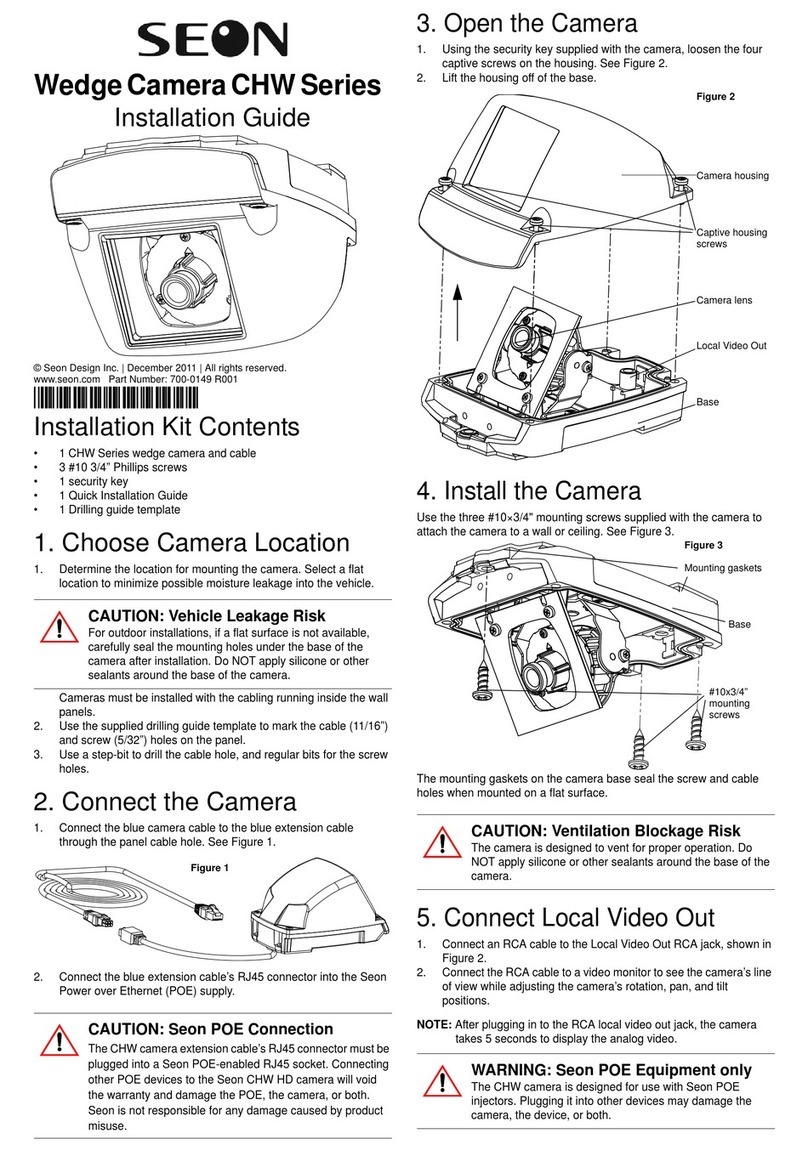
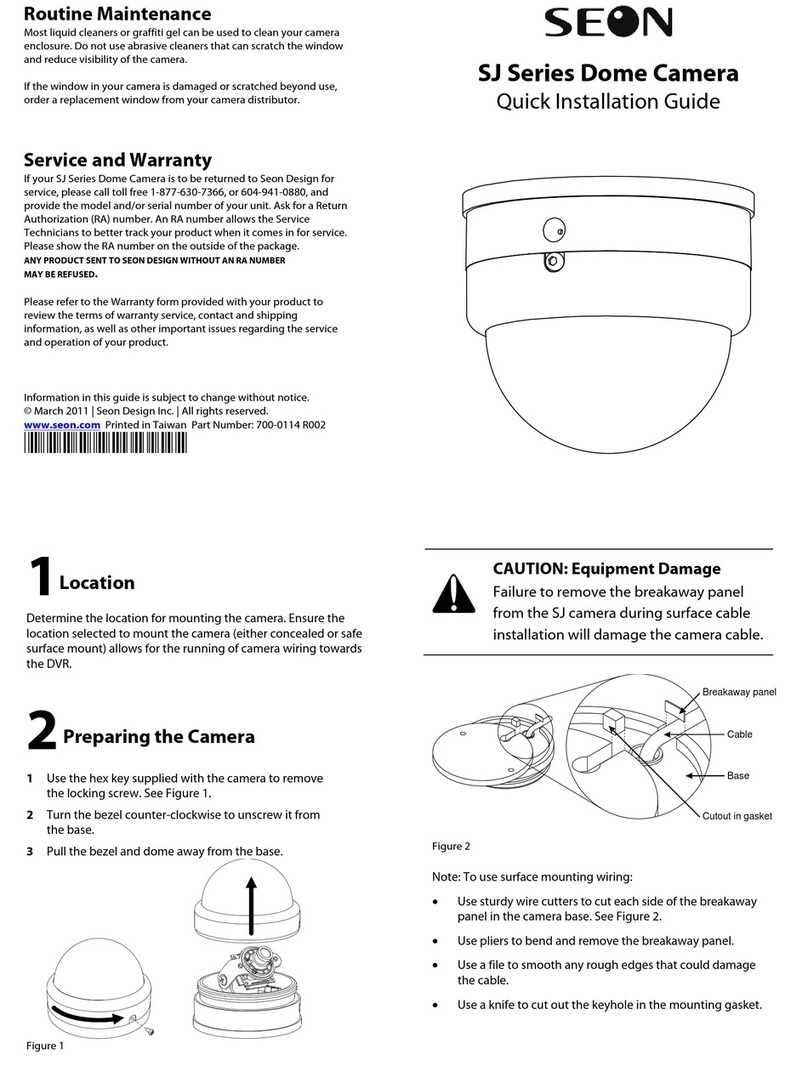
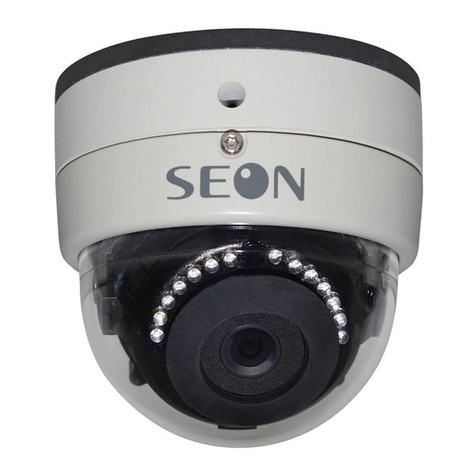
• 1 x DS CAM2
• 3 x No. 6, 20-thread per inch, athead self-drilling screws
• 1 x Allen key
Step 1: Choose Camera Location
When choosing a camera mounting location, consider the desired eld of
view, area of focus, and camera orientation. When determining a location:
1. Choose a solid surface to minimize vibration
2. Choose a location away from access panels, hatches, or doors which
may block the camera view
3. Choose a location away from heat sources
To ensure the camera is in its correct orientation, the camera position
indicator must be facing down.
Step 2: Disassemble Camera
You’ll need to disassemble Camera 2 before mounting:
1. Use the supplied Allen key to loosen the 3 set screws and separate the base from the housing.
Installation Kit Contents
Position Indicator
must face down
Note: Removing Set Screws
Take care not to fully remove the set
screws holding the camera to the
housing. These screws are small, and
easily misplaced.
To avoid losing a set screw, only loosen
until the camera comes free.
2. Loosen the 2 set screws and separate the camera from the housing.
3 x Allen
set screws
2 x Allen
set screws


