www.SereneLifeHome.com8
Operation Method
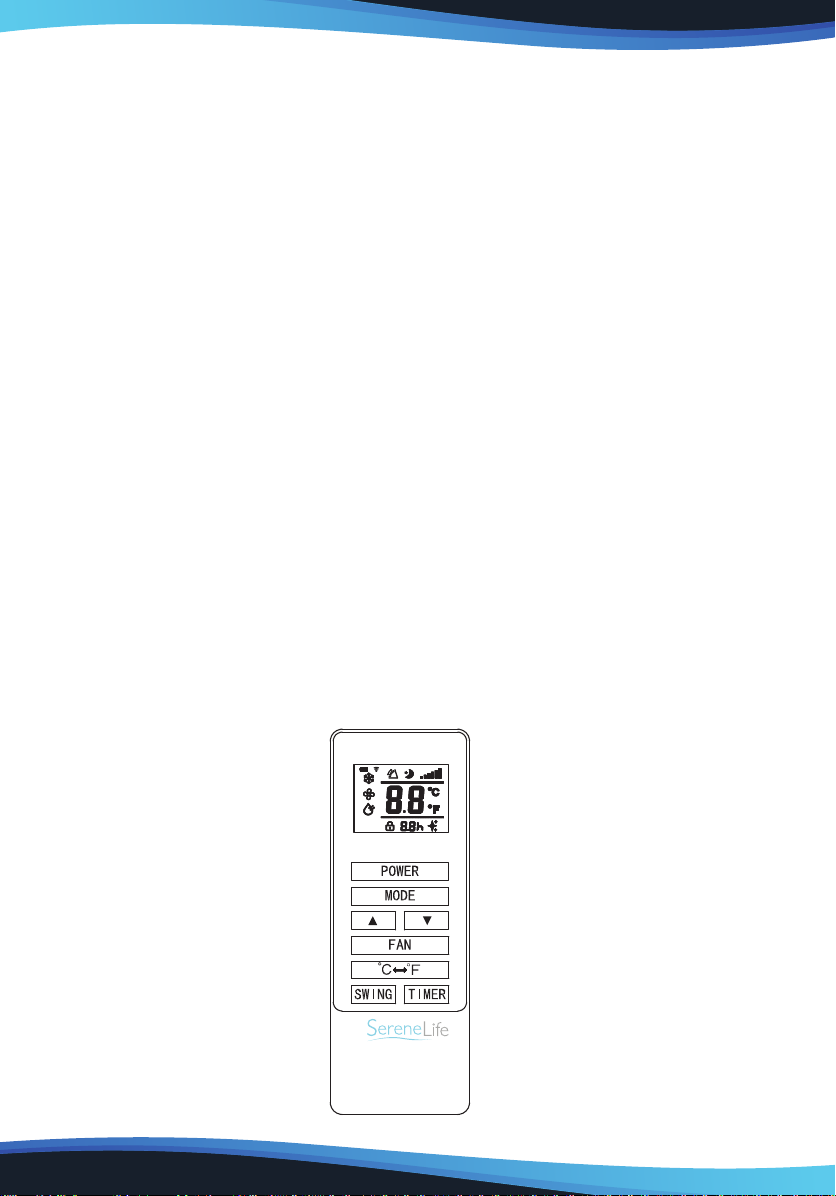
Time Setting
1. Setting of timing shutdown
In the running state of the machine, press the timing key, the timing LED will be
on, and the 88 display will ash "0" for 5 times. At this time, press the up and
down keys to adjust the time from 1 hour to 24 hours, and change it for 1 hour
for each up or down adjustment. When the set time is up, the machine will shut
down automatically.
2. Setting of timing start up
When the machine is in standby mode, press the timing key, the timing LED will
be on, and the 88 display will ash "0" ve times. At this time, press the up and
down keys to adjust the required timing time, which is the same as timing
shutdown. When setting the time, you can select the working mode after starting
the machine. If you select the cooling or heating mode, you can adjust the set
temperature at the same time. When the set time arrives, the machine will start
automatically and operate in the selected working mode.
3. Change the setting time
In the process of timing operation, if you want to change the existing timing
time, you can press the timing key once. At this time, the 88 display will ash to
display the remaining timing time. During the ashing period, press the up and
down keys to increase or decrease the timing time on the basis of the original
time. If you press the timer key again while ashing, the set time will be canceled,
that is, exit the timer.
Operation mode
1. Cool mode
• Press the mode key to select the refrigeration mode in the start up or timing
start up state. At this time, the corresponding LED on the panel is displayed.
• Press the up and down keys to set the appropriate temperature.
The setting range is 16~30°C (60-86°F). Each time you press the up or down
key, the temperature will rise or fall by 1°C or 1°F.