Serstech ARX User manual

ARX USER MANUAL
SERSTECH AB

2
Table of Contents
1. Introduction to the Arx instrument ........................................................................................ 4
1.1 Instrument safety .............................................................................................................. 4
1.2 Liability .............................................................................................................................. 4
1.3 Handling ............................................................................................................................ 5
1.4 Intellectual Property Rights ............................................................................................... 5
1.5 Equipment Modifications ................................................................................................... 5
1.6 Trademark Acknowledgments ........................................................................................... 5
1.7 Support .............................................................................................................................. 6
1.8 Contact Information .......................................................................................................... 6
1.9 Invisible laser Safety Considerations .................................................................................. 6
2.
Casing
................................................................................................................................... 8
3. Accessories ............................................................................................................................ 9
3.1 Vial holder ......................................................................................................................... 9
3.2 Small sample adapter ...................................................................................................... 14
3.3 Calibration cap ................................................................................................................ 15
3.4 USB Cable ........................................................................................................................ 15
3.5
Barcode reader
................................................................................................................ 15
4 Arx instrument .................................................................................................................... 19
4.1 Instrument labels ................................................................................................................. 19
4.2 Instrument keypad ............................................................................................................... 21
5
Arx log in
............................................................................................................................ 21
6
Main menu
......................................................................................................................... 23
7
Scan
.................................................................................................................................... 24
7.1
Quick scan
....................................................................................................................... 24
7.1.1
Scan analysis result
...................................................................................................... 27
7.2 Advanced scan ................................................................................................................. 31
7.2.1 Advanced scan analysis result ...................................................................................... 37
7.3
Verify
............................................................................................................................... 39
7.3.1
Verify analysis result
.................................................................................................... 42
7.4 Calibration check
.................................................................................................................. 43
8
Scan history
.......................................................................................................................... 0
9.
Settings
................................................................................................................................. 2

3
9.1
About
................................................................................................................................ 2
9.2
USB Mass storage
.............................................................................................................. 3
9.3
Time and Date
................................................................................................................... 3
9.4
Language
.......................................................................................................................... 4
9.5 Factory Reset
......................................................................................................................... 5
9.6 System info
............................................................................................................................ 5
10. Log out .............................................................................................................................. 6
11. ChemDash ......................................................................................................................... 7

4
1.
Introduction to the Arx instrument
Raman spectroscopy is a spectroscopy technique which can be used for rapid identifica-
tions of chemicals. The Raman effect occurs when a light (f.eg. from a laser) interacts with
the sample molecules. Light scattered from the molecules gives rise to a spectrum that typ-
ically consists of a series sharp lines and can be considered to constitutes molecules finger-
print of the analyzed substance.
The Arx instrument is a hand-held Raman spectrometer which can be used without for-
mal training in spectroscopy to obtain chemical identity of substances as well as verify the
quality of known substances in order to be able to make immediate action decisions in the
field. The Arx is a standalone instrument that operates without need for other components.
However, generating measurement reports, user management and management of user
defined libraries is performed using the PC software Chemdash. The use of the Chemdash
software requires basic PC knowledge. Laser training is needed for all users since the in-
strument includes class 3B invisible laser.
This manual describes the basic functions of the instrument. Functions may be different
depending on the hardware and/ or software version in the device. The manual covers Arx
devices with embedded software functionality version 5.5.0 or later.
The software version is shown in the “About” window. The serial number of the instrument
is printed on the back of the instrument (S/N) and is also shown in the “About” window for
software.
Please NOTE that you can access ChemDash 2.0 only if your instrument is running
software version 5.5.0 or later. If your instrument is running an older version, please
upgrade the firmware first by following the instructions in the Firmware Upgrade
Guide on serstech.com
1.1
Instrument safety
This is intended for Laser Safety Officers, administrators and users of the SERSTECH
handheld Raman spectrometer instrument. Please read through this section carefully before
using the SERSTECH product. Keep the document for further reference.
1.2
Liability
Every care has been taken in the preparation of this document. Please inform your local
reseller or SERSTECH AB of any inaccuracies or omissions. SERSTECH AB is not respon-
sible for any technical or typographical errors and reserves the right to make changes to the
product and manuals without prior notice. SERSTECH AB makes no warranty of any kind
regarding the material contained within this document, including, but not limited to, the im-
plied warranties of merchantability and fitness for a particular purpose. SERSTECH AB shall
not be liable nor responsible for incidental or consequential damages in connection with the
furnishing, performance or use of this material. This product is only to be used for its intended
purpose.

5
1.3
Handling
For a safe handling Serstech AB recommends Users to do as following:
§
Store the product in a dry and ventilated environment.
§
Do not attempt to repair the product by yourself, contact SERSTECH or your SER-
STECH reseller for service matters.
§
This product shall be used in compliance with local laws and regulations.
§
Always follow your organization’s procedure and regulations for the handling of un-
known substances.
§
Always use small sample sizes to limit possible hazards.
§
Dark substances can sometimes absorb the energy from the laser and could possibly
ignite, or if it is an explosive, be detonated by the laser. If you are in doubt - We
recommend starting with low laser power and work your way up in strength if neces-
sary and use the “delay start” function - to have time to safely move away from the
sample before the measurement is initiated.
§
Make sure to always keep the instrument in environments that is line with the storage
temperature of the instruments (-30 to +50°C). Storing device outside this range may
cause thermal damage to batteries.
§
Make sure to only run the instrument within the stated temperature range of operation
(-20 to +50°C). Note that tat the battery performance will be significantly lower to-
wards the end points of this range. In the upper temperature range issues with thermal
noise may hamper the performance and reduce the ability to identify weak Raman
scatterers.
The warranty is void if the product has been damaged by accident, unreasonable use,
neglect or if the unit has been opened or tampered with or other causes not arising from
defects in material or workmanship. This product is not designed to be intrinsically safe and
the user should take the necessary precautions when using the unit.
The product is designed to be used in an everyday field environment and is therefore
considerably more rugged than a laboratory unit. But it is important for the user to recognize
that it is a precision instrument and should be treated with care. Abuse and mistreatment
may lead to a degradation of performance or premature failure.
1.4
Intellectual Property Rights
SERSTECH AB has intellectual property rights relating to technology embodied in the
product described in this document. In particular, and without limitation, these intellectual
property rights may include patents or pending patent applications in the US and other coun-
tries. This product contains third-party software.
1.5
Equipment Modifications
This equipment must be installed and used in strict accordance with the instructions
given in the user documentation. This equipment contains no user-serviceable components.
Unauthorized equipment changes or modifications will invalidate all applicable regulatory
certifications and approvals
1.6
Trademark Acknowledgments
is a trademark of SERSTECH AB. All other company names and prod-
ucts are trademarks or registered trademarks of their respective companies. Ethernet,

6
Internet Explorer, Linux, Microsoft, Mozilla, UNIX, Windows and WWW are registered trade-
marks of the respective holders. Java and all Java-based trademarks and logos are trade-
marks or registered trademarks of Oracle and/ or its affiliates. UPnP ™ is a certification mark
of the UPnP ™ Implementers Corporation. SD, SDHC, SDXC, miniSD, microSD, miniSDHC,
microSDHC and microSDXC are trademarks or registered trademarks of SD-3C, LLC in the
United States, other countries or both.
1.7
Support
In case the User should requires technical assistance, should contact its SERSTECH
reseller. If the User questions cannot be answered immediately, the reseller will forward all
queries through the appropriate channels to ensure a rapid response.
1.8
Contact Information
The contact information of the company is as following:
1.9
Invisible laser Safety Considerations
This operation manual includes information and warnings which must be observed by
the user. It contains information NOTES, as well as information of importance to safety of
personnel and property. The important symbols are:
This is a Class 3B laser product and complies with “Classified
according to standard EN 60825-1:2014”.
Class 3B requirements:
A class 3B device shall have a warning signal, audible or visible
when the invisible laser is active. A red LED in a yellow warning
label placed adjacent to the display solves this requirement. Ac-
cording to the standard, there shall be a yellow label with a black
border, the recommended wording is:
WARNING – INVISIBLE LASER RADIATION
AVOID EXPOSURE TO BEAM
CLASS 3B LASER PRODUCT
The backside label on the Arx instrument solves this require-
ment. Also, the frontside label has the word WARNING accord-
ing to standard requirements. Another requirement is that the
laser aperture is labelled, there is thus a yellow pictogram label
besides the nozzle. The only source for dangerous laser expo-
sure is from the nozzle; the protective casing is designed not to
leak laser emission in any other place. With intended use, there
is no raised danger for laser exposure when accessing the dis-
play controls. A remote interlock connector is not required for

7
handheld instruments. There are no service panels, viewing op-
tics or scanning elements; requirements for these objects are
thus not applicable. There shall be a mechanical attenua-
tor/beam stop available to make it possible to block the beam
from the nozzle temporarily. The stop is released with the instru-
ment enclosed Calibration Unit, which also makes double duty
as a dust cap. Class 3B is one of the most severe classes;
meaning that it is easy to permanently harm the eye when the
product is not used properly. A class 3B product is not suited as
a consumer product since the operator needs to be trained to
use proper procedures to avoid eye damage. A safety interlock
is needed to ensure that only trained operators use the instru-
ment. A software requirement solves this; the operator needs to
login with a PIN number to use the instrument. The software also
turns the instrument off when inactive and a new login with PIN
number is required. Ensure the beam is always terminated at a
suitable non-specular (i.e., non-mirror- like) surface. Do not di-
rect the beam at other people or into areas where other people
unconnected with the laser work may be present. Refer to the
International standard EN 60825-14 users’ guide for guidance
on identifying and controlling hazards associated with laser use.
Always ensure the invisible laser is turned off when changing measuring accesso-
ries, f.eg. from small amount adapter to the vial holder.
WARNING: Exposure to levels of invisible laser energy above
the MPE can be harmful to the eye. The minimum safety dis-
tance (Nominal Ocular Hazard Distance, NOHD) is 100 cm from
the invisible laser aperture to avoid exposure to levels above the
MPE. The output power is 300 mW at 785 nm. Always avoid
exposure to the beam. Use administrative controls, engineering
controls, and/ or laser safety glasses to avoid exposure to invis-
ible laser radiation within the 100 cm hazard zone. Use invisible
laser safety eyewear of an optical density (OD) greater than 3.
WARNING: Scanning a thermally sensitive material may cause
burning of the target. If the sample is contained in a tightly sealed
vessel (e.g., a capped vial), pressure may build up during the
scan, causing subsequent explosion of the vessel.
8
2.
Casing
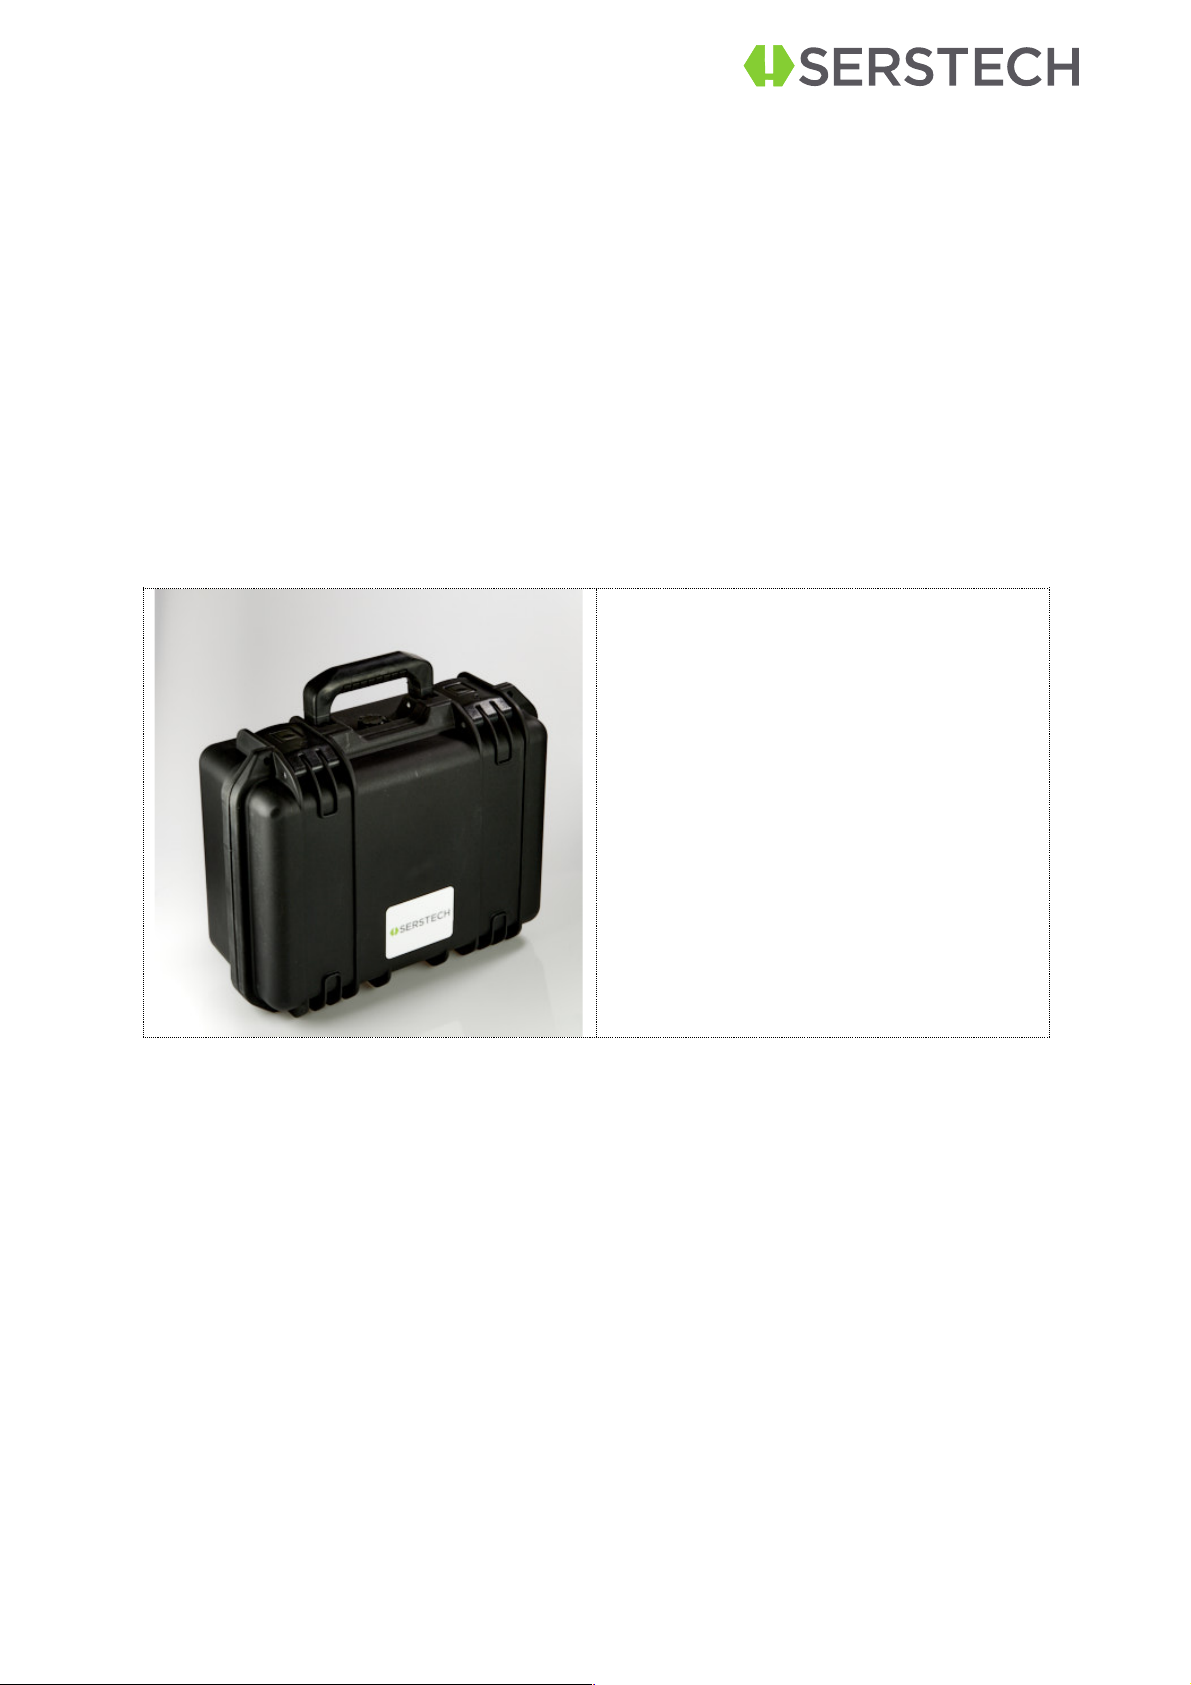
The Arx instrument with the Accessories is delivered in a crush proof, dust proof and
water resistant Peli case.
The Peli case, outer view.
9
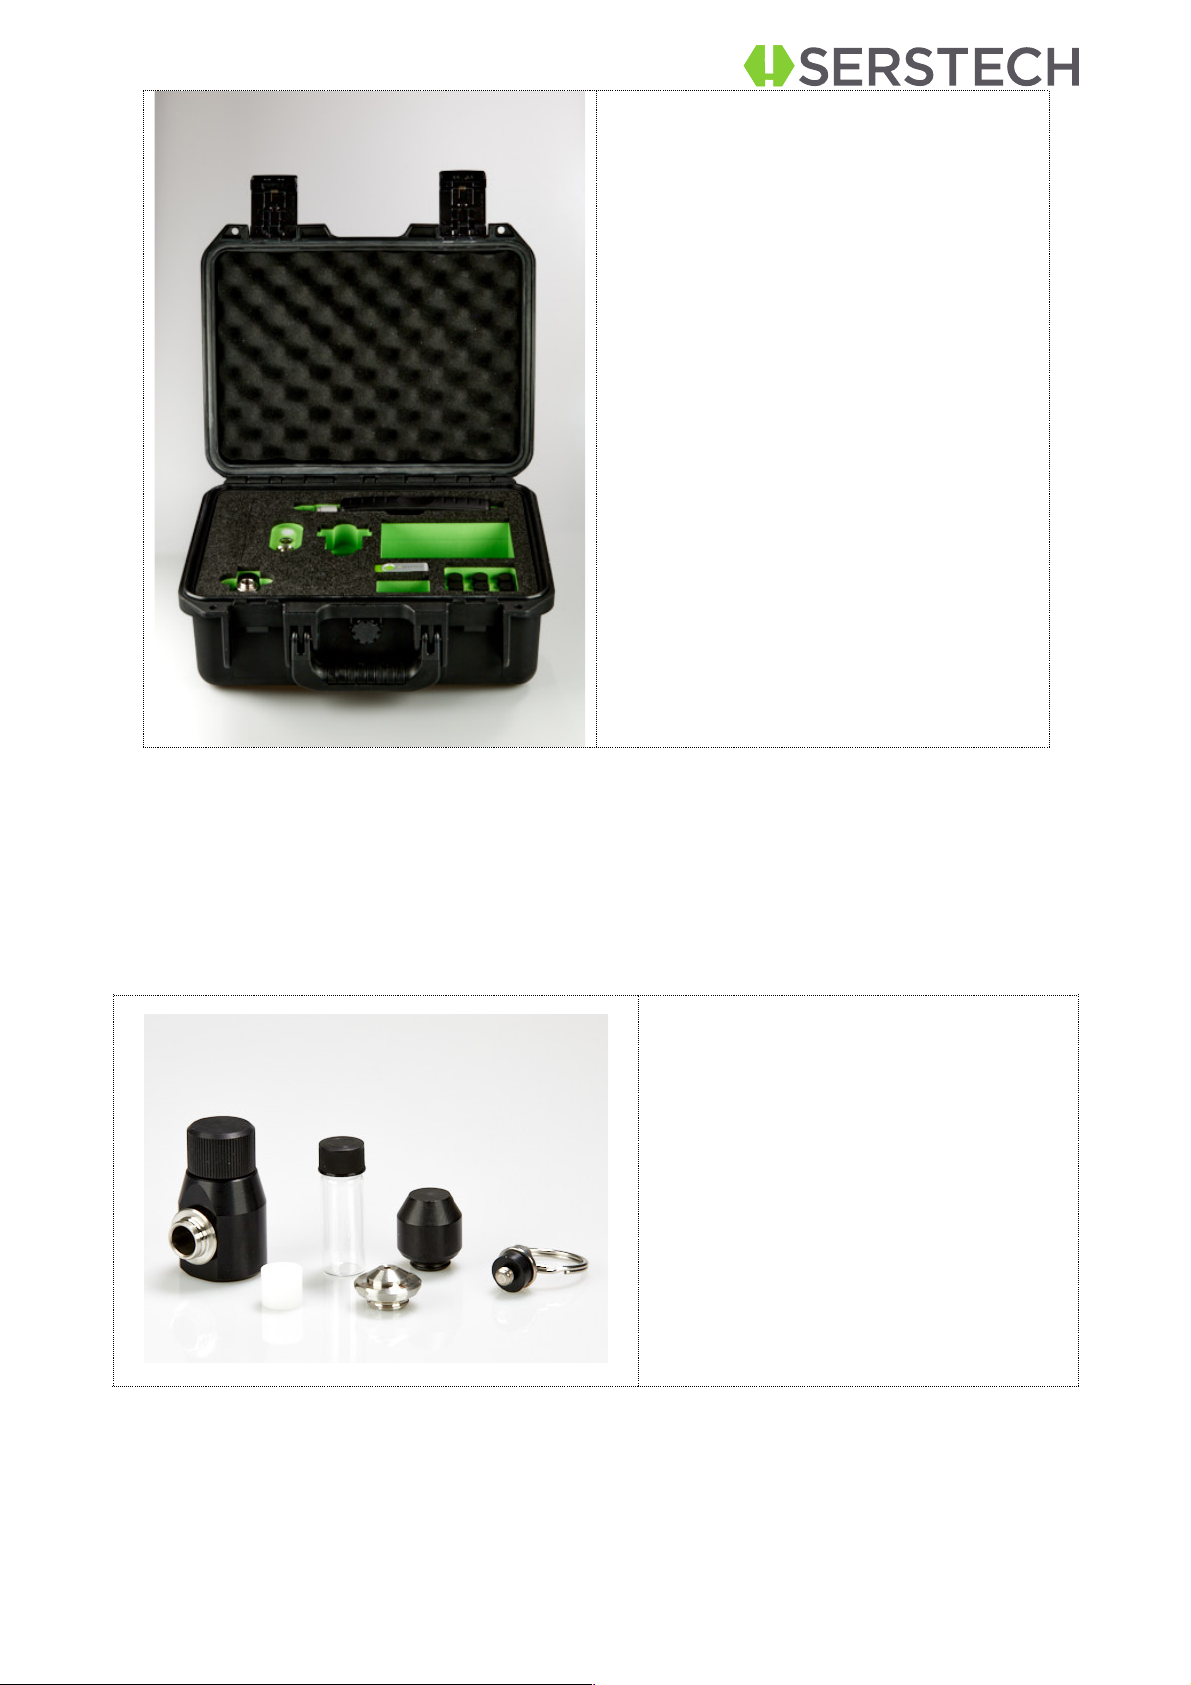
The Peli case, interior view.
3.
Accessories
There are different accessories for different sample applications:
1.
Vial holder
2.
Vial
3.
Vial holder rise
4.
Strap attachment
5.
Small-amount adapter
6.
Calibration cap
3.1
Vial holder
Vials can readily be analyzed without any adapter. However, there is always a risk that stray
light maty enter the spectrometer and disturb the measurement. In addition, the analyzing
laser beam travels through the vial and thus laser safety must be considered. Using the vial
10
holder both a beam block that ascertain laser safety and effective protection from stray light
is obtained.
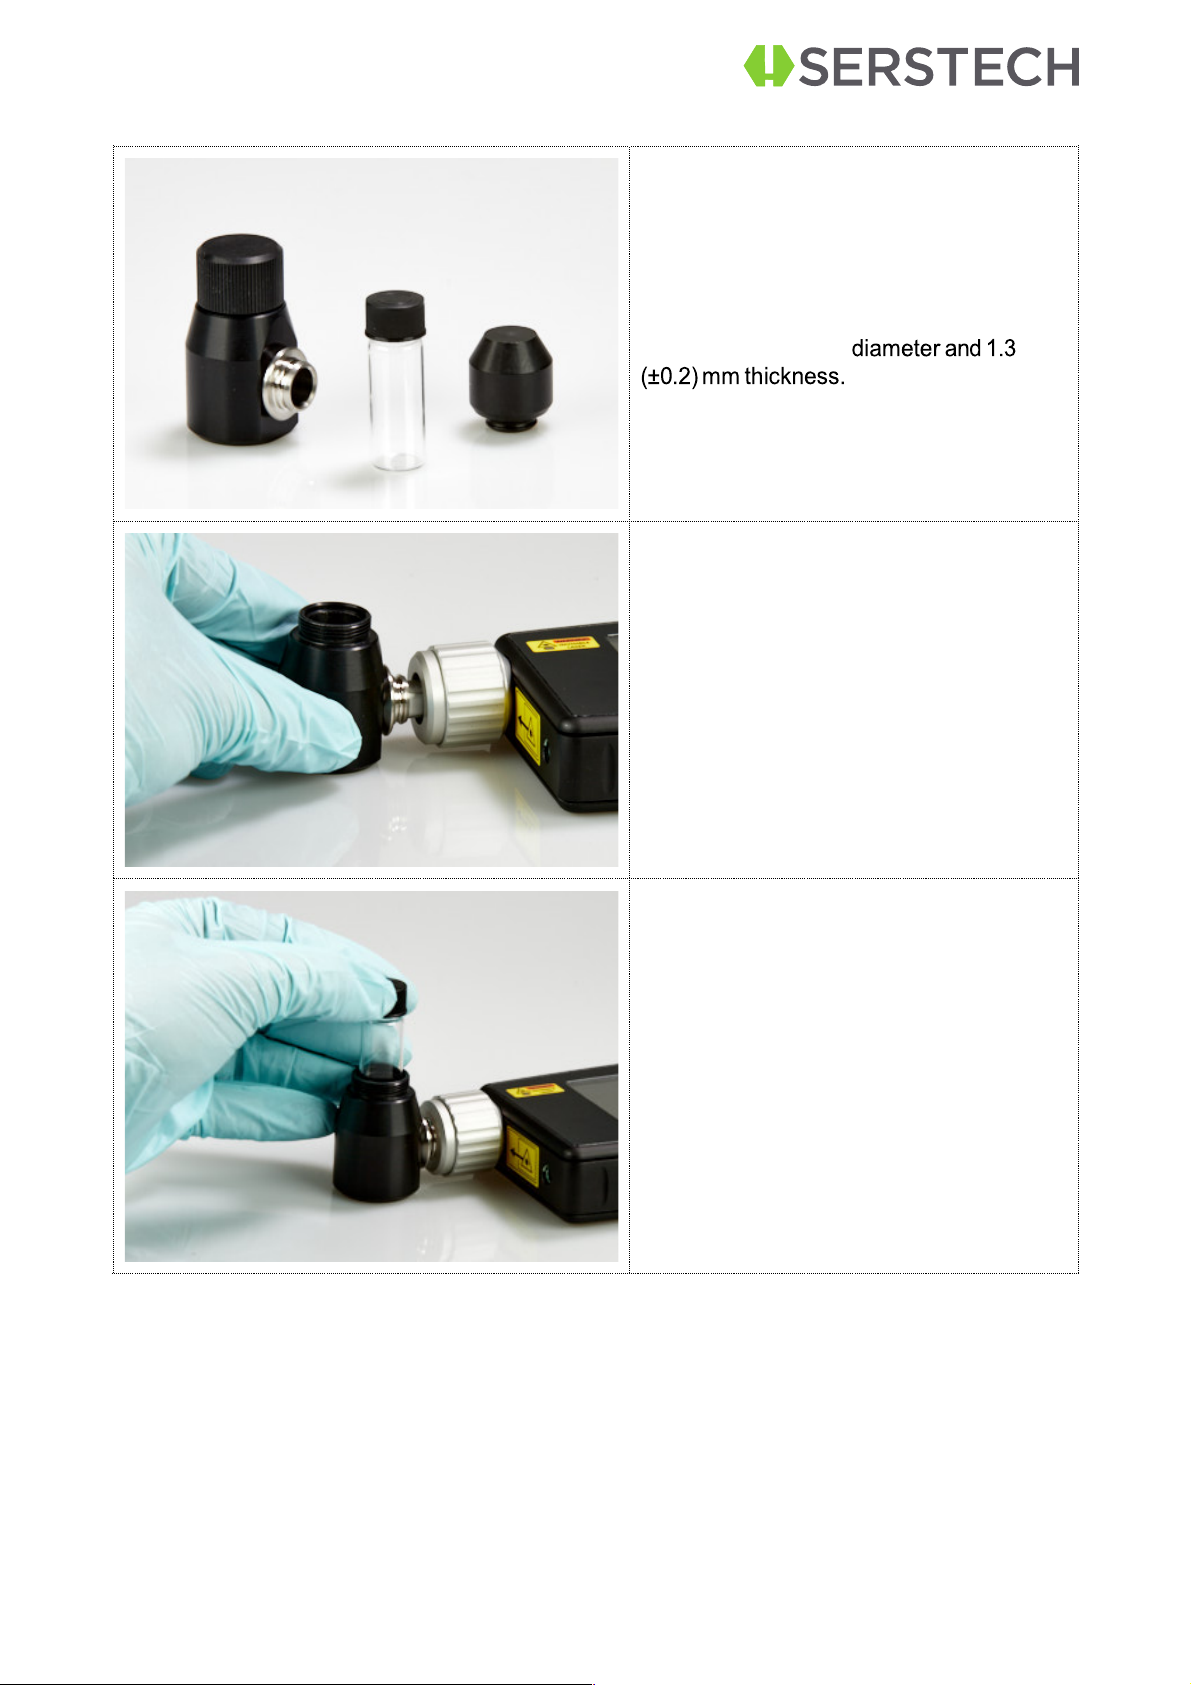
The holder accepts 4 ml standard vials
with 14.8 mm outer
To mount the vial holder, simply snap it in
position on the probe tip.
Place the vial into the vial holder.

11
When the vial is in position start the
analysis.
WARNING: Scanning a thermally sensi-
tive material may cause burning of the
target. If the sample is contained in a
tightly sealed vessel (f.eg. a capped
vial), pressure may build up during the
scan, causing subsequent explosion of
the vial.
For small volumes, down to 400 µl, the vial rise should be used to position the analyzing
laser beam at the bottom of the vial.
Vial holder insert
The insert serves as a support for the vials
filled with a sample up to 0.4 ml.

12
The insert is placed at the bottom of the vial
holder to allow the analyzing laser beam to
be focused onto the lower region of the vial.
First place the vial insert in the bottom of
the vial holder
Then place the vial on top of the vial insert.

13
When the vial is in position a part of the
vial will be raised above the vial holder and
it is not possible to screw on the cap of the
vial holder.
Start the analysis.
NOTE: It is very important to reduce stray light from entering the instrument as much as
possible, f.eg. by covering the container with a black cloth unless the vial holder adaptor is
used. It is also recommended to use the auto-exposure mode. The amber glass vessels and
fogged plastic material will reduce the quality of the signal and thus the obtained spectrum.
14
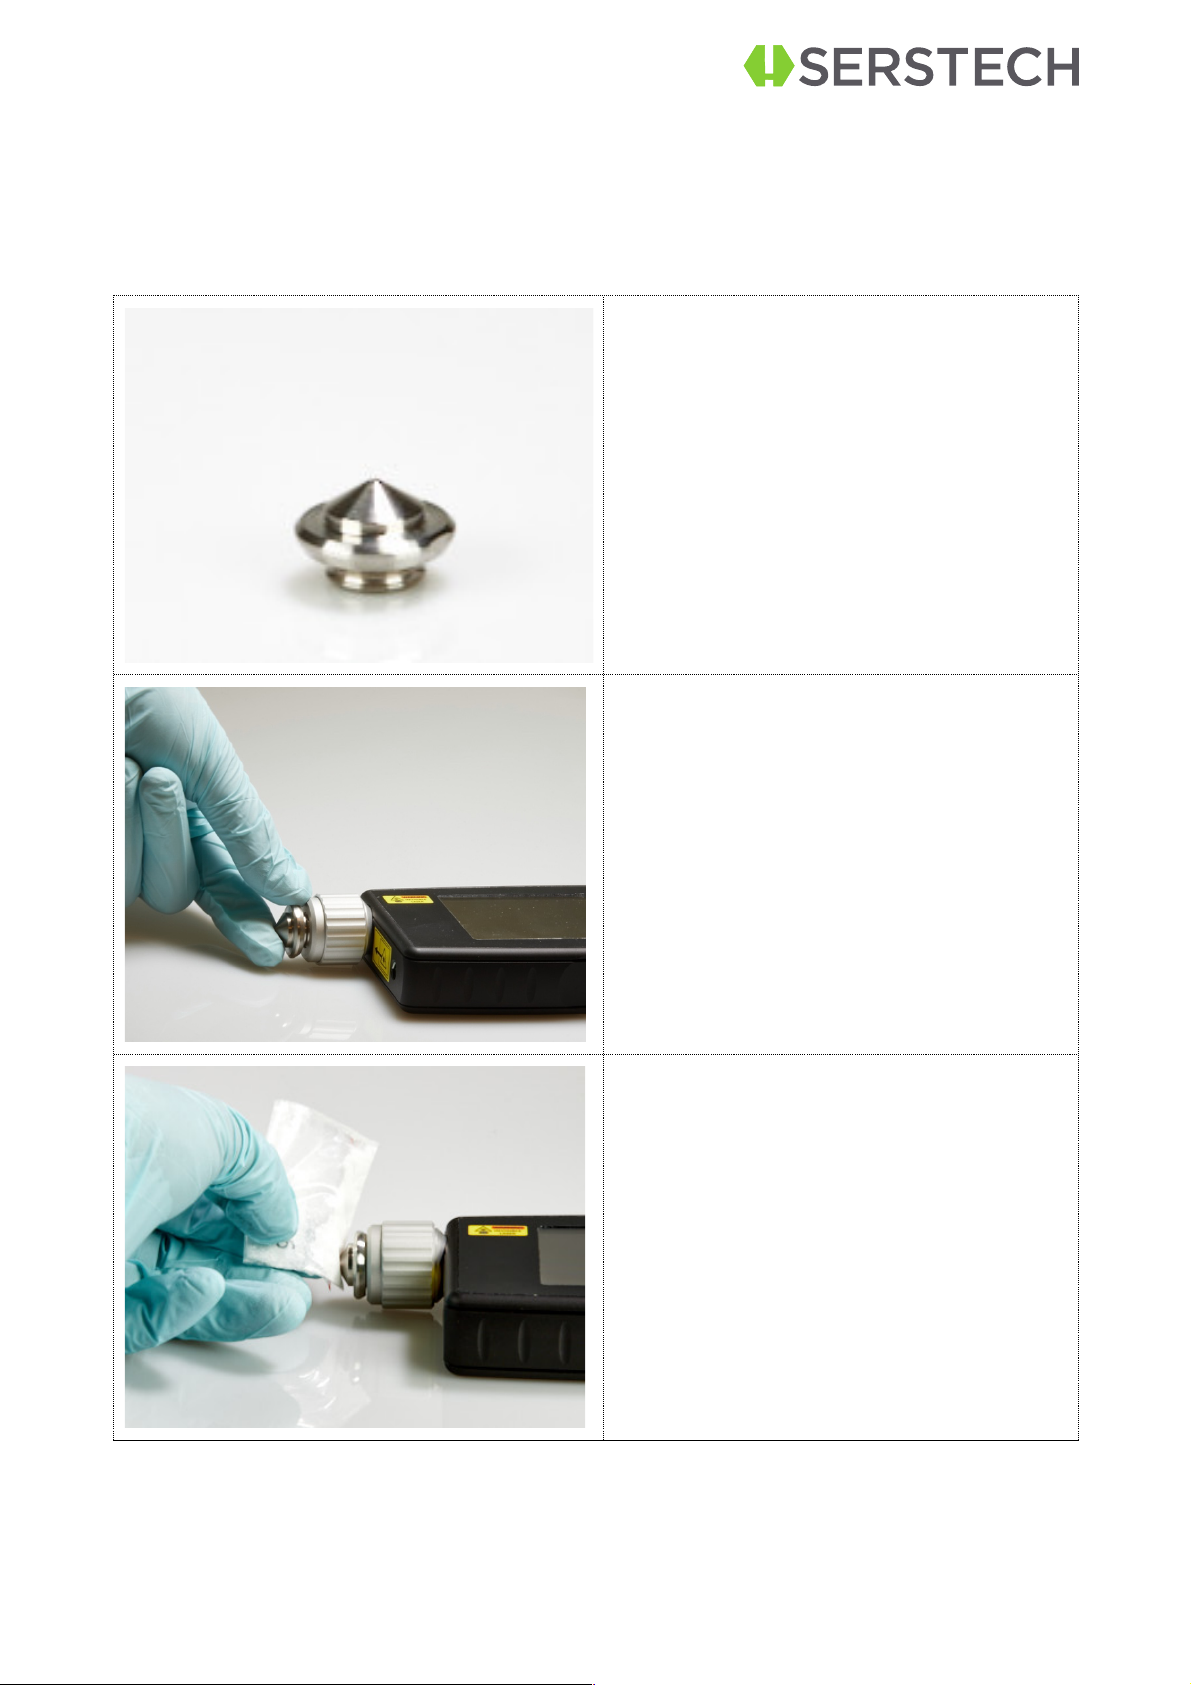
3.2
Small sample adapter
Any type of solid sample can be analyzed using the Arx instrument without any adapter.
However, it may be hard to focus the analyzing beam onto very small samples.
The small-
amount adaptor has a conical shape and a small aperture. This makes it easier to point the
analysing beam towards small samples. With this adapter it is possible to analyse samples
of about 3-5 mg.
To attach the small-amount adaptor
please follow the steps bellow:
1.
Slide the adapter over the probe tip
of the adapter
2.
Snap into position
Point the aperture of small amount
adapter to the sample to be analyzed.
15
WARNING: Keep the sample pressed
against the adaptor throughout the analy-
sis process.
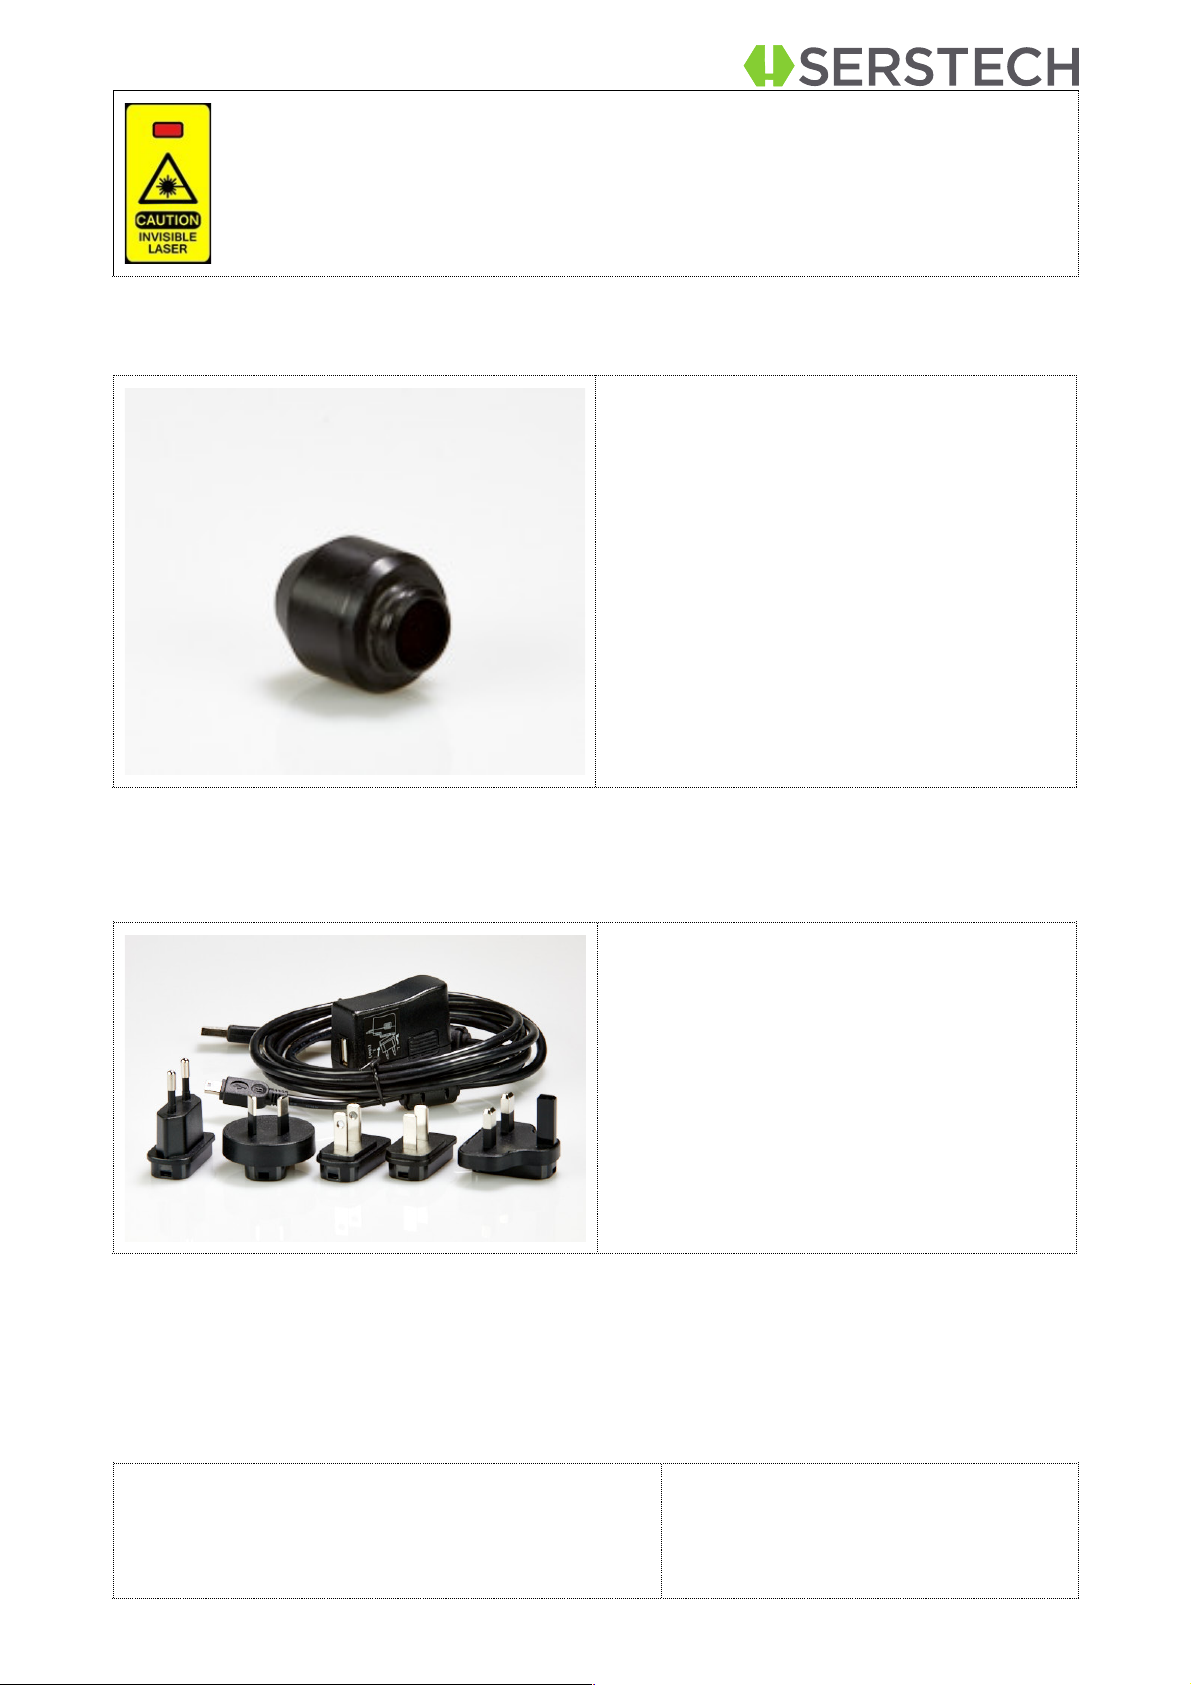
3.3
Calibration cap
The calibration cap contains a polystyrene
target and is used for the calibration control
of the instrument. It is also protecting the
optics inside the probe tip.
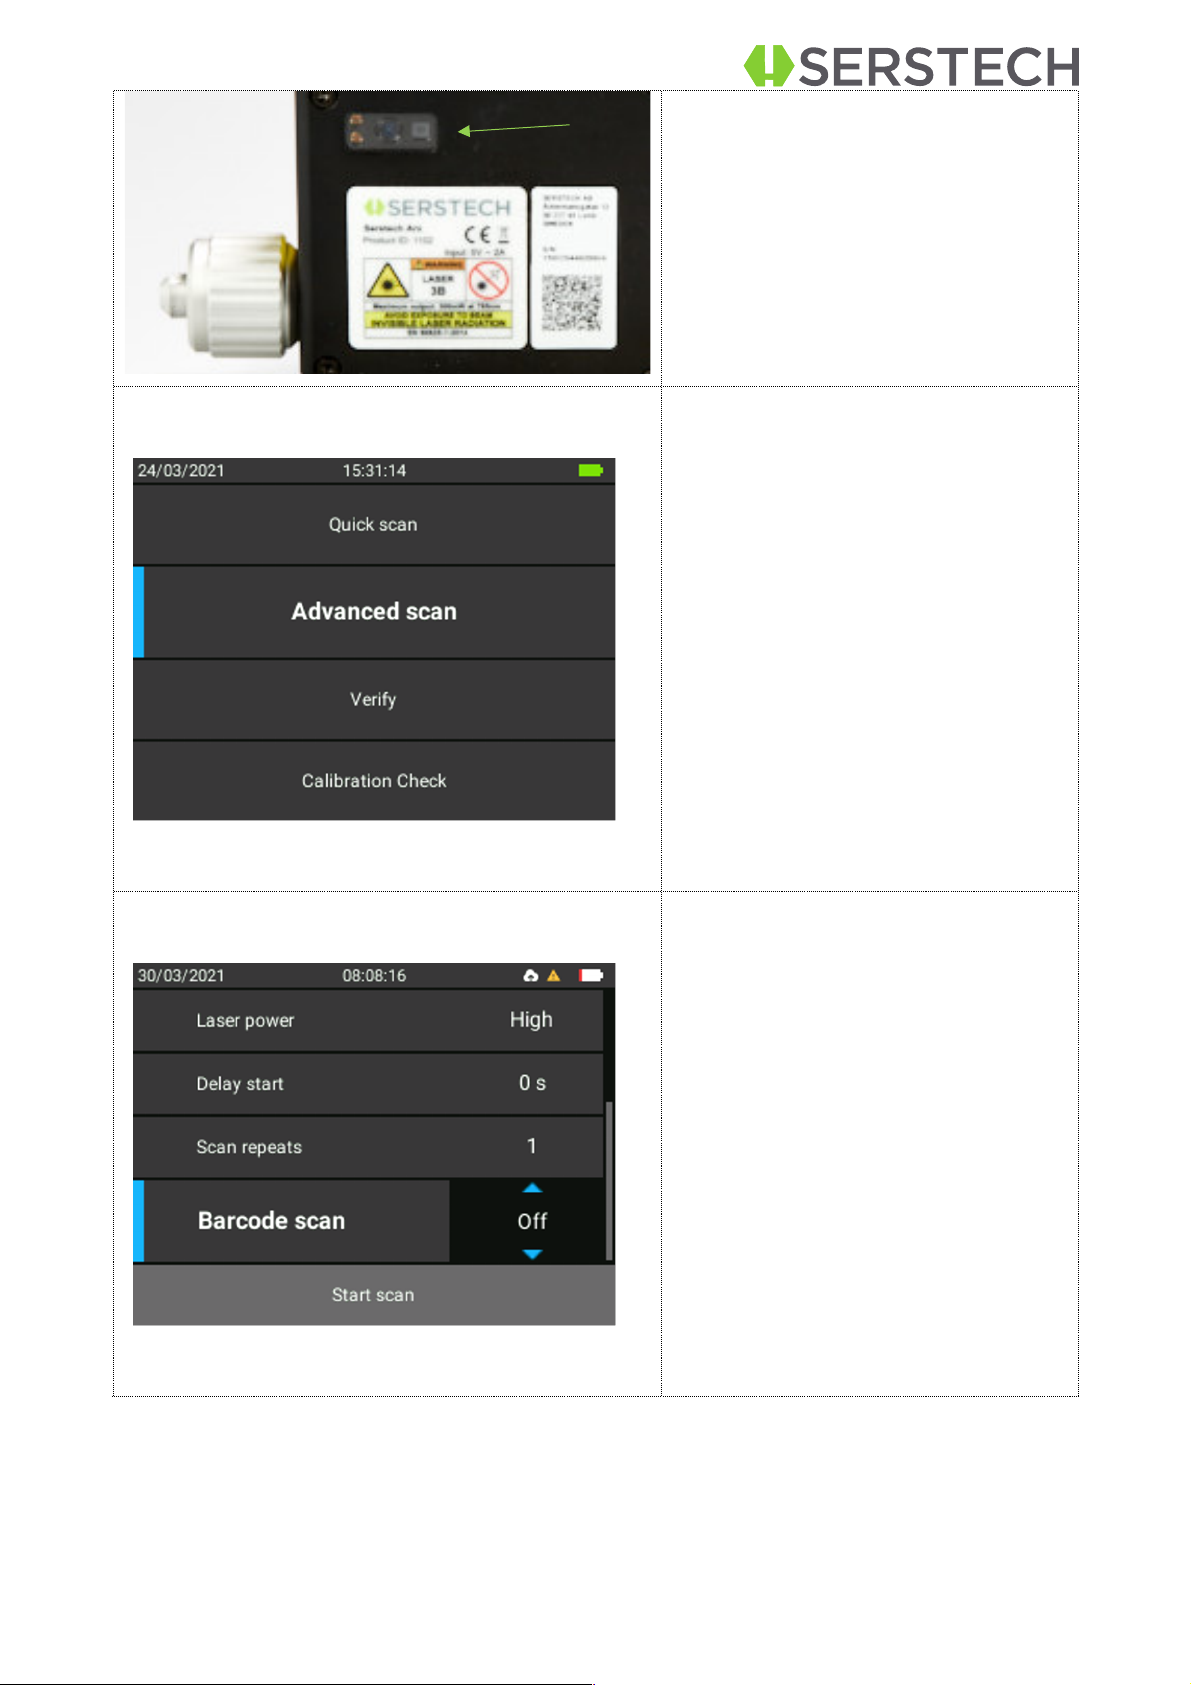
3.4
USB Cable
The supplied USB cable is the connection
cable between the Arx and a PC, used to
access ChemDash 2.0.
The USB cable is also used to connect the
optional USB charger to the instrument.
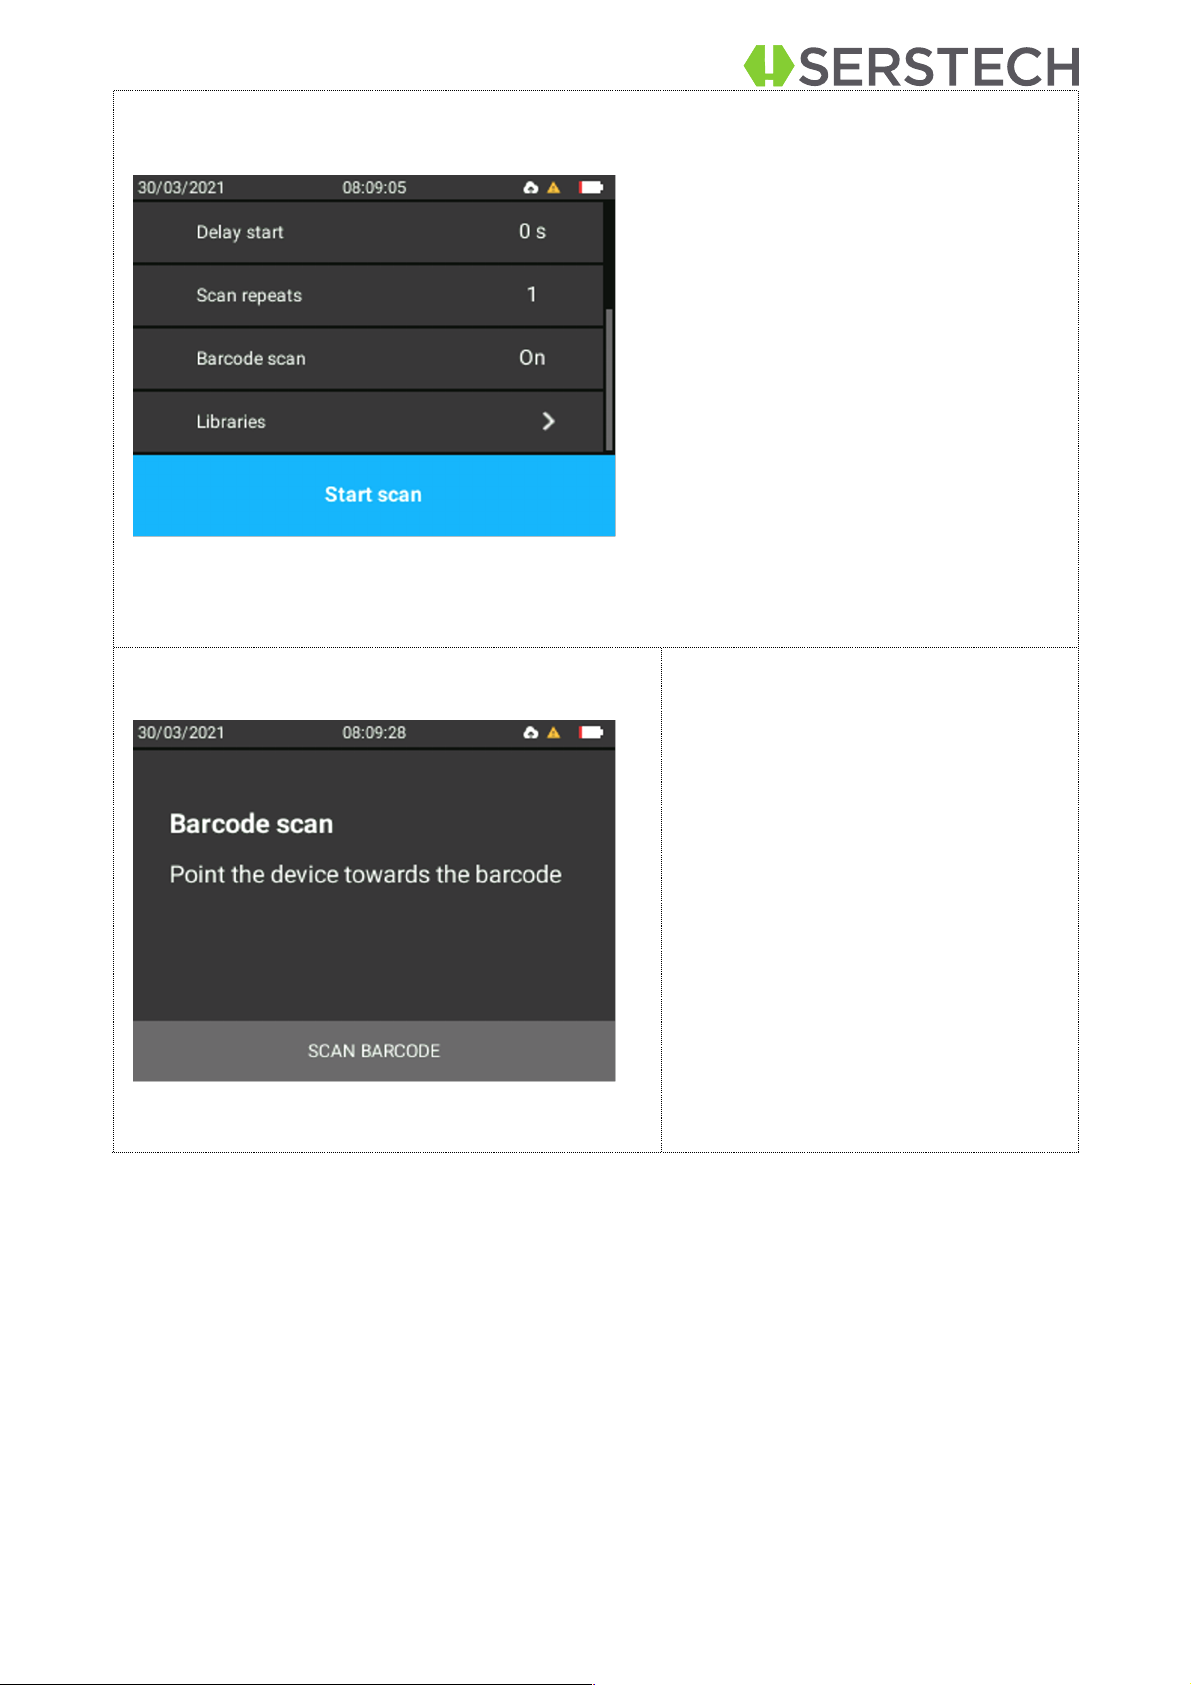
3.5
Barcode reader
For samples that contain a barcode the built-in barcode reader can be used to append this
information to the measurement. The barcode reader is located on the back side of the in-
strument and is run from the Advanced scan.
The barcode reader is located in the
upper left corner on the instrument`s
backside
16
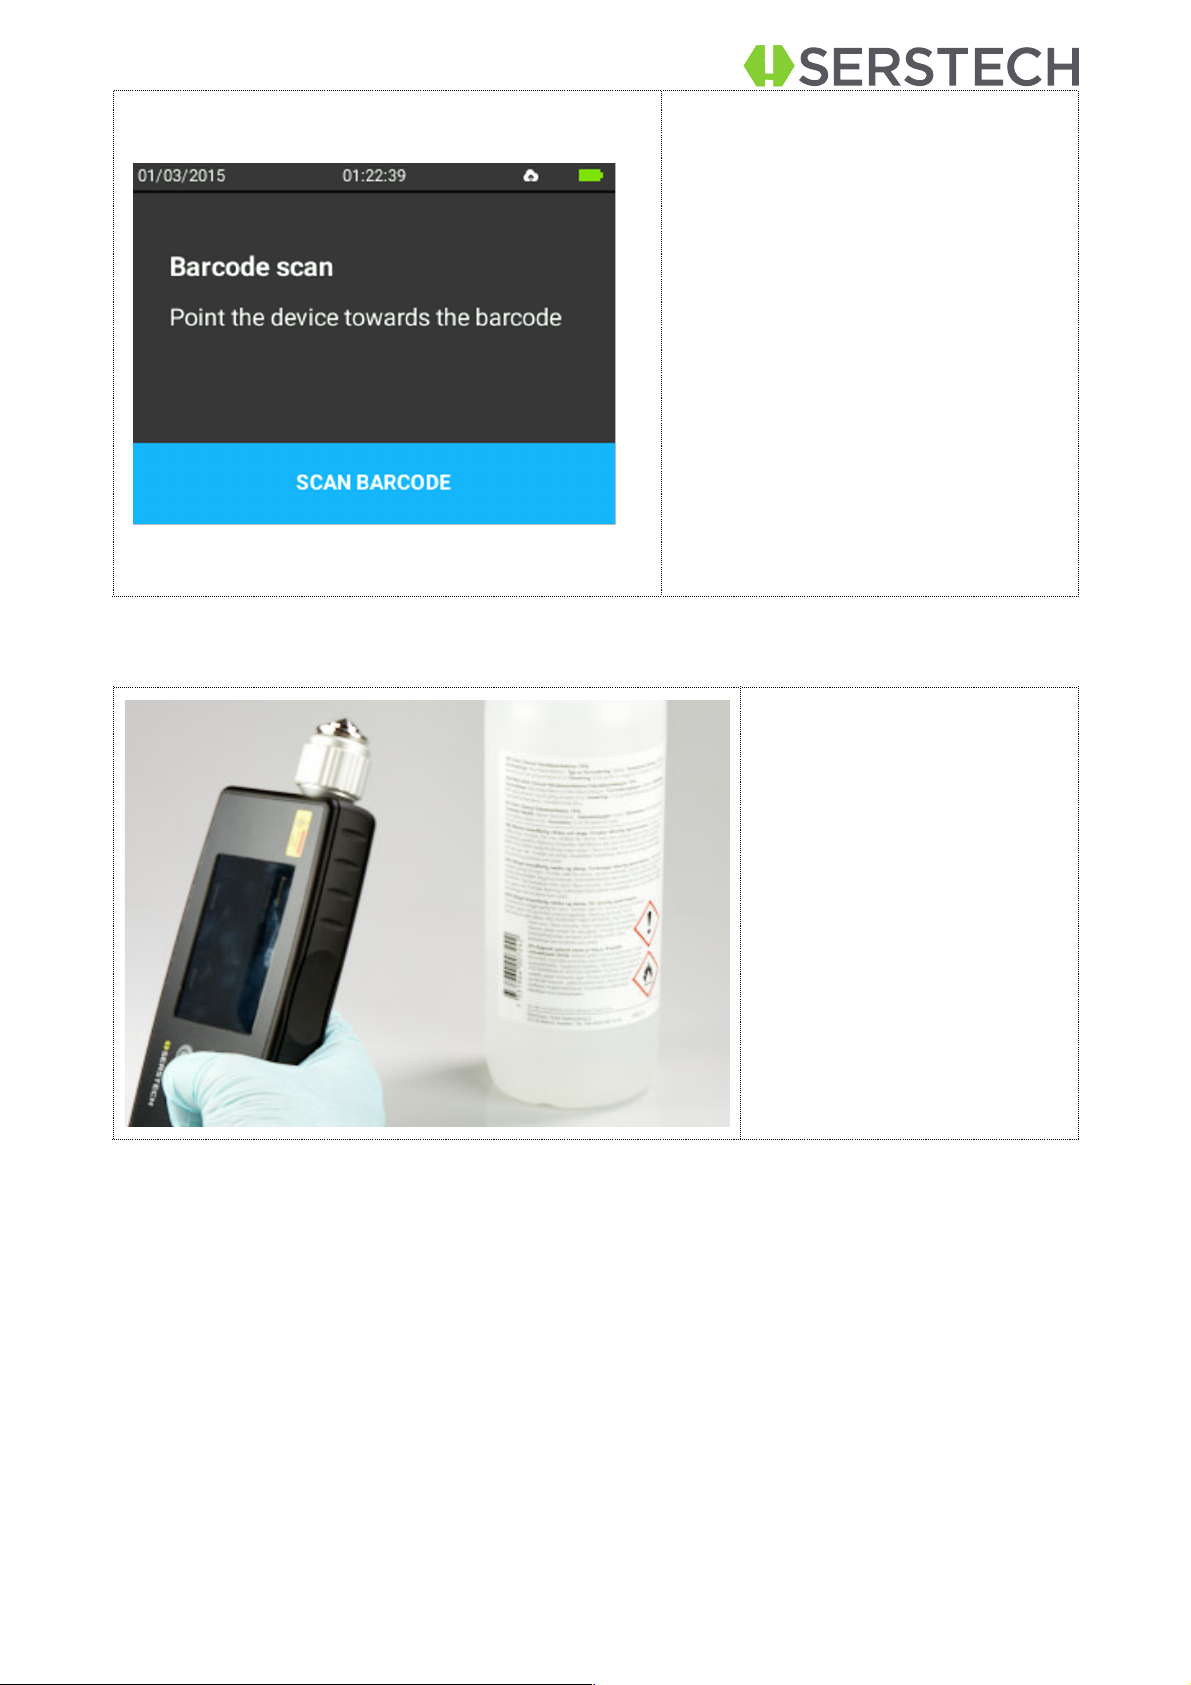
The barcode reader is available
when running the Advanced scan.
To activate Barcode. Scroll down to
Barcode option. Press OK to activate
options. Use up and down arrows to
select between On and Off. Press OK
to confirm choice.
17
Scroll down to Start scan and press
OK.
Press OK to highlight SCAN BAR-
CODE option.
18
Point the barcode reader, on the in-
strument´s backside, towards the
barcode of the sample.
Aim the barcode reader to-
wards the barcode of the sam-
ple. Try to get the crosshair
onto the barcode of the sam-
ple.

19
When the barcode is scanned
the barcode can be viewed, in
numeric form, on the instru-
ment´s screen. Press OK to
activate option to Continue.
Aim the instruments probe
against the substance to be
analyzed and press OK to go
to continue and the laser
starts working.
If barcode needs to be re-
scanned use arrow to select
Rescan.
Note! Pressing OK button
when Continue is selected will
start the laser without further
warning.
4
Arx instrument
4.1 Instrument labels
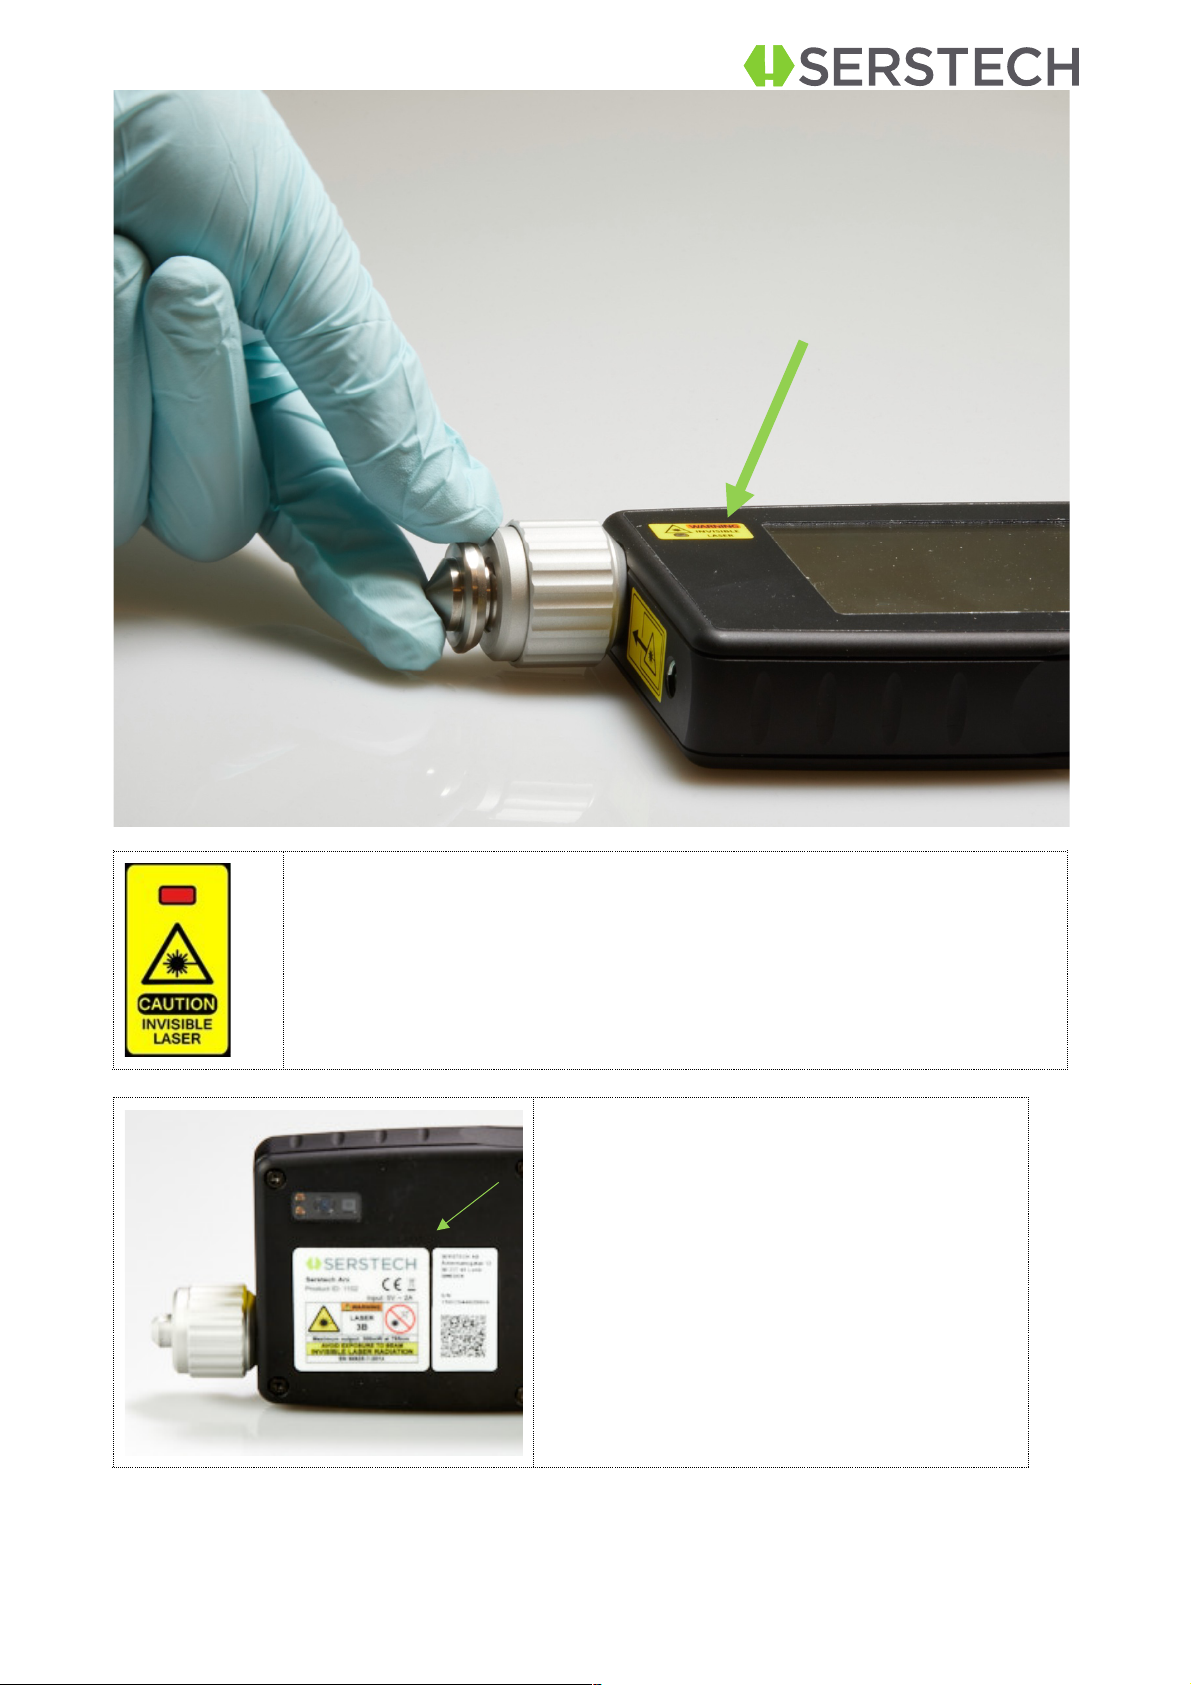
20
On the front side of the instrument there is a clearly visible laser warn-
ing label with a red indicator LED that is lit when the invisible laser is
operating.
On the backside of the instrument, it can be
found:
§
Product ID
§
Invisible laser safety information
§
Serial number
§
QR code
Table of contents
Popular Laboratory Equipment manuals by other brands


Johnson & Johnson
Johnson & Johnson ASP STERRAD 100S installation guide

Zanussi
Zanussi ZDS 201 Operation instructions

Thermo Scientific
Thermo Scientific NanoDrop One user guide

Brouwland
Brouwland ENOLMATIC manual

Bosch
Bosch NEI-30 Quick install guide

Pike
Pike Falcon 110-60 Series Installation and user guide


