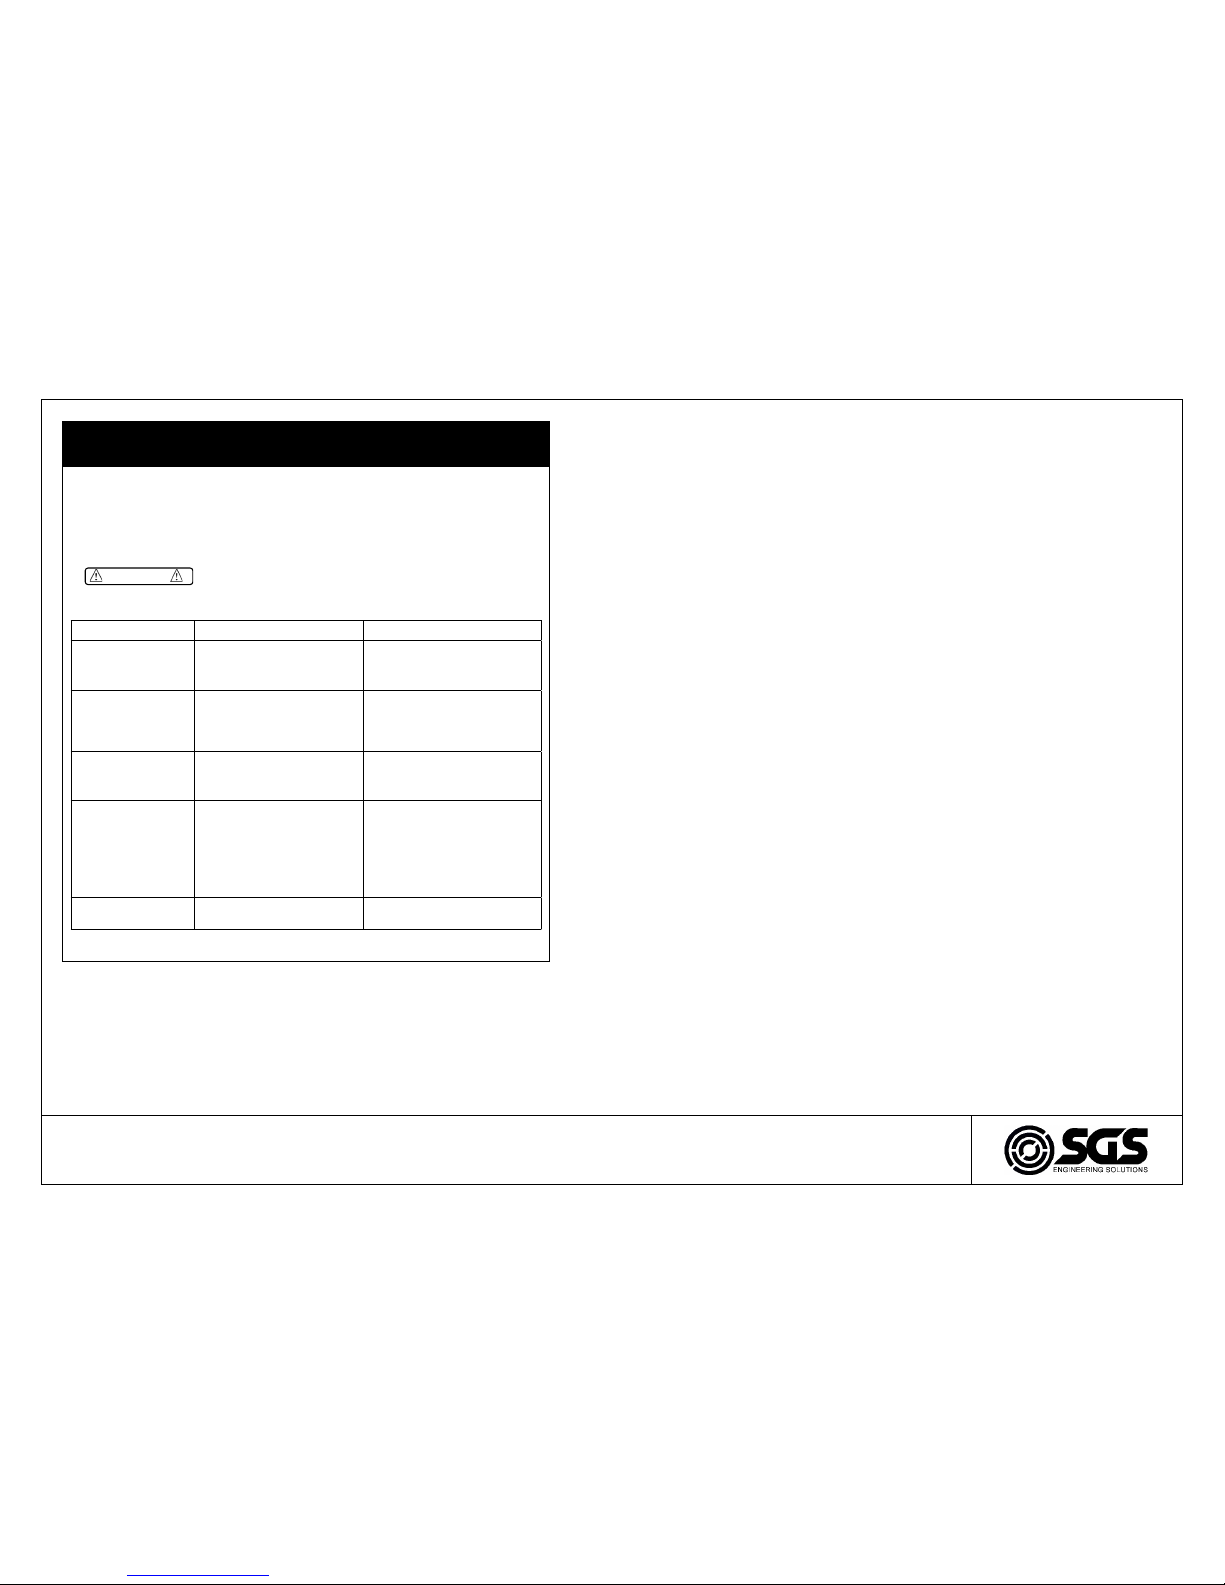
SGS SAT403 User manual

FOR YOUR SAFETY
PLEASE READ THESE INSTRUCTIONS CAREFULLY
AND RETAIN THEM FOR FUTURE USE.
OWNER’S MANUAL
SAT403
BRAD NAILER & STAPLER

PAGE 3
PAGE 2
SPECIFICATION
TOOL MODEL SAT403
TOOL LENGTH 250 MM
TOOL HEIGHT 240 MM
TOOL WIDTH 55 MM
TOOL WEIGHT 1.46 KG
MAXIMUM OPERATING PRESSURE 115 PSI
RECOMMENDED OPERATING PRESSURE 75-100 PSI
MAGAZINE CAPACITY 100 NAILS / 80 STAPLES
FASTNER GAUGE 18 GAUGE BRAD NAILS
18 GAUGE CROWN STAPLES
FASTNER LENGTHS NAILS (MM) 15, 20, 25, 30, 35, 40, 45, 50
FASTNER LENGTHS NAILS (IN.) 5/8, 3/4, 1, 1-1/4, 1-3/8, 1-1/2,
1-3/4, 2
FASTNER LENGTHS STAPLES (MM) 13, 16, 19, 25, 32, 38, 40
FASTNER LENGTHS STAPLES (IN.) 1/2, 5/8, 3/4, 1, 1-1/4,
1-1/2
SAFETY GUIDELINES
Please read and fully understand the manual for information relating to protecting
YOUR SAFETY and PREVENTING EQUIPMENT PROBLEMS.
Indicates an immediately hazardous situation which if not
avoided will result in death or serious injury.
DANGER
WARNING
NOTE
Indicates a potentially hazardous situation which if not
avoided could result in death or serious injury.
Alerts the operator to useful information.
SAFETY INSTRUCTIONS
1. Read and understand tool labels and manual. Failure to follow warnings
could result in DEATH or SERIOUS INJURY.
2. Operator and others in work area MUST wear safety glasses.
3. Keep fingers AWAY from trigger when not driving fasteners to avoid ac-
cidental firing.
4. Never point tool at any part of your body or others.
5. Never use oxygen or other bottled gasses. Explosion and serious per-
sonal injury could result.
6. Wear ear protection to safe-guard against possible hearing loss.
7. Use clean, dry, regulated, compressed air at 75 to 100 PSI.
8. Only use air hose that is rated for a maximum working pressure of at least
150 PSI or 150% of the maximum system pressure, which ever is greater.
9. Disconnect tool from air supply hose before performing tool mainte-
nance, clearing a jammed fastener, leaving work area, moving tool to another
location or handing the tool to another person.
10. Never use tool if safety, trigger or springs are inoperable, missing or
damaged. Do not alter or remove safety, trigger or springs. Make daily in-
spections for free movement of trigger and safety mechanism.
11. Connect tool to air supply before loading fasteners to prevent a fas-
tener from being fired during connection.
12. Operator and bystanders to wear helmets to safeguard against injuries.
13. Do not load fasteners with trigger or safety depressed to prevent
unintentional firing of a fastener.
14. Do not drive fasteners close to the edge of the work-piece. The work-
piece is likely to split allowing the fasteners to fly free or ricochet.
15. Fire fasteners into work-piece only - never into materials too hard to
penetrate. Do not drive fasteners on top of other fasteners, or with the tool
at too steep an angle; the fasteners can ricochet causing personal injury.
16. Always carry a fastener-driving tool using only the handgrip and never
with the trigger actuated. Never carry the tool by the hose or pull the hose to
move the tool.
WWW.SGS-ENGINEERING.COM

PAGE 5
PAGE 4
SAFETY MECHANISM
OPERATING A CONTACT TRIP SAFETY TOOL
The operator requires finger to be off the trigger and the work contact ele-
ment (WCE) of the tool to be placed on the work-piece.
The work contact element (WCE) is then depressed against the work-piece
and the trigger is pulled to drive a fastener.
The trigger is released after each fastener is driven.
Move the tool to next location and repeat the above procedure.
CHECKING A CONTACT TRIP SAFETY TOOL
Disconnect the air supply from the tool.
Empty the magazine.
Make sure the trigger and the safety move up and down without sticking.
Connect the air supply to the tool.
Depress the safety tip against the work-piece without pulling the trigger.
The tool must not cycle. Never use the tool if a cycle occurs.
Hold the tool clear of the work-piece. The WCE should return to its original
down position. Pull the trigger. The tool must not cycle. Never use the tool
if a cycle occurs.
WARNING
CHECK AND REPLACE ANY DAMAGED OR WORN COMPONENTS. SAFETY WARN-
ING LABELS ON THE TOOL MUST ALSO BE REPLACED IF THEY ARE NOT LEGIBLE.
LOADING THE TOOL
Connect the air hose.
Depress the magazine latch. Pull back on the magazine cover.
Insert a stick of fasteners into the magazine. Make sure the pointed ends of
the fasteners are loaded with the points downward. Also make sure fasten-
ers are not dirty or damaged.
Push the magazine cover forward until the latch catches.
OPERATING THE TOOL
Add a few drops of tool oil
Attach a high flow quick connector fitting to the tool. Empty the magazine.
Regulate the air pressure to obtain air pressure within the working pressure
range at the tool.
Load fasteners into your tool following the instructions in this manual.
Test for proper fastener penetration by driving nails into a sample piece of
wood. If the fasteners do not achieve the desired penetration, adjust the
air pressure to a higher setting until the desired penetration is achieved. If
you are using a tool with a depth control device, turn the thumb wheel to
achieve the desired penetration.
WWW.SGS-ENGINEERING.COM

PAGE 7
PAGE 6
LUBRICATING THE TOOL
Disconnect the air supply from the tool before lubricating.
Add a few drops of tool oil into the inlet.
Turn the tool so the inlet is facing up and put one drop of high speed spin-
dle oil into the air inlet. Never use detergent oil or additives. Operate the
tool briefly after adding oil.
Wipe off excessive oil at the exhaust. Excessive oil will damage O-rings in
the tool. If an in-line oiler is used manual lubrication through the air inlet is
not required on a daily basis.
Many air tool users find it convenient to use an oiler to help provide oil
circulation through the tool and increase the efficiency and useful life of the
tool. Check oil level in the oiler daily.
Many air tool users find it convenient to use a filter to remove liquid and
impurities which can rust or wear internal parts of the tool. A filter also
increase the efficiency and lifespan of the tool. The filter must be checked
on a daily basis and if necessary drained.
CORRECT CONNECTION OF THE TOOL
CLEARING A JAM FROM THE TOOL
FASTENER JAMMED IN FASTENER DISCHARGE AREA:
Disconnect air tool from air hose.
Open the nozzle part, grab jammed fastener with pliers and remove.
FASTENER JAM INSIDE MAGAZINE:
Disconnect air tool from air hose.
Pull back on the magazine cover.
Open the nozzle part and remove jammed fastener.
Push the magazine cover forward until the latch catches.
CLEANING THE TOOL
Disconnect tool before cleaning and inspection. Correct all
problems before placing the tool back in use.
NEVER USE PETROL OR OTHER FLAMMABLE LIQUIDS TO
CLEAN THE TOOL. VAPORS IN THE TOOL WILL IGNITE
AND CAUSE THE TOOL TO EXPLODE AND RESULT IN
DEATH OR SERIOUS PERSONAL INJURY.
Remove tar build up with kerosene #2 fuel oil or fuel.
Dry off tool completely before use.
DO NOT SOAK tool with cleaning solutions or damage may occur.
WARNING
DANGER
WWW.SGS-ENGINEERING.COM

PAGE 9
PAGE 8
PARTS LISTPARTS DIAGRAM
WWW.SGS-ENGINEERING.COM
This manual suits for next models
1
Table of contents
Other SGS Nail Gun manuals
Popular Nail Gun manuals by other brands

Metabo HPT
Metabo HPT NR 3675DD Instruction and safety manual

EXTOL PREMIUM
EXTOL PREMIUM 8894580 Translation of the original user manual

DeWalt
DeWalt XR Li-Ion DCN680D2 Original instructions

Performance Tool
Performance Tool M643 owner's manual

Hitachi
Hitachi VH650 - Fencing Nailer, Full Head instruction manual

Parkside
Parkside PET 25 B1 Operation and safety notes