PAGE 13
PAGE 12
1. FOR SAFE OPERATION 1. FOR SAFE OPERATION
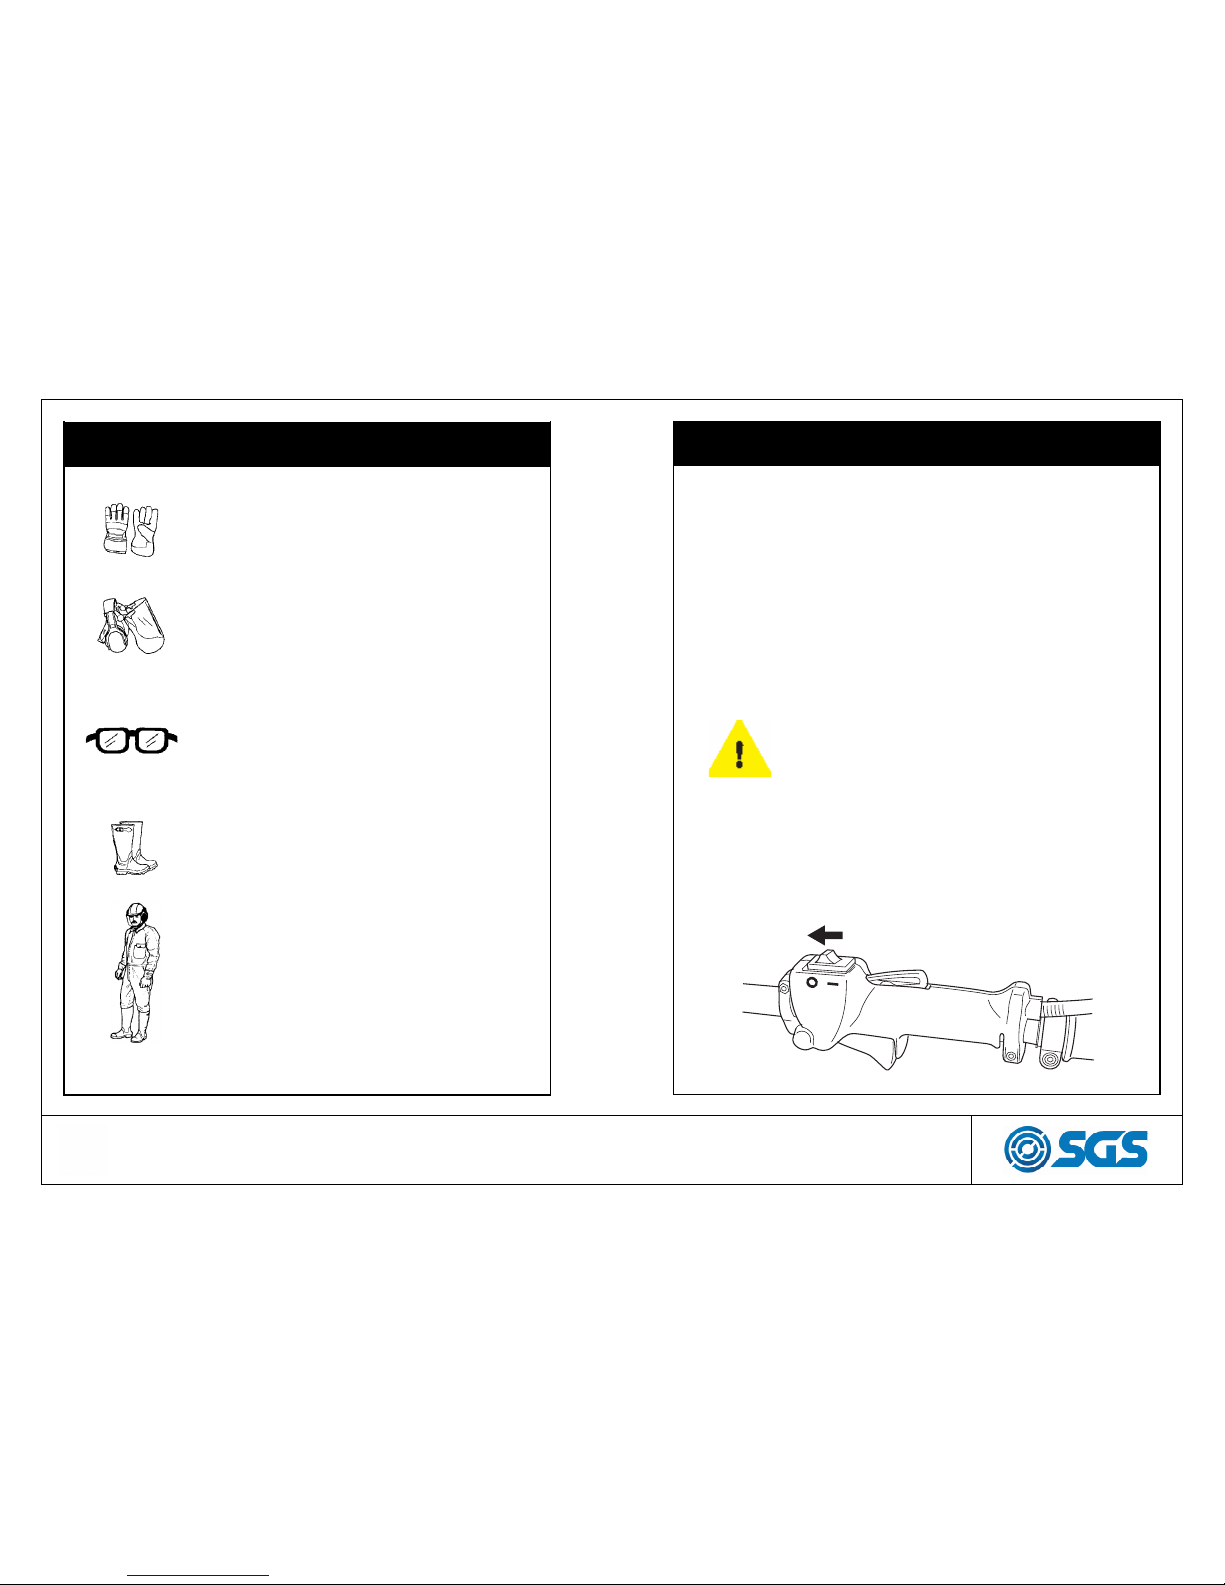
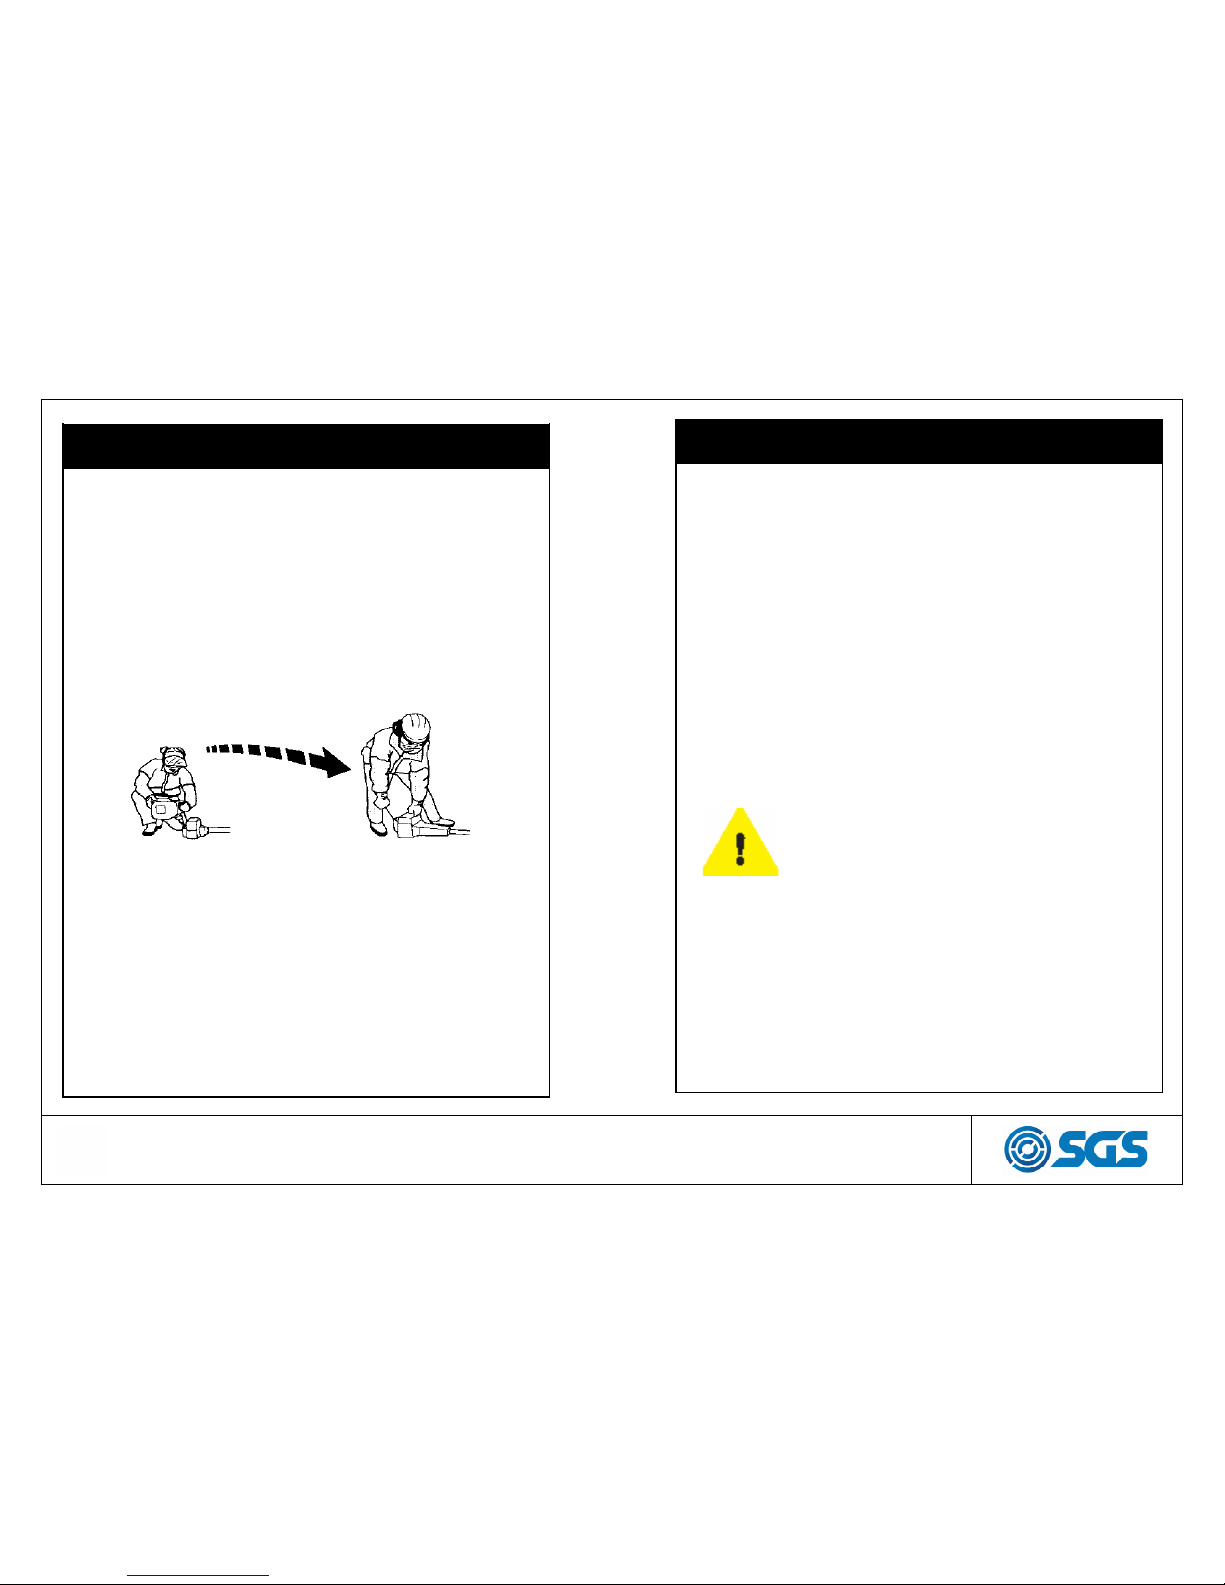
Personal protection
• Always wear boots and other equip-
ment described
• Always wear working clothes and
heavy-duty long trousers.
• Never wear loose fitting clothes or
jewellery.
• Persons with long hair should (for per-
sonal safety) put their hair up.
Safety instructions before starting work
• Inspect the working area. Remove any objects such as
stones, broken glass, nails, steel wire, string, etc. that can
be thrown or can wrap around the cutting head or shaft.
• Keep others at a safe distance. Children, animals, onlook-
ers and helpers should stand outside of the safety zone
of 50 feet (15 metres). Bystanders should be encouraged
to wear safety glasses. Stop the machine immediately if
anyone should approach.
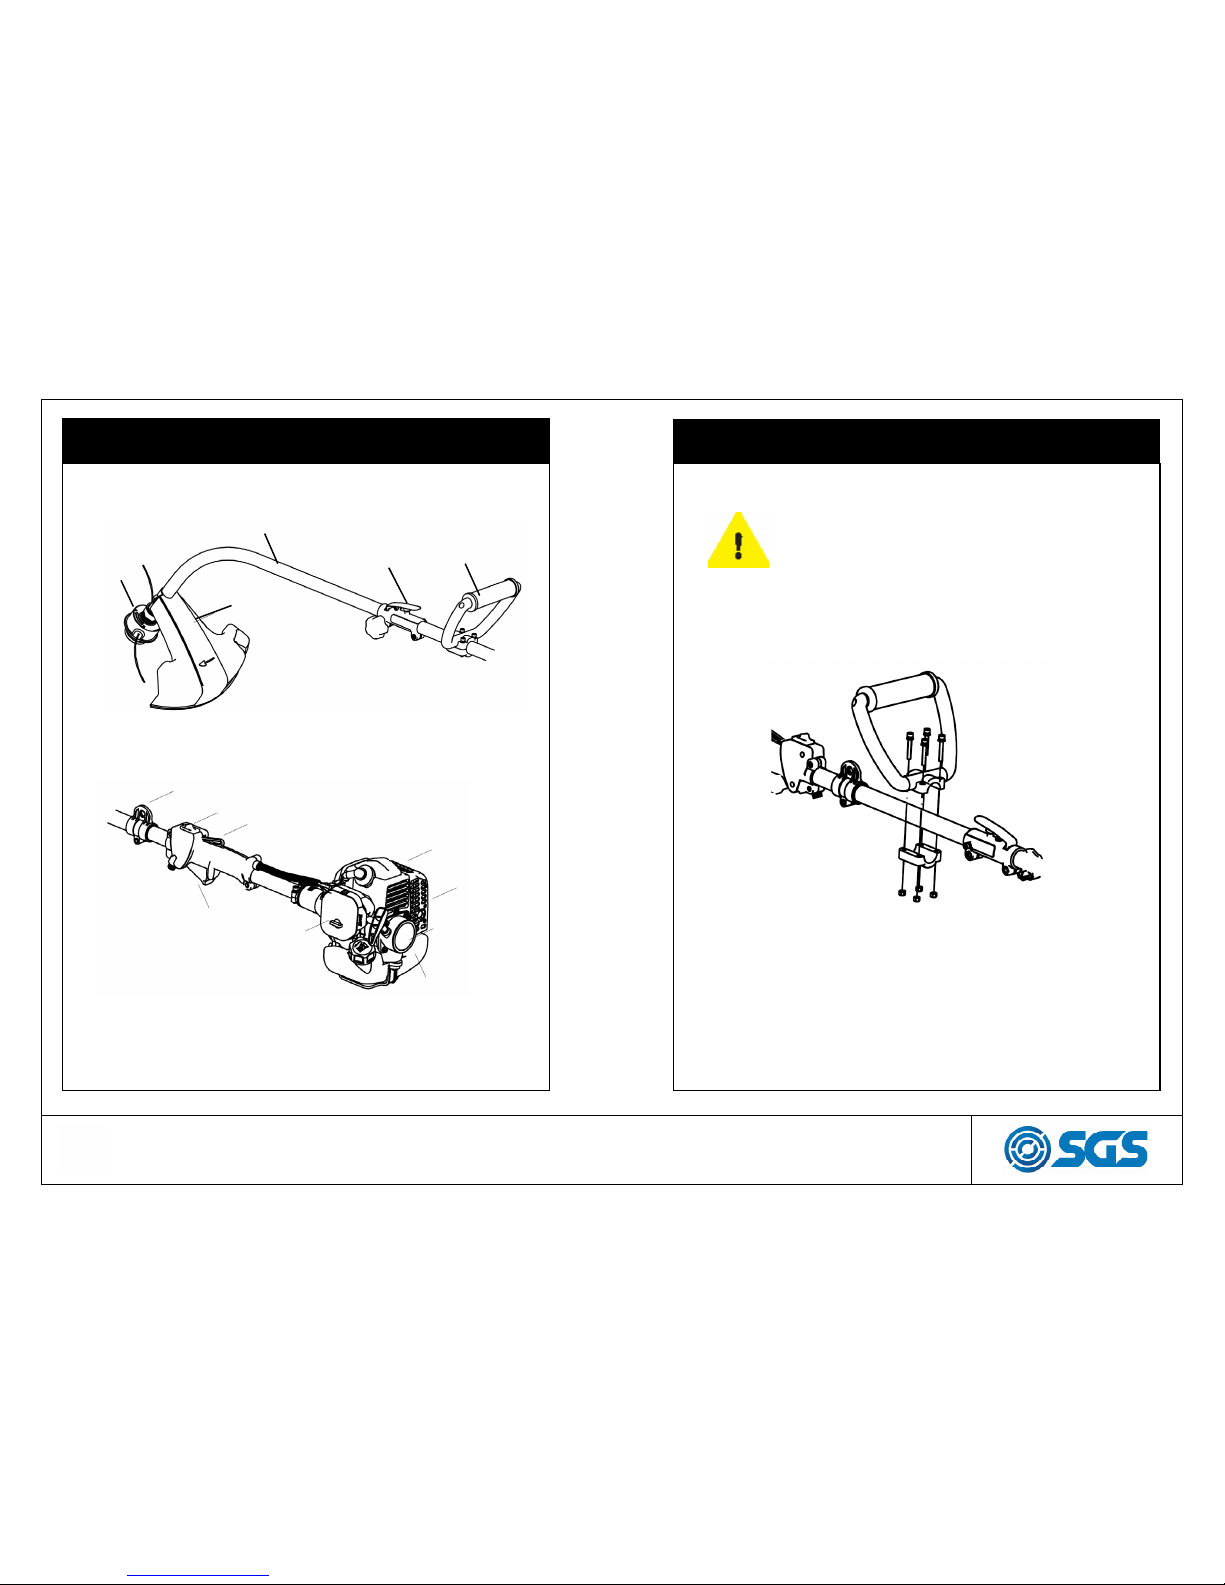
• Check the entire machine before starting work. Replace
damaged parts. Check for fuel leakage and that all safety
guards and covers are complete and fastened securely.
Check all nuts and bolts.
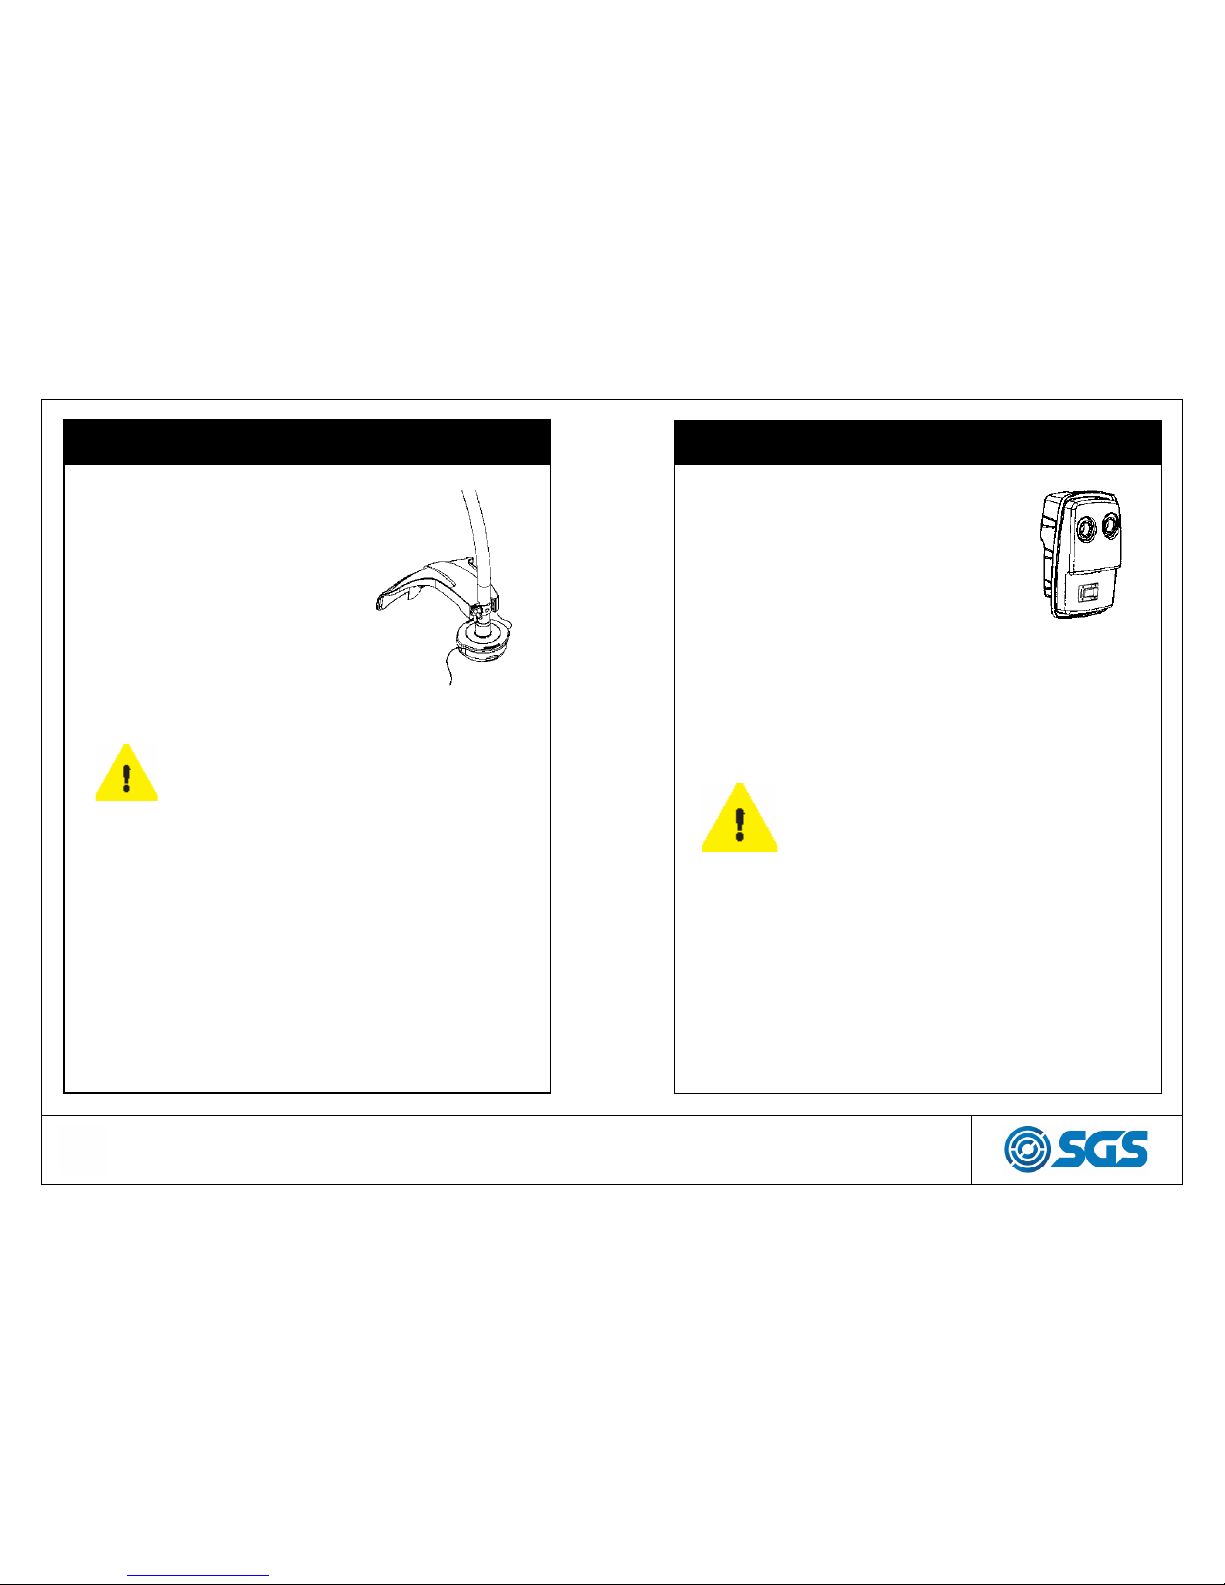
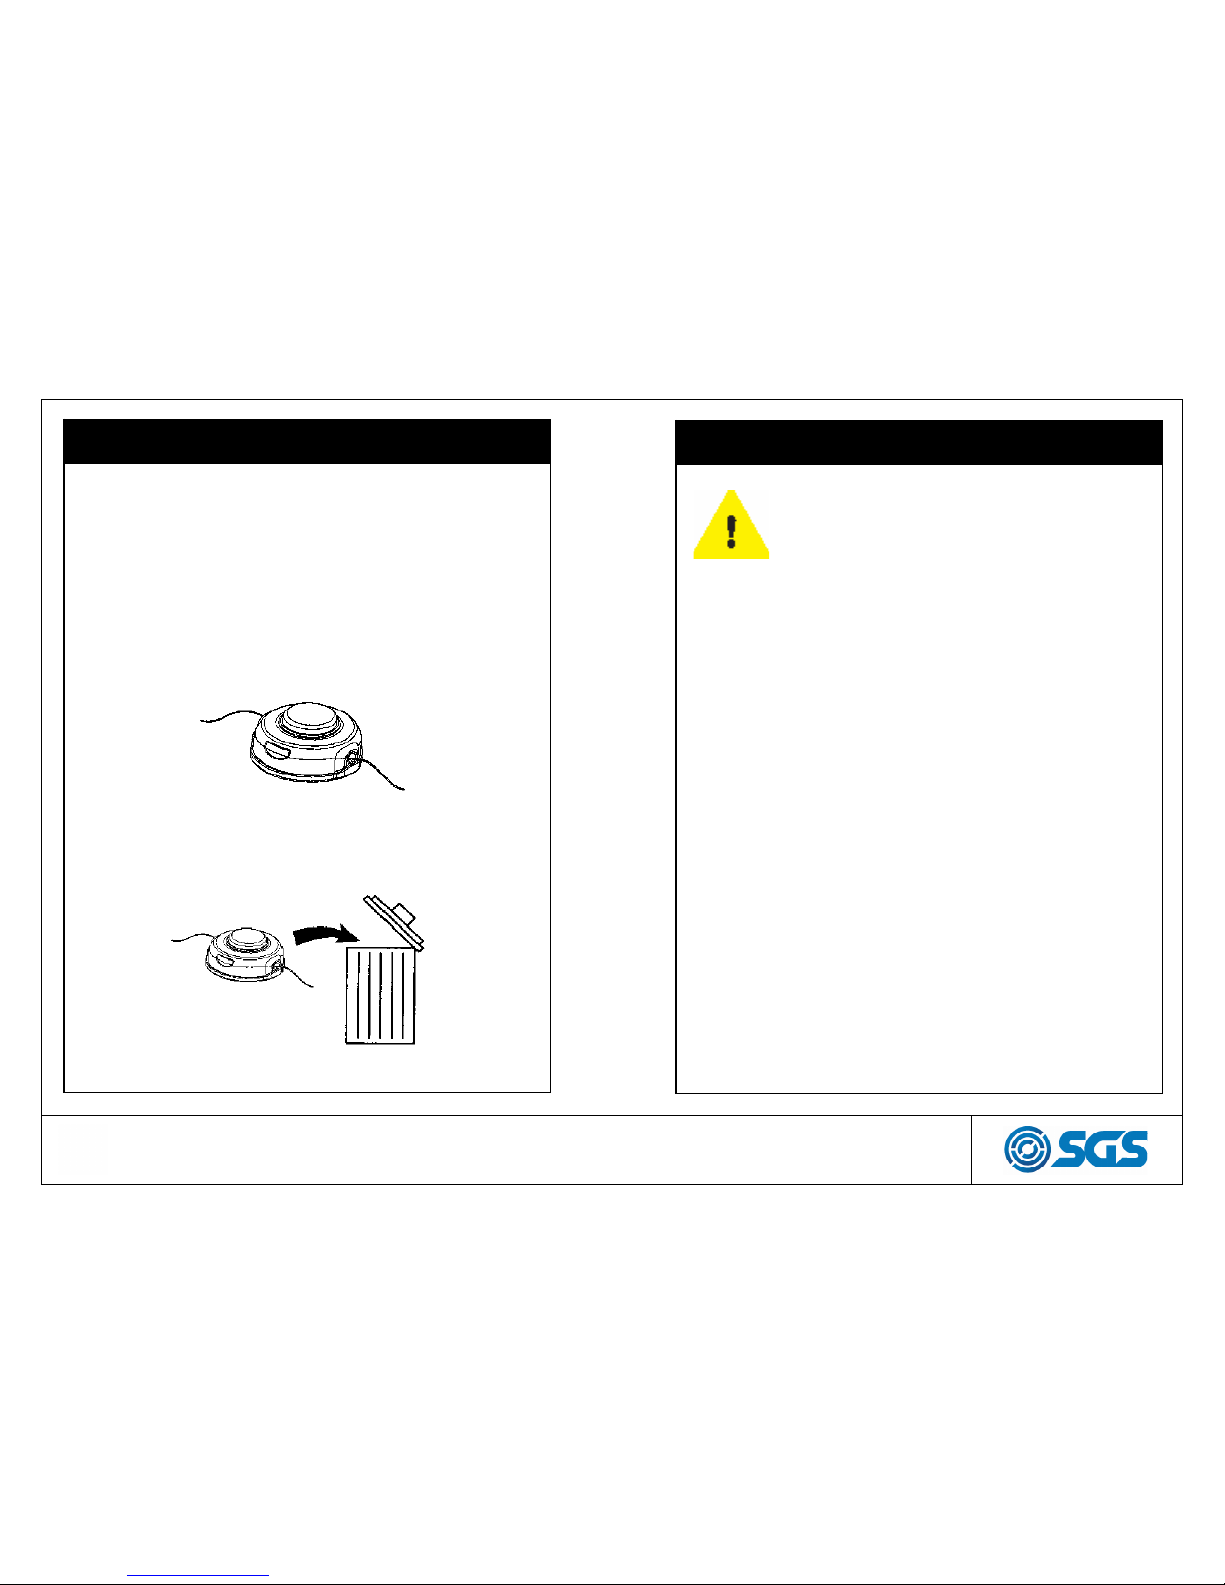
• Check the cutting head for cracks or any other damage.
Ensure the trimmer guard is mounted and not damaged.
Make sure the handle and safety features are in order.
Never use a machine that has parts missing or has been
changed in relation to the specification.
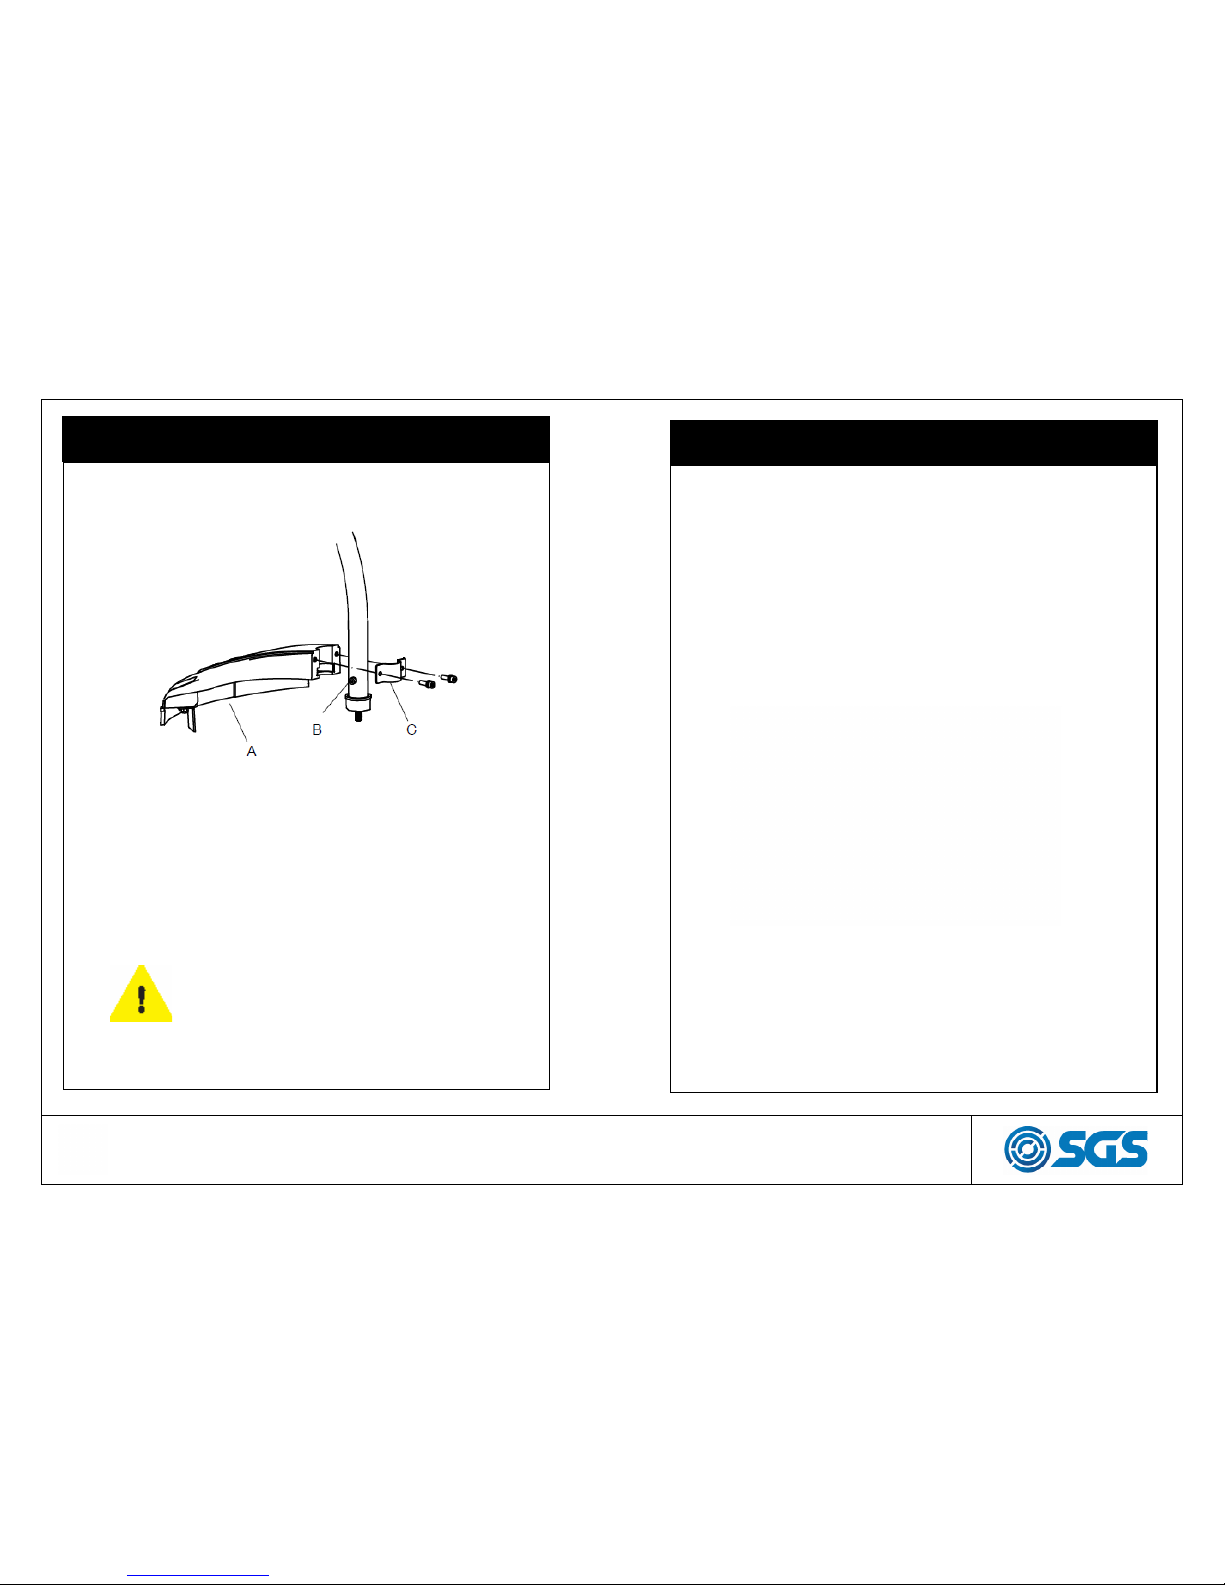
• Check that the trimmer head and guard are correctly se-
cured.
• When adjusting the carburettor, make sure the lower end is
supported and that no one is in the immediate vicinity.
• Make sure the cutting head does not rotate when idling.
Starting
• Ensure that all of the engine covers and housings are prop-
erly fitted before the unit is started.
• Never start or attempt to run the unit with the clutch,
clutch drum, clutch cover, or driveshaft removed.
• Never start the machine indoors. Exhaust fumes can be
dangerous if inhaled.
• Observe your surroundings and make sure that there is no
risk of people or animals coming into contact with the cut-
ting equipment.
• See the “Starting and Stopping” section for complete
instructions.