CONTENTS
CHAPTER 1. BEFORE SERVICING
[1] GENERAL IMPORTANT INFORMA-
TION ........................................................... 1-1
[2] WARNING................................................... 1-1
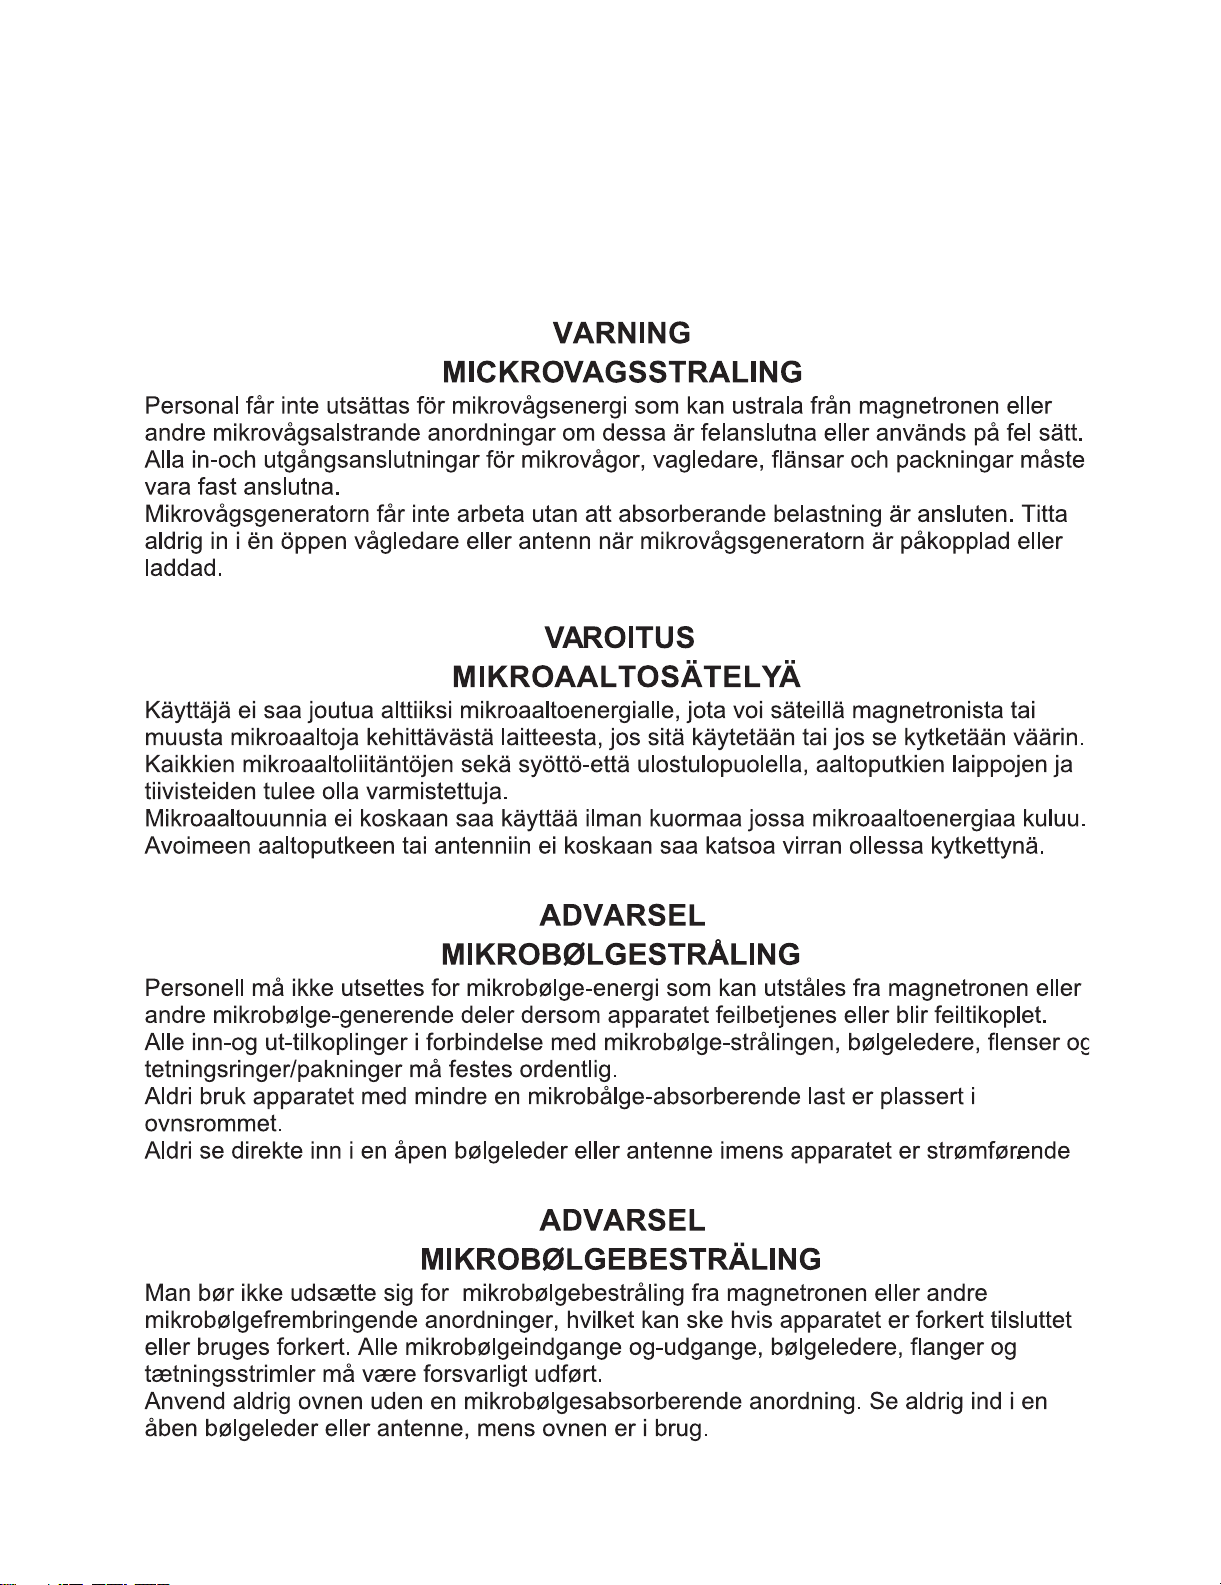
[3] CAUTION MICROWAVE RADIATION ........ 1-2
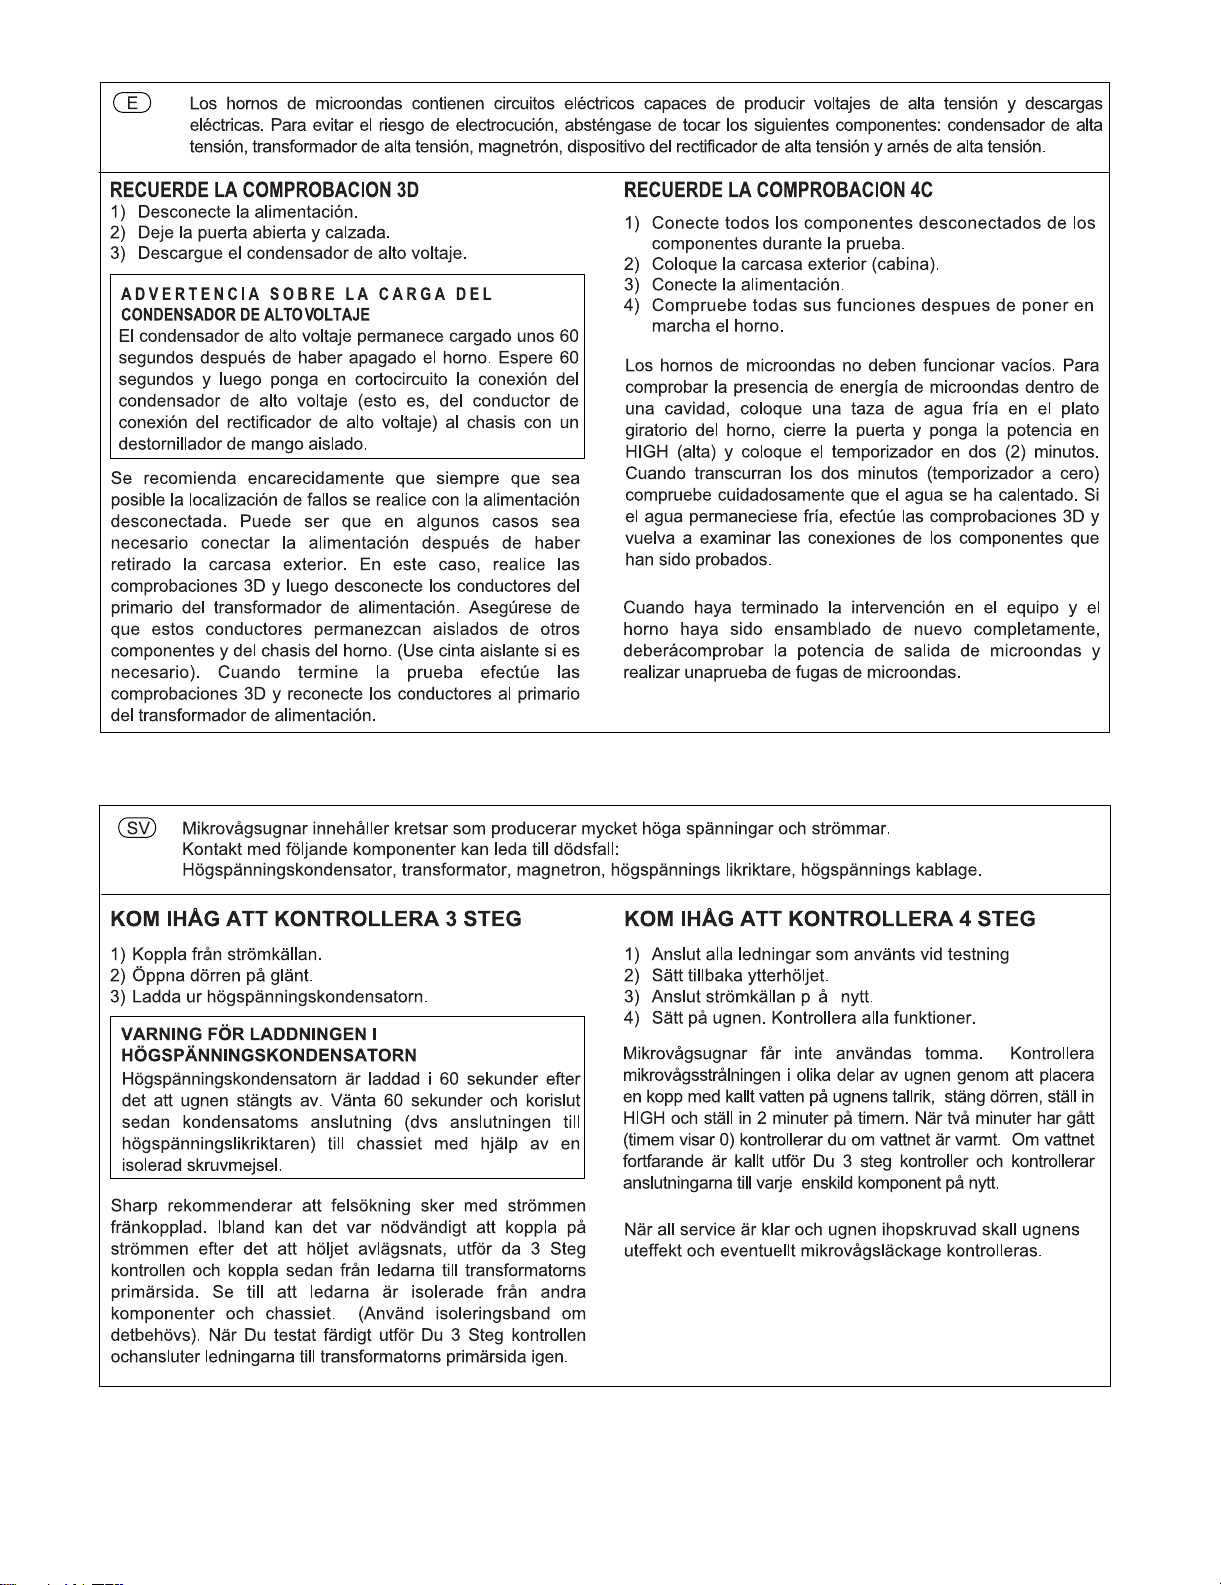
CHAPTER 2. WARNING TO SERVICE PERSON-
NEL
CHAPTER 3. PRODUCT DESCRIPTION
[1] SPECIFICATIONS ...................................... 3-1
[2] APPEARANCE VIEW ................................. 3-1
[3] INSTALLATION INFORMATION ................. 3-2
CHAPTER 4. OPERATION
[1] DESCRIPTION OF OPERATING SE-
QUENCE .................................................... 4-1
[2] DESCRIPTION AND FUNCTION OF
COMPONENTS .......................................... 4-2
CHAPTER 5. TROUBLESHOOTING GUIDE
CHAPTER 6. TEST PROCEDURES
[1] A: MAGNETRON TEST .............................. 6-1
[2] B: POWER TRANSFORMER TEST ........... 6-2
[3] C: HIGH VOLTAGE RECTIFIER (1)
AND/OR (2) TEST ...................................... 6-2
[4] D: HIGH VOLTAGE CAPACITOR (C1)
AND/OR (C2) TEST.................................... 6-3
[5] E: SECONDARY INTERLOCK SWITCH
(SW1) AND/OR (SW2) TEST ..................... 6-3
[6] F: PRIMARY INTERLOCK SYSTEM
TEST........................................................... 6-3
[7] G: MONITOR SWITCH (SW3) AND/OR
(SW4) TEST................................................ 6-3
[8] H: FUSE F8 TEST ...................................... 6-4
[9] I: WEAK POINT (FOR FAN MOTOR OR
EXHAUST FAN) TEST................................ 6-4
[10] J: WEAK POINT (IN NOISE FILTER)
TEST........................................................... 6-4
[11] K: TEMPERATURE FUSE TEST ................ 6-4
[12] L: MAGNETRON THERMISTOR TEST...... 6-4
[13] M: EXHAUST THERMISTOR TEST ........... 6-4
[14] N: NOISE FILTER TEST............................. 6-5
[15] O: KEY UNIT TEST .................................... 6-5
[16] P: CONTROL UNIT TEST .......................... 6-5
[17] Q: POWER UNIT TEST .............................. 6-6
[18] R: RELAY UNIT TEST ................................ 6-6
[19] S: ANTENNA SENSOR TEST .................... 6-7
[20] T: MICROWAVE SENSOR TEST................ 6-7
CHAPTER 7. TOUCH CONTROL PANEL ASSEM-
BLY
[1] SPECIAL FUNCTION FOR SERVICING..... 7-1
[2] SERVICING FOR BRINTED WIRING
BOARDS..................................................... 7-7
CHAPTER 8. PRECAUTIONS FOR USING LEAD-
FREE SOLDER
CHAPTER 9. COMPONENT REPLACEMENT AND
ADJUSTMENT PROCEDURE
[1] WARNINGS ................................................ 9-1
[2] OUTER CASE AND REAR COVER RE-
MOVAL........................................................ 9-1
[3] POWER TRANSFORMERS (1) AND/
OR (2) REMOVAL....................................... 9-2
[4] MAGNETRONS (1) AND/OR (2) RE-
MOVAL........................................................ 9-2
[5] MAGNETRON THERMISTOR ASSEM-
BLY REPLACEMENT ................................. 9-2
[6] HIGH VOLTAGE CAPACITOR AND
HIGH VOLTAGE RECTIFIER ASSEM-
BLY REMOVAL ........................................... 9-2
[7] POWER SUPPLY CORD REPLACE-
MENT.......................................................... 9-3
[8] HOW TO RELEASE THE POSITIVE
LOCK CONNECTOR. ................................. 9-3
[9] EXHAUST FAN REMOVAL......................... 9-3
[10] FAN MOTORS REMOVAL .......................... 9-4
[11] ANTENNA MOTORS (UPPER AND
LOWER) REMOVAL ................................... 9-4
[12] POWER UNIT REMOVAL........................... 9-4
[13] CONTROL PANEL ASSEMBLY AND
CONTROL UNIT REMOVAL....................... 9-4
[14] RELAY UNIT REMOVAL............................. 9-4
[15] DOOR SENSING SWITCH (SW5)/SEC-
ONDARY INTERLOCK SWITCHES
(SW1, SW2) AND MONITOR SWITCH-
ES (SW3, SW4) REPLACEMENT .............. 9-5
[16] OOR SENSING SWITCH (SW5)/SEC-
ONDARY INTERLOCK SWITCHES
(SW1, SW2) AND MONITOR SWITCH-
ES (SW3, SW4) ADJUSTMENT ................. 9-5
[17] DOOR REPLACEMENT ............................. 9-5
[18] DOOR DISASSEMBLY ............................... 9-6
[19] OVEN LAMP AND LAMP SOCKET RE-
MOVAL........................................................ 9-8
CHAPTER 10. MICROWAVE MEASUREMENT
CHAPTER 11. TEST DATA AT A GLANCE
CHAPTER 12. CIRCUIT DIAGRAMS
[1] Oven Schematic........................................ 12-1
[2] Figure S-1. Pictorial Diagram.................... 12-3
[3] Figure S-2. Switching Power Supply Unit
Circuit........................................................ 12-6
[4] Figure S-3. Relay Unit Circuit ................... 12-7
[5] Figure S-4. Control Unit/ Antenna sen-
sor/ Microwave Sensor Circuit .................. 12-8
[6] Figure S-5. Printed Wiring Board .............. 12-9
Parts List


 User manual")