manuals.online logo
Brands
  1. Home
  2. •
  3. Brands
  4. •
  5. shopPOPdisplays
  6. •
  7. Indoor Furnishing
  8. •
  9. shopPOPdisplays WOODEN WEDGE WALL MOUNT SHELF User manual

shopPOPdisplays WOODEN WEDGE WALL MOUNT SHELF User manual

PARTS (PIECES)
A. SHELF (1)
B. CLEAT (1)
C. ACRYLIC COVER (1)
D. BOLT (2)
E. WING (2)
F. SCREW (2)
A
BD
*TOOLS REQUIRED: 1 POWERDRILL WITH 5/8” DIAMETER DRILL BIT AND PHILLIPS HEAD SCREWDRIVER (NOT INCLUDED)
2 PERSON ASSEMBLY RECOMMENDED
WOODEN WEDGE WALL MOUNT SHELF
(WITH ACRYLIC COVER)
ASSEMBLY INSTRUCTIONS
1: IDENTIFY ALL PIECES
Unless Mounting into a stud,
drill two 5/8” diameter holes
that match the distance of the
two holes in the Cleat(B) when
it is in the desired position on
wall. These holes will be used
to mount the cleat.
Note : If mounting into a stud
in the wall, use a Screw(F) to
directy drill into the stud. If
mounting into a stud, do not
drill a 5/8” hole for that side.
Insert both Bolts(D) into the
holes in the Cleat(B) in the
orientation as shown.
Note : The heads of the bolts
must be on the taller face of
the cleat when it is inserted.
Screw the Wings(E) onto the
Bolts(D) as shown. Screw the
wing about 1/3 of the way up
the bolt.
Note : The wing should be
positioned such that when
it is pinched, the wings fold
towards the cleat, as shown in
the bottom picture to the left.
With the wings screwed on,
insert the bolts into the holes
drilled in Step 2. Pinch the
wings and insert them into the
holes. Push Bolt into hole until
wing opens on other side of
drywall.
Note : When wing opens, you
cannot pull the bolt out of
wall and you cannot reposi-
tion the cleat.
Note : Ensure the short face of
the cleat is facing the wall.
shopPOPdisplays makes no claim that these assembly instructions cover all details, conditions, or variations, or that they cover all possible contingencies in connection with the assembly or installation of this product. It is the
purchaser’s responsibility to ensure that all components of this product are properly assembled and installed in accordance with these instructions. shopPOPdisplays assumes no obligation or liability on account of any third-party
recommendations, opinions, or advice as to the assembly or installation of this product.
5: INSERT BOLTS INTO WALL4: SCREW WINGS ONTO BOLTS
3: INSERT BOLT INTO CLEAT2: DRILL MOUNTING HOLES
FINISHED PRODUCT
E F
**SCREW(PART F) MAY NOT BE NECESSARY AND IS INCLUDED IN CASE MOUNTING POSITION INTERSECTS STUD IN WALL.
C
PLEASE READ ALL INSTRUCTIONS
BEFORE ASSEMBLING
WOODEN WEDGE WALL MOUNT SHELF
(WITH ACRYLIC COVER)
ASSEMBLY INSTRUCTIONS
Place the Acrylic Cover (C) on
top of the Shelf(A) so that it is
centered around the extended
top of the shelf as shown.
Note: The Acrylic Cover rests
on the Shelf with no addition-
al hardware. The cover must
be centered.
Wooden Wedge Wall Mount
Shelf with Acrylic Cover is
assembled and ready to use.
shopPOPdisplays makes no claim that these assembly instructions cover all details, conditions, or variations, or that they cover all possible contingencies in connection with the assembly or installation of this product. It is the
purchaser’s responsibility to ensure that all components of this product are properly assembled and installed in accordance with these instructions. shopPOPdisplays assumes no obligation or liability on account of any third-party
recommendations, opinions, or advice as to the assembly or installation of this product.
9. FINISHED PRODUCT8: PLACE ACRYLIC COVER ON SHELF
While pulling the cleat to-
wards you, tighten the bolts
with a screwdriver until cleat
is rmly mounted against
wall.
Note : If the cleat is not pulled
towards you, the wing will
spin freely inside the wall and
the bolt will not tighten.
Note : It is easiest to keep
alternating the bolt being
tightened, rather than tighten-
ing one bolt completely and
then tightening the other.
Place the cleat found on the
back of the Shelf(A) over the
Cleat(B) that was just mount-
ed. The cleats should meet
such that the angled faces of
each are in contact with one
another.
Note : Back of shelf should sit
flush against the wall when
mounted against cleat.
7: PLACE SHELF ON CLEAT6: TIGHTEN BOLTS

This manual suits for next models

1

Other shopPOPdisplays Indoor Furnishing manuals

shopPOPdisplays 18000 User manual

shopPOPdisplays

shopPOPdisplays 18000 User manual

shopPOPdisplays 18005 User manual

shopPOPdisplays

shopPOPdisplays 18005 User manual

shopPOPdisplays Acrylic Deluxe Podium Lectern User manual

shopPOPdisplays

shopPOPdisplays Acrylic Deluxe Podium Lectern User manual

Popular Indoor Furnishing manuals by other brands
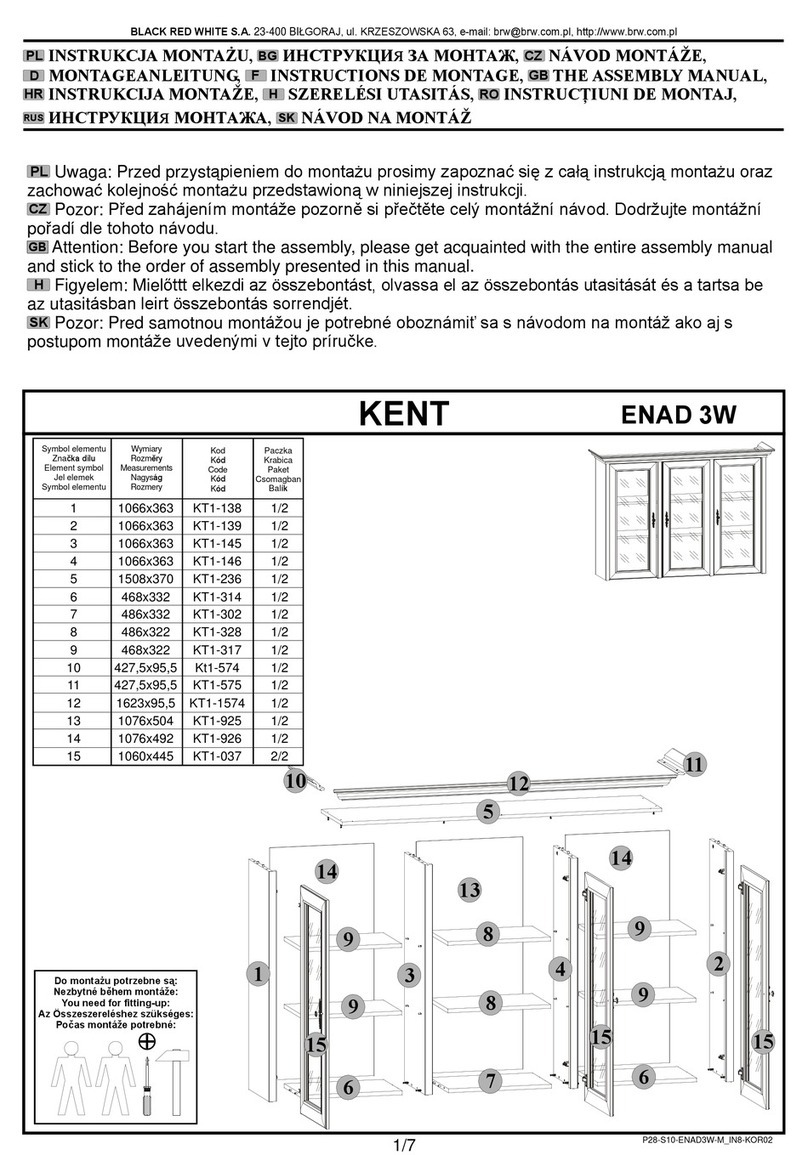
BLACK RED WHITE KENT ENAD3W Assembly manual

BLACK RED WHITE

BLACK RED WHITE KENT ENAD3W Assembly manual

Monarch Specialties I 1092 Assembly instructions and rules
Monarch Specialties

Monarch Specialties I 1092 Assembly instructions and rules

Cooper Lighting IMI-434 installation instructions

Cooper Lighting

Cooper Lighting IMI-434 installation instructions

RiverRidge MEDORD 06-102 Assembly instructions
RiverRidge

RiverRidge MEDORD 06-102 Assembly instructions

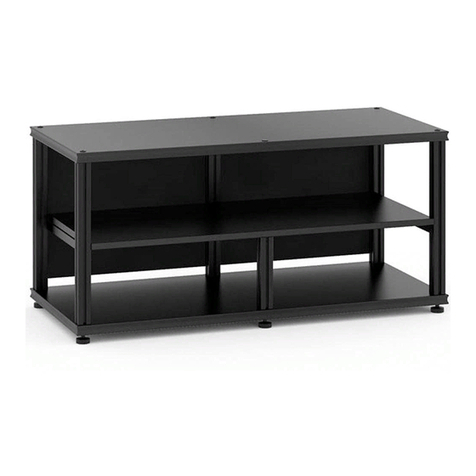
Salamander Designs SYNERGY SYSTEM SNC20 Assembly manual
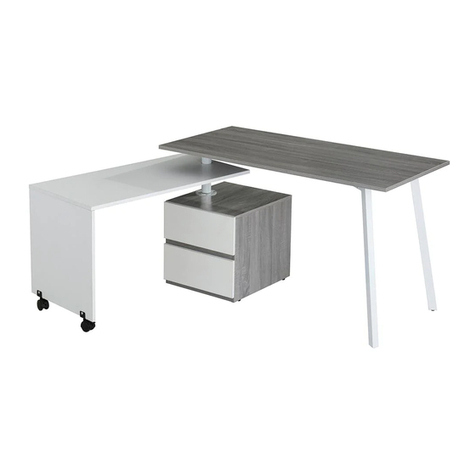
Salamander Designs

Salamander Designs SYNERGY SYSTEM SNC20 Assembly manual

Techni Mobili RTA - 2336 Assembly instructions
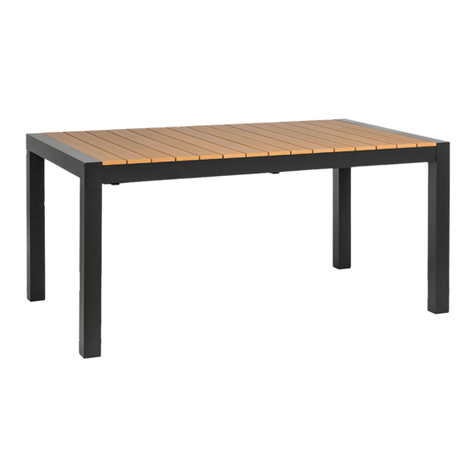
Techni Mobili

Techni Mobili RTA - 2336 Assembly instructions

Blumfeldt Menorca Expand manual

Blumfeldt

Blumfeldt Menorca Expand manual
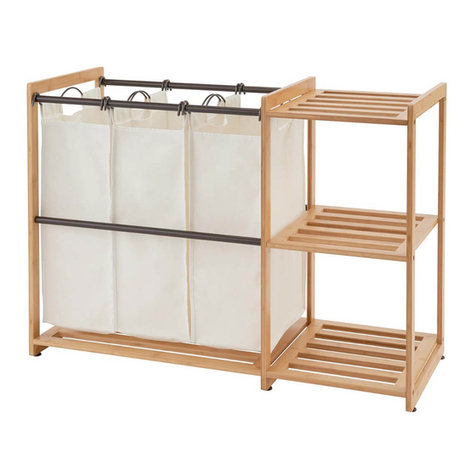
Trinity TBFPBR-2100 owner's manual

Trinity

Trinity TBFPBR-2100 owner's manual

Glas Italia Wunderkammer Assembling and use instruction
Glas Italia

Glas Italia Wunderkammer Assembling and use instruction

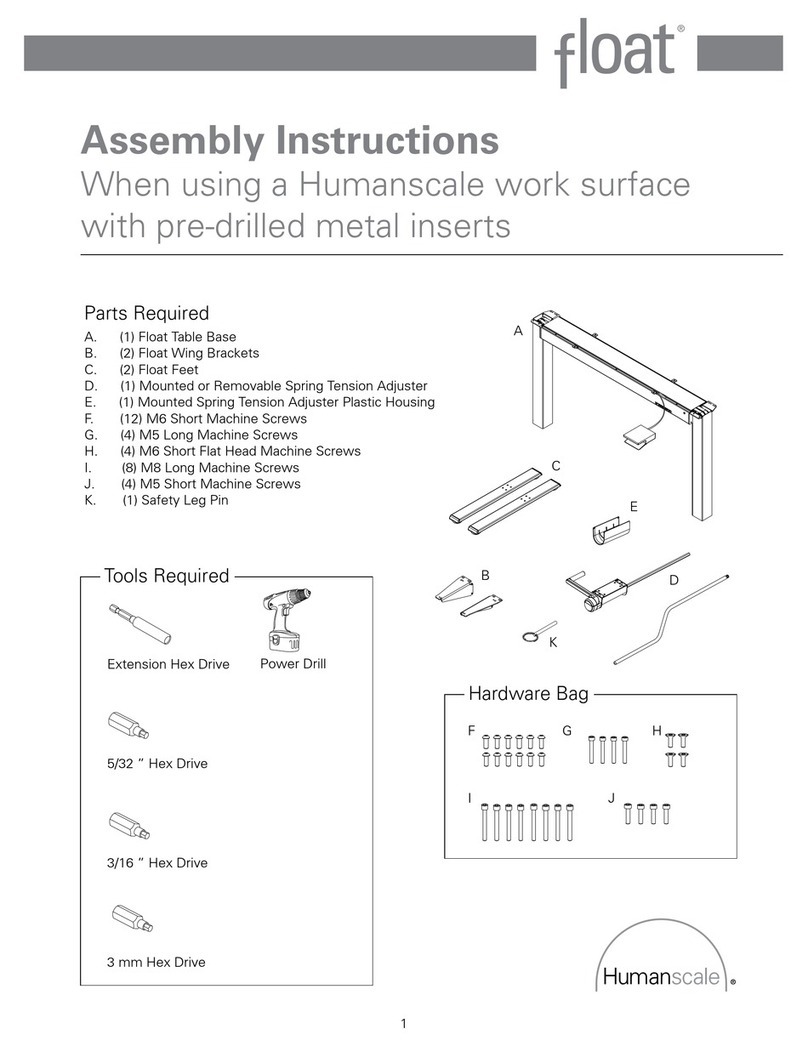
Humanscale Float Assembly instructions

Humanscale

Humanscale Float Assembly instructions

eliving FURNITURE Carson CRSN-SB-NATR Assembly instructions

eliving FURNITURE

eliving FURNITURE Carson CRSN-SB-NATR Assembly instructions
Pride CL15KD owner's manual

Pride

Pride CL15KD owner's manual

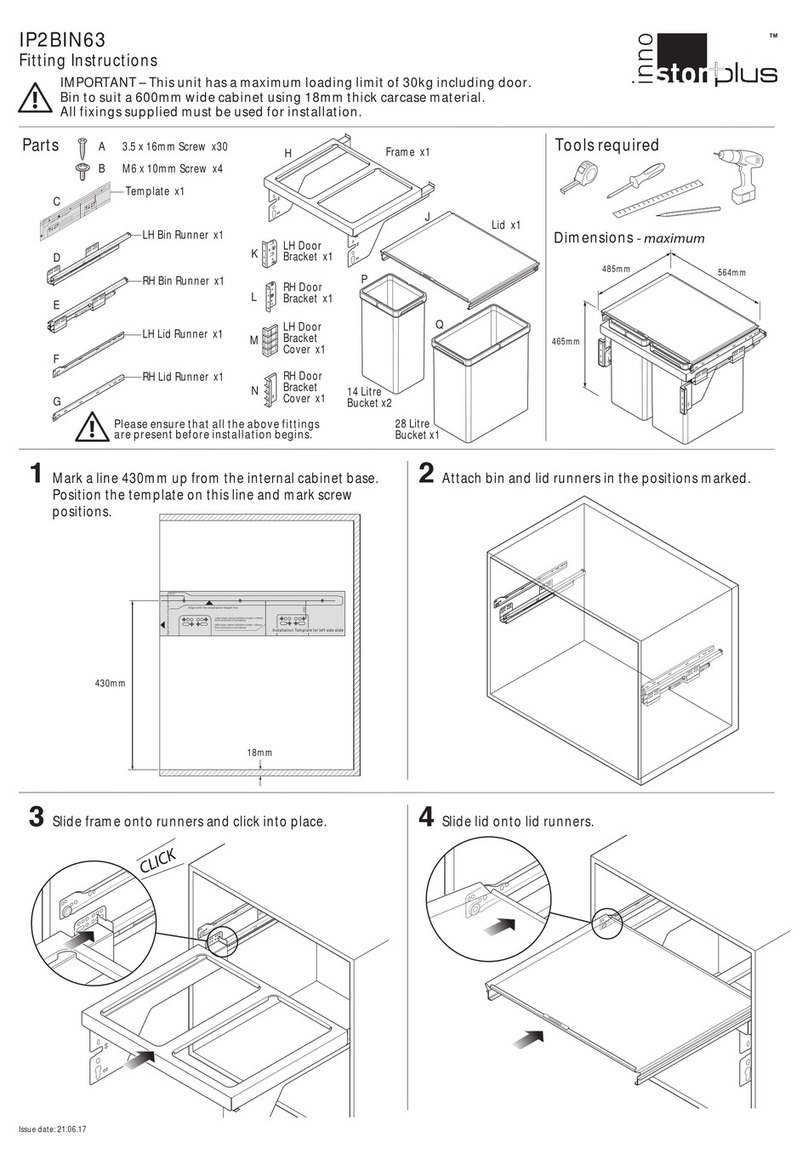
Innostor plus IP2BIN63 Fitting instructions
Innostor

Innostor plus IP2BIN63 Fitting instructions

JWA 69760 Assembly instructions

JWA

JWA 69760 Assembly instructions
Forte Tempra T2KK211 Assembling Instruction

Forte

Forte Tempra T2KK211 Assembling Instruction

Style selections CM18F24-SS quick start guide
Style selections

Style selections CM18F24-SS quick start guide

Better Homes and Gardens Dalton Park Series Assembly manual
Better Homes and Gardens

Better Homes and Gardens Dalton Park Series Assembly manual

Swedstyle HIGH-END PLECTRUM Assembly instructions

Swedstyle

Swedstyle HIGH-END PLECTRUM Assembly instructions

manuals.online logo
manuals.online logoBrands
  • About & Mission
  • Contact us
  • Privacy Policy
  • Terms and Conditions

Copyright 2025 Manuals.Online. All Rights Reserved.