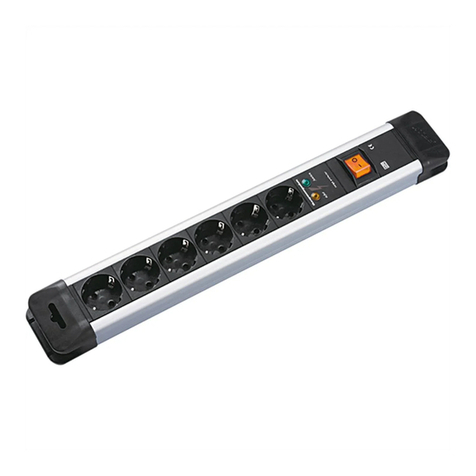
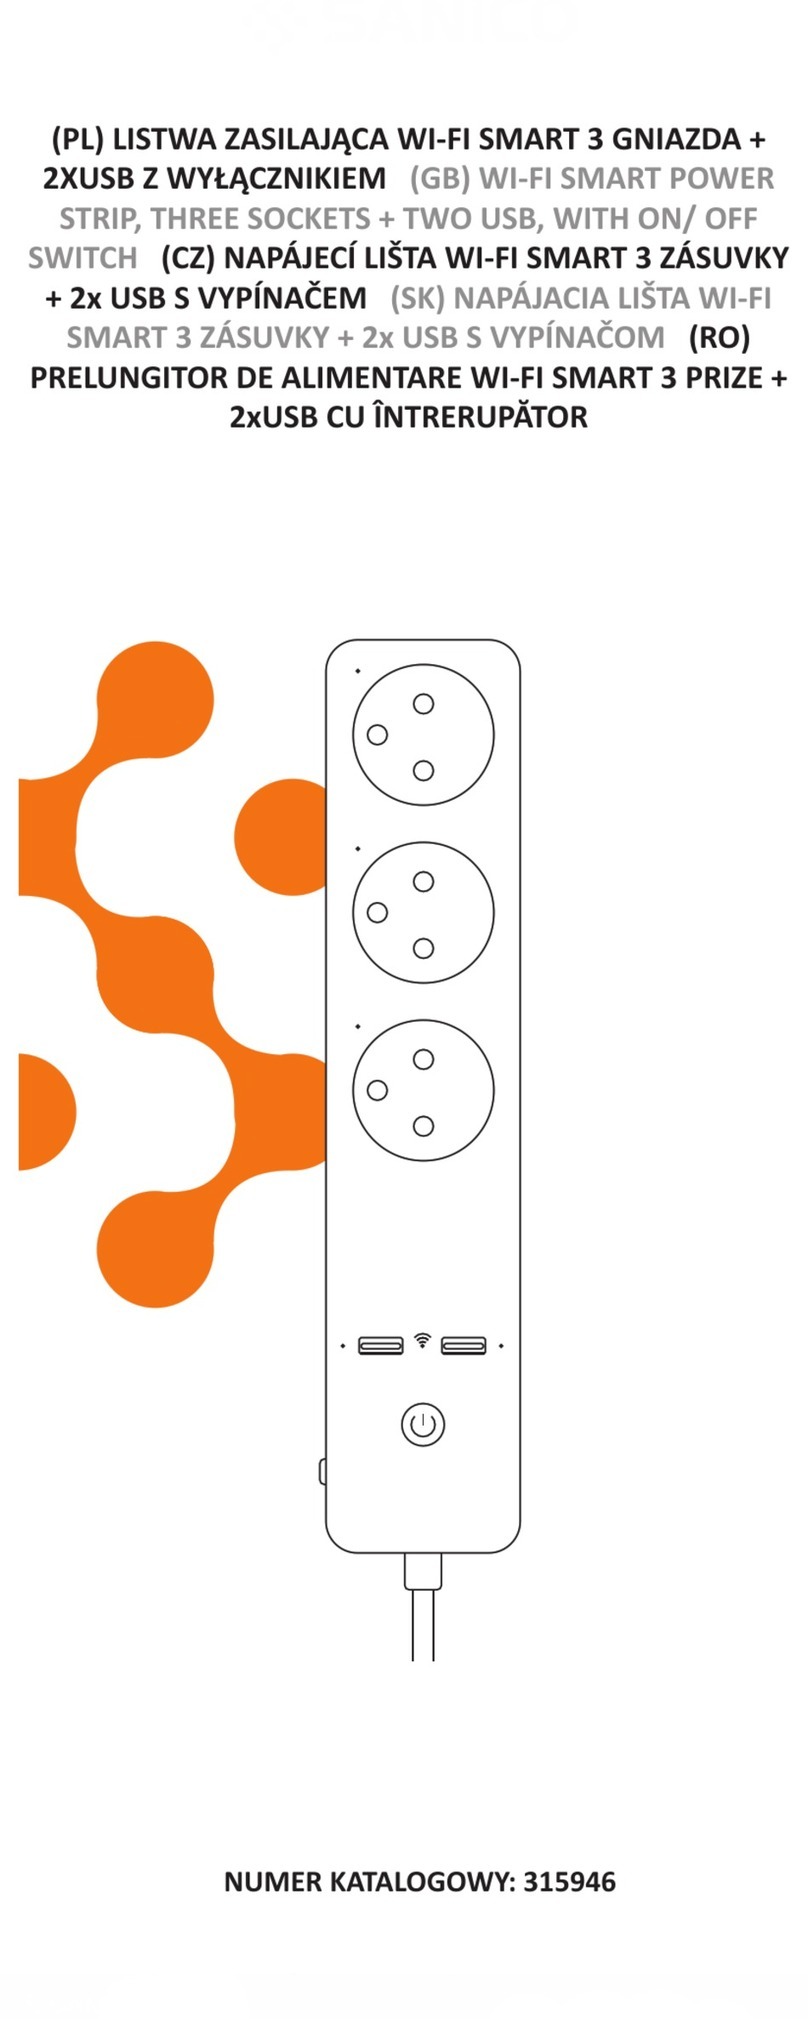
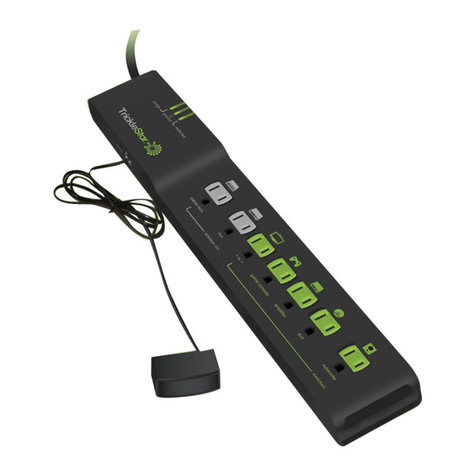
SI 4C + 3 USB User manual

ESP 1
MANUAL DE USUARIO
USER MANUAL
REGLETA INTELIGENTE
POWER SMART STRIP
4C + 3USB

ESP 2
1. DIAGRAMA
Cable 2,15m Botón de encendido
y apagado (y reset)
x3 puertos
USB
x4 enchufe
tipo C
Luz LED
Carcasa
resistente
al fuego
Resistente a
sobrecargas
Enchufe tipo C
Enciende y apaga la regleta al completo de forma
manual pulsando el botón de encendido y apaga-
do en la regleta o contrólala por control remoto
con la App Smart Life y con comandos de voz con
Alexa y Google Home.

ESP 3
2. CONECTAR PRODUCTOS
CON LA APP SMART LIFE
Busca la aplicación Smart Life en la App Store
o Google Play en tu teléfono inteligente o esca-
nea el código QR para descargar la aplicación. A
continuación crea una cuenta nueva y un nuevo
hogar (en la pestaña “Yo”, “Gestión de hogar”, “Crear
familia”) y configúralo.Ya podrás empezar a añadir
productos. Puedes consultar esta página si tienes
dudas o dificultades para conectar productos:
OBLIGATORIO EL USO DE WIFI 2.4GHZ
Asegúrate de que tu teléfono móvil está conectado
a una red WiFi de 2,4GHz y de tener habilitada
la ubicación GPS y el Bluetooth (esto solo será
necesario para añadir dispositivos).
Descarga Página de ayuda

ESP 4
2.1. PRIMEROS PASOS
1. Enchufa la regleta a la corriente eléctrica.
2. En la pestaña “Mi hogar” de Smart Life, pulsa
sobre en la esquina superior derecha.
3. En el menú izquierdo selecciona “Eléctrico” y
pulsa sobre Enchufe (Wi-Fi).
sobre en la esquina superior derecha.
4. Asegúrate de estar conectado a una red WiFi
2,4GHz, e introduce el nombre de tu WiFi y su
contraseña en la App.
5. Asegúrate de que la regleta está en modo reset
(parpadeando rápidamente). Los productos nuevos
normalmente vienen en modo reset de fábrica.
6. Si la regleta no está en modo reset, puedes
resetearla de forma manual manteniendo pulsado
el botón de encendido durante unos 10 segundos
hasta que comience a parpadear.
12341234

ESP 5
OPCIÓN CONECTAR CON MODO AP
A. Haz click en “Modo EZ ” en la esquina supe-
rior derecha para cambiar al modo AP.
B. Vuelve a mantener presionado el botón de
encendido de la regleta durante unos 5 segundos
hasta que la luz azul del botón pase de parpadear
rápido a parpadear lentamente.
C. Una vez que la luz parpadee lentamente, con-
fírmalo en la aplicación y selecciona “Siguiente”.
D. Pulsa sobre “Conectar” para ver tus redes WiFi
disponibles en la configuración de tu teléfono.
E. Selecciona la red “SmartLife-XXXX” y luego
vuelve a la aplicación Smart Life.
F. Una vez conectada, dejará de parpadear. Es
posible que tarde un poco en aparecer en la App.
Cuando acabe de cargar, podrás renombrarla y
estará lista para usarse.
2.2. SIGUIENTES PASOS
OPCIÓN CONECTAR CON MODO EZ
A. Confirma en la aplicación que la luz parpadea
rápidamente y pulsa sobre “Siguiente”.
B. Una vez conectada, dejará de parpadear. Es
posible que tarde un poco en aparecer en la App.
Cuando acabe de cargar, podrás renombrarla y
estará lista para usarse.

ESP 6
3. FUNCIONALIDADES APP
Control remoto: Enciende o apaga la regleta en
su totalidad o cada uno de sus enchufes de mane-
ra individual (los 3 USB se consideran un grupo).
Renombrar cada enchufe: Asigna un nombre a
cada enchufe para una mejor localización y uso
con Alexa (puedes pedir a tu asistente de voz que
apague la regleta en su totalidad o cada enchufe).
Grupos: Crea grupos para controlar un conjunto
de regletas al mismo tiempo. Dentro de la pestaña
de la regleta, haz click en el icono de la esquina
superior derecha, pulsa en “Crear grupo”.
Ejecutes: Crea escenarios en la pestaña de inteli-
gencias. La regleta realizara la acción asignada al
pulsar sobre el ejecute o al activarlo por control por
voz con tu asistente preferido.
Automatizaciones: Créalas en la pestaña de inte-
ligencias. La regleta ejecutará la acción asignada
en la automatización cuando se cumplan las con-
diciones establecidas (cambio de estado de otros
productos, cambio del clima, horarios,...).
Temporizador: Pasado el tiempo asignado la
regleta se encenderá o apagará.
Horarios: Programa horarios de encendido y
apagado.
Compartir: Comparte tu hogar en la App.

ESP 7
CONTROL REMOTO CONFIGURACIÓN
ESCENAS HORARIOS

ESP 8
4.1. VINCULAR AMAZON
ALEXA CON SMART LIFE
Descarga la aplicación Amazon Alexa en la App
Store o en Google Play, inicia la aplicación y
regístrate. Pulsa sobre “Más” situado en la parte
inferior derecha, a continuación pulsa sobre “Skills
y juegos”, por último busca la Skill de Smart Life y
permite su uso.
4.2. VINCULAR GOOGLE
HOME CON SMART LIFE
Descarga la aplicación Google Home en la App
Store o Google Play, inicia la aplicación y regís-
trate. Pulsa sobre “conectar a Smart Life” (tienes
que tener la App de Smart Life ya instalada), a
continuación pulsa “link” e inscribe tu usuario y
contraseña de Smart Life.
También puedes ver este vídeo para aprender a
conectar con Alexa y Google Home (minuto 2:55):
Para que Alexa o Google Home detecten los
cambios en la App, di: “Alexa/Ok Google, busca
dispositivos” o “Alexa, detectar ambientes”.
https://youtu.be/nNyfHAjHPG0

ESP 9
5. PREGUNTAS FRECUENTES
A. La regleta no está en modo reset.
Mantén presionado el botón de encendido unos 10
segundos hasta que la luz azul del botón comience
a parpadear.
B. No consigo vincular la regleta con
Smart Life.
Cambia el modo de conexión a modo AP. Sigue los
pasos explicados en la página 5 de este manual.
C. No puedo apagar uno de los USB de la
regleta.
Los USB de la regleta forman un conjunto, por lo
que no se pueden apagar de forma individual.
D. No consigo controlarla con
Alexa / Google Home.
Asegúrate de que tienes tu cuenta de Alexa o
Google Home vinculadas con la App y de que tu
producto esté en línea. Di “Alexa/ Google Home,
detectar ambientes”.

6. SI TIENES MÁS DUDAS
No dudes en contactarnos si necesitas ayuda.
sismart.es/contacto
También puedes visitar nuestro canal de Youtube
(Si Smart) para aprender más sobre tus productos
inteligentes Si Smart.
youtube.com/SiSmart
ESP 10
Table of contents
Languages:
