siegling blizzard HC120/40 User manual

Siegling – total belting solutions
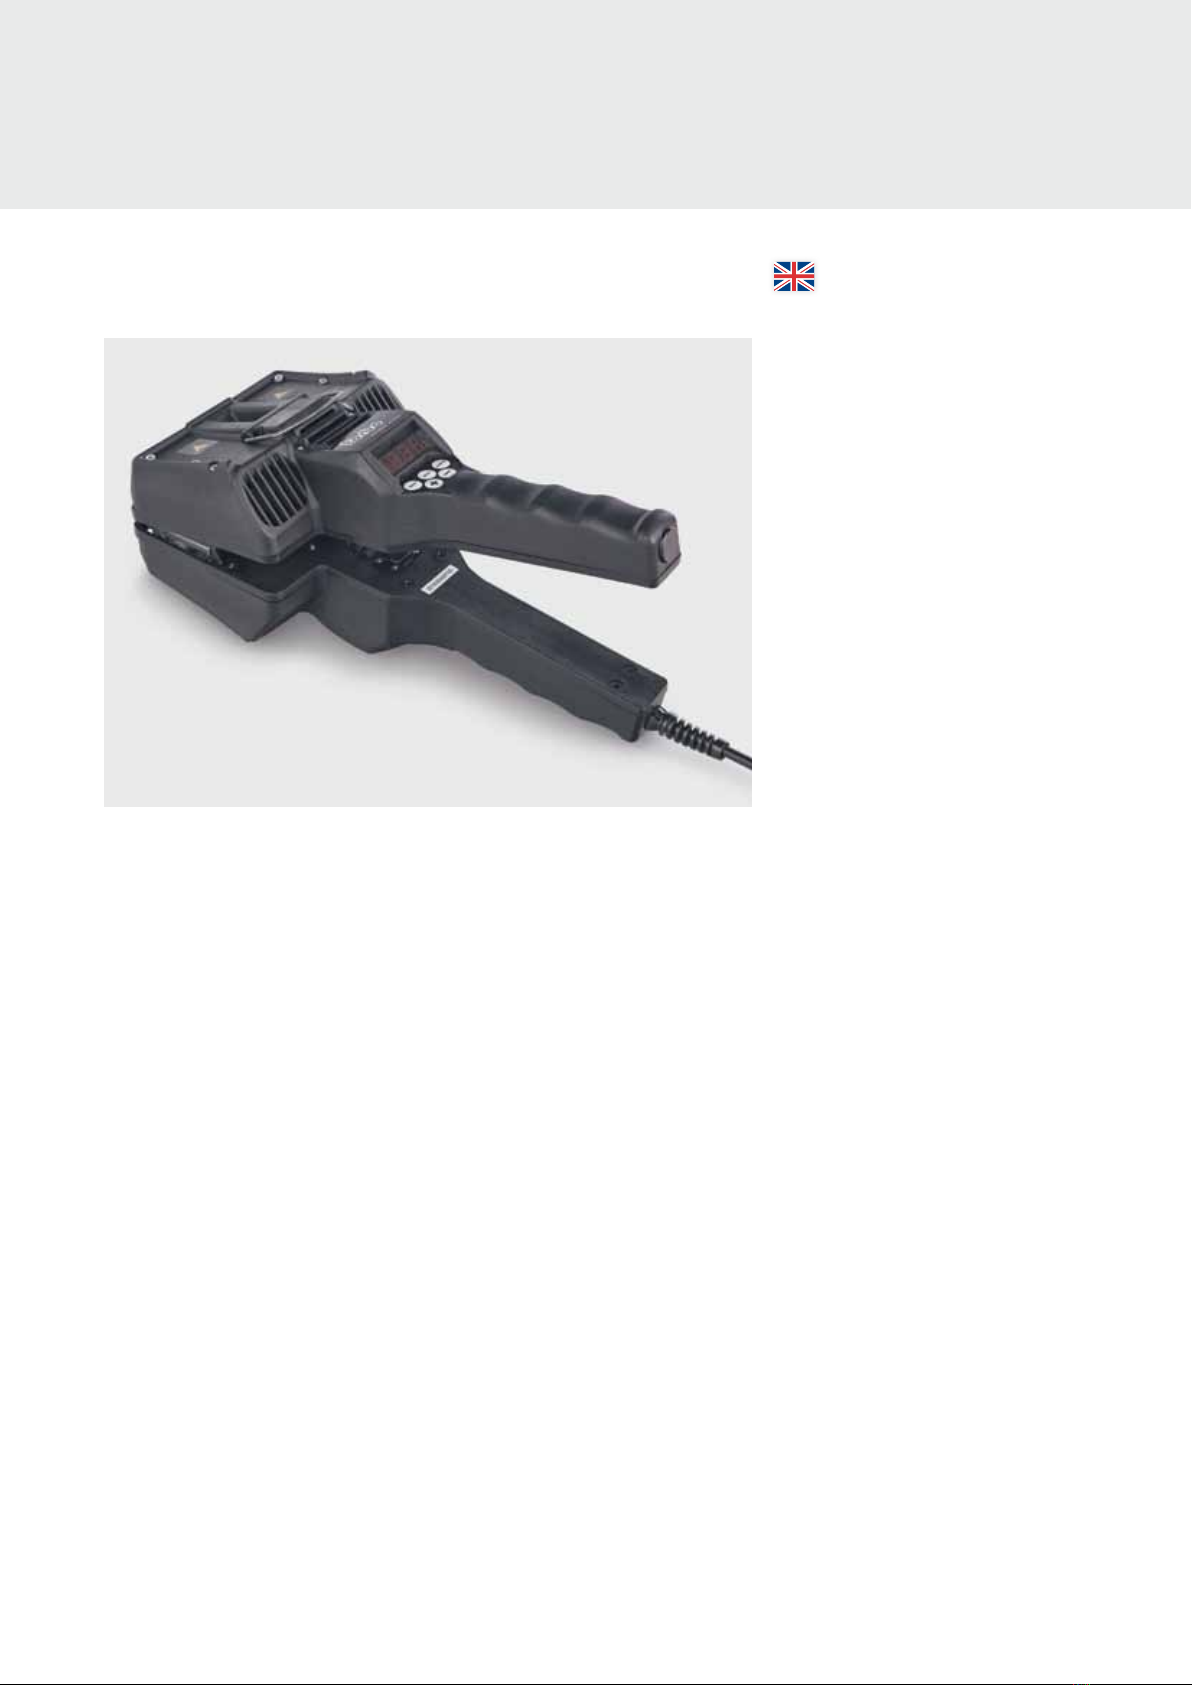
USER MANUAL
Blizzard Heating
Clamp HC 120/40
Contents
3 English manual
17 Betriebsanleitung
siegling blizzard
splicing equipment
TM

2
Dieses Gerät darf nur von Personen
in Betrieb genommen werden, die
die nachfolgende deutsche oder englische
Betriebsanleitung gelesen und verstanden haben.
Този уред се допуска да се въвежда в
експлоатация само от лица, които са
прочели и разбрали следващото немско или
английско ръководство за експлоатация.
Dette apparat må kun sættes i drift af
personer, som har læst og forstået den
følgende tyske eller engelske driftsvejledning.
This device should only be used by those
personnel who have read and understood
the following German or English user manual.
Seda seadet tohivad kasutusse võtta vaid
inimesed, kes on lugenud allpool esitatud
saksa- või eestikeelseid kasutujuhiseid ning neist
aru saanud.
Tämän laitteen saavat ottaa käyttöön vain
sellaiset henkilöt, jotka ovat lukeneet ja
ymmärtäneet seuraavan saksan- tai englanninkieli-
sen käyttöohjeen.
Cet appareil ne doit être mis en service
que par des personnes ayant lu et compris
les instructions de service ci-après en allemand ou
en anglais.
Αυτή η συσκευή επιτρέπεται να τεθεί
σε λειτουργία όνο από άτοα που έχουν
διαβάσει και κατανοήσει τι οδηγίε χρήση που
ακολουθούν στα Γερανικά ή στα Αγγλικά.
Questo dispositivo può essere utilizzato
solo da persone che hanno letto e com-
preso il seguente manuale in tedesco o inglese.
Ovaj uređaj smiju puštati u rad samo
osobe koje su pročitale i razumjele upute
za uporabu u nastavku koje su napisane na
njemačkom ili engleskom jeziku.
Šo ierīci drīkst lietot tikai personas, kuras
ir izlasījušas un iepazinušās ar turpmāk
redzamo lietošanas instrukciju vācu vai angļu
valodā.
Šį prietaisą leidžiama pradėti eksploatuoti
tik asmenims, perskaičiusiems ir supra-
tusiems toliau pateiktą vokišką arba anglišką
instrukcijų žinyną.
Dit apparaat mag alleen door personen
in gebruik worden genomen die de
volgende Duitse of Engelse gebruiksaanwijzing
hebben gelezen en begrepen.
To urządzenie może być użytkowane
tylko przez osoby, które przeczytały i
zrozumiały następującą niemiecką lub angielską
instrukcję obsługi.
Este aparelho só pode utilizado por
pessoas, que tenham lido e compreendi-
do o Manual de instruções em alemão ou inglês
que se segue.
Acest aparat poate fi pus în funcţiune
doar de către persoanele care au citit și
au înţeles instrucţiunile de utilizare de mai jos în
limba germană sau engleză.
Bara personer som har läst och förstått
den här bruksanvisningen på tyska eller
engelska får ta den här apparaten i drift.
Toto zariadenie môžu uviesť do pre-
vádzky len osoby, ktoré si prečítali nas-
ledujúci návod na použitie v nemeckom alebo
anglickom jazyku a porozumeli jeho obsahu.
To napravo smejo zagnati samo osebe,
ki so prebrale in razumele naslednja
nemška ali angleška navodila za uporabo.
Este aparato solo deben emplearlo las
personas que hayan leído y comprendido
las siguientes instrucciones de uso (en alemán o
inglés).
Tento přístroj smějí uvádět do provozu
pouze osoby, které si přečetly následující
návod k obsluze v německém nebo anglickém
jazyce a rozumějí mu.
A készülék üzembe helyezését csak olyan
személyek végezhetik, akik elolvasták
az alábbi német vagy angol nyelvű használati
utasítást és megértették annak tartalmát.
3
USER MANUAL
Blizzard Heating Clamp HC 120/40
ENGLISH
Contents
4 General information
5 Safety
6 Description
10 Operation
15 Manufacturer’s notification/
Customer service/
EC Declaration of Conformity
4
1 GENERAL INFORMATION
All descriptions in these instructions are intended for trained
operating personnel. Incorrect or improper use of this heat-
ing clamp may damage the heating clamp or result in injury
to the operator or other persons.
Please read this document carefully and only use the
Blizzard heating clamp when you have fully understood the
instructions.
This document contains safety instructions. Please keep it
accessible for other users so they may read the instructions
prior to using the heating clamp.
Important instructions are indicated in the text as follows:
Note
This indicates technical features that require the user’s
attention.
Caution
This indicates that work procedures must be followed
precisely to prevent damage to the device or to ensure the
success of the heating process.
Stop
This indicates that notes and/or work procedures must be
followed precisely to prevent damage to the device and/or
eliminate the possibility of danger to the user or other
persons.

5
2 SAFETY
2.1 Intended use
The Siegling Blizzard heating clamp is used for the endless
splicing of belts.
– Width from 10 to 40 mm
– Thickness from 1.3 to 3.2 mm
– Splicing length 35/70/110 mm
Any other use is considered improper.
2.2 General safety instructions
The Blizzard heating clamp is a state-of-the-art device which
complies with the recognized safety regulations. Improper
use may result in danger.
Only operate the Blizzard heating clamp if it is in faultless
condition. To exclude the possibility of putting the user or
other persons at risk and to avoid damage, only trained per-
sonnel may operate the equipment.
Any work involving the Blizzard heating clamp must be per-
formed in accordance with
– this manual,
– the technical documentation accompanying the
machinery (when making belts endless in machinery),
– any relevant FMS splicing data sheets,
– all relevant statutory provisions and safety regulations.
Stop
During operation the heating plates on the heating clamp
and the inserted splice guide may reach a temperature of
210 °C. Injury may occur. (Fig. 2.2.1)
2.3 Operating conditions
The Siegling Blizzard heating clamp may only be operated
under the following ambient conditions:
– Normal atmosphere (no oil or gas atmospheres,
no corrosive atmospheric constituents).
Stop
The device is not splash-proof.
The device is not explosion-proof.
Operation under improper conditions can lead to serious
damage to the device and injury to the operator (electric
shock, burns, explosion damage).
Fig. 2.2.1
Heating plates
Splice guide

6
3 DESCRIPTION
3.1 Components/main dimensions
310 (12.2)
145 (5.7)130 (5.2)
Main dimensions in mm and inches (in).
All measurements in inches are rounded.
Upper heating plate
Lower heating plate
inserted belt
Control unit
with digital display
and buttons
Lower part of heating clamp
Lower part of splice guide
Eye bolts (2)
Upper part of heating clamp
Upper part of splice guide

7
3.2 Technical data
Type designation Blizzard
HC 120/40
Maximum belt width [mm] 40
Belt thickness [mm] 1.3 – 3.2
Z-splices [mm] 35:5.75 / 35:11.5 / 70:11.5 / 110:11.5
Maximum heating temperature [°C] 210
Total weight [kg] 2.0
Dimensions (L x W x H) [mm] 310 x 145 x 130
Connection requirements (alternative)
1 Phase (Item no. 870103) [V/Hz] 230/50
1 Phase (Item no. 870109) [V/Hz] 115/60
The Siegling Blizzard heating clamp is a compact solution
used to splice (heat and cool) thermoplastic belts (e.g. PVC,
polyurethane). No other accessories are required, such as an
external control unit or cooling clamp.
The Siegling Blizzard heating clamp is electrically heated
and air-cooled using fans. The heating and subsequent
cooling processes run automatically according to the previ-
ously entered values.
3.3 Operating principle
Fig. 3.3.1
Diagram of operating modes.
After the heating clamp has been switched on, three operating modes
are run through in sequence. From the start mode, a setting mode and
calibration mode for the heating and cooling parameters can be started if
necessary.
Operating modes
Start mode
Heating mode
including holding time
Cooling mode
Setting mode
Calibration mode

8
Caution
Do not operate the heating clamp upside down.
Potential problem: The trapped heat may damage the heating clamp housing.
Action: If the housing gets extremely hot, shut off the device and let it cool down.
– Prepare device and workstation.
– Connect the heating clamp to the power supply.
– Start the device.
After it is switched on, the device is in start mode. The heating plates are automatically heated to the most
recently set “cooling temperature”.
– Adjust the heating clamp settings in calibration mode if necessary.
– Set and save the splicing parameters in setting mode.
· Heating temperature
· Holding time
· Cooling temperature
– Insert the prepared splice guide into the heating clamp.
– Start heating cycle.
Heating plates are heated to the previously set heating temperature.
· Once the heating temperature has been reached, the holding time starts automatically.
· Once the holding time is complete, the cooling process starts automatically.
– When the preset cooling temperature has been reached, remove the splice guide and the finished splice.
– Insert other splice guides into the heating clamp to continue splicing or switch off the heating clamp.
Note
If approx. 2 minutes pass without any button being pressed, the device switches off.
3.4 Basic belt splicing procedure

9
3.5 Control panel
“ON/OFF” button > hold down to switch the device on or off.
The device is now in start mode.
“SELECT” button > press briefly to start setting mode. Press briefly again
to run through the three adjustable parameters for the heating
clamp in a sequential loop.
Heating temperature [°C or °F]
Holding time [s]
Cooling temperature [°C or °F]
hold down to toggle between the units used
(from “°C” to “°F” or vice versa) for the parameter displayed.
“CONFIRM” > press briefly
– to save the previously entered parameter values in setting mode
and to terminate setting mode,
or – to save the previously entered calibration values in calibration mode
and to terminate calibration mode,
or – to terminate heating up mode and start heating mode
or – to stop the countdown during holding time.
The countdown continues when the button is pressed again or
automatically after 60 seconds.
The function executed depends on the operating mode.
“+” or “–” button > press briefly
to change the displayed parameter in small increments
(1 °C/°F or 10 s),
hold down
to change the displayed parameter in large increments
(5°C/°F or 1 min).
(Only active in setting mode after pressing the “SELECT” button.)
“+” and “–” button > hold down
to put the device in calibration mode.
Fig. 3.5.1 – Control panel

10
4 OPERATION
4.1 Prepare device and workstation
– Ensure that the workstation is clean and tidy.
A heat-resistant surface on which to safely place the Siegling Blizzard heating clamp during operation must be available.
Stop
The device is not splash-proof. The device is not explosion-proof.
Operation under improper conditions can lead to serious damage to the device and injury to the operator
(electric shock, burns, explosion damage).
– Carefully check the heating clamp and power cable for damage (visual inspection).
The Siegling Blizzard heating clamp may only be operated if it is in faultless condition.
Stop
Operating a damaged device can cause further damage to the device and result in injury to the user (electric shock,
burns, crushing, cuts).
– Ensure that both heating plates are free of dirt and deposits.
Carefully remove any dirt or deposits by wiping with a clean cloth moistened with ammonia.
Stop
Clean heating plates only when cold and do not use flammable cleaning solutions.
Risk of severe burns and high fire risk!
4.2 Connect to the power supply
– Compare the connection values of your heating clamp to those of the power supply.
– Only connect to the power supply if the values are the same 230V/ 50Hz or 115 V /60Hz.
Caution
Operating the heating clamp with the wrong voltage can cause serious damage to the device.
Caution
Avoid connecting the heating clamp to machine sockets.
Potential problem: When starting up the machine there is a risk of voltage peaks,
which may damage the heating clamp electronics.
Action: Connect the heating clamp to an on-site power supply.

11
4.3 Check and adjust heating parameters
To do this, the heating clamp must be in start mode. See Section 3.
Stop
During operation the heating plates on the heating clamp (1) and the inserted splice guide (2) may reach a temperature of
210 °C. Injury may occur. (Fig. 2.2.1)
– Briefly press the “SELECT” button to switch to setting mode.
Briefly pressing the “SELECT” button again displays the adjustable heating parameters in sequence.
Order: > Heating temperature [°C or °F]
> Holding time [s]
> Cooling temperature [°C or °F]
This loop can be repeated as many times as desired.
Holding down the “SELECT” button toggles between “°C” and “°F”.
Pressing the “+” or “–” button changes the value that is displayed.
Heating temperature: press briefly > changes by 1°C/°F hold down > changes by 5 °C/°F
Holding time: press briefly > changes by 10 s hold down > changes by 1 min
Cooling temperature: press briefly > changes by 1°C/°F hold down > changes by 5 °C/°F
Note
When setting the heating parameter and no entry is made within 3 seconds, the device switches back to start mode.
– Press the “CONFIRM” button to save the previously entered heating parameters and terminate setting mode.
The device now starts automatically in heating mode.

12
4.4 Calibrate the heating clamp
Forbo Siegling recommends calibrating the heating clamp twice a year.
Required tools
– Temperature measuring device (accuracy ± 1°C)
– Temperature sensor (Fig. 4.4.1) max. diameter 2 mm
The heating clamp must be in start mode to calibrate. See Section 3
Stop
During operation the heating plates on the heating clamp (1) and the inserted splice
guide (2) may reach a temperature of 210 °C. Injury may occur. (Fig. 2.2.1)
– Set the heating parameters if necessary (see Section 4.3).
– Start calibration mode by simultaneously holding down the “+” and “–” buttons.
The heating clamp then emits an audible signal approximately every second. (Fig. 4.4.2)
– Wait until the heating clamp reaches the selected heating temperature and holds steady
(duration approx. 5 minutes). Signal frequency increases to approx. 2–3 times per second.
– Insert the temperature sensor into the hole on the side of the heating plate.
– Compare the temperature of the measuring device to what is indicated on the display
of the heating clamp.
– If there is a discrepancy in the readings, press the “+” or “–” button on the heating clamp
until the external measuring device indicates the correct temperature as set on the
heating clamp.
Note
The temperature is adjusted following each correction with a slight time lag.
– Save the setting by pressing the “CONFIRM” button.
The heating clamp is now in start mode again.
– Switch the device off by holding down the “ON/OFF” button or continue working.
Fig. 4.4.1
Fig. 4.4.2

13
Fig. 4.5.1
Fig. 4.5.2
4.5 Creating endless splices
– Hold down the “ON/OFF” button until the display turns on. (Fig. 4.5.1)
The heating clamp then automatically switches to start mode and heats up the heating
plates to the most recently set cooling temperature.
Stop
During operation the heating plates on the heating clamp (1) and the inserted splice
guide (2) may reach a temperature of 210 °C. Injury may occur. (Fig. 2.2.1)
– Set the heating parameters if necessary (see Section 4.3).
Caution
Operating the heating clamp with incorrect heating parameters can result in poor splicing
results, making the spliced area of the belt unusable.
– Insert the splice guide and prepared belt ends into the middle of the heating clamp.
Positioning is facilitated by the locking device on the splice guide. (Fig. 4.5.2)
– Press the “CONFIRM” button to start heating mode. The inserted splice guide and belt are
cold. That is why the temperature on the display briefly falls and the heating clamp heats
the splice guide and the belt to the preset heating temperature.
The preset holding time begins to run automatically as soon as the preset heating
temperature has been reached.
Note
Pressing the “CONFIRM” button a second time interrupts the countdown. The countdown
automatically continues when the button is pushed again (or after 60 seconds at the latest).
– At the end of the preset holding time an audible signal is emitted and the device automati-
cally switches to cooling mode (fans start).
– Once the preset cooling temperature has been reached, an audible signal is emitted and
the device switches back to start mode. Display “––––”. The splice guide can be removed.
– If approx. 2 minutes pass without any button being pressed, the device switches off.

14
Error Error Error
Message Name Description Remedy
E001 HEATERS_DRIVING_CIRCUIT The heating plates are over 260°C
E002 NO_HEATING_UP Heating plates are not heating up
E003 HEAT_UP_TOO_SLOW Heating plates are heating up too slowly
E004 EEPROM_READ Calibration offset is out of the ±100°C range
E005 COOLING Cooling is too slow
E006 TOP_SIDE_HEATERS The top side heating plate does not heat up properly
E007 BOTTOM_SIDE_HEATERS The bottom side heating plate does not heat up properly
E008 TOP_SIDE_FANS The top side heating plate does not cool down properly
E009 BOTTOM_SIDE_FANS The bottom side heating plate does not cool down properly
4.6 Error during heating clamp operation
The heating clamp is equipped with error diagnostics. If an error occurs during operation, an error code appears in
the display.
– When an error occurs, acknowledge it with any button.
Following acknowledgment, the control unit on the device attempts to resume the current mode at the spot in
which the error occurred.
– If the error occurs again: Let the heating clamp cool down completely and restart.
– If the error occurs again: Make a note of the error code, switch the device off and disconnect it from the power supply.
Send the device, including the error code, to Forbo Customer Service for servicing.
Allow the heating clamp to cool
down completely and restart.
If the error occurs again:
Send heating clamp including
error message to Forbo
Customer Service.

15
MANUFACTURER’S NOTE/CUSTOMER
SERVICE/EC DECLARATION OF CONFORMITY
EC Declaration of Conformity
Hoover Dam Technology Asia Limited
Office B2, 16/F., Legend Tower
7 Shing Yip Street, Kwuan Tong, Hong Kong
This is to certify that the Siegling Blizzard HC 120/40 heating
clamp, used in the splicing of thermoplastic conveyor belt
material, meets the following EC directives:
• EN 61000 - 6 - 3:2007 + A1:2011 + AC:2012
• EN 61000 - 3 - 2:2014
• EN 61000 - 3 - 3:2013
• EN 61000 - 6 - 1:2007
• EN 61335 – 1:2012 + A11:2014
• EN 61335 - 2 - 45:2002 + A1:2008 + A2:2012
• EN 62233:2008
Forbo Siegling GmbH, Hanover
November 2016
Bernd Westermann
Manufacturer’s note/Customer
service
The Siegling Blizzard HC 120/40 heating clamp is
assembled in Germany and distributed by
Forbo Siegling GmbH
Lilienthalstraße 6/8
30179 Hanover ·
Germany.
Should you require technical support or replacement
parts, please contact customer service: www.forbo-
siegling.com

16
17
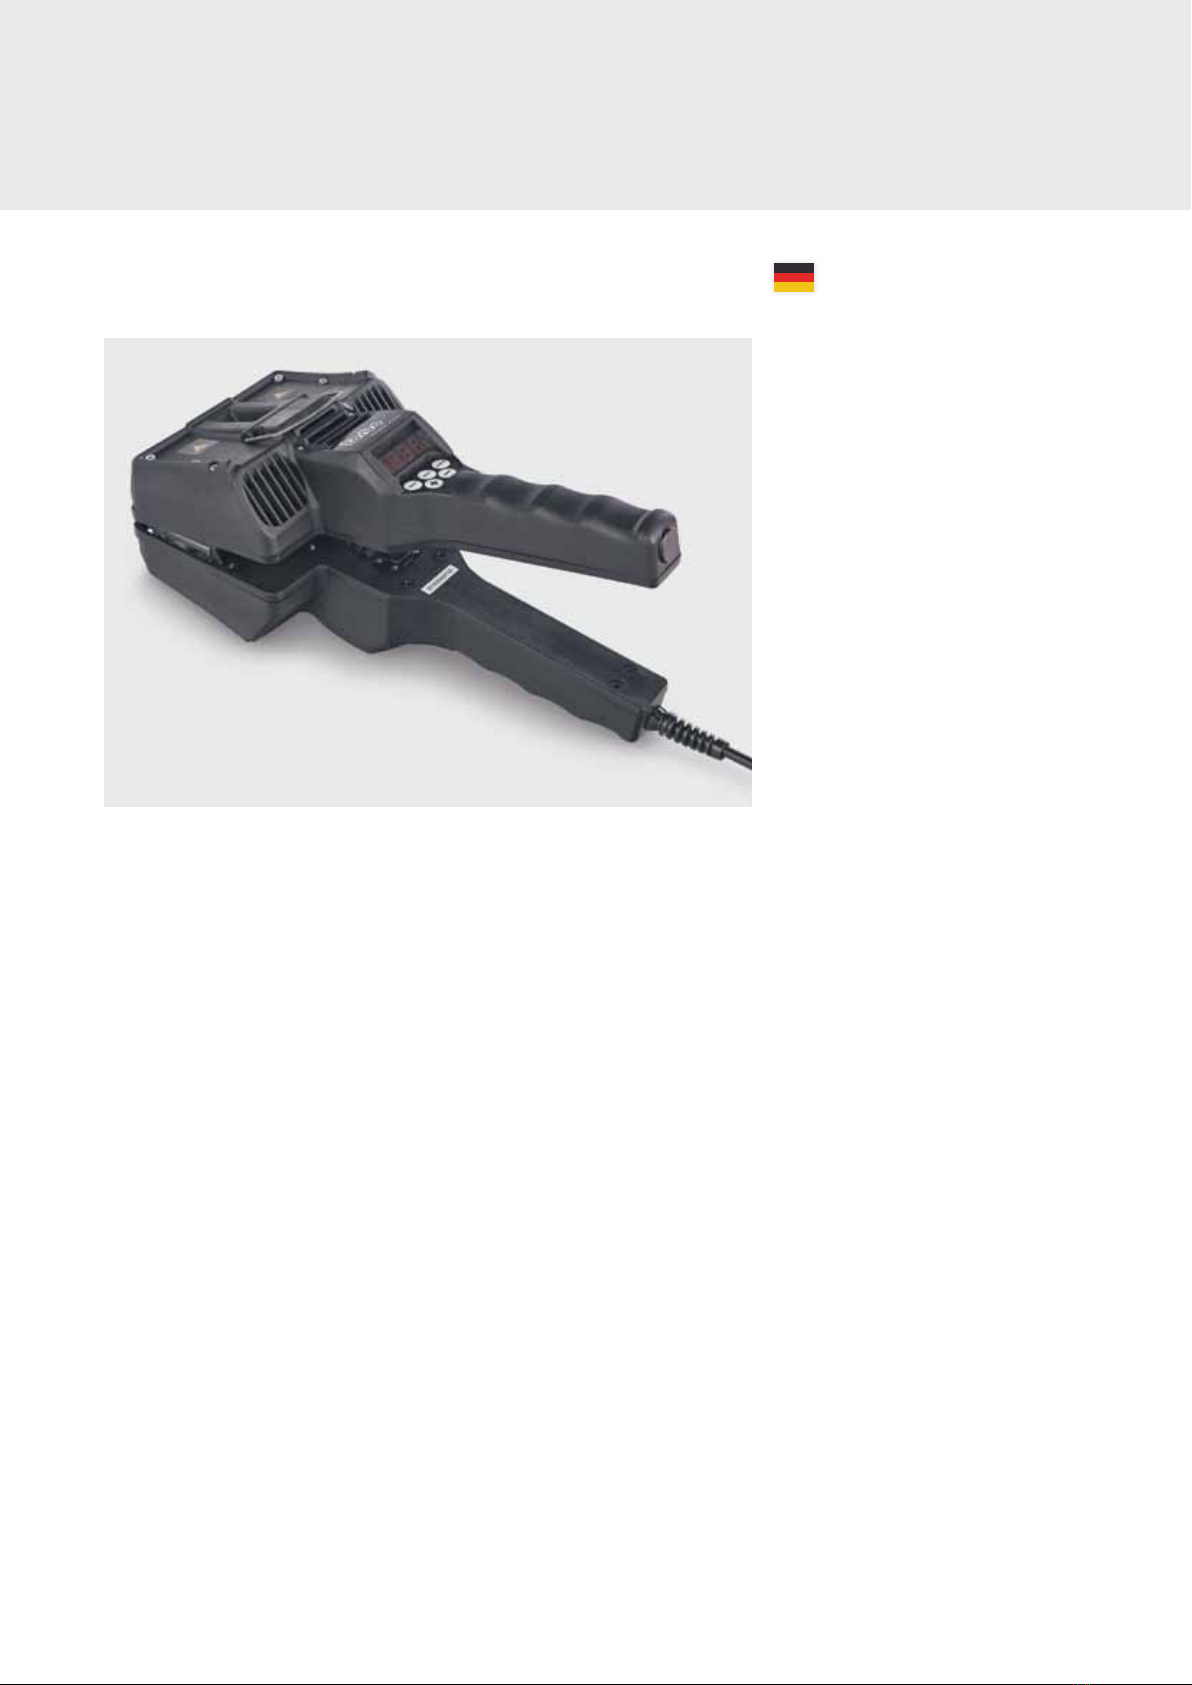
BETRIEBSANLEITUNG
Blizzard Heizzange HC 120/40
DEUTSCH
Inhalt
18 Allgemeines
19 Sicherheit
20 Beschreibung
24 Bedienung
29 Kundendienst/
Herstellerhinweis
EG-Konformitätserklärung

18
1 ALLGEMEINES
Alle Beschreibungen in dieser Anleitung sind für fachlich
geschultes Bedienungspersonal erstellt. Eine falsche oder
unsachgemäße Anwendung dieser Heizzange kann zu
Schäden an der Heizzange und zu Verletzungen des
Bedieners und anderer Personen führen.
Bitte lesen Sie dieses Dokument sorgfältig durch und
gebrauchen Sie die Blizzard Heizzange erst wenn Sie die
Beschreibungen verstanden haben.
Dieses Dokument enthält Sicherheitsanweisungen. Halten
Sie es auch für andere Nutzer griffbereit, damit sie es vor
Benutzung der Heizzange lesen können.
Im Text sind wichtige Anweisungen wie folgt gestaltet:
Hinweis
Hier müssen technische Besonderheiten vom Benutzer
beachtet werden.
Achtung
Hier müssen Arbeitsverfahren genau eingehalten werden,
um eine Beschädigung des Gerätes zu verhindern oder das
Gelingen des Heizvorganges sicher zu stellen.
Stopp
Hier müssen Hinweise und/oder Arbeitsverfahren genau
eingehalten werden, um eine Beschädigung des Gerätes zu
verhindern und/oder die Gefährdung des Benutzers oder
anderer Personen auszuschließen.

19
2 SICHERHEIT
2.1 Bestimmungsgemäße
Verwendung
Die Siegling Blizzard Heizzange dient zum Endlosheizen
von Bändern und Riemen.
– Breite von 10 bis 40 mm
– Dicke von 1,3 bis 3,2 mm
– Verbindungslänge 35/70/ 110 mm
Eine andere Nutzung ist nicht bestimmungsgemäß.
2.2 Allgemeine Sicherheitshinweise
Die Blizzard Heizzange entspricht dem Stand der Technik
und den anerkannten sicherheitstechnischen Regeln. Bei
unsachgemäßem Einsatz können Gefahren entstehen.
Die Blizzard Heizzange darf nur in einwandfreiem Zustand
betrieben werden. Um Gefährdungen des Benutzers oder
anderer Personen auszuschließen und Beschädigungen zu
vermeiden darf sie nur von fachlich geschultem Personal
betrieben werden.
Alle Arbeiten mit der Blizzard Heizzange müssen in
Übereinstimmung erfolgen mit
– dieser Anleitung,
– der Technischen Dokumentation der Anlage (beim
Endlosmachen von Bändern und Riemen in einer Anlage),
– den jeweils relevanten Verbindungsdatenblättern von
Forbo Movement Systems,
– allen relevanten gesetzlichen Vorschriften und sicherheits-
technischen Regeln.
Stopp
Während des Betriebes können die Heizplatten der
Heizzange und der eingesetzte Formschuh eine Temperatur
von 210 °C erreichen. Es besteht Verletzungsgefahr.
(Abb. 2.2.1)
2.3 Betriebsbedingungen
Die Siegling Blizzard Heizzange wird ausschließlich unter
den folgenden Umweltbedingungen betrieben:
– normale Atmosphäre (keine Öl- oder Gasatmosphären,
keine korrosiven Atmosphärenbestandteile)
Stopp
Das Gerät ist nicht spritzwassergeschützt.
Das Gerät ist nicht explosionsgeschützt.
Der Betrieb unter unzulässigen Betriebsbedingungen kann
schwere Schäden am Gerät und für den Bediener hervor-
rufen (Stromschlag, Verbrennung, Explosionsschaden).
Abb. 2.2.1
Heizplatten
Formschuh

20
3 BESCHREIBUNG
3.1 Bauteile/Hauptmaße
eingelegtes Band
Steuerung
mit Digitalanzeige
und Stellknöpfen
Heizzangenunterteil
Formschuhunterteil
Aufhängeösen (2 x)
Heizzangenoberteil
Formschuhoberteil
310 (12.2)
145 (5.7)130 (5.2)
Hauptmaße in mm und Zoll (in).
Alle zölligen Maße sind gerundet.
untere Heizplatte
obere Heizplatte
Table of contents
Languages:


