Silent Witness SW003 User manual

SW003
This is a new type of multifunctional hi-tech product with integration of
high-definition camera shooting, photographing, recording and outlay TF card
memorizer. It carries High-Definition Multimedia Interface (HDMI) which can
transit in high quality uncompressed high-definition video and multichannel
voice data. It is mainly used for on-vehicle shooting to improve the efficiency of
taking evidence of traffic accident, and also can bring wonderful experiences to
daily life, traveling, and outdoor activities.
Product Feature
With the mini size and a 120 Degree A+ bug eye lens of high resolution, it highly
facilitates high-definition multi angle shooting and photographing under various
situations.
Built-in 1 million 1/3.2 inch photosensitive element of low noise and high definition, it
can capture ultra definition pictures under dark surroundings.
2.0 inch high-resolution LCD that allows screen viewing along side with video
recording.
HDMI Export Support that can be connected to high definition TV;
It adopts cyclic covering record mode that allows continuous rolling record through the
coverage of new frames over old ones.
It support micro SD card
Powerful file protection that can fully save video files even when sudden power loss or
machine breakdown occurs during recording.
Built-in lithium battery that allows video recording under battery charging.
It provides preview function under auto photographing for the selection of ideal image.
Built-in microphone / loudspeaker
TF card support as large as 32 GB
motion detection videoing function

Product Structure:
1.Micro SD slot
2.Reset button
3.Indicator light
4.Bracket Screw Hole
5.Display screen
6.Video/Photo button / Up
7.Mode Switch button / Down
8.Menu Button
9. SOS button / OK
10. Microphone
11. Lens ring
12. Lens
13. Speaker
14. USB Interface
15. HDMI Interface

16. On / Off Button
Instruction for Buttons:
Name of button
function description
Rec button
1. Short press to start recording or to take a photo.
2. UP Button
3. Move through videos/photos in playback
Mode Button
1. Mode switch (Video –Photo –Playback)
2. DOWN Button
Menu Button
1. To enter and exit the menu.
SOS button
1. Lock / Unlock videos during videoing
2. OK Button
3. Play / Pause during playback
On/Off Button
Short press to turn on / Press and hold to shut down
Indicator Light Instruction:
Name
Instruction
Charging Indicator Light
Red indicator light means charging state; while the light will be off
upon charge completion.
working indicator
A green indicator will be on when the machine starts; a blinking light
means videoing.
Battery charge
1. Connect the vehicle charger directly to the camera USB interface to charge, the
camera is still able to charge when it has been powered down.
2. The camera can be charge via computer, using the lead provided
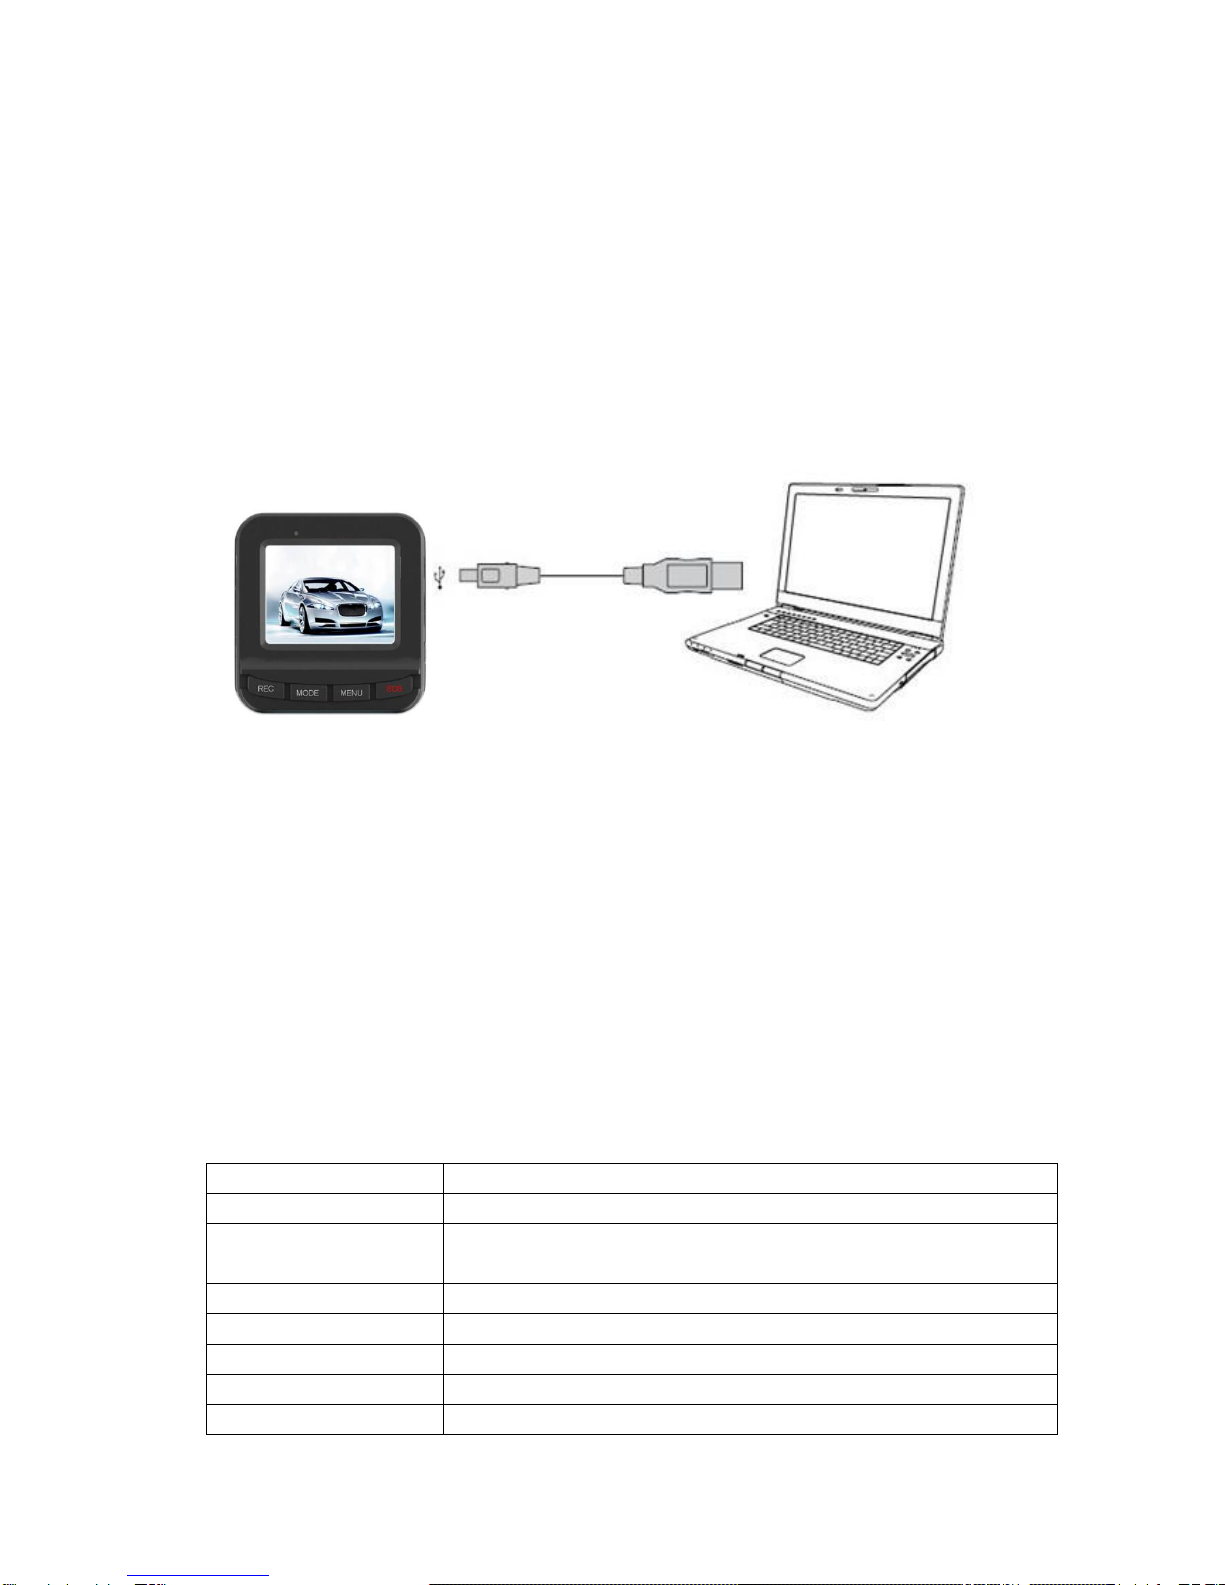
Installing the SD card and removing the SD Card
1. Follow the indicated direction to insert the TF card into slot on the left hand side of the
camera, press firmly in until you hear a “CLICK”, the card is now locked
2. To remove the TF Card, slightly press the TF Card until you hear a “CLICK” and the
card is now unlocked.
User Guide
Camera On and Off
1. Press power button for 1 second to start the camera and 2 Seconds to
shut down. (if the power is disconnected in the vehicle the camera will also
power down)
Changing Modes
Shortly press MODE button to change,for Video mode,for
photographing,for playback mode,as they are displayed on the left top of
the screen.

System Setting
Press the Menu button “Once” to enter
• Resolution: Changes the quality of the video
Video Size
ETA on 8Gb card
1920x1080p
50 min
1280x720p
60 min
720x480p
70 min
640x480p
85 min
320x240p
105 min
• Loop Recording: Changes the length of video files
Off (not recommended)
3Minutes
5 Minutes
10 Minutes
• Motion Detection: Only records when detecting movement
Off
On
• Date Stamp: Imprints the date in the video file
Off
On
• Record Audio: Turns the microphone function
Off
On
• G-Sensor Sensitivity: Change the G-Sensor, Sensitivity
Off
Low
Med
High
Press the menu button “Again” / twice to enter
• Date/Time: Changes the Time and Date
• Auto Power Off: The camera will power down after…. Depending on battery charge

2 min
5 min
10 min
• Beep Sound: Turns the button press “Bleep” off
Off
On
• Language: Changes the language of the camera
English
Deutsch
Francais
Espanola
Italian
Portuguese
• Frequency
50Hz
60Hz
• TV Mode: Changes Tv Settings
Pal
NTSC
• Default Settings: Restores factory settings
Cancel
OK
• Versions: Gives information of firmware version
• Delay Power off: when the power is removed
15 sec
1 min
5 min
30 min
60 min
• Anti Shaking
• Image Rotation: camera can be mounted upside down
• Screen Saver: Turns the screen off after
Off (screen will stay on)
1 min
3 min
5 min

Record Settings
Recording
When the camcorder enter into the recording MODE and it will have this icon
appear on the left top of the screen, press the REC button to start recording , the red ●
recording indicator will flash. When you press the REC again, recording will stop and the
red ●recording indicator will disappear.
How to take photos and camera option settings
1. Turn the power on, the device will enter to recording mode, short press and hold the
MODE button to switch camera mode, then, this icon will appear on the top left,
device enter into camera mode.
2. Press the REC button, camera will start to take photo.
Playback Mode
1. On the recording mode, short press Menu button twice to select single file playback
mode and press the Up and Down button can browse photos and videos information.
2. When this icon appears on the top left of the screen, means files will can
be playback, press ok button to play or pause. During playback, press up button to
increase the volume and down button to decrease the volume. Also, when appear this
icon on the top left of the screen, it means photo files can browse, press Up
button and Down button to browse photos.
3. Delete
In playback mode, press Menu button, you can see the delete and formatting options,
press the Up/Down button to select the file that you want to delete, press OK button to
enter to “delete the current file” and “delete all”, then press OK button to enter into delete
file, press OK again to confirm delete file.
Press the Up/Down button to select formatting option, press OK to enter formatting options,
then press OK button format file and press OK again to confirm format file.
Information Backup
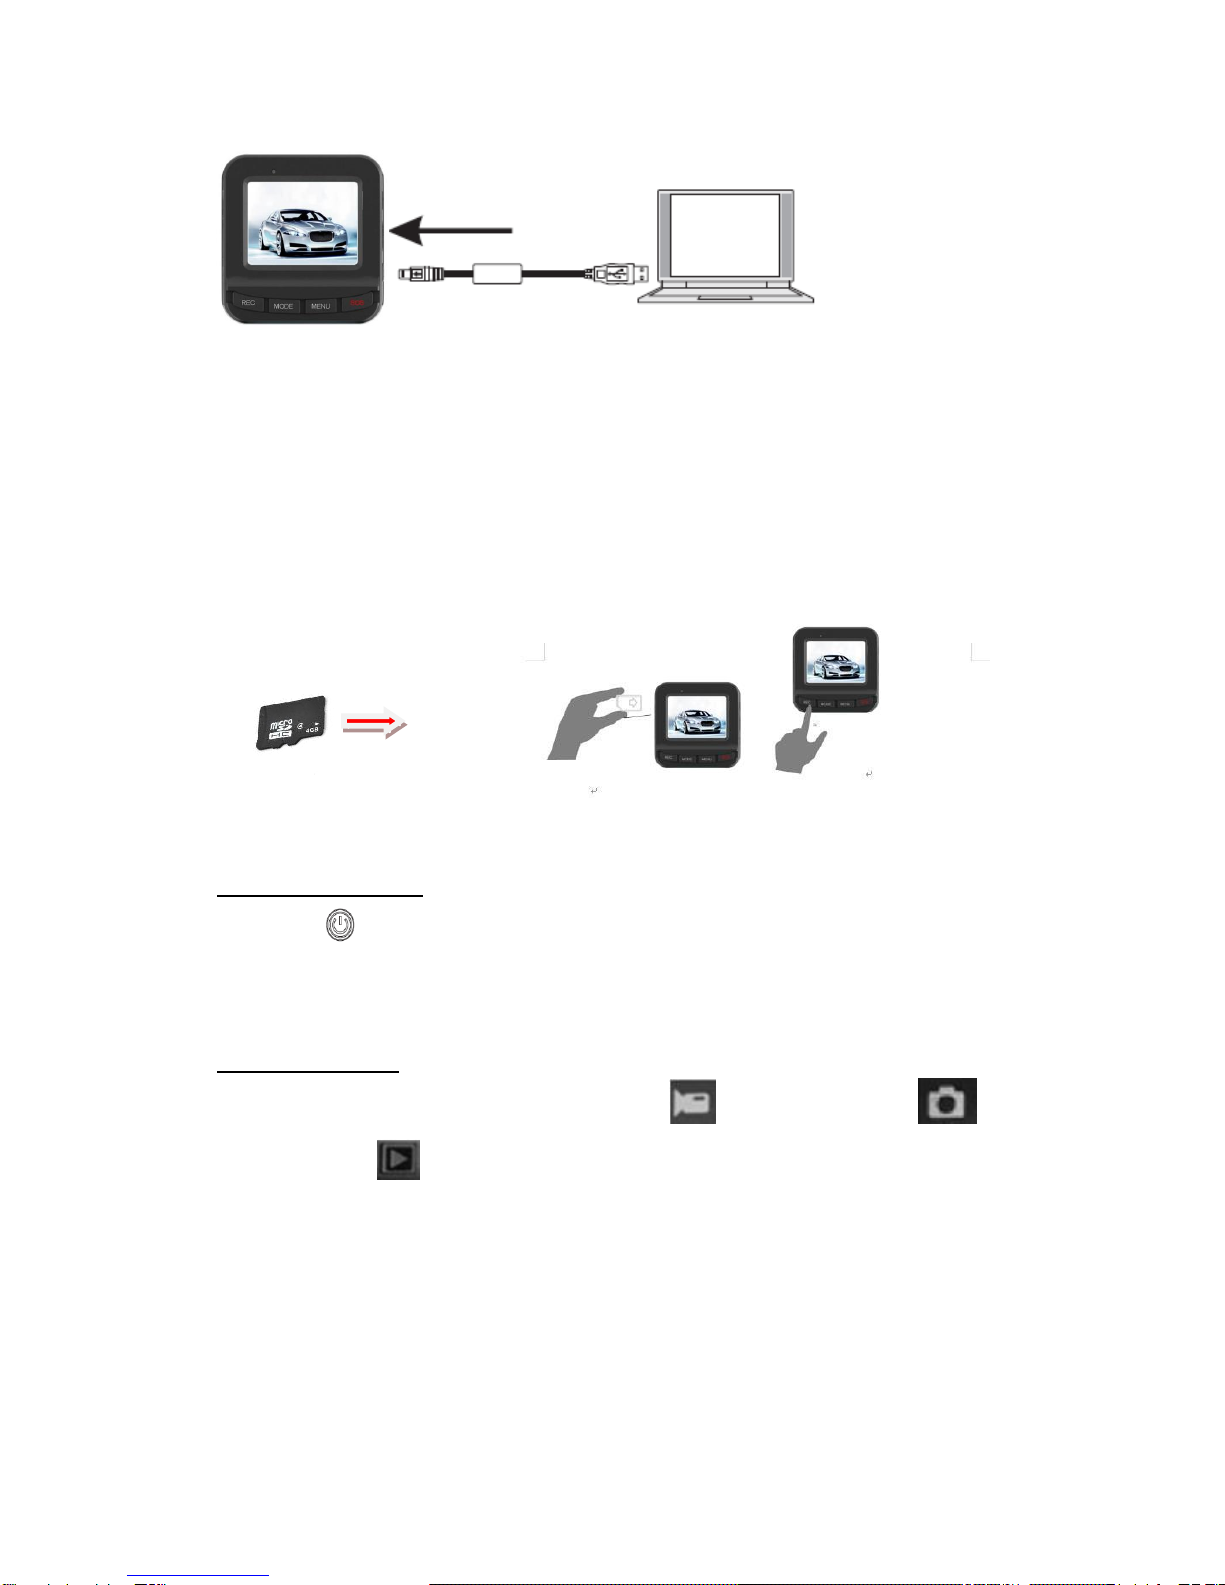
USB Backup Mode
Use USB cable to connecting with PC, press the power button, you will can see the
following selection, select “storage” and press OK button. Then, open the icon as “My
Computer” on the desktop, there will appeared a removable disk on the PC, you could find
the files from removable disk/DCIM document.
Remarks:
1. Computer operating system:above the Windows 2000/XP/Vista/Windows 7, MAC
OS x 10.3.6
2. Select PC camera, it can used as webcam.
3. Select PICBRIDGE to connect with the printer to print pictures.
4. Pull out the USB cable ,device will power off.
Note: This device can use as portable disk when if its on ,do not need to install CD driver.
Connect to TV to display photos/videos
1. Connect HD TV via HDMI cable ,its can playback video or browse photos.
Technical Specifications
LCD
2 Inch HD LTPS(4:3)
Lens
120 degreesA+ grade high resolution wide angle lens
Language
English,Germany,French,Spanish,Italic,Portugal,TraditionalChinese,
Simplified Chinese, Japanese, Russian, Polish
Video
1920*1080P / 1280*720P / 720*480P / 640*480P / 320*240P
Video format
AVI
Photo Size
12M / 8M / 5M / 4M / 3M / 1.3M
Photos format
JPEG

Storage medium
Micro SD Card (Up to 32GB)
Microphone/Speaker
Built-in
Camera mode
Single shoot / Timer self photo taking (two seconds timer, five
seconds timer, ten seconds timer) and continuous shooting
Light Frequency
50Hz/60Hz
Television Output
NTSC / PAL
USB interface
USB 2.0
Power
5V 1000MA
Battery
3.7V 500MA
System
Above Windows 2000/XP/Vista/Windows 7, MAC OS x 10.3.6
Troubleshooting Guide
Operating Troubles
Possible Causes
No Power
1. Battery may be too low.
Battery not charging
1. Please check the charger is connected properly.
Not recording
1. Check to see if the SD is mounted properly.
2. Format the SD card
Blurry images
1. Clean the lens from dirt and finger prints
Does not connect to the
computer
1. The USB cable may be connected incorrectly.
2. Wrong computer setting.
No images on TV
1. HDMI cable may not be connected tightly and correctly.
System does not
respond, after pressing
buttons
1. Remove the power and press the reset button.
Table of contents
Other Silent Witness DVR manuals


