GB│IE │ 3■SPDP 18 A1
The following warning symbols are used on the
device:
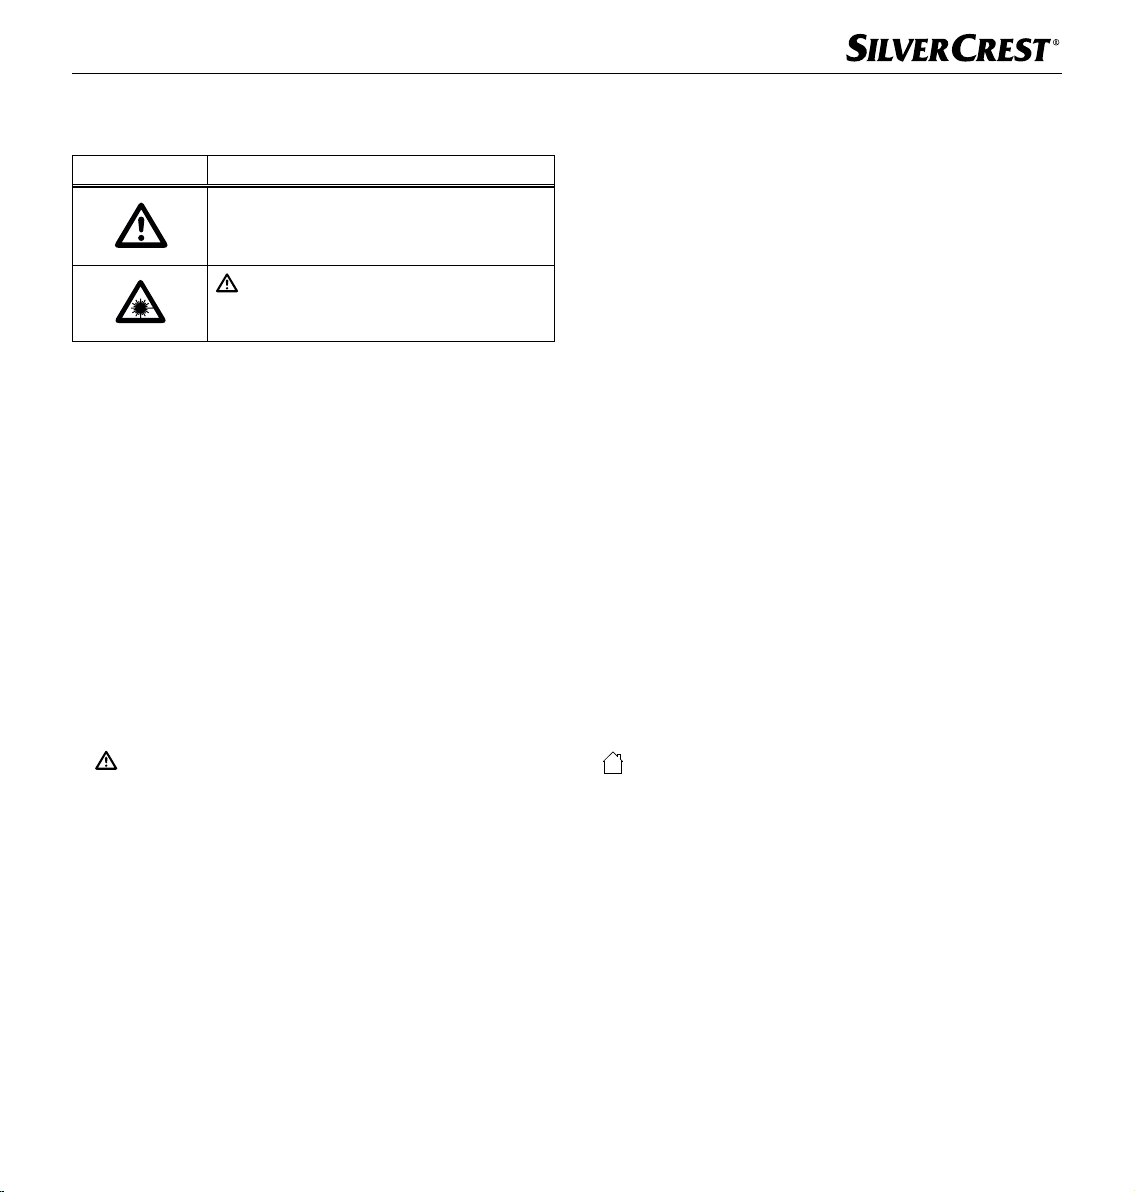
Symbol Meaning
Pay heed to warning and safety notices!
WARNING! Laser radiation! To avoid
damage to your eyes, do not expose yourself
to the laser beam.
Safety
This chapter contains important safety instructions for using the device.
Improper use may result in personal injury and property damage.
Basic safety instructions
To ensure safe operation of the device, follow the safety guidelines set
out below:
■ Check the device for visible external damage before use. Do not
operate a device that has been damaged or dropped.
■ This device may be used by children aged 8 years and above and
by persons with limited physical, sensory or mental capabilities, or
lack of experience and knowledge, provided that they are under
supervision or have been told how to use the device safely and are
aware of the potential risks. Do not allow children to play with the
device. Cleaning and user maintenance tasks may not be carried
out by children unless they are supervised.
■ DANGER! Do not allow children to play with the packaging
material! Keep all packaging materials away from children.
There is a risk of suffocation!
■ If the cables or connections are damaged, have them replaced by
authorised specialists or the customer service department.
■ Protect the power cable from hot surfaces and sharp edges. Ensure
that the mains power cable is not overtaut or kinked. Do not leave
the mains power cable hanging over edges (tripping hazard).
■ All repairs must be carried out by authorised specialist companies
or by the customer service department. Improper repairs may put
the user at risk. They will also invalidate any warranty claim.
■ Defective components must always be replaced with original re-
placement parts. Compliance with the safety requirements can only
be guaranteed by using these replacement parts.
■ Do not make any unauthorised modifications or alterations to the
device. Never open the housing of the device.
■ Do not insert any objects into the ventilation slots or other openings
on the device.
■ Always place the device on a stable and level surface. It can be
damaged if dropped. When installing in a car, care must be taken
to ensure firm mounting.
■ Do not fit the headrest bracket in the deployment area of an air-
bag. When the airbag is deployed, it releases high impact pressure
which can hurl the headrest bracket, the securing strap and the
DVD player through the vehicle interior.
■ Before each journey, make sure that the headrest bracket, the secur-
ing strap and the DVD player are still securely fastened and cannot
come loose unexpectedly.
■ Do not leave the DVD player unattached inside the vehicle, as it
may fly through the interior of the vehicle during jerky manoeuvres
or in an accident.
■ Do not expose the device to direct sunlight or high temperatures.
Otherwise, it may become overheated and irreparably damaged.
■ Ensure sufficient air circulation to prevent heat build-up.
Never cover the device.
There is a risk of fire!
■ Do not place the product near heat sources such as radiators or
other heat-generating devices.
■ Keep the device away from open flames (e.g. candles) at all times.
■ This device is only intended for use in dry indoor areas.
■ The device is not intended for use in rooms with high temperature
or humidity levels (e.g. bathrooms) or excessive dust.
■ Protect the device from drips or splashes of water. Never submerge
the device in water; do not place the device near water and do not
place any object filled with liquid (e.g. vases) on top of the device.
■ If you notice a burning smell or smoke, pull out the mains adapter
from the mains socket immediately (or the car adapter from the
car's on-board power supply).
■ Always hold the mains adapter or the car adapter by its housing.
Never pull on the power cable itself and never touch the mains
adapter or car adapter with wet hands.
■ In case of malfunction or during a thunderstorm, disconnect the
power adapter from the mains power socket.