Step 3 After selecting a location on the vehicle to mount the
stand, use the mounting plate as a template to mark the
position of the four holes. Be sure no wires or cables are
behind the surface before drilling. Drill the holes using an
1/8” drill bit. Using the 4 screws provided, attach the platform
holder stand to the vehicle.
Step 4 When the stand has been mounted to the vehicle,
use the thumbscrew adjustments to position the platform to
your liking. Using the self-adhesive hook and loop (velcro)
strips provided, fasten your portable CD player to the mount
platform.
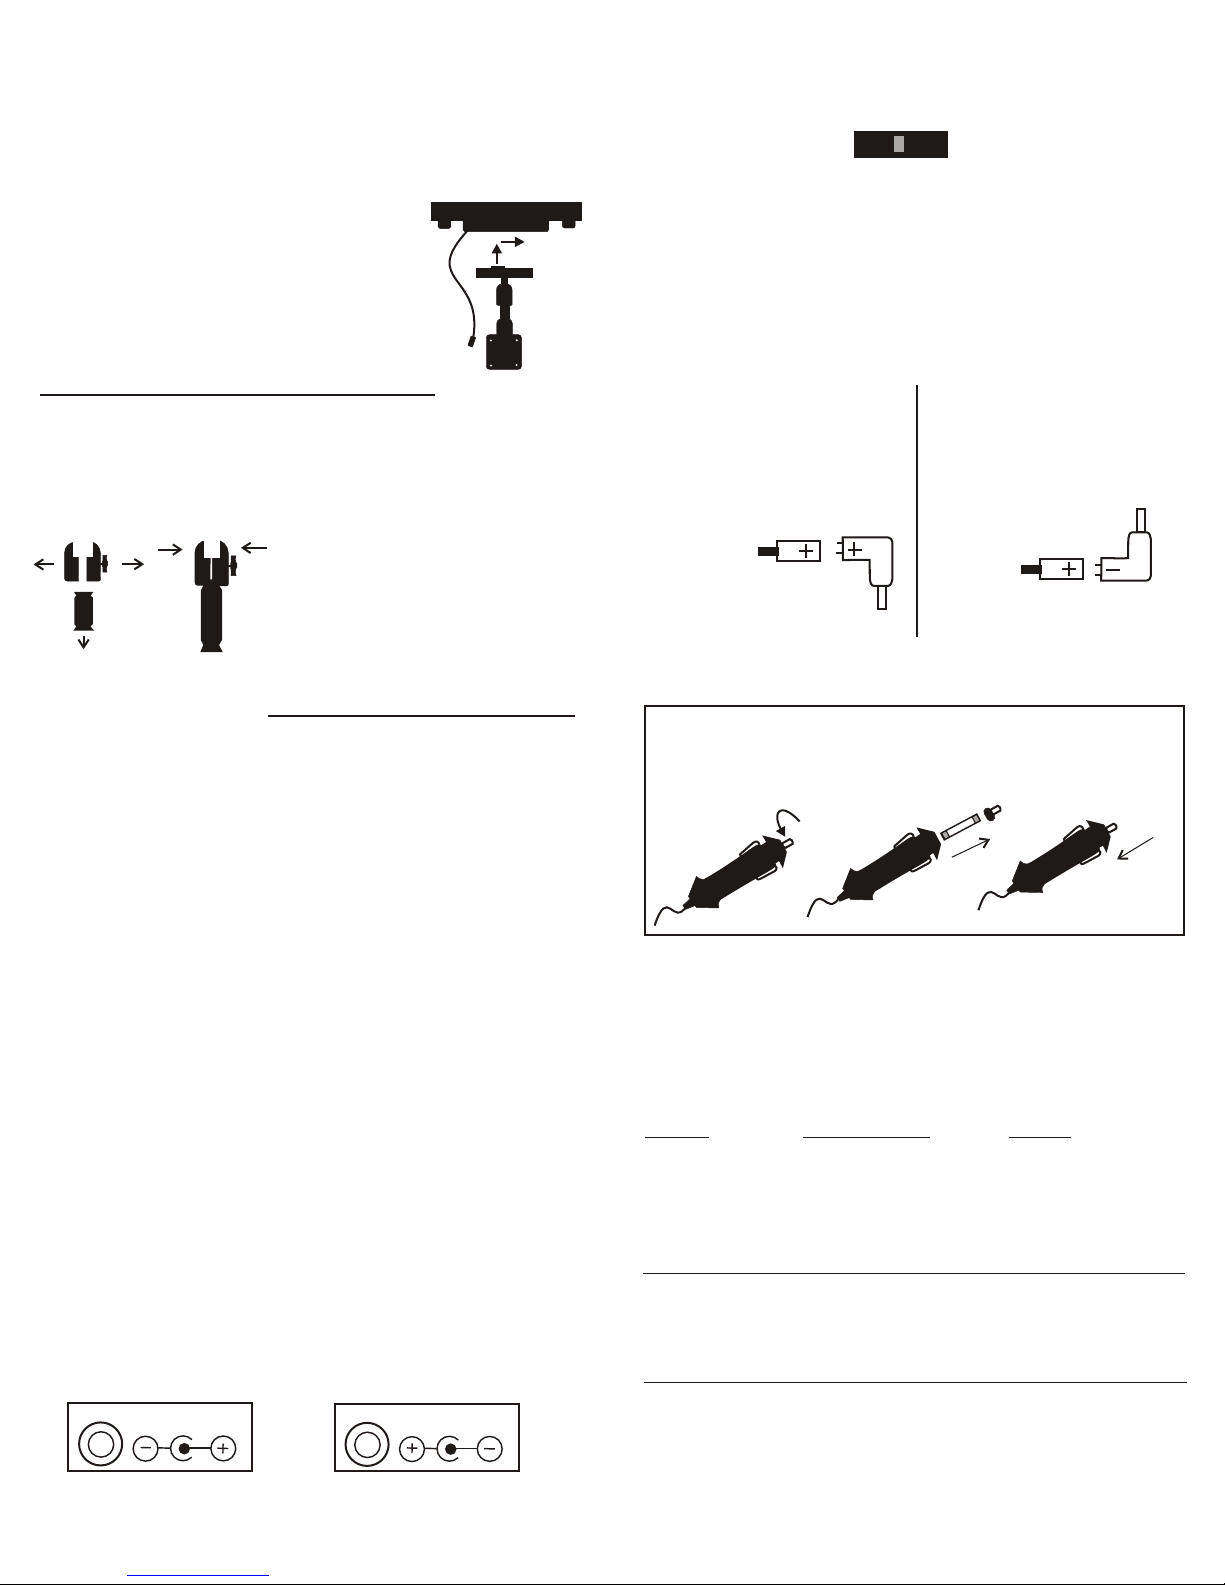
Step 1
Assemble the components as shown in
diagram A at right. Insert the raised tab on
the stand into the corresponding hole on
the bottom of the platform and slide
toward center until firmly in place.
Step 2 Choose a mounting location that will provide the
most access and convenience for using your portable CD
player in the vehicle. It must be close enough to the cigarette
lighter for the lighter cord to reach.
Fig C
Fig B
If necessary, use the 3.5”
extension provided. To change
extension poles, loosen
thumbscrew adjusters until fitting
separates into two pieces
( Fig B). Remove 1.5” extension.
Insert 3.5” extension and tighten
until snug (Fig. C).
TroubleShooting
Problem
Green LED light
on Car Plug not on
Green LED light on
Car plug dims out
Sounds bad
Possible Causes
!No power supply from
lighter socket
!Short circuit of the power
supply
!External power short
circuit
!Incorrect polarity of the
output power
!Incorrect voltage supply
to music player
Remedy
!Cigarette plug not
inserted correctly
!Check the portable
player power supply
including polarity
!Check requirement of
music player.
Change adapter plug
or voltage switch
setting as needed
Power Supply
The CDM -1 has a DC power supply that will provide power
to most portable CD players provided they have a voltage of
either 3-4.5V, 6V or 9V. A set of DC Plug adapter jacks are
also provided. Make sure the jack fits into the portable
player. If not, you may be able to purchase additional
adapters at the store where you purchased this unit.
Connecting the power supply to a portable player:
Step 5 - Determine the voltage and polarity requirement .
Markings near the DC IN jack on your CD player indicate the
voltage and polarity. In Fig. D below, the polarity is center
positive and the voltage is 6V. In Fig. E, the polarity is
center negative and the voltage is 4.5V
Fig. D Fig. E
Center pos. on typical CD player Center neg. on typical CD player
DC IN 4.5 V
DC IN 6 V
Fig. G Fig. H
Center Positive Center Negative
Fuse replacement
The DC power source input is protected by a 1.5A fuse located
inside the cigarette lighter plug. Replace this fuse only with a 1.5A
fuse as shown in the illustration below.
4.5V 6V 9V
Installation
Note: Installation of this CD stand requires drilling four
small holes in your vehicle. You will need a power drill,
a 1/8” drill bit and a Phillips head screwdriver.
Step 6 - Set the voltage switch located on the underside of
the mounting platform to the correct voltage for your
portable player.
Fig. F - Voltage selection switch
Step 7 - Select the DC Plug adapter that fits the DC IN
jack on your portable player.
Step 8 - Insert the DC Plug Adapter onto the DC power
cord. Look closely at the markings on each side of the DC
power cord and DC Plug adapter.
Electronic Specifications
Input Voltage 12V - 13.8VDC
Max. output current 500mA
Selectable voltage 4.5V, 6V & 9V
Fig. A To configure the connection
as “Center Positive”, make
sure the polarity markings
match up same to same
( “+” to “+” and” -” to “ -”) as
illustrated in Figure G
below.
To configure the connection
as “Center Negative” make
sure the polarity markings
are reversed ( “+” to “-” and
“+” to “ -”) as illustrated in
Figure H below.
Warning: Failure to observe polarity may cause damage
to the mounting platform or your CD player.
CDM-1 cord
CDM - 1 cord


