Simon XTi User guide

Simon XTi System Manual
http://alpha.adt.com/help/266[11/14/2018 8:05:18 PM]
Simon XTi - System Manual
« Help Center
System
Overview
Arm & Disarm
the System
Panic Alarms Trouble
Conditions
User Access
Codes
System Testing Other System
Information
System Overview
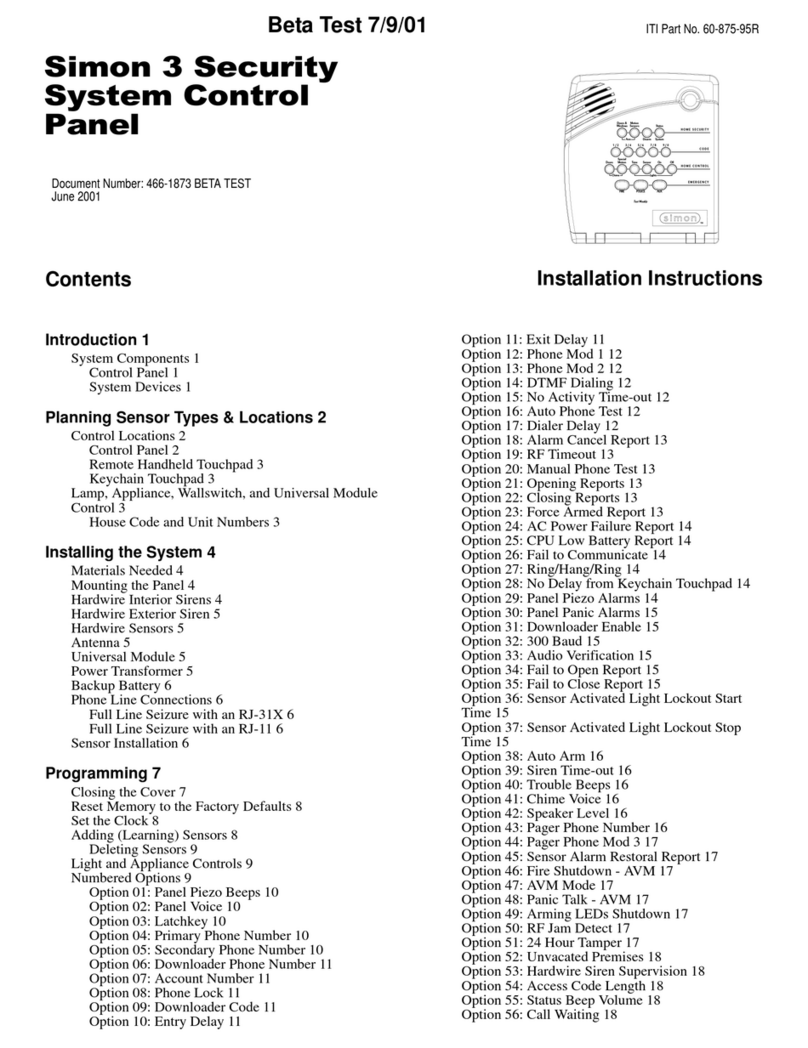
Your security system is made up of a control panel, one or more keypads and various sensors and
detectors. The control panel will be mounted out of the way in a utility closet or in a basement.
All the keypads have an audible indicator and command entry keys. The LED keypads have a group of
zone and system status lights. The LCD keypad has an alphanumeric liquid crystal display (LCD). The
keypad is used to send commands to the system and to display the current system status. The keypad(s)
will be mounted in a convenient location inside the protected premises close to the entry/exit door(s).
Arm & Disarm the System
Arming
Select

Simon XTi System Manual
http://alpha.adt.com/help/266[11/14/2018 8:05:18 PM]
Arming a sensor makes it active and allows the panel to generate an alarm when a door or window is
opened or when an unauthorized person enters a specific area.
Disarming makes the sensor inactive in the system. The current arming level is shown on the screen (see
Table 4 on page 5) and changes in arming level are announced on the speaker.
Arming Errors
If you select an arming option on the Arm screen, and there is an arming problem, an arming error
message screen will appear, indicating what the problem is and how to correct it. For example, you might
see a message that indicates that you need to close the front door.
Correct the problem as indicated or press Bypass. You will see the arming countdown message at the
bottom of the screen. You can press Cancel and enter your code to stop the arming process.
1. Ensure that all doors and windows are closed.
2. Press [Press to Arm].
3. Press [DOORS & WINDOWS ONLY] (STAY).
4. If a code is required, enter your code when the keypad screen appears. The panel speaks Doors
and Windows On and starts an exit delay, and sounds exit beeps in groups of two until the exit
delay expires. To cancel arming press CANCEL ARMING on the countdown screen.
To arm motion sensors (level 3):
1. Press [Press to Arm].
2. Press [MOTION SENSORS ONLY] (AWAY) (see Figure 3 on page 8).
3. If a code is required, enter your [security code] when the keypad screen appears. The panel speaks
Motions On, starts an exit delay, and sounds exit beeps in groups of three until the exit delay
expires.
Note: Depending on your configuration, this option may not appear.
To arm doors, windows, and motion sensors (level 4):
1. Press [Press to Arm].
2. Press [ARM ALL] (AWAY) (see Figure 3 on page 8).
3. If a code is required, enter your code when the keypad screen appears.
4. The panel speaks Doors and Windows On, Motions On, starts an exit delay, and sounds exit beeps
in groups of four until the exit delay expires.
Disarming
To disarm (level 1):

Simon XTi System Manual
http://alpha.adt.com/help/266[11/14/2018 8:05:18 PM]
1. Press [PRESS TO DISARM].
2. Enter your [security code] when the keypad screen appears.
Exit/Entry Delay
Your Simon XTi provides a delay after entering or exiting your home before the system is armed or
disarmed.
Silent Exit
The silent exit feature silences the status beeps that accompany the exit delay. Press [ON] next to Silent
exit (Figure 3 on page 8) before pressing the arming level icon to silence status beeps. The panel will still
beep at the beginning and end of the exit delay.
Note: Enabling silent exit doubles the exit delay time.
No Entry Delay
Use the no entry delay feature when you are staying at home, or when you are away from home and will
carry a wireless keyfob to disarm the system before opening a protected door. Check with your installer
to find out how this option is programmed.
To set up no entry delay:
1. Close all door and windows.
2. Press [Press to Arm].
3. Press the [OFF] next to Entry Delay (see Figure 3 on page 8).
4. Press your desired arming level. The arming countdown begins. The screen displays (clock with a
red strike through) with your arming level and speaks Doors and Windows On, No Entry Delay.
Note: To avoid causing an alarm, you must disarm the system with a wireless keyfob before entering your
home.
Quick Exit
Use the quick exit feature when you want to briefly leave the house while the system is stilled armed (for
instance to get the newspaper). This feature must be enabled by your installer.
To enable Quick Exit:
1. Press [PRESS TO DISARM].
2. Press on the touch screen. This allows a designated exit door to be open for up to 2 minutes
without triggering an alarm.

Simon XTi System Manual
http://alpha.adt.com/help/266[11/14/2018 8:05:18 PM]
Note: The designated door may be opened and closed only once. If you close the designated door behind
you when you exit, you will need to disarm the system upon re-entering. Leave the designated door open
while using the quick exit feature.
Exit Delay Extension
If enabled by your installer, the exit delay extension feature will recognize when you arm the system, leave
your house and then quickly re-enter (for example, if you forget your car keys). If this happens, the system
will restart your exit delay to give you the full exit delay again.
Bypassing Zone
Bypassing a sensor allows you to open the sensor while the system is armed. For example, if your doors
and windows are armed and you want to open your kitchen window, but do not want to disarm the entire
system, you can bypass the kitchen window sensor and then open the kitchen window without causing an
alarm. Bypassed sensors are automatically unbypassed when the arming level is changed to a level where
the sensor is not active.
To bypass, or unbypass, a sensor:
1. Press [SETTINGS ICON].
2. Press [SELECT].
3. Enter your [master code].
4. Next to the sensor name, select [BYPASSED] to bypass the selected sensor, or to not bypass the
selected sensor.
Chimes
Use the chime feature to signal when a protected door is opened while the system is disarmed. The panel
chimes twice when a chime sensor is tripped, if the chime mode is enabled. This feature allows you to be
notified when family members are going in and out of your home. The chime and special chime features
are turned on or off in the System menu
Note: If there are no chime sensors in your system, the chime option will not appear in the System menu.
To enable or disable the chime feature:
1. Enter the Status & Settings menu and scroll to the Chime option.
2. Press [On] or [Off] to modify the setting (a gold icon indicates the option is selected).
3. Press [Close] to exit the Status & Settings menu.
Note: This menu option will not appear if chime sensors are not in your system.

Simon XTi System Manual
http://alpha.adt.com/help/266[11/14/2018 8:05:18 PM]
Special Chime
To enable or disable the special chime feature:
1. Enter the Status & Settings menu and scroll to the Special Chime option.
2. Press [On] or [Off] to modify the setting (a gold icon indicates the option is selected).
3. Press [Close] to exit the Status & Settings menu.
Note: This menu option will not appear if special chime sensors are not in your system.
Panic Alarms
Emergency Icon
In an emergency, touch the Emergency icon. An Emergency screen appears. You will see three icons
(Panic, Police, or Fire). Select the appropriate icon.
Note: If your system is connected to a security monitoring service, the authorities willbe notified. This
option may not be enabled.
If you initiate an emergency alarm by mistake, you can cancel the alarm by touching the red alarm icon
(“Alarms” on page 12) and entering your code within 30 seconds(typical time limit, contact your dealer for
more information on your system configuration).
Sirens Options
The panel has two built-in sound sources, a piezo siren and a speaker. The piezo siren makes alarm
beeps and status beeps. Fire and intrusion alarm beeps are always played at high volume, while the
volume of status beeps (such as trouble or chime beeps, entry and exit delay beeps, or emergency alarm
beeps) is controlled by the Beep Volume in the Status and Settings screen. The speaker emits the panel’s
voice and sounds beeps when a key is pressed. The siren volume is also programmable.
The siren and built-in speaker options consist of the following:
Panel Piezo Beeps
(Status beeps sounded on the siren.) This option determines whether the panel sounds nonalarm beeps.
To program piezo beeps:
1. From the Programming screen, press [SIREN OPTIONS].
2. To turn on panel piezo beeps, press the box. To turn off, press the checked box.
3. Press [CLOSE] repeatedly to exit menus.

Simon XTi System Manual
http://alpha.adt.com/help/266[11/14/2018 8:05:18 PM]
Panel Voice
(Spoken phrases on the speaker and key press sounds from the speaker heard while controlling the
system.) This option determines whether the panel speaks status messages and arming level changes. To
program panel voice:
1. From the Programming screen, press [SIREN OPTIONS].
2. To turn on panel voice, press the box. To turn off, press the checked box.
3. Press [CLOSE] repeatedly to exit menus.
Panel Piezo Alarms
(Loud alarms on the siren). This option determines whether the panel sounds alarm beeps. To program
panel piezo alarm:
1. From the Programming screen, press [SIREN OPTIONS].
2. To turn on panel piezo alarms, press the box. To turn off, press the checked box.
3. Press [CLOSE] repeatedly to exit menus.
Trouble Conditions
Your security system is able to automatically test itself for power failures, low batteries, nonworking
sensors, and communication troubles with the central monitoring station. When your security system
detects a trouble condition, six rapid beeps will sound every minute for four hours until the trouble
condition is corrected.
To silence trouble beeps, press [STATUS] or arm/disarm the system.
For a complete list of Trouble Conditions, please refer to the Simon XT Troubleshooting page
User Access Codes
Access Code Programming
To enter programming mode:
Note: Programming mode can only be entered if the system is disarmed.
1. Enter the Status & Settings menu.
2. Scroll until Programming is listed, press the Enter icon.
3. Enter your [master code], and then press [OK].
Note: You have four seconds between number presses to enter the code or you will be returned to the
home screen.

Simon XTi System Manual
http://alpha.adt.com/help/266[11/14/2018 8:05:18 PM]
At this point, you are in the Programming menu. At this level, the following submenus are accessible:
Access Codes
Security
Phone Numbers
Siren Options
System Tests
Interactive Services (Optional. Ask your dealer for more information.)
Access Codes
There are three types of access codes:
Master Code
The master code is your most powerful code and can be used for all user operations including
programming. The initial value of the master code is 123, 1234, 12345, or 123456, depending on the
installer-programmed access code length.
User Codes 1 to 8
There are eight user codes, which can be used for many user operations, but not programming or
bypassing sensors. Initially, all user codes are blank. A user code can be deleted by pressing Delete while
the code is being changed.
Duress Code
The duress code, when used in place of another user code, generates a silent duress alarm that is
reported to the central monitoring station. Initially, the duress code is blank. The duress code can be
deleted by pressing Delete while the code is being changed.
To add/edit access codes:
1. From the Programming screen, press [ACCESS CODES].
2. To add or edit an access code, press the white field next to the access code.
3. Enter the new/edited code on the numbered keypad and press SAVE.
4. Press [CLOSE] repeatedly to exit menus.
Security
The Security menu contains the Downloader Enable option. This option determines whether your dealer
can access the system remotely.
To program the download enable option:

Simon XTi System Manual
http://alpha.adt.com/help/266[11/14/2018 8:05:18 PM]
1. From the Programming screen, press [SECURITY].
2. Press the Security icon.
3. To turn on an option, press the box. To turn off an option, press the checked box.
4. Press [CLOSE] repeatedly to exit menus.
System Testing
Sensor Test
You should test sensors one at a time to make sure they are sending strong signals to the panel. You
should test the sensors at least once a week.
To perform the sensor test:
1. Enter the Status & Settings menu.
2. Scroll until System Tests is listed, Press [Enter].
3. Enter your [master code] and press [OK].
4. Press [Sensor Test].
5. All sensors learned into your system will be listed.
6. Test any sensor you want by tripping the sensor (see Table 14 below for details on how to trip each
device).
7. The display will update with the total number of packets received from each individual sensor.
Communication Test
The communication test is used to check proper communication.
Note: If Comm Test is not finished, it will continue to run even if you exit program mode.
To perform a comm test:
1. Enter the Status & Settings menu.
2. Scroll until System Tests is listed, Press [Enter].
3. Enter your [master code] and press [OK].
4. Press [Comm Tes]t.
The panel displays if the comm test was successful or not.
Central Station Communication
After performing sensor tests, check that the system is reporting alarms successfully to the central
station.
To test communication with the central station:

Simon XTi System Manual
http://alpha.adt.com/help/266[11/14/2018 8:05:18 PM]
1. Call the central station and tell the operator that you will be testing the system.
2. Arm the system.
3. Test an emergency panic icon and trip at least one sensor of each type (fire, intrusion, etc.) to verify
that the appropriate alarms are working correctly. There could be a 30 second delay on intrusion
devices.
4. When you finish testing the system, call the central station to verify that the alarms were received.
Other System Information
Time and Date
If the panel loses both AC and battery power, upon power restoral the system time will reset to midnight
and the date will reset to 1 - 1 - 2000, indicating it has not been set correctly.
Time format is: hour/minute/a.m. or p.m.
Date format is: month/day/year:
To set the time:
1. From the Status & Settings screen, select [Set Date/Time].
2. Enter [master code].
3. From the Set Date/Time screen press the first box to set hour and press [SAVE].
4. Press the second box to set minutes and press [SAVE].
5. Press the a.m/p.m. box to toggle a.m/p.m. setting.
To set the date:
1. From the Set Date/Time screen press the first box in the second row to set month and press [SAVE].
2. Press the second box to set day and press [SAVE].
3. Press the third box and enter the year and press [SAVE].
Volume
Voice Volume
To set the voice volume:
1. From the Status & Settings screen, next to Voice Volume, press the left arrow to lower the voice
volume and the right arrow to raise the voice volume.
2. The bars between the arrows register the volume level. No bars is off. Four bars is loudest.
Beep Volume

Simon XTi System Manual
http://alpha.adt.com/help/266[11/14/2018 8:05:18 PM]
Return to Top
To set the beep volume:
1. From the Status & Settings screen, next to Beep Volume, press the left arrow to lower the beep
volume and the right arrow to raise the beep volume.
2. The bars between the arrows register the volume level. One bar is softest. Four bars is loudest.
Brightness
To set the panel's brightness:
1. From the Status & Settings screen, next to Brightness, press the left arrow to make the screen less
bright and the right arrow to make the screen more bright.
2. The bars between the arrows register the brightness level. One bar is least bright. Four bars is
brightest. volume level. One bar is softest. Four bars is loudest.
How can we help?
Search
Other manuals for XTi
1
Table of contents
Other Simon Control Panel manuals
Popular Control Panel manuals by other brands

Somati system
Somati system SLIDETRONIC II quick start guide
Mastervolt
Mastervolt EasyView 5 manual

Flexit
Flexit SP405 user guide

Balboa Water Group
Balboa Water Group TP500 user guide

INIM Electronics
INIM Electronics Previdia Compact Manual for system configuration, commissioning and maintenance
Lumel
Lumel MT series Service manual
