SimworX PRO Series User guide
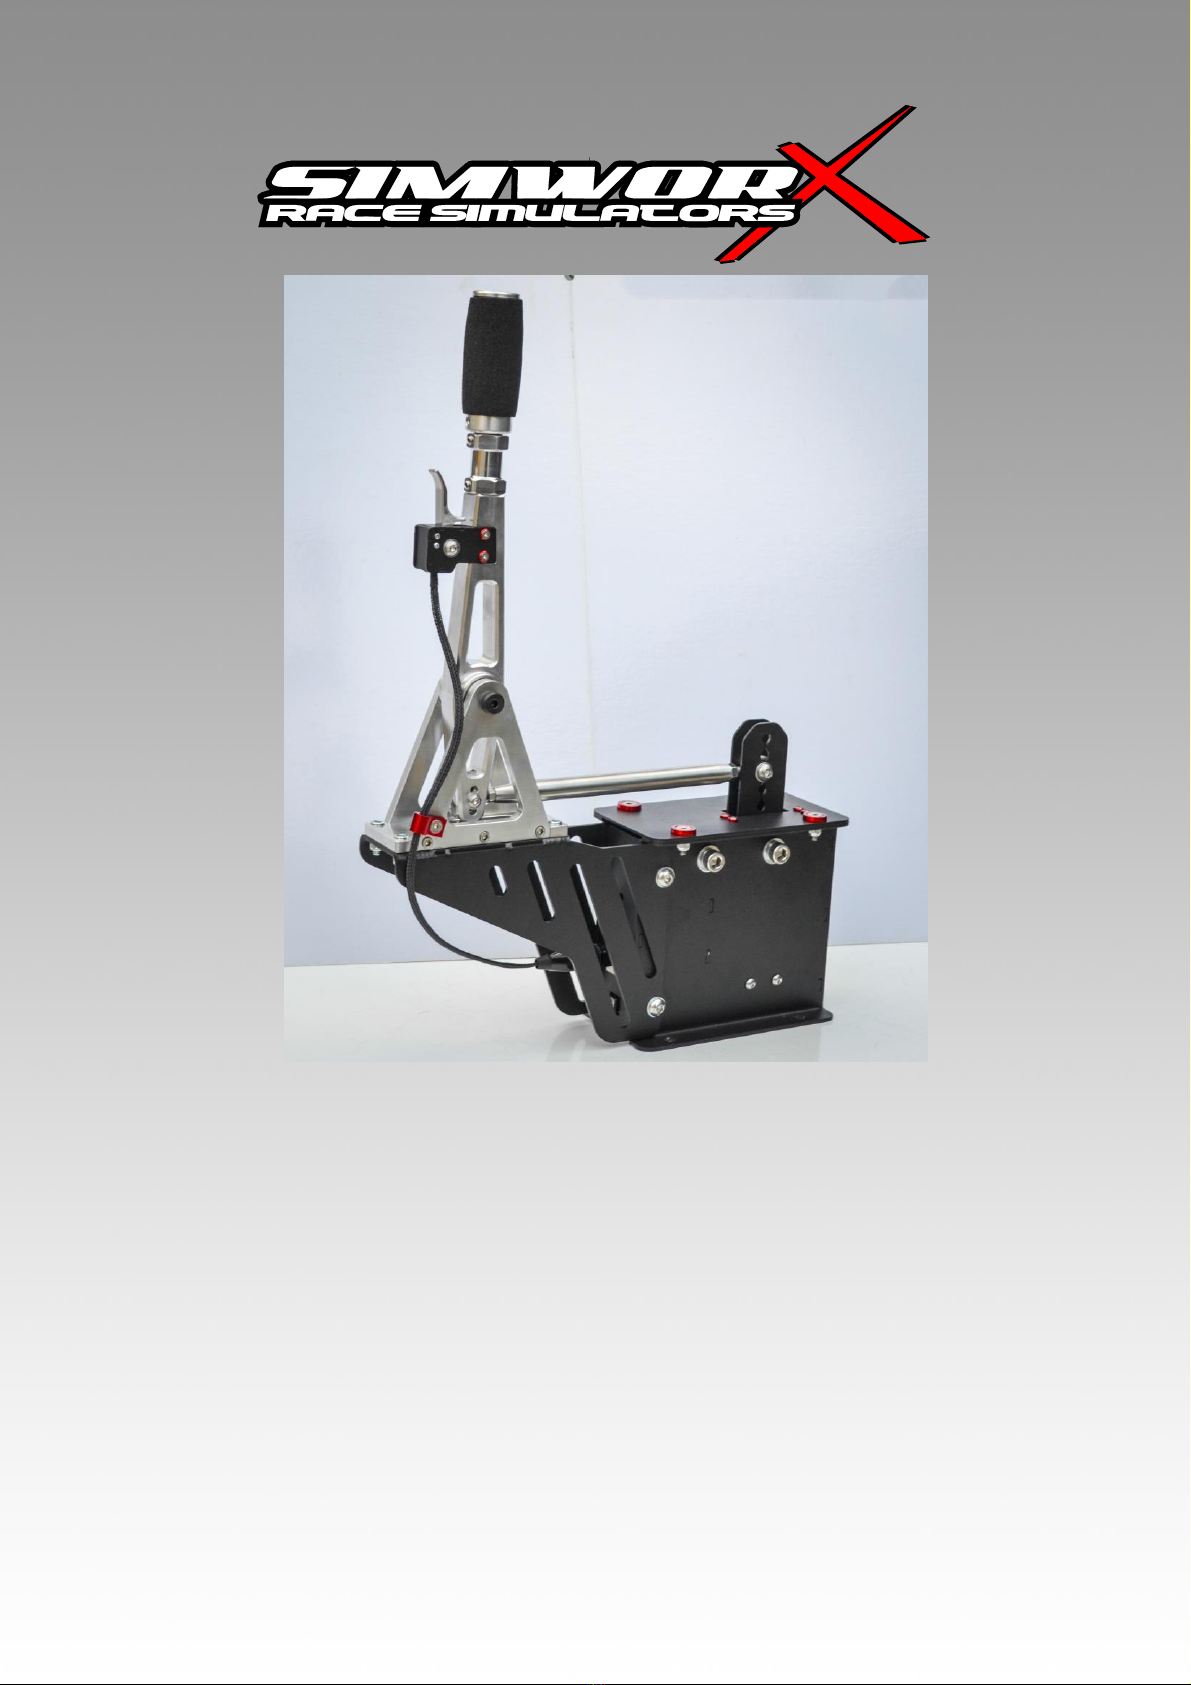
PRO Series
Supercar Sequential Shifter
Setup Manual
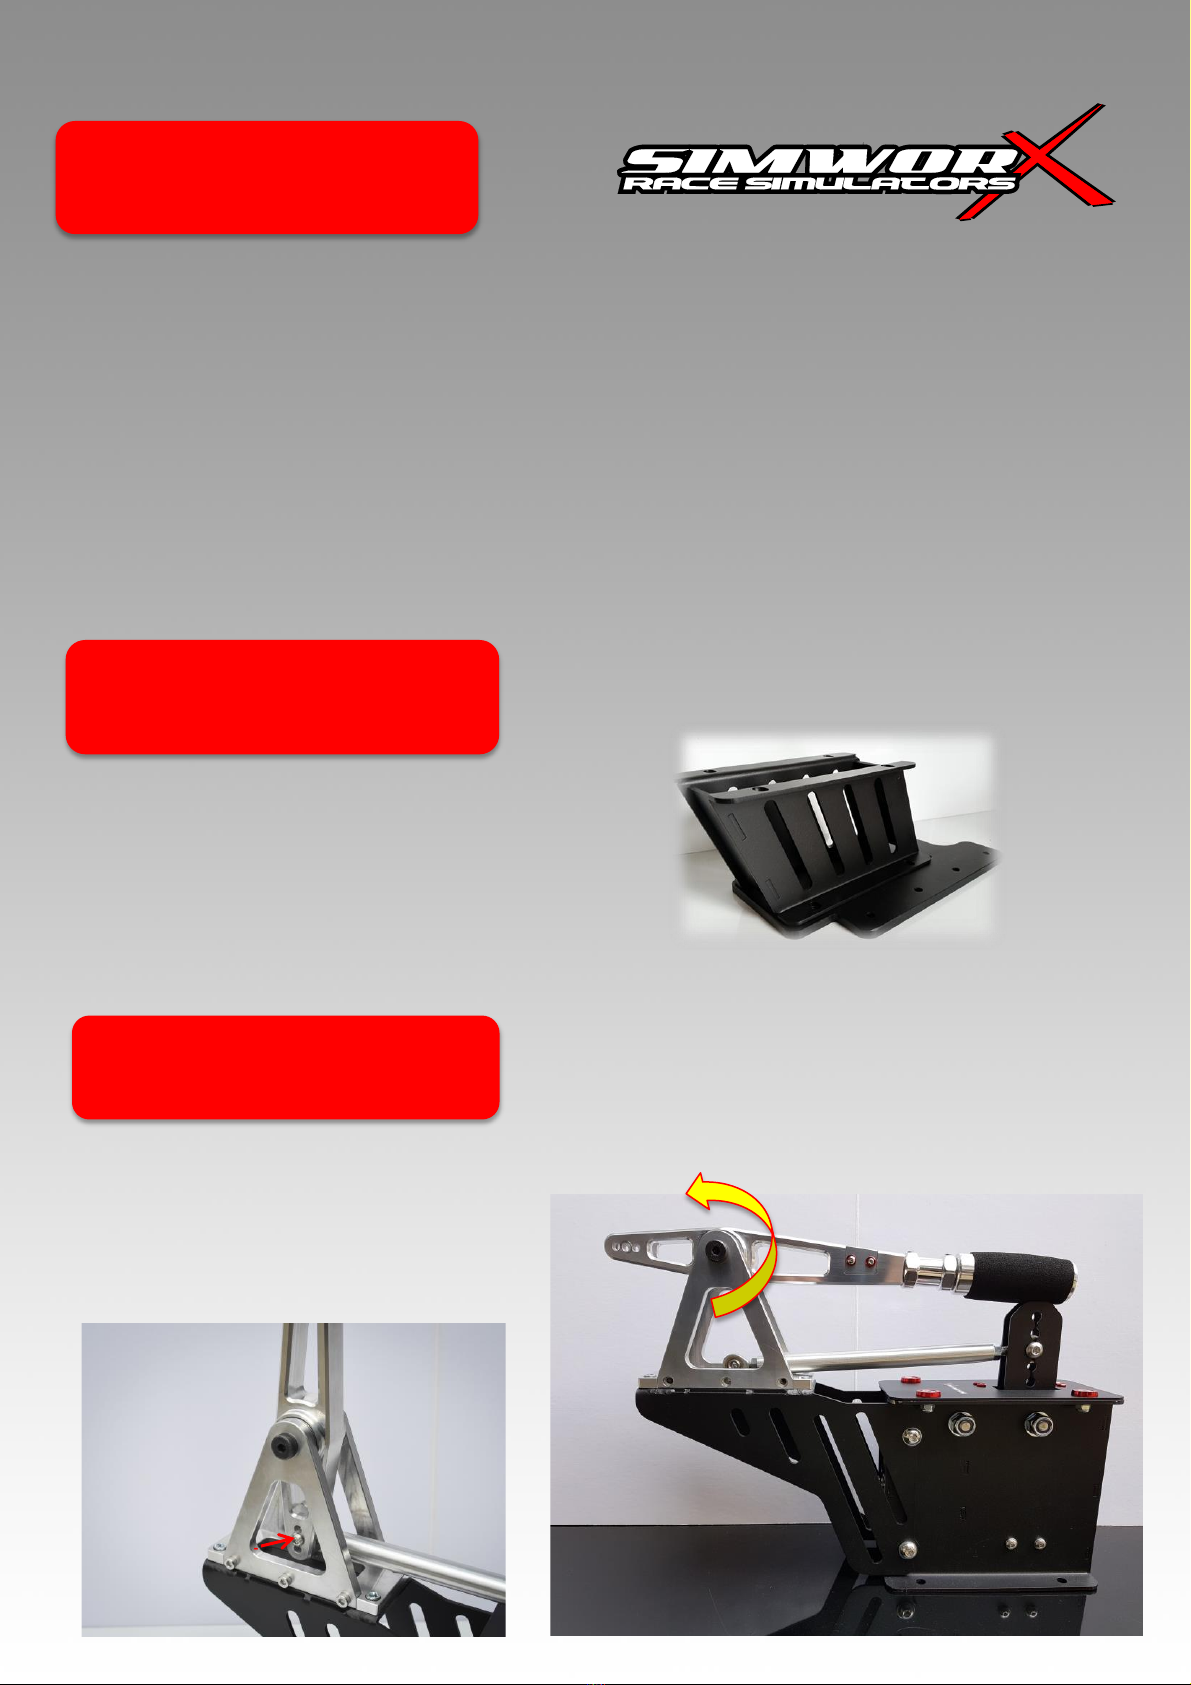
Rotate to Vertical and insert push rod in to slot
Thank you for purchasing our Pro Series Supercar Sequential Shifter. This product is engineered to the
highest engineering standards as found in contemporary motorsport. We are sure you will enjoy your
purchase.
Our Supercar Shifter features CNC machined polished Aluminium Billet components and a separate
gearbox connected via a push rod, as per the real thing. The gear box can also be remotely mounted using a
longer push rod. The throw and tension is adjustable.
The optional reverse lever if fitted can be assigned within the software titles that support it.
This outstanding shifter is Plug and play for PC - iRacing, AMS, Assetto Corsa, R Factor2, rF1 and Project
Cars. Each product is pre-tested prior to shipping to ensure your investment is ready to go once you receive it.
Please visit our shop www.simworx.com.au and experience the other Simworx Pro Series Controls that
we manufacture.
The following Instructions will guide you through the installation process of the Supercar Sequential Shifter.
Your shipment will include the following items:-
1 x Pro Series Supercar Sequential Shifter
1 x 2 Metre USB Cable
1 x Stainless Steel Bolt Set
1 x High Riser Mounting Kit (Optional)
Consisting of :-
10mm alloy offset Mounting Plate
2 x alloy Riser Mounting Brackets
INTRODUCTION
PACKAGE CONTENTS
Risers, if ordered, can be mounted slanted
forward or rearward
The bolting pattern dimensions can be found
on Page 3
ASSEMBLY
After unpacking, remove protective foam. With
supplied tools remove bolt & nut from bottom of
the lever. Rotate handle to a vertical position and
at the same time slide the push rod rod end in to
the slot. Line up the push rod ball joint with the
middle hole and insert the bolt through the
handle, place washer and nut and tighten.
Push Rod
Lower bolt - Push Rod

If you own a Simworx Chassis, the mounting kit is required for mounting the shifter in it’s recommended location. All
required holes in the alloy mounting plate are pre drilled to suit the SX02 Chassis, whether Left or Right Hand Side. The
alloy plate is offset to allow seat clearance when fitted up close to the seat. For mounting to a non Simworx simulator
chassis we have supplied drilling dimensions below.
For mounting to an SX02, all you are required to do is to take the four supplied 6mm button head bolts, align the
shifter mounting bracket & tighten them till firm with an Allen key. After that is firmly secured, take the shifter and mount
it to the risers with the supplied 8mm nuts, bolts & washers. The Risers can be mounted trending forward or back,
depending on preference.
For all other chassis, bolt the risers to the offset base in your preferred direction, take the shifter and mount
loosely on the risers, mark your preferred location. Drill a small pilot hole at each mark. Drill out to 8.5mm and bolt the
mounting base securely. Tighten the shifter mounting bolts
For direct shifter mounting without the offset base and risers, drill the holes out to 8.5mm using the base template
below and attach with the provided nuts & bolts.
FITTING
Drilling Pattern for
Shifter Base
Alloy Mounting
Plate
6mm holes
8.5 mm holes
75.0
75.0
Optional Mounting plate with risers

CONNECTION
Plug the supplied USB cable to the rear socket at the base of the Shifter and then in to a spare USB port on your PC. The
Shifter should be automatically detected by Windows and self install. This can be confirmed by going in to “Devices and
Printers” in the windows control panel and check if “SIMWORX Pro Series Controls” is listed there. If it does not show
up try another USB port on your computer.
ASSIGNING
ADJUSTMENTS
Now that your shifter assembly is mounted there are a few adjustments that can be performed with your Shifter’s stroke
and feel. The push rod has adjustments at either end that will affect the length of the Shifter Handle’s stroke and weight.
Please see the next page for details on those adjustments.
Please note, the Shifter gearbox tensions are pre–set and no attempt should be made to interfere with that adjustment.
The tension is extremely high within the box so any attempt to interfere with it can result in damage to the unit or in an
extreme case, an injury to the person. Warranty will be voided if the unit is interfered with. All necessary adjustemnts
can be done externally using the variable positioning of the push rod.
Once Windows has detected “Simworx Pro Series Controls” it is a simple matter to assign the up and down shifts within
the game.
Simply open up the desired game and navigate to the “Settings / Controls” section, locate Shift Up / Shift Down
assignments. Click the assignment and follow the directions given to edit the mapping. If prompted, you want to
overwrite old settings.
Each game is different and uses a different method, generally all you are required to do, is select the control, for example
shift up, and then engage the shift up direction on the shifter to assign it. The same applies for the shift down assignment.
If prompted click on Save or OK.

Simworx Simulators PTY LTD
2/29 Hightech Place
Lilydale, Victoria , Australia 3140
PH: +61 3 9739 5111
Sales: sales@simworx.com.au
Web: www.simworx.com.au
ADJUSTMENTS.cont.
The Lever Stroke length primary adjustment is via the push rod on the gear box end. Undo the 8mm Bolt and slide the rod end
up or down inside the actuator uprights, depending on whether it is more or less stroke you want. Re-insert the bolt and test
your new setting.
The Simworx default setting are the middle holes at both ends. Shifter feel is very subjective so you may find it satisfactory
enough to leave it on our default setting.
There is a secondary micro tension adjustment via the three holes at the base of the lever. Undo the bolt and move the rod
end up or down depending if you want more tension or less. The lower hole is the maximum tension and the top hole is the
minimum tension. This adjustment in conjunction with the adjustments at the gear box end should allow you to find a
suitable setting to suit your personal tastes.
Longer
Shorter
Primary Stroke Adjustment
Secondary
tension
Adjustment
Less
More
Table of contents


