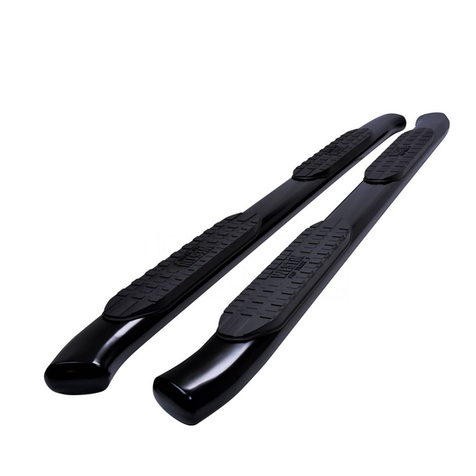
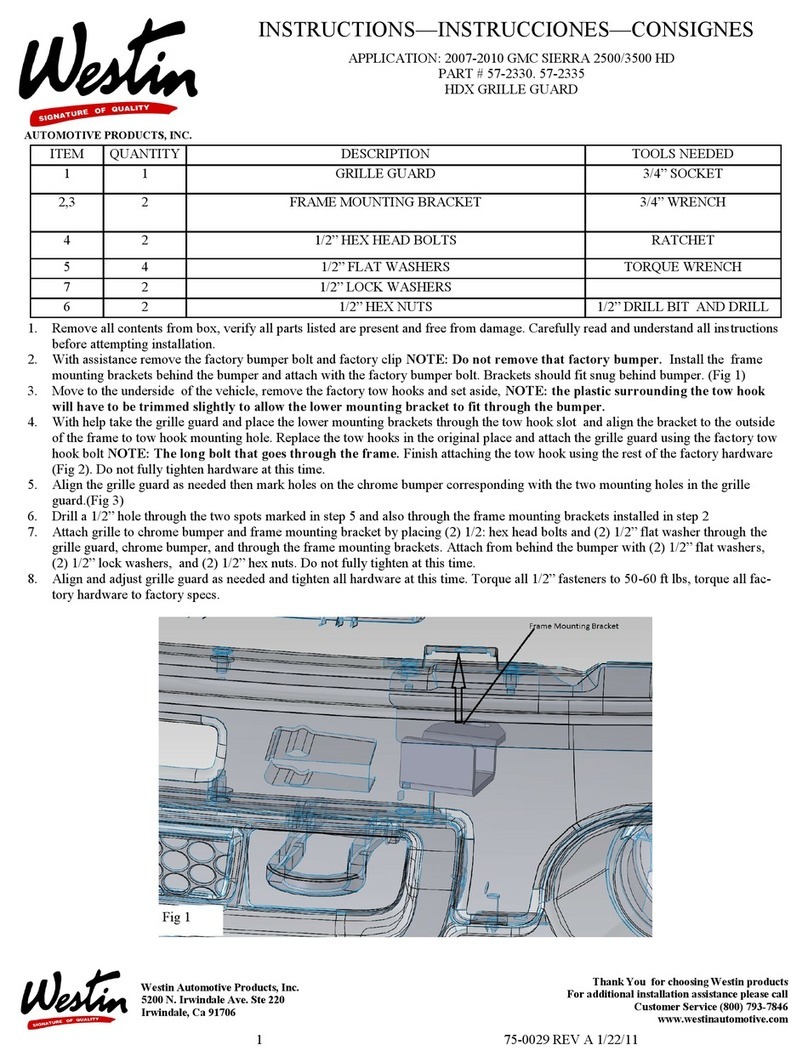
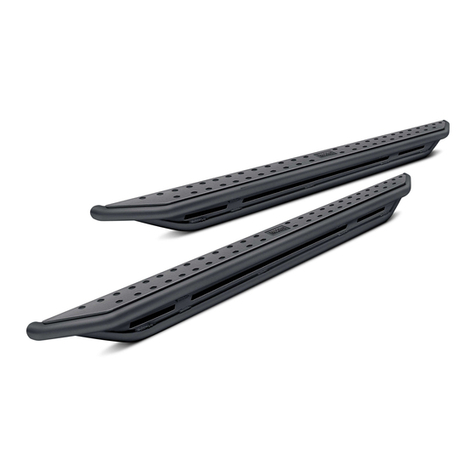
Westin 32-2400 User manual
Other Westin Automobile Accessories manuals

Westin
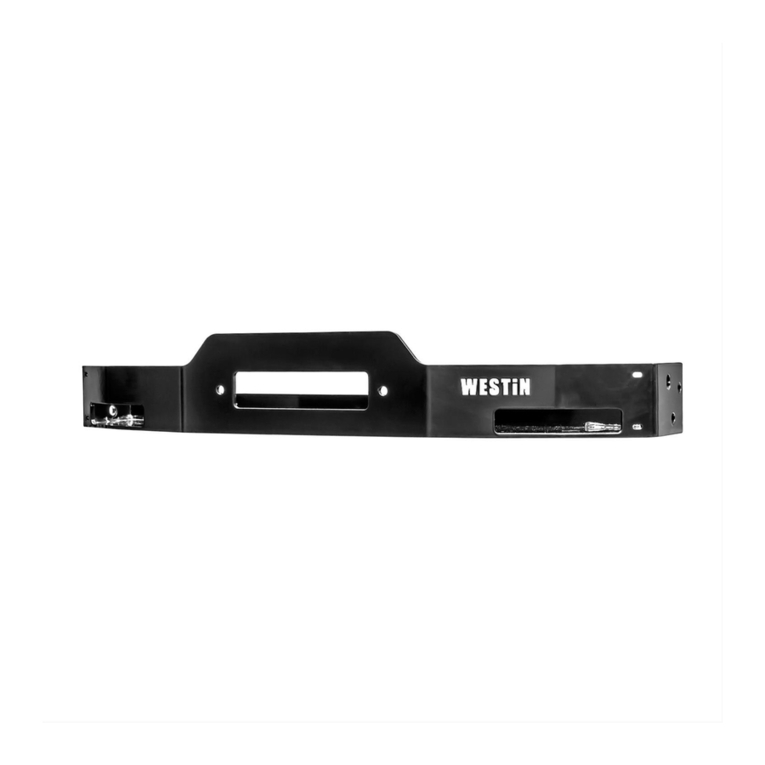
Westin Sportsman X Grille Guard User manual
Westin
Westin 46-23785 User manual
Westin
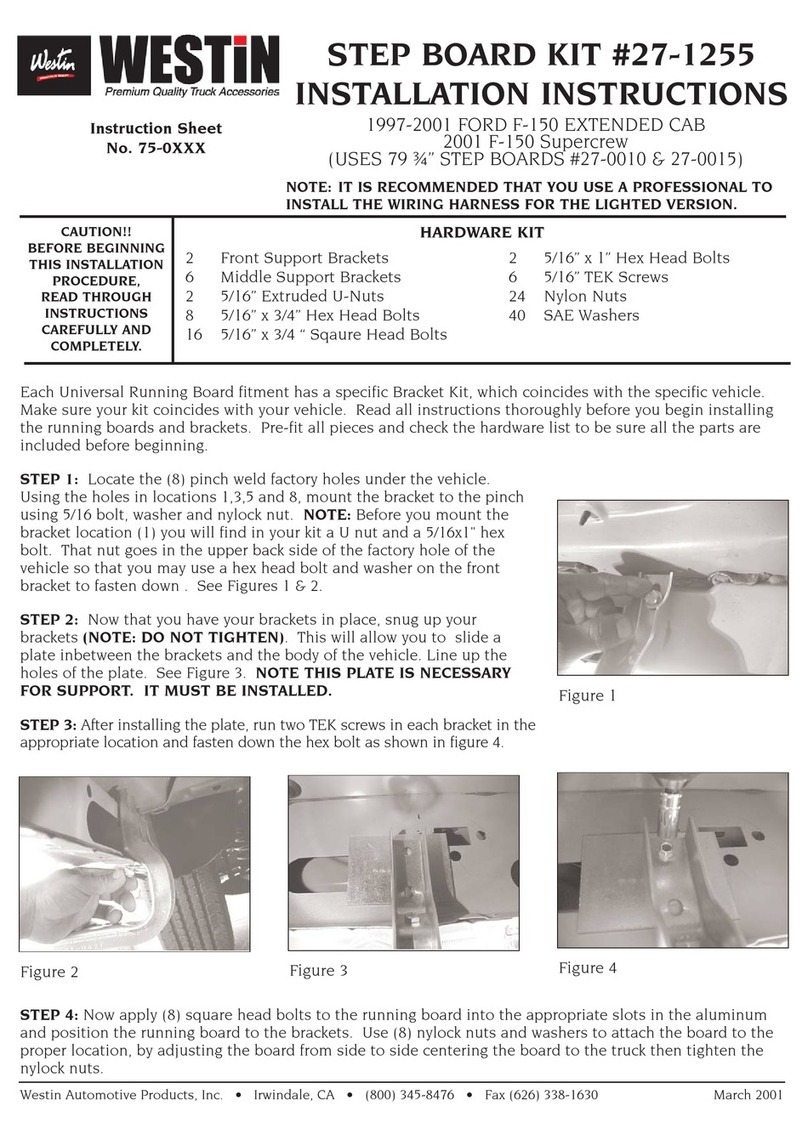
Westin 27-1255 User manual
Westin
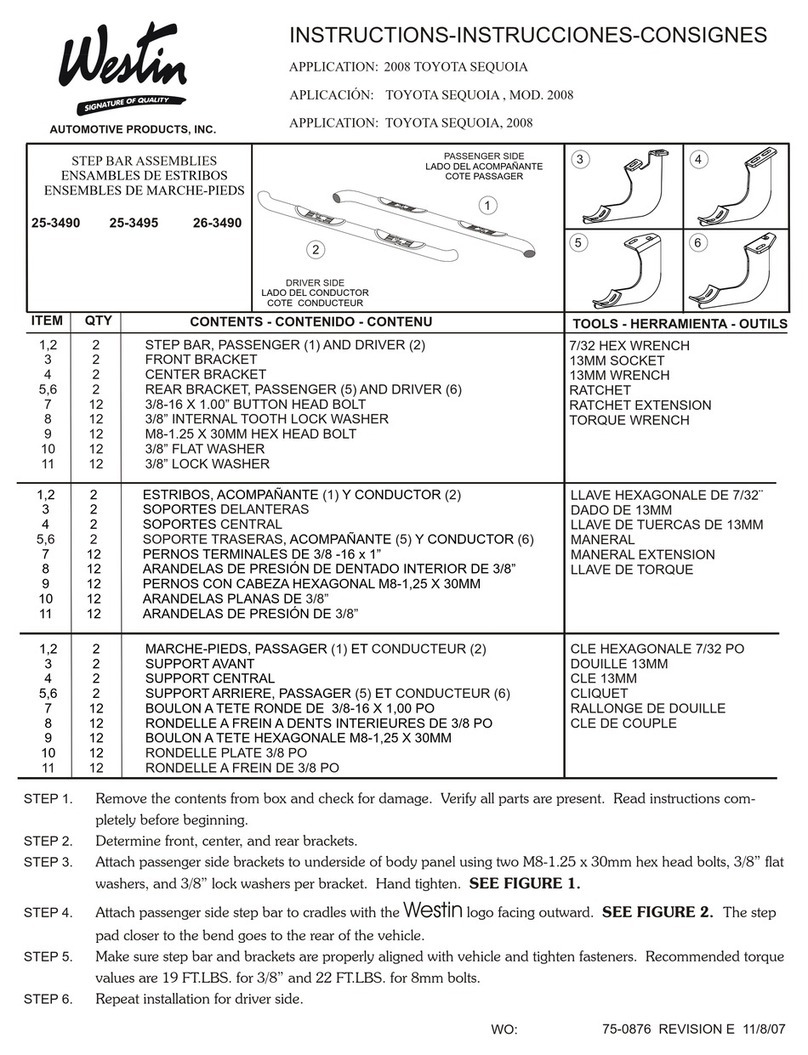
Westin 25-3490 User manual

Westin
Westin HLR User manual
Westin
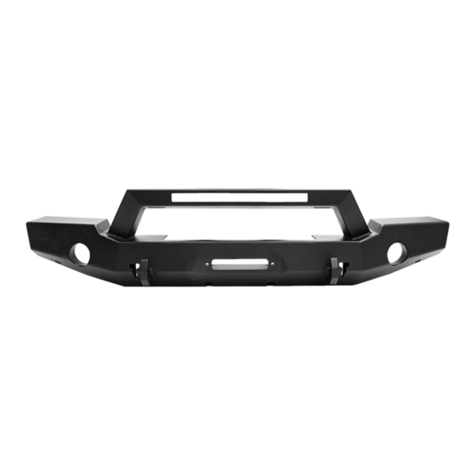
Westin WJ2 User manual

Westin
Westin 46-23995 User manual

Westin
Westin SPORTSMAN 40-1245 User manual

Westin
Westin 58-54085 User manual
Westin
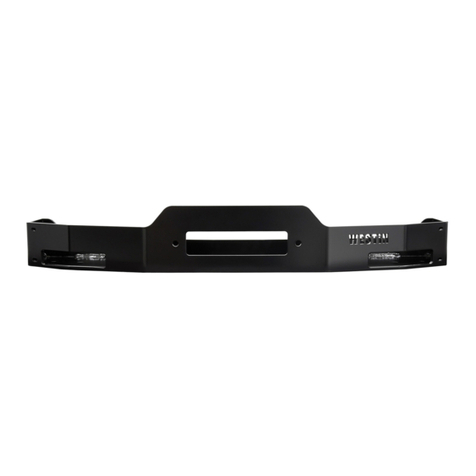
Westin 46-24025 User manual
Westin
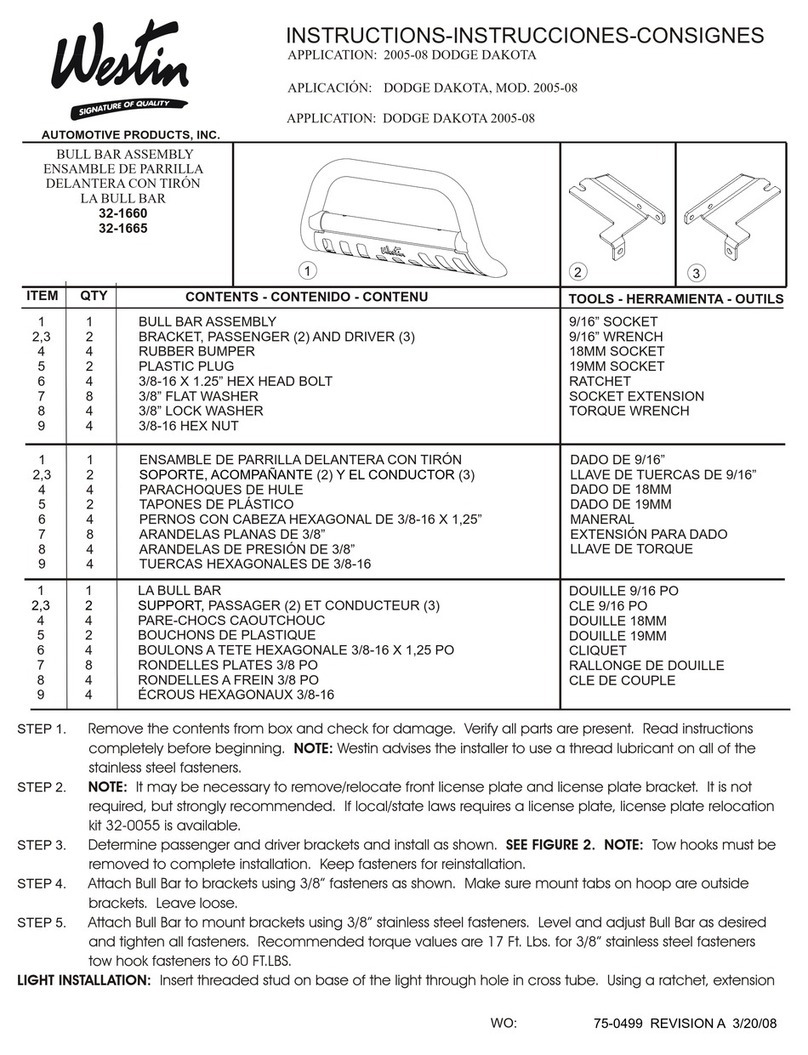
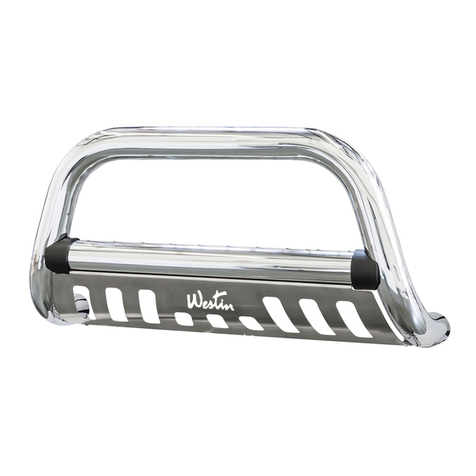
Westin 32-1660 User manual
Westin
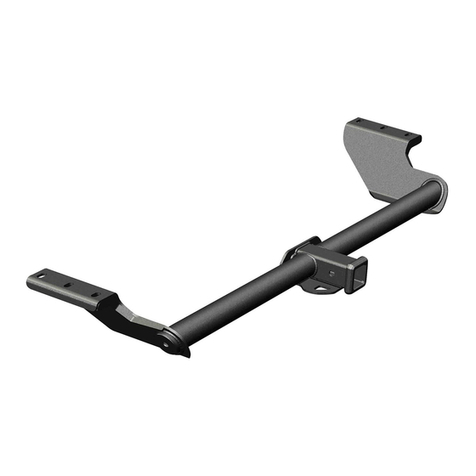
Westin 32-0220 User manual
Westin
Westin 65-1305 User manual
Westin
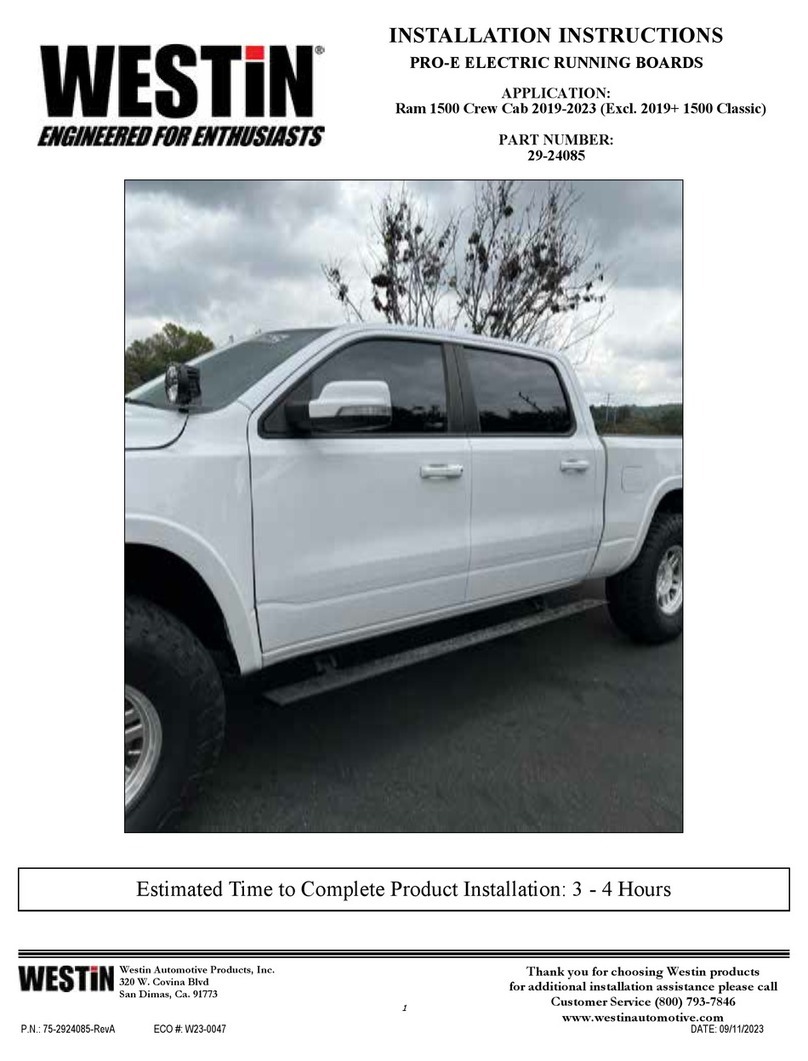
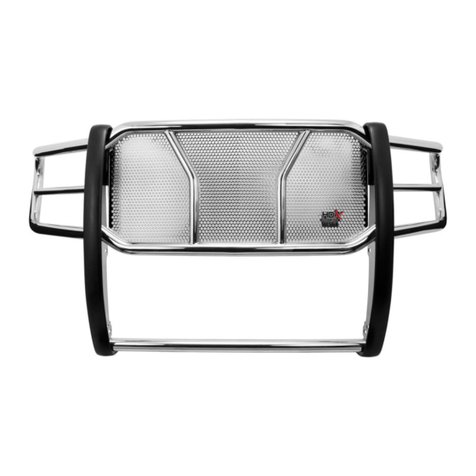
Westin 29-24085 User manual
Westin
Westin 57-3950 User manual

Westin
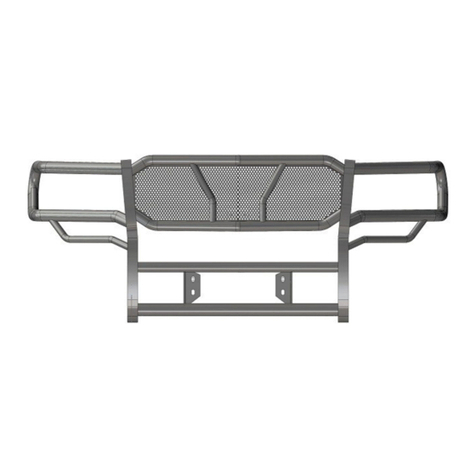
Westin SPORTSMAN 43-0140 User manual
Westin
Westin 57-2500 User manual

Westin
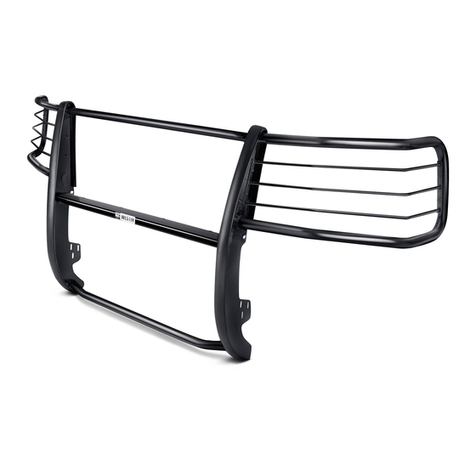
Westin 33-2030 User manual
Westin
Westin 40-1245 User manual
Westin
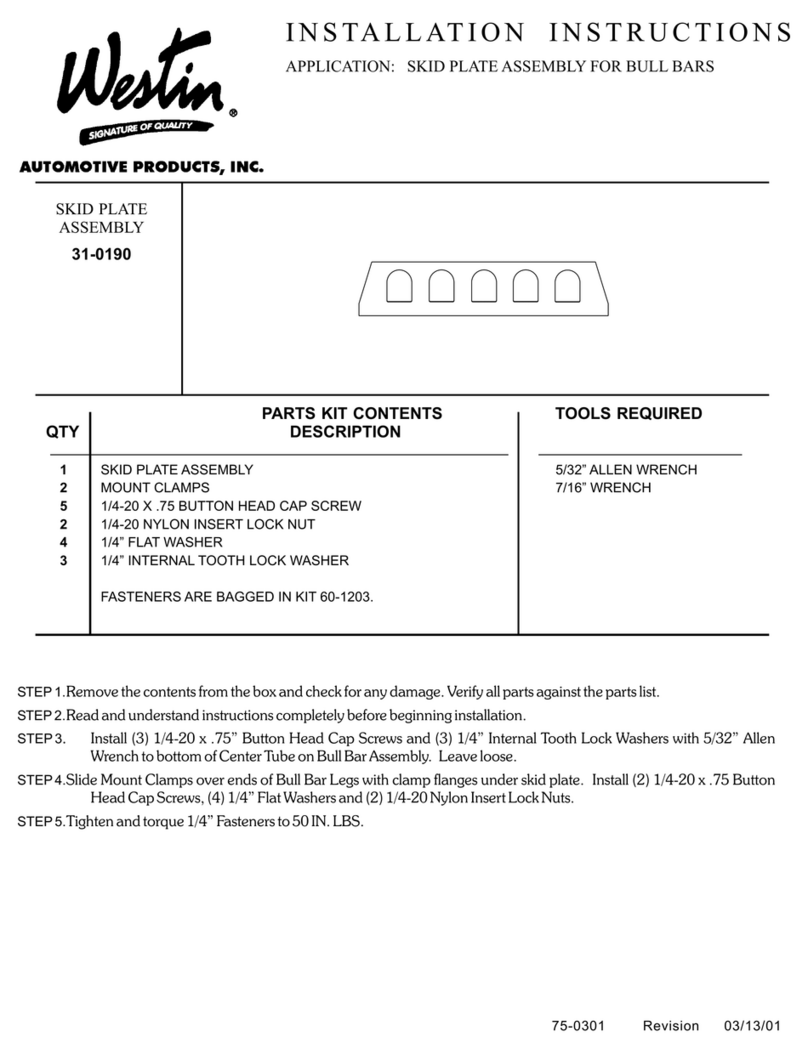
Westin 31-0190 User manual
Popular Automobile Accessories manuals by other brands

ULTIMATE SPEED
ULTIMATE SPEED 279746 Assembly and Safety Advice

SSV Works
SSV Works DF-F65 manual

ULTIMATE SPEED
ULTIMATE SPEED CARBON Assembly and Safety Advice

Witter
Witter F174 Fitting instructions

WeatherTech
WeatherTech No-Drill installation instructions

TAUBENREUTHER
TAUBENREUTHER 1-336050 Installation instruction

