Sitex SAS-300 User manual


TABLE OF CONTENTS
Important Notice
SAS-300 System 6
Welcome
Features of the SAS-300
Introduction
Standard Equipment Configuration List
Getting Started
Specification
Keypad
How to use [Power/Brightness]
SAS-300(Front/Rear)
SPEC of the connectors
Introduction 14
How AIS Works
AIS Classes
Class A ship borne reporting intervals
NMEA 0183
Messages 16
VDM Message Format
VDO Message Format
ACA Message Format
ACS Message Format
ALR Message Format
ACK Message Format
Installation
19
GPS Antenna

GPS receiver
VHF antenna
Display Unit Location
Display Unit Installation
Power Connection
Reference
23
Care and Cleaning
NMEA
Page
25
Select Page
Customize
26
Customize of screen
Customize of data bar
Navigation data edit
Display
29
Chartplotter
Highway
Steering
GPS Information
AIS System 33
1. AIS system definitions
2. Quick info onAIS target
3.AIS 타겟의항적을 그리는 방법

AIS
36
AIS MENU
1. AIS On/Off
2. List of Vessels
3. Display radius
4. Display vessels by Color
5. Display vessels by Type
6. Filter AIS types
7. Alarm
8. Set up AIS time outs etc
9. Labels on vessels
10. Cursor Box info
11. Messages List
12. Program transponder
13. Fishning net
14. Popup Window
Map Orientation
41
1. True Motion
2. North Up/South Up/East Up/West Up
3. Course Up
4. Head Up
C-MAP
42
1. Intormation
2. Find
Menu 43
1. Userdata
2. Vessel offset
3. Track
4. Track color
5. WPT symbol
6. WPT color
7. Navigation
8. Calendar

9. Page
10. Active
11. Advance
Advanced Menu 48
1. Map setting
2. Vessel
3. Alarm
Gneral 53
1. GPS
2. Setup
3. Maintenance
4. Others

Table of contents
1 Notices 65
1.1 Safety warnings
1.2 General notices
2 About your AIS class B transceiver 68
2.1 About AIS
2.2 Static and dynamic vessel data
2.3 Important information for US customers
2.4 What's in the box?
3 Installation 73
3.1 Preparing for Installation
3.2 Installation procedures
4 Configuring your AIS transceiver 86
4.1 Switching on your AIS transceiver for the first time
4.2 Configuring your AIS transceiver
4.3 Introduction to proAIS2
4.4 Installing proAIS2
4.5 Configuration using proAIS2
5 Operation 88
5.1 Using the AIS transceiver
5.2 Switch functions
5.3 Using proAIS2 with your AIS transceiver
5.4 Indicator functions
6 Troubleshooting 91
7 Specifications 92

Table of figures
Figure 1 Items included with the product 69
Figure 2 AIS transceiver overview 71
Figure 3 Electrical connections to the AIS transceiver 72
Figure 4 Typical installation configuration 73
Figure 5 AIS transceiver dimensions 76
Figure 6 AIS transceiver mounting 77
Figure 7 GPS antenna mounting 78
Figure 8 Position of the GPS antenna connector 79
Figure 9 Position of the VHF antenna connector 80
Figure 10 Connecting an external switch 82
Figure 11 Connecting to the NMEA0183 data port 83
Figure 12 Connecting the power supply 85
Figure 13 Indicator functions 86
Figure 14 Indicator location on the AIS transceiver unit 89
- 1 -
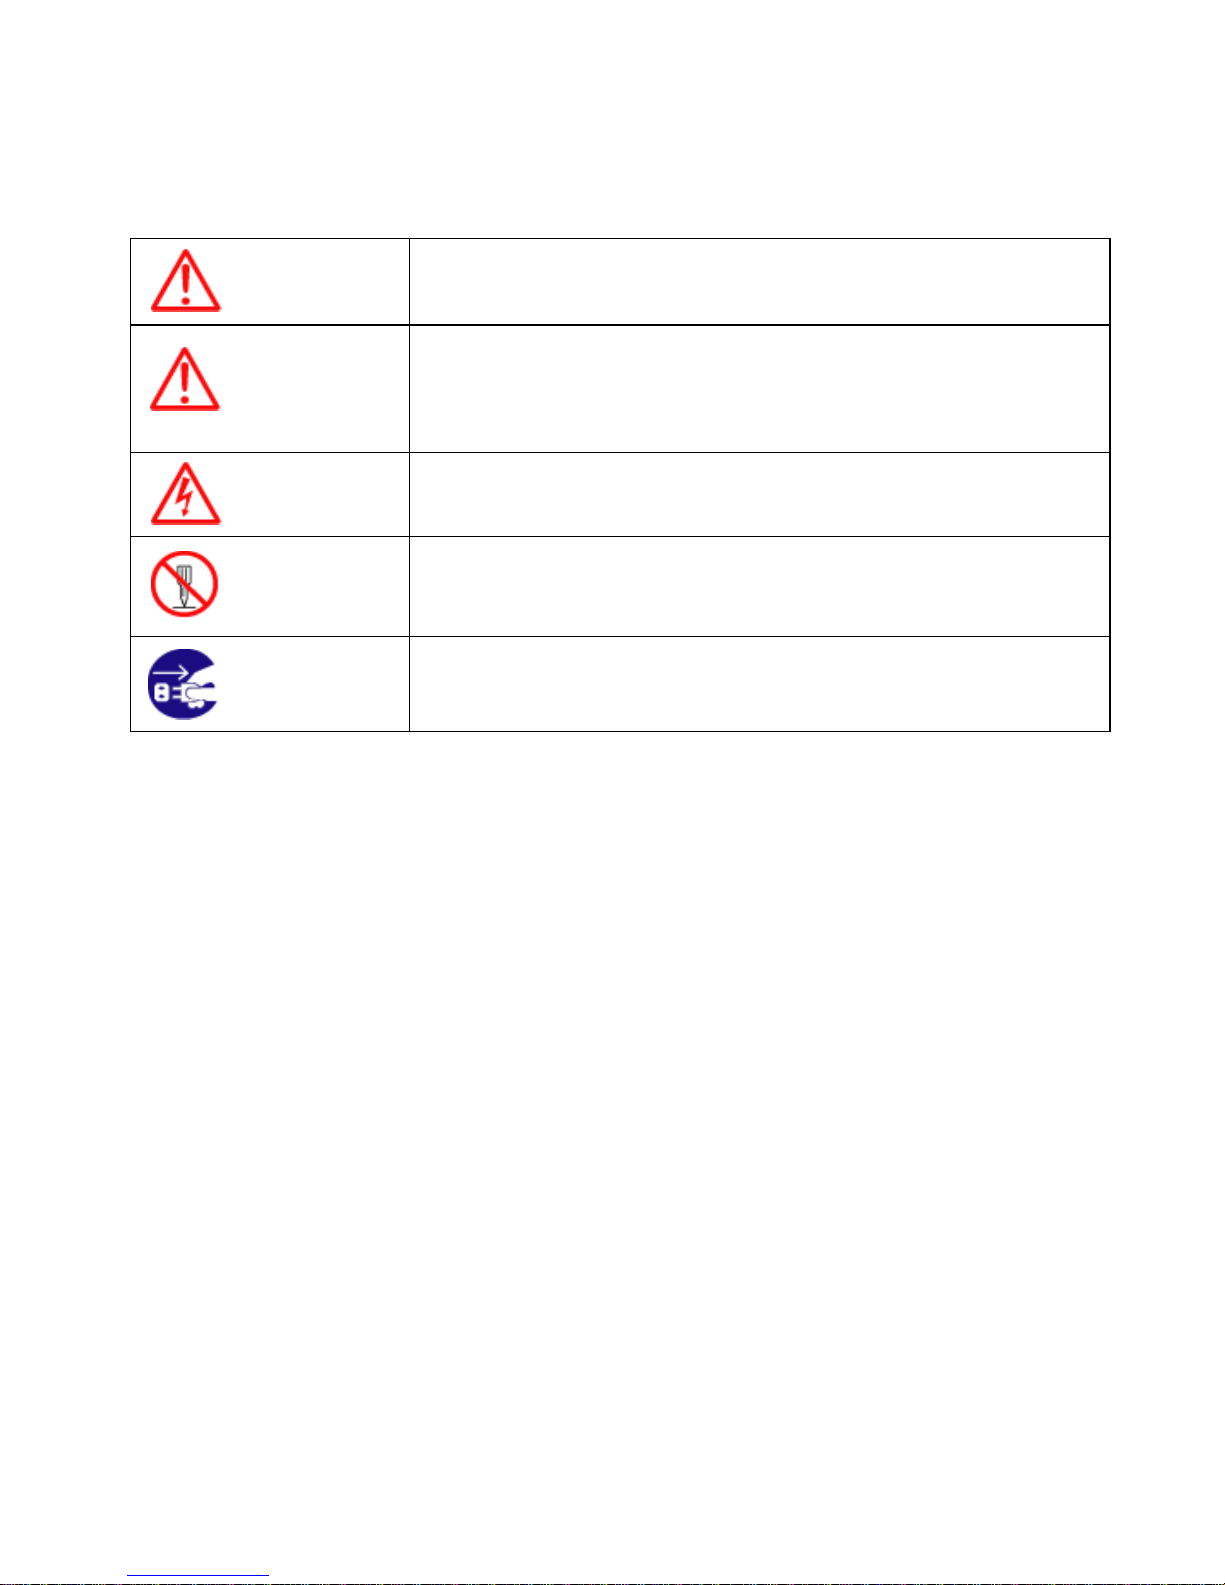
Pictorials
This manual uses the following symbols for easy understanding
safety instructions. Always follow these instructions carefully.
WARNING Always follow this safety instruction to prevent death or
injury.
CAUTION
Follow this safety instruction to avoid possible injury or
damage to your property.
Symbol “△” is a CAUTION or WARNING label indicating
the safety instruction.
WARNING This symbol is an Electrical Shock WARNING label.
Symbol is an instruction that you must not violate.
(This symbol instructs NOT to disassemble the system
components)
Symbol is an operation instruction that you must follow.
(This symbol shows the main power OFF instruction.)
- 2 -
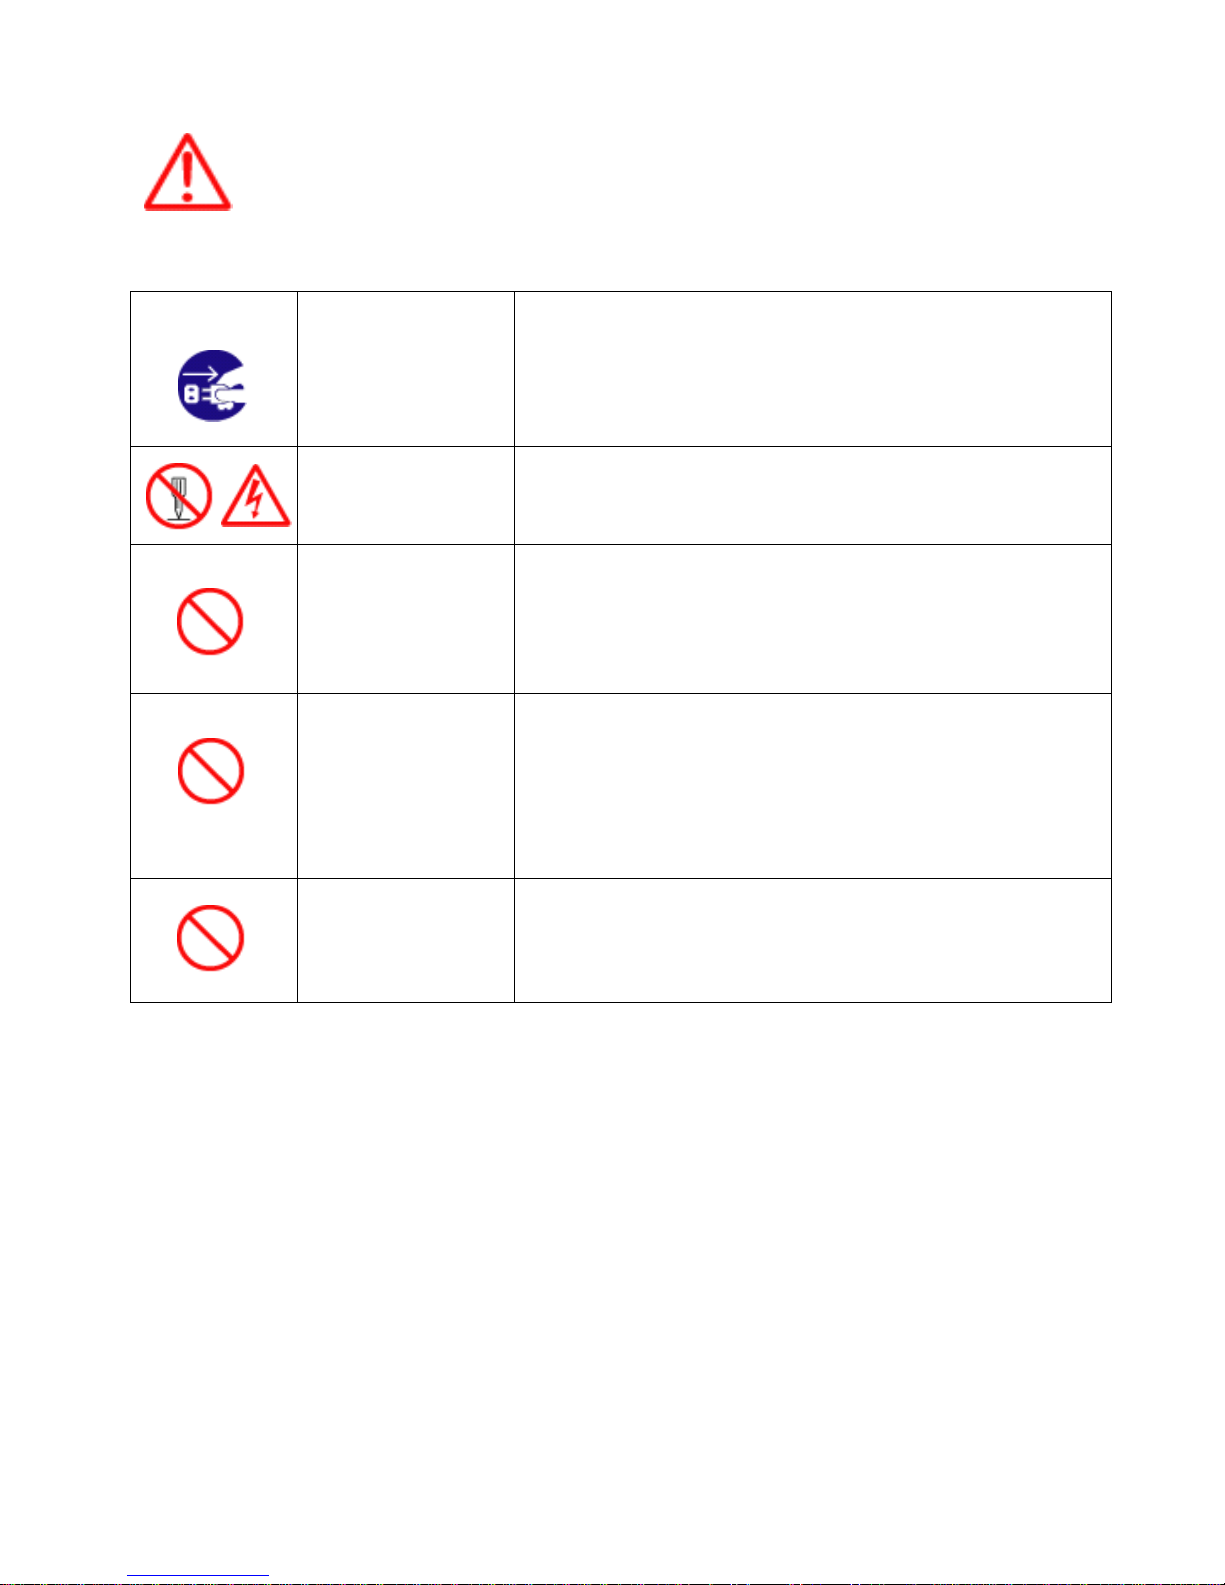
WARNING <For System Operators>
Always follow this instruction to prevent death or personal
injury.
Turn power
off
During
abnormality.
If smoke or a small of burning occurs, a fire or
an electrical short circuit may result. Turn the
power switch OFF and shut down the power
supply immediately. Never try to repair the
system yourself. Call for service.
Do not open
Cabinet.
High voltage exists in the instrument. Contact
with voltage may cause possible injury or death.
Do not
touch back
side of the
equipment.
Harmful line voltage is present on back side of
the equipment. Never try to touch back side
while power is turned on.
Avoid
excessive
shock
to display
unit.
The LCD display module contains a liquid. Do
not apply any mechanical shock to the display.
If the display broken, liquid may leak and injure
your skin and eyes.
Do not use
with poor
ventilation.
If you cover this unit or use in an enclosed
place, it may malfunction or become damaged
as a result of overheating. Use only where there
is sufficient ventilation.

- 3 -
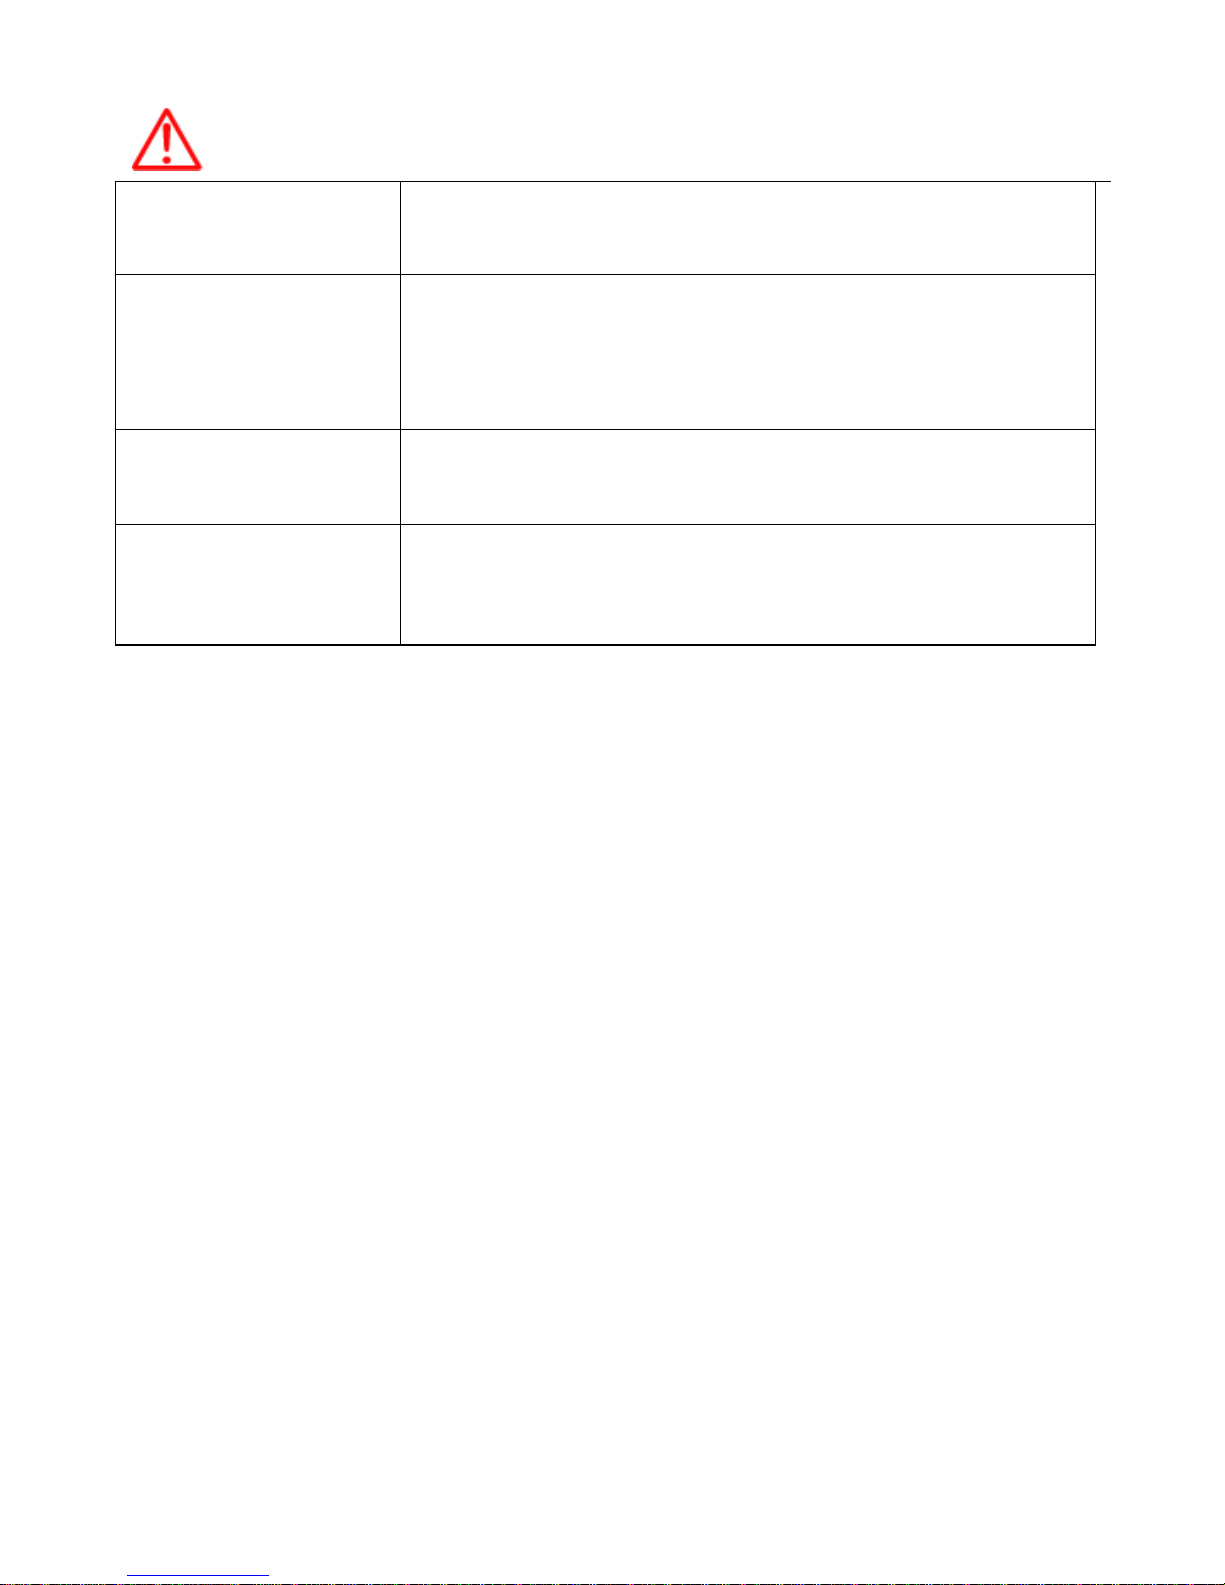
Installation Cautions <For service Personnel>
Follow installation instructions to avoid personal injury and
system malfunction.
Installation in
rigid location. Mount your SAS-300 on a rigid frame or base to prevent
your unit from working loose.
Use correct
Installation
materials.
Use the installation materials provided in the standard
accessory pack only. If you use hardware of insufficient
strength, your system may loosen causing damaged.
Keep away from
direct sunlight. Keep your system out of direct sunlight as it may
become damaged by overheating.
Keep away from
water. Take care not to get water on or in your unit as it may be
damaged and/or cause an electrical shock.
Keep away from
heat source. Keep your system away from other heat source as it may
malfunction, be damaged, or burn.
Use correct
power source. Operate your system within the specified power voltage.
An incorrect power supply may cause
- 4 -
Maintenance Cautions<For Maintenance Personnel>
Use the following safety precaution internal inspection.
Discharge
capacitors.
High voltage may be retained in the capacitors if the
high-tension circuit several minutes after you have
turned the power switch off.
Check that
power is OFF
To prevent an electrical injury due to erroneous power
switching, make sure that the main power supply and
the system power switch are both in the off position.
Additionally, attach a safety label showing that service is
in progress.
Avoid EMI. Take care not to damage the ESDs (Electrostatic
Sensitive Devices) by static electricity from carpet and
cloths.
Avoid dust. Wear a safety mask so as not to breath in dust during
inspection or cleaning inside your system instruments.

- 5 -
Operation Notes <For operators>
Observe the following operation notes, otherwise the system failure or
deterioration can result. And periodical inspection and maintenance are required
for keeping the system in an optimum condition.
Backup important
data.
The waypoint and other registered data may become
unreadable by unexpected failure. We recommend
recording this data separately.
Use correct
transducer only.
If you use incorrect transducer, the transmitter circuit
may be damaged due to a matching error. Consult is
for system information.
Check transducer
Connection before
power on
Do not turn the power switch ON if the transducer is
disconnected or if it is not inserted into the water. If
done, the transducer or transmitter circuit may be
damaged.
Always clean the
transducer
Since transducer performance can drop due to
accumulated bottom growth, keep the transducer
clean. Never paint transducer surface.
Transducer must
be installed by
authorized
personnel.
Consult us for transducer installation by authorized
personnel.
WARNING
This product is designed to assist a
navigation.
When you are sailing, use the certified chart
from the Government or IMO.

- 6 -
SAS-300
System
CAUTION
The SAS-300 Color LCD Chartplotter & Fishfider Systems employs the latest in proven
technology to provide accurate fish & bottom information. The Plotter functions of SAS-300
are totally dependent upon the capability of the navigation source to provide accurate
position information. This device is only an aid to navigation. It should be used in
conjunction with all other navigation accuracy. For safety, always resolve any uncertainty
before continuing navigation.
There is no direct relationship between the color of water areas and their depth. The
navigator shall always query the area for depth information and use the official paper chart.
CAUTION
The performance of LCD displays are degraded by continuous direct exposure to
ultraviolet rays. Locate your SAS-300 Display away from direct sunlight. When not in use.
Keep the display covered.
DISPLAY BREAKAGE WARNING
The LCD display module contains a liquid. If the display is broken and the liquid contacts
your skin, wash it off immediately in running water for 15 minutes. If the liquid contacts your
eyes, immediately flush your eyes with running water for 15 minutes. Contact a physician if
any abnormal symptom is experienced.

- 7 -
Welcome
Thank you for purchasing the SAS-300 from Si-Tex.
The SAS-300 is a premium multifunction Chartplotter & Fish Finder System. SAS-300 front panel
keyboard and its wide screen viewing area make placement easy. Although SAS-300 offers many
advanced features, operation is simplified through the use of popup menus similar to those found on
personal computers. The SI-TEX SAS-300 Color LCD System opens a new chapter of performance
and integration in AIS system display and management. Whether you are a Cruiser or Sport fisherman
or both, SAS-300 gives you the information you need.
Features of the SAS-300
Comprised of a display unit and a dual frequency transducer.
The main features of the SAS-300 are
▶A large 7” Direct Sunlight Viewable High Definition LCD Display, in a vertical format to provide
maximum sonar resolution! 480 x 800 pixels.
▶ Waterproof to IPX6 International Standard
▶Track AIS targets on standard "radar" display, over included worldwide base charts or (with optional
SD Card) overlaid onto full C-MAP MAX cartography
▶Track up to five vessels with track history and optional live details on individual vessels
▶Large display allows easy viewing of all vessels with name, MMSI, range/bearing and full details on
each vessel
▶Easy-to-use alarms for Closest Point of Approach (CPA) , Time to Closest Point of Approach
(TCPA) and Radius Alarm.
▶Sort different types of vessels by color and different types of transmission by on-screen icon
▶Full control pad with dedicated function keys for easy operation

- 8 -
SAS-300 System
Introduction
Thank you for purchasing the SAS-300 from Si-Tex.
The SAS-300 is a premium multifunction AIS ClassB. SAS-300 front panel keyboard and its wide
screen viewing area make placement easy. Although SAS-300 offers many advanced features,
operation is simplified through the use of popup menus similar to those found on personal computers.
The SI-TEX SAS-300 Color LCD System opens a new chapter of performance and integration in
system display and management. Whether you are a Cruiser or Sport fisherman or both, SAS-300
gives you the information you need.
Standard Equipment Configuration List
Display unit Mounting Bracket Knobs
Protector Power cable AIS cable
Manual

- 9 -
SAS-300 System
GETTING STARTED
This getting Started section will help you become acquainted with the displays and the front panel
keyboard functions of your SAS-300 System. This section is intended to demonstrate the main
functions and basic operation of your SAS-300 System. More detailed procedures may be found in the
Operation section.
SAS-300 has built-in simulators which present realistic displays of cartography, GPS and AIS.

- 10 -
SAS-300 System
SPECIFICATION
GENERAL SPECIFICATION
1. Display Screen
wide 7 inch color TFT LCD(480 X 800 pixels)
2. Operating Temperature
Display Unit: -15°C ~ 50°C
Antenna Unit: -25°C ~ 70°C
3. Performance Standard
IMO Resolution MSC.112(73)
4. Back-up
SD Card (Optional)
CHARTPLOTTER SPECIFICATION
1. Display Method
Mercado Projection
2. Display Mode
True motion / North up / Course up / Head up
3. Latitude Limits
Between 85° N to 85° S
4. Map Scale
0.05nm to 1000nm
5. Map Datum
WGS-84(Standard), 270 different Datums
6. Chart Data
C-MAP
7. Input/Output Data
NMEA-0183
- 11 -
SAS-300 System
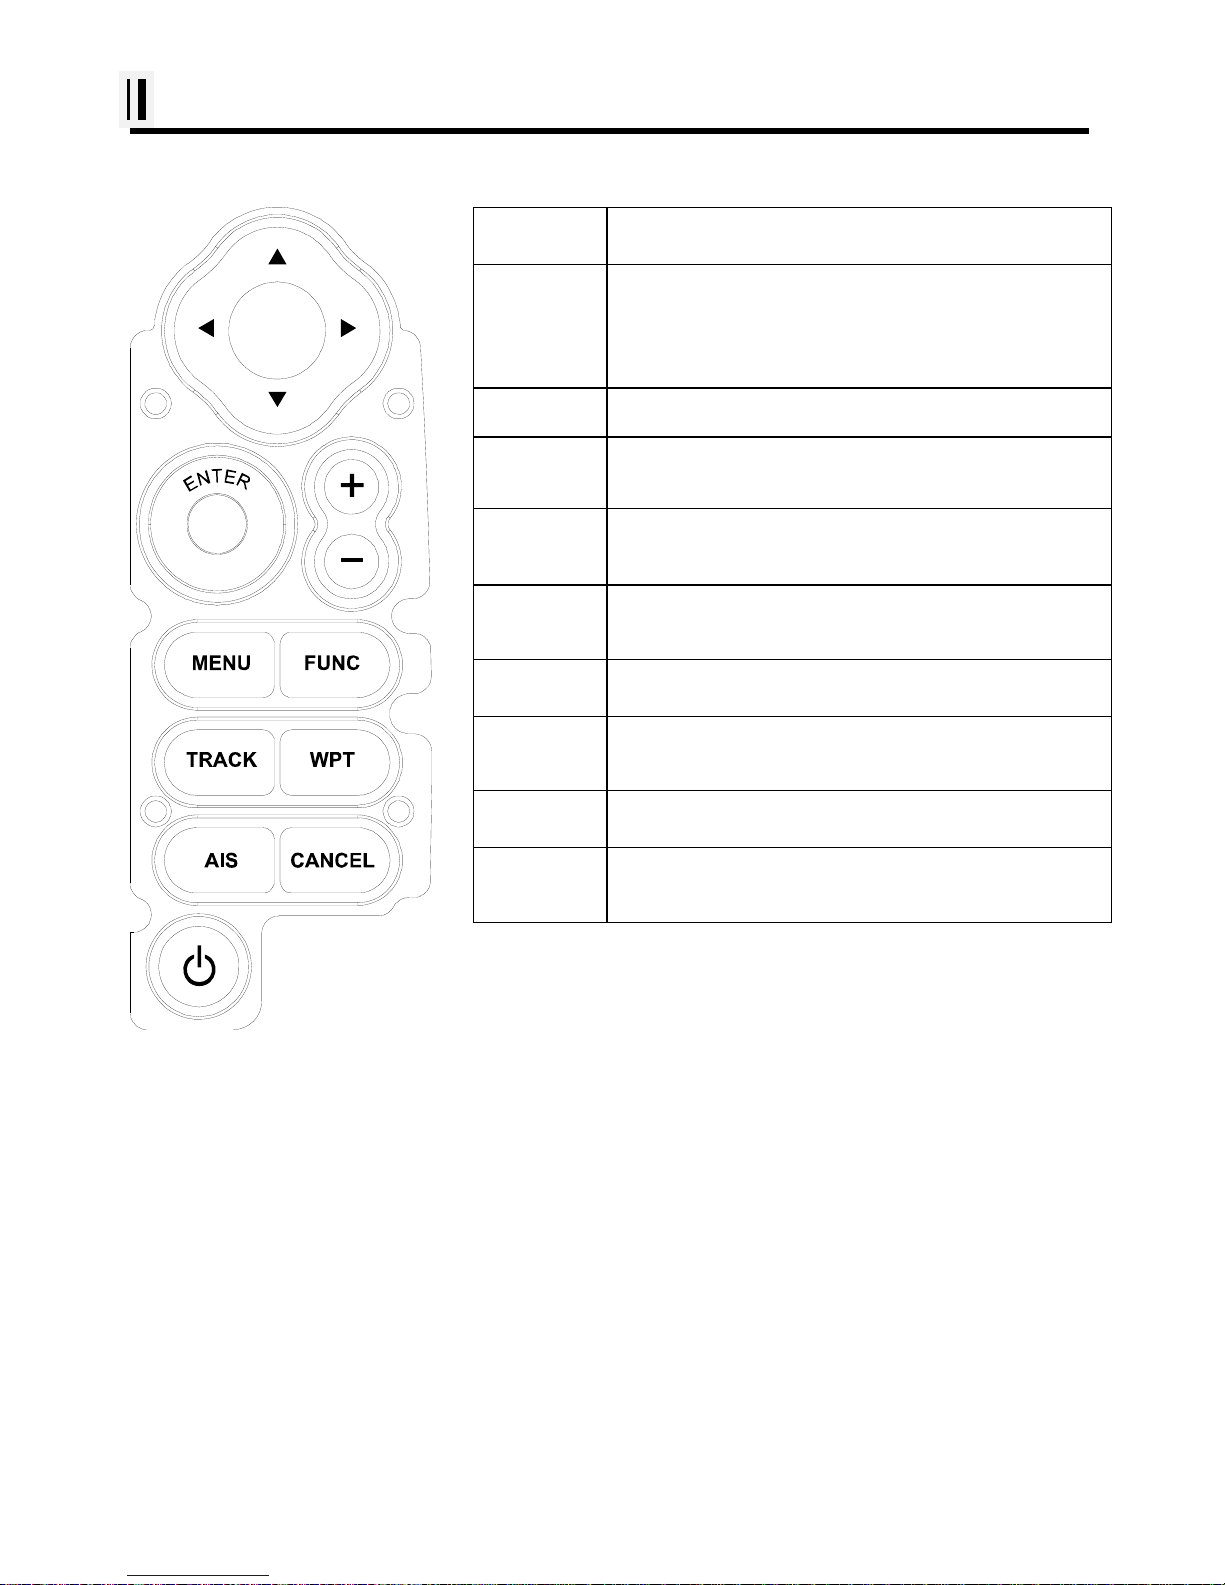
Keypad
How to use [Power/Brightness]
▶Press [PWR/BRT]
1.Use PWR:
To turn off the power, keep pressing the [BRT/PWR] until the end of counting.
2.Use BRT:
Press [BRT/PWR] shortly and the brightness can be controlled. Use the arrow keys [←][→]of the
cursor to control the brightness and the contrast.
3. Use day/night mode
Press [BRT/PWR] shortly and change mode. Use the arrow keys [↓][↑] of the cursor to change mode.
KEY Description
[Cursor
Key] With MENU: Choosing the menu.
Without MENU: Cursor on.
[ENTER] Button: Enter when menu table on the screen.
[+] &[-] Change the chart of scale.
[MENU] Menu is displayed.
[FUNC] Setting up Using Frequently key function.
[TRACK] Start and stop AIS tracks & Vessel tracks .
[WPT] Places a WPT on the plotter main screen
[AIS] Selects AIS menus
[CANCEL] Return to the previous display, or canceled the
set-up.

- 12 -
SAS-300 System
SAS-300
<Front>
<Rear>
Main Screen
Keypad
Knob
Mounting Bracket
Connector

- 13 -
SAS-300 System
SPEC of the connectors
Table of contents
Other Sitex Marine Equipment manuals


