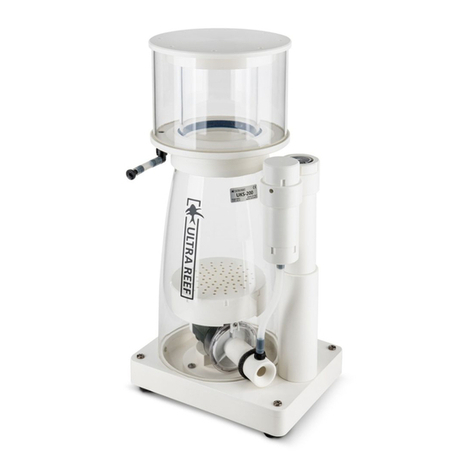
1. Remove Collection Cup and Lid from skimmer body and adjust
the O-ring to ¾ height from top of Lid (about 65mm).
2. Place the collection cup into the skimmer body.
3. Slide the magnetic mounting bracket on the back of the skimmer.
The magnetic mounting can be used for glass or acrylic up to 19mm
thick.
1. Clean the internal and external surfaces of your aquarium
before you place the skimmer into your aquarium.
2. Position the skimmer so that the aquarium water level is at the
bottom of the collection cup.
3. Place the other magnetic mounting on the outside.
4. Start the skimmer pump. Watch the skimmer water level start to
raise. Adjustment to the O-ring is needed to lift the collection cup
upward (or downward) until the skimmer water level is at the
base of collection cup.
5. Air intake can be adjusted via air valve. Set the air intake tap
halfway and leave it to settle down for a day or so (initial break-in
period).
1. Ensure that the SH1 is sitting correctly on the latch when you
slide it in.
2. Dial the wedgepipe so that it is fully open. You can take
reference from indicator on the wedgepipe to check for proper
positioning. Wedgepipe output allows you to adjust the water
level in the SH2 hang-on housing and have ne control of the
skimmer water level.
1. After you hang the SH2 housing on your aquarium, tighten the
nylon screw to secure it.
2. The SH2 must be suppiled with water from the aquarium. Use a
600 l/h feed pump and connect using a hose to the SH2 inlet.
3. Start the feed pump. Dial the wedgepipe to control the water
level in the SH2 housing. Verify that there aren’t any leaks.
4. Start the skimmer pump. Watch the skimmer water level start to
raise. Lift the collection cup upward until the skimmer water level
as stated in SH1 - Step 2.
5. Air intake can be adjusted via air valve. Set the air intake tap
halfway and leave it to settle down for a day or so (initial break-in
period).
For SH2 - STEP 3
1. Ensure that the Skimz SH1 protein skimmer is assembled
correctly. Lift the SH1skimmer and slide it into the SH2 hang-on
housing with the back of SH1 facing the water inlet.
A. Lid for collection cup
B. Collection cup
C. Adjustable O-ring
D. Skimmer pump
E. Sponge
F. Air tube
G. Adjustable air valve
H. Magnetic mounting bracket
I. Water outlet valve
J. Nylon screw(M6/45)
K. Water outlet
L. Water inlet from feed pump
For SH2 - STEP 2
For SH2 - STEP 1
SH1 - STEP 1
SH1 - STEP 2
1
1
5
3
2
1
32
2
2
34
A
G
B
C
D
E
F
H
I
KL
J
