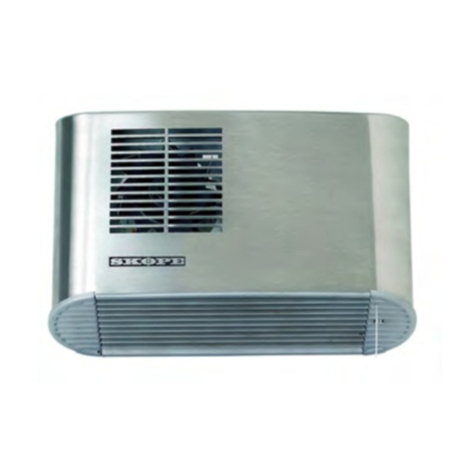
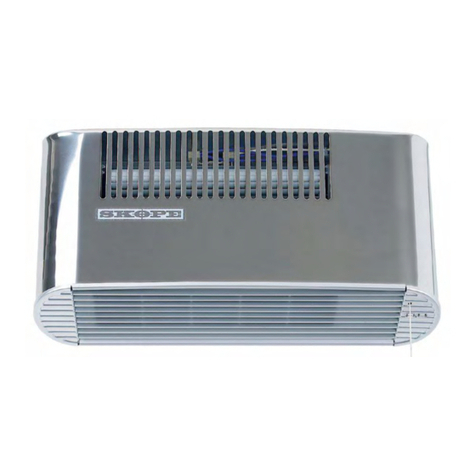
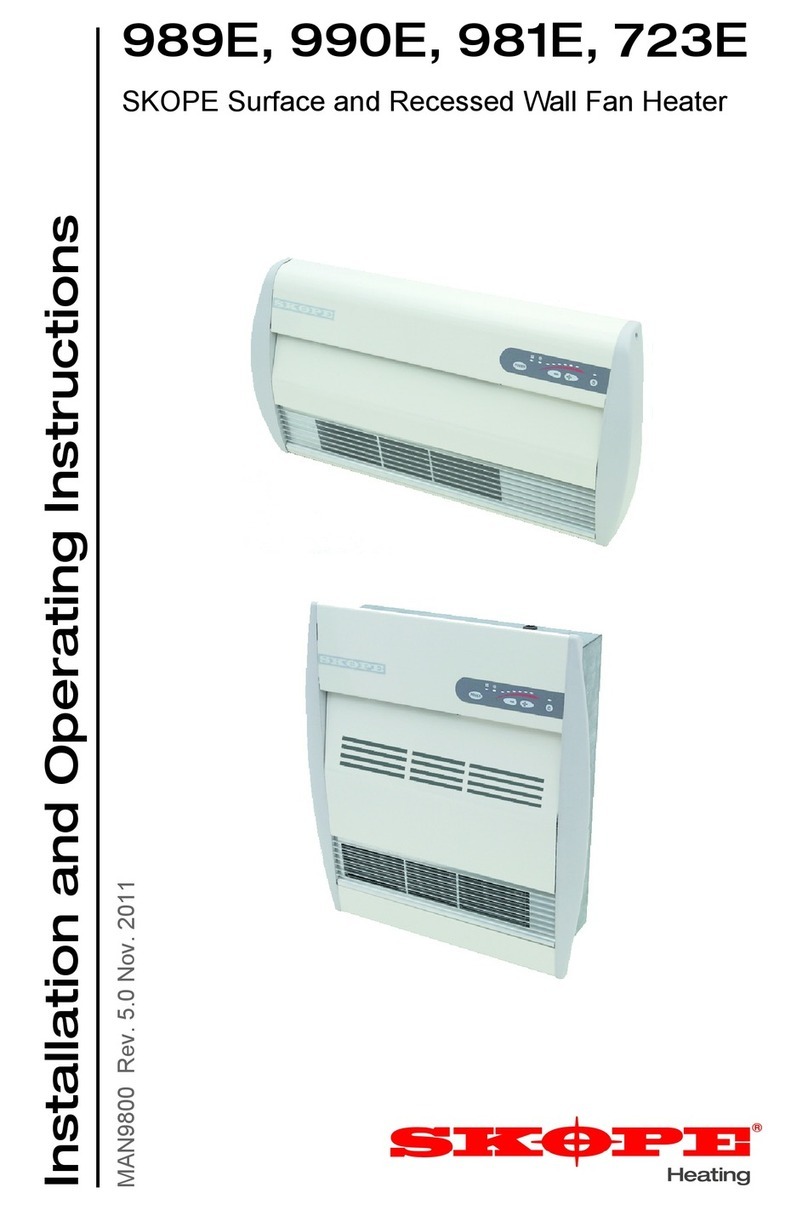
Skope 989E User manual

8 E, 0E, 81E, 723E
SKOPE Surface andRecessed Wall FanHeater
Models:
Installation and Operating Instructions
MAN9800 Rev. 4.0 July 2007 edition

2SKOPE Surface and Recessed Wall Fan Heater
Installation and Operating Instructions
Contents
Safety Information........................................3
Basic Operation...........................................4
Operation Modes.........................................4
Control Panel...............................................5
Control Functions.........................................5
Surface Mounted Models.............................6
Recess Mounted Models.............................8
3-Hour Timer Mode....................................10
Specifications...............................................11
Safety Cutout...............................................11
Care.............................................................11
Servicing......................................................11
Contact Addresses.....................................12
Copyright ©2003 SKOPE Industries Limited. All rights reserved.
SKOPE is the registered trademark of SKOPE Industries Limited.

3
SKOPE Surface and Recessed Wall Fan Heater
Installation and Operating Instructions
Safety Information
Whenusinganyelectricalappliance,safetyprecautionsshouldalways
be observed.Read these instructions carefully and retain for future
reference.
•When used by, or near, young children or infirm persons, close
supervision is necessary. Young children should be supervised to
ensure thatthey do not play with the appliance.
•Do NOT use this appliance other than for its intended use.
•Use this appliance only with the voltage specified on rating label.
•Do NOT touch hot surfaces or moving parts.
•Do NOT cover the grilles or place any objector material up against
the unit, as this may block entry or exhaust of airflow.
•Do NOT probe any opening toremovefluff.To ensure trouble-free
performance itis recommended that on a regular basis the unit be
isolated from the power supply and a vacuum cleaner used to
remove dustand fluff from the inlet and outlet grilles.
•Do NOT allow the supplycord to come into contact with heated
surfaces during operation.
•Regulations require that electrical work be carried out by
authorised persons. For your own safetyand that of others,ensure
this is done.
•Ifthe supply cord becomes damaged, itmustbe replaced by a
SKOPE authorised service agent, or similarly qualified person,in
order to avoid a hazard.
•For service, contact your nearest authorised service agent.
Caution:
If the heater is used on the Freeze Guard setting or operated via a
timer,ensure the heater is not obstructed in any way by furniture or
drapes etc. Ensure the heater can operate safely, should the heater
switchonwhentheambient temperature drops,oratimeractivates the
heater.
See ControlFunctions (page 5) for more information on how the
Freeze Guard setting works.

4SKOPE Surface and Recessed Wall Fan Heater
Installation and Operating Instructions
Basic Operation
Air is drawn into the heater through the top inlet by a tangential fan,
blown over heating elements and then blown out through the bottom
louvred grille into the room.
The heater is controlled byan electronic controller, incorporating an
electronic thermostat. This controller enables the fan to operate, or
enables fan-forced heat which can be thermostatically controlled.
•To start or stop the heater, press the POWERbutton.
To set the thermostat:
To set the electronic thermostatatthe required setting,press the
selector buttons as follows:
•To DECREASE the temperature setting, press thebutton.
•To INCREASE the temperature setting, pressthebutton.
The temperature indicators above the selector buttons will be lit to
indicatethe temperature setting. When two adjacentred indicators are
lit, this indicates the temperature setting selected is between two
settings.
Whenonlythefirstredtemperatureindicator is lit, the heater will runon
continuous LOW heat.When only the lastred temperature indicator is
lit, the heater will run on continuous HIGH heat.
Operation Modes
Your SKOPE heater has two selectable modes of operation:
1. Normal Mode: This is the default factorymode. In thismode the
heater will operate asa conventional heater with no timer
functionality.
2. 3-Hour Timer Mode:In this mode the heater works on a 3-hour
countdown timer thatshutsthe heater off after 3 hours of
operation (see page 10 for details).The Freeze Guard function
will still operate normally, with no time restriction, even if the 3-
Hour Timer mode is enabled.

5
SKOPE Surface and Recessed Wall Fan Heater
Installation and Operating Instructions
Control Panel
Control Functions
* Ensure the heater can operate safely, if operated on the Freeze Guard setting.
1POWER BUTTON
Press to START or STOP the heater.
2FAN ONLY INDICATOR
TosettheheatertoFanOnlysetting,pressthe
button until the Blue/GreenFan Only indicator is lit.
3
FREEZE GUARD INDICATOR *
When the heater is set to the Freeze Guard setting, it will
switchon if the temperaturedetectedby the electronic
controller falls below 5°C. Tosetthe heater to Freeze
Guardsetting, press the selector buttons until the Orange
Freeze Guard indicator is lit.
4SELECTOR BUTTON
Press to DECREASE the temperature setting.
5SELECTOR BUTTON
Press to INCREASE the temperature setting.
6
TAMPER LOCK BUTTON
Activating theTamper Lock button will ensurethat the
temperature settingcannot bechanged,yetthe heater is
still able to be turnedon or off.
Toactivate the Tamper Lock, hold down the button for
approx. 3 seconds, until youhear a beep and the Red
Tamper Lock indicator is lit.
Todeactivatethis function, repeat the operation.
4
1
56
Freeze Guard Indicator (Orange)
23
Temperature Indicators (Red)
Fan Only Indicator (Blue/Green)
Tamper Lock Indicator (Red)

6SKOPE Surface and Recessed Wall Fan Heater
Installation and Operating Instructions
Surface Mounted Models: 8 E, 0E
Installation Instructions
This appliance MUST be installed in accordance with relevant wiring
rules and regulations which cover installation ofappliances and
accessoriesin dampsituationssuch asbathrooms,showers,laundries
and other areas with fixed water containers (in Australia and New
Zealand - AS/NZS 3000:2000 Wiring Rules).
IMPORTANT: The heater must not be located immediately below a
socketoutlet. A suitable disconnection device (acting in all active
supplies) is required to be incorporated in the fixed supplywiring.
The heater must be mounted minimum distances of 200mm from floor
level and 300mm from any adjacent wall (see the installation diagram
on page 7). The heater should be mounted on the wall in such a
location that it will not create a draft to anyone sitting in the room.
If the heater is to be permanently wired, provision should be made for
connection to mainspower supply.Removethe metal knockoutin the
back of heater, to allow for cable entry, or use the hole at the bottom of
the heater. Cable entry position on the wall, relative to heater fixing
holes,is shown in the installation diagram on page 7. To fix the heater
to the wall, follow the instructions below:
1.Remove the hinged front panel from the heater by unscrewing
the two screws at the top ofthe front panel. The hinged front
panel maybe removed for ease of installation.
2.Attach the heater tothe wall byscrewing the four fixing screws
(provided) through mounting holes on the back of the heater. At
least two ofthe fixing screws should be attached to a wall stud.
Alternatively toggle bolts (not provided) could be used where stud
centresare inconvenient. For fixing hole centres,see the
installation diagram on page 7.
3.Connectmains wiring to the terminal block and refitthe hinged
front panel. Following installation or a period ofnon-use, in order
to free up the lubricant, operate the appliance on FAN ONLY
setting for approximatelyfive minutes before using the heat
settings.

7
SKOPE Surface and Recessed Wall Fan Heater
Installation and Operating Instructions
Surface Mounted Models: 8 E, 0E
Installation Diagram
989E = 372mm
990E = 437mm
380
144
220
Cable entry position
Fixing screws(4)
Floor level
Heater body outline
Front panel screws (2)
Fixing holes (4)
10
28
Adjacent wall
Heater body
200 min.
300
min.
Front panel hinged down

8SKOPE Surface and Recessed Wall Fan Heater
Installation and Operating Instructions
Recess Mounted Models: 81E, 723E
Installation Instructions
This appliance MUST be installed in accordance with relevant wiring
rules and regulations which cover installation ofappliances and
accessoriesin dampsituationssuch asbathrooms,showers,laundries
and other areas with fixed water containers (in Australia and New
Zealand - AS/NZS 3000:2000 Wiring Rules).
IMPORTANT: The heater must not be located immediately below a
socketoutlet. A suitable disconnection device (acting in all active
supplies) is required to be incorporated in the fixed supplywiring.
The recessed model wall fan heaters are designed tobe permanently
wired and recessed into the wall.To install the heater, follow the
instructions below:
1.Cut a hole in the wall. The positioning and hole dimensions are
shown in the installation diagram on page 9.The minimum
required height from the floor to the base of the heater and the
distance from any adjacentwallis 300mm. The hole must be
between wall studs.
2.Line top and bottom ofthe hole with Gibraltar board or hardboard,
allowing for the mains power supply cable entry through the top
ofthe heater. If the cutout is not to the recommended size, the
wallstuds may need to be packed out with timber to provide firm
fixing surfaces.
3.Remove two screws from the top of the hinged frontpanel. This
will allow the front panel tobe tilted downand if necessary can be
removed for ease of installation.
4.To allow for power supplycable entry, remove one of the metal
knockouts on either the top or bottom of the heater.
5.Fit the heater body into the hole by screwing four fixing screws
into the sides of the hole (screws provided).
6.Connectmains wiring to the terminal block and refitfront panel.
7.Following installation or a period of non-use,in order to free up
the lubricant,operate the appliance on FAN ONLY setting for
approximatelyfive minutes before using the heatsettings.

SKOPE Surface and Recessed Wall Fan Heater
Installation and Operating Instructions
Recess Mounted Models: 81E, 723E
Installation Diagram
Front panel screws (2)
981E = 322mm
723E = 403mm
Fixing screws (4)
300
min.
300min.
Cable entry
Floor level
Adjacent wall
Heater body
Hole in wall
Front panel hinged down
395

10 SKOPE Surface and Recessed Wall Fan Heater
Installation and Operating Instructions
3-Hour Timer Mode
In thismode the heater works on a3-hour countdowntimer that shuts
the heater off after 3hours of operation. Once the heater isoperating,
the thermostat can then be set(see page 4 on how to setthe
thermostat). To restart the timer at any time, simply turn the heater off
andonagain. The heater startscountingdown fromthetime the heater
is turned on.
To check which mode is enabled:
1.Disconnect the heater from the power supply atthe wall socket or
isolating switch.
2.Press and hold down both theandbuttons, then
reconnectto the power supply.
3.Release both buttons.The heater will emit one or two short
beeps, followed byone slightly longer beep.The number of short
beeps indicates the operating mode:
• One short beep = Normal Mode
• Two short beeps = 3-Hour Timer Mode
4.Press the POWERbutton and the heater will operate.
To change the operating mode:
1.Follow steps1 and 2 above.
2.Release both buttons and quickly press the buttonTWICE
to select 3-Hour Timer Mode or ONCEto change backtoNormal
Mode. You mustcomplete this before the longer beep sounds
(i.e. within one second ofreleasing the buttons)or the change will
not occur and the controller will enter calibration mode.Should
this happen, disconnect the power supply and start again.
3.Press the POWERbutton and the heater will operate.

11
SKOPE Surface and Recessed Wall Fan Heater
Installation and Operating Instructions
Specifications
SKOPE Industries Limited reserve the right to alter specifications without notice.
Safety Cutout
Your SKOPE heater is fitted with an auto-reset thermal cutout and a
fusible link.Either of these deviceswill automatically switch off the
elements and the motor, should the unitreach an abnormal
temperature. Should thisoccur, disconnect the heater from power
supply,check forblockage ofthe airinlet andoutlet, and useavacuum
cleaner to clean if necessary.Ifthe heater stillfails to operate, contact
your nearestauthorised service agent.
Care
The heater isbest wiped down from time to time with adamp cloth. Do
NOT use any abrasive cleaners.
Servicing
If your heater isin need ofservicing, contactyour nearest authorised
service agent (see separate enclosed list of service agents).
Dimensions
Style: Surface Mounted Recessed Mounted
Model: 8 E 0E 81E 723E
Height: 272mm 272mm 430mm 430mm
Width: 525mm 590mm 382mm 453mm
Depth: 120mm 120mm 90mm 90mm
Protrusion: 120mm 120mm 25mm 25mm
Weight: 4.4 kg 5.4kg 4.9kg 6.0kg
Electrical
Wattage HIGH: 2200-2400 W 3200-3500 W 2200-2400 W 3200-3500 W
Wattage LOW: 1100-1200 W 2200-2400 W 1100-1200 W 2200-2400 W
Wiring: 1.8m flex & plug Permanent connection
Supply: 230-240 Volts a.c. 50 Hz, single phase

12 SKOPE Surface and Recessed Wall Fan Heater
Installation and Operating Instructions
Contact Addresses
New Zealand
SKOPEINDUSTRIES LIMITED
PO Box 1091, Christchurch
New Zealand
Freephone: 0800 947 5673
Fax: (03) 983 3896
Email: enquiry@skope.co.nz
Website: www.skope.co.nz
Australia
SKOPE AUSTRALIA PTY LTD
A.C.N. 000384 270
PO Box 7543, Baulkham Hills
NSW 2153, Australia
Freephone: 1800 121 535
Freefax: 1800 121533
Email: enquiry@skope.com.au
Website: www.skope.com.au
Other manuals for 989E
1
This manual suits for next models
3
Table of contents
Other Skope Heater manuals
Popular Heater manuals by other brands

Somogyi Elektronic
Somogyi Elektronic home FKH 400 instruction manual
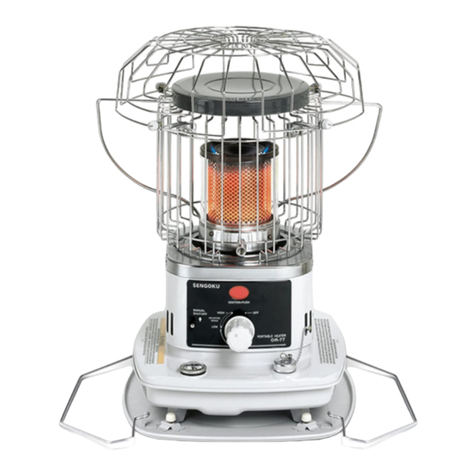
Sengoku
Sengoku OR-77 owner's manual
Henstock Technologies
Henstock Technologies Demon Instructions for assembly
Bimar
Bimar HP129 Instruction booklet
Envirovent
Envirovent heatSava installation guide
Seeburg
Seeburg GL16 dp 1000 user manual
