SKYTRONIC 600.005 User manual

3 1/2 DIGITS DIGITAL MULTIMETER
600.005
Gebruiksaanwijzing
Mode d’Emploi
Gebrauchsanleitung
Brugsanvisning
Instruction Manual

Geadviseerd word deze handleiding geheel door te lezen alvorens
de SkyTronic digitale multimeter in gebruik te nemen.
GEBRUIKTE SYMBOLEN
AC (wisselstroom of wisselspanning)
DC (gelijkstroom of gelijkspanning)
Attentie! Raadpleeg s.v.p. de handleiding
Voorzichtig, hoogspanning
Aarde
Zekering
CE keurmerk
Dubbel geïsoleerd
Voer zelf geen reparaties uit aan het apparaat; in elk geval vervalt de totale
garantie.
Ook mag het apparaat niet eigenmachtig worden gemodificeerd, ook in dit geval
vervalt de totale garantie.
Ook vervalt de garantie bij ongevallen en beschadigingen in elke vorm t.g.v.
onoordeelkundig gebruik en het niet in acht nemen van de waarschuwingen in het
algemeen en gestelde in deze gebruiksaanwijzing. Tevens aanvaardt SkyTronic
BV geen enkele aansprakelijkheid in geval van persoonlijke ongelukken als
gevolg van het niet naleven van veiligheidsinstructies en waarschuwingen. Dit
geldt ook voor gevolgschade in welke vorm dan ook.

WAARSCHUWING
Om aanraking met gevaarlijk hoge spanningen te voorkomen volgen
hierna enkele veiligheidsaanwijzingen.
•Gebruik de meter niet wanneer de behuizing is beschadigd.
Vooral de isolatie rondom de aansluitingen is van belang.
•Controleer de meetsnoeren op eventueel beschadigde
isolatie of uitstekende metaaldeeltjes van de draadkern.
•Controleer of de meetsnoeren onderbroken zijn. Vervang
beschadigde meetsnoeren direct.
•Gebruik de meter niet in een ruimte waar brandbare
vloeistoffen, gassen of stoffen aanwezig zijn.
•Sluit de meter niet aan op spanningen welke hoger zijn dan
de aangegeven limieten, dit om totale beschadiging te
voorkomen.
•Controleer regelmatig de goede werking door een bekende
spanning te meten.
•Wees voorzichtig en vermijd te allen tijde het aanraken van
spanningvoerende onderdelen of bedrading. De algemeen
geldende veiligheidsgrens ligt bij 30Veff wisselspanning (dat
is 42 V piek) en 60 volt voor gelijkspanning. Spanningen
hoger dan deze genoemde waarden zijn potentieel gevaarlijk.
•Sluit eerst het zwarte meetsnoer aan en daarna de rode.
Verwijder na de meting eerst het rode meetsnoer.
•Verwijder de meetsnoeren wanneer u de batterij vervangt.
•Verricht geen metingen wanneer de behuizing van de meter
geopend is.
•Om foutieve metingen te voorkomen is het noodzakelijk de
batterij te vervangen wanneer het "batterij leeg" symbool
(” ”) in de display zichtbaar wordt.

ENKELE GEBRUIKSTIPS
Om schade aan de meter of de apparatuur onder test te voorkomen
dient u de volgende richtlijnen te volgen.
•Schakel de voedingsspanning van het te testen apparaat uit
en ontlaad eventueel aanwezige condensatoren voordat u
weerstanden of diodes gaat testen.
•Gebruik de juiste aansluitingen en stel de correcte functie in
voor de meting.
•De stroommeetbereiken zijn gezekerd door middel van 5x20
mm glaszekeringen welke de meter beschermen tegen
overbelasting.
•Verdraai de keuzeschakelaar nooit wanneer de meetsnoeren
nog op een te testen schakeling zijn aangesloten.
•Verwijder de meetsnoeren wanneer u een transistortest
uitvoert.
ONDERHOUD
•Verwijder de meetsnoeren voordat u de behuizing opent voor
het vervangen van de batterij of de zekeringen.
•Vervang de zekeringen uitsluitend door exemplaren met
dezelfde waarde. (1 x 0,25A snel 5x20mm)
•Houd de meter schoon met een licht vochtige doek. Gebruik
geen schuur- of oplosmiddelen voor het reinigen.
TECHNISCHE GEGEVENS
Display: 3 1/2 digits LCD, Max. uitlezing 1999
Over range indicatie: cijfer “1” in de display
Batterij leeg indicatie: Symbool “ ” in de display zichtbaar.
Batterij: 12V batterij type 23A
Afmetingen: 9,2 x 4,6 x 2,8 cm.
Gewicht: 82g (incl. batterij en meetsnoeren)
NAUWKEURIGHEID
In onderstaande tabellen wordt de nauwkeurigheid van de
multimeter voor de verschillende meetbereiken aangegeven. Deze
specificaties gelden voor een periode van 1 jaar na een deugdelijke
ijking en binnen het temperatuurbereik van 18 tot 28 graden Celcius
met een relatieve luchtvochtigheid van maximaal 75%.

GELIJKSPANNING
Bereik Nauwkeurigheid Resolutie
200mV 100•V
2V 1mV
20V 10mV
200V
±(0.8%+1)
100mV
500V ±(1%+1) 1V
Ingangsimpedantie: 1MΩop alle bereiken.
WISSELSPANNING
Bereik Nauwkeurigheid Resolutie
200V 100mV
500V ±(1.5%+10) 1V
Ingangsimpedantie: 452KΩ
Frequentiebereik: 50Hz~200Hz
GELIJKSTROOM
Bereik Nauwkeurigheid Resolutie
2mA 1µA
20mA ±(2%+2) 10µA
200mA ±(1%+2) 100µA
WEERSTANDMETING
Bereik Nauwkeurigheid Resolutie
200Ω0.1Ω
2KΩ1Ω
20KΩ10Ω
200KΩ100Ω
2MΩ
±(1%+3)
1KΩ

DIODETEST en DOORVERBINDINGSTEST MET SIGNAAL
Bereik Omschrijving Teststroom
Wanneer de weerstand
van de verbinding kleiner
is dan 40Ω, klinkt er een
geluidssignaal.
De meetspanning
bedraagt ca. 2,8 V
De voorwaartse
spanningsval van een
goede siliciumdiode (ca
0,6 V). wordt in de
display aangegeven.
De voorwaartse stroom is
ingesteld op ca. 1mA. De
sperspanning is 2,8 V
TRANSISTOR TEST
Bereik hFE
Teststroom Testspanning
PNP & NPN 0~1000 Ib=10µA Vce=2.8V
GEBRUIK IN DE PRAKTIJK
Het meten van wissel- of gelijkspanningen.
1) Verbind het zwarte meetsnoer met de 'COM' aansluiting en
het rode meetsnoer met de V/Ω/F aansluiting.
2) Draai de keuzeschakelaar in de stand (wisselspanning) of
(gelijkspanning) en kies het juiste bereik. Houd de
meetpennen op het spanningvoerende contactpunt. Bij het
meten van gelijkspanningen wordt een negatieve spanning
aangegeven door een minteken in de display.
Het meten van gelijkstromen
1) Verbind het zwarte meetsnoer met de 'COM' aansluiting en
het rode meetsnoer met de V/Ω/mA aansluiting voor het
meten van stromen tot ca. 250 mA. Voor stromen groter dan
250 mA moet de aansluiting 'A' gebruikt worden. (tot 10 A)
2) Kies het juiste bereik. Is de waarde van de te meten
stroom geheel onbekend, stel dan eerst het hoogste
bereik in. Verbind de meetsnoeren in serie met de
aansluitingen van spanningsbron naar belasting. Lees
de gemeten stroom af op de display. Er kan uitsluitend
gelijkstroom worden gemeten.

Weerstandsmetingen
1) Verbind het zwarte meetsnoer met de 'COM' aansluiting en
het rode meetsnoer met de V/Ω/F aansluiting. N.B. de rode
meetpen is positief (plus).
2) Zet de grote keuzeschakelaar in de stand Ω. Verbind de
meetsnoeren met de te testen weerstand en lees vervolgens
de gemeten weerstandswaarde af.
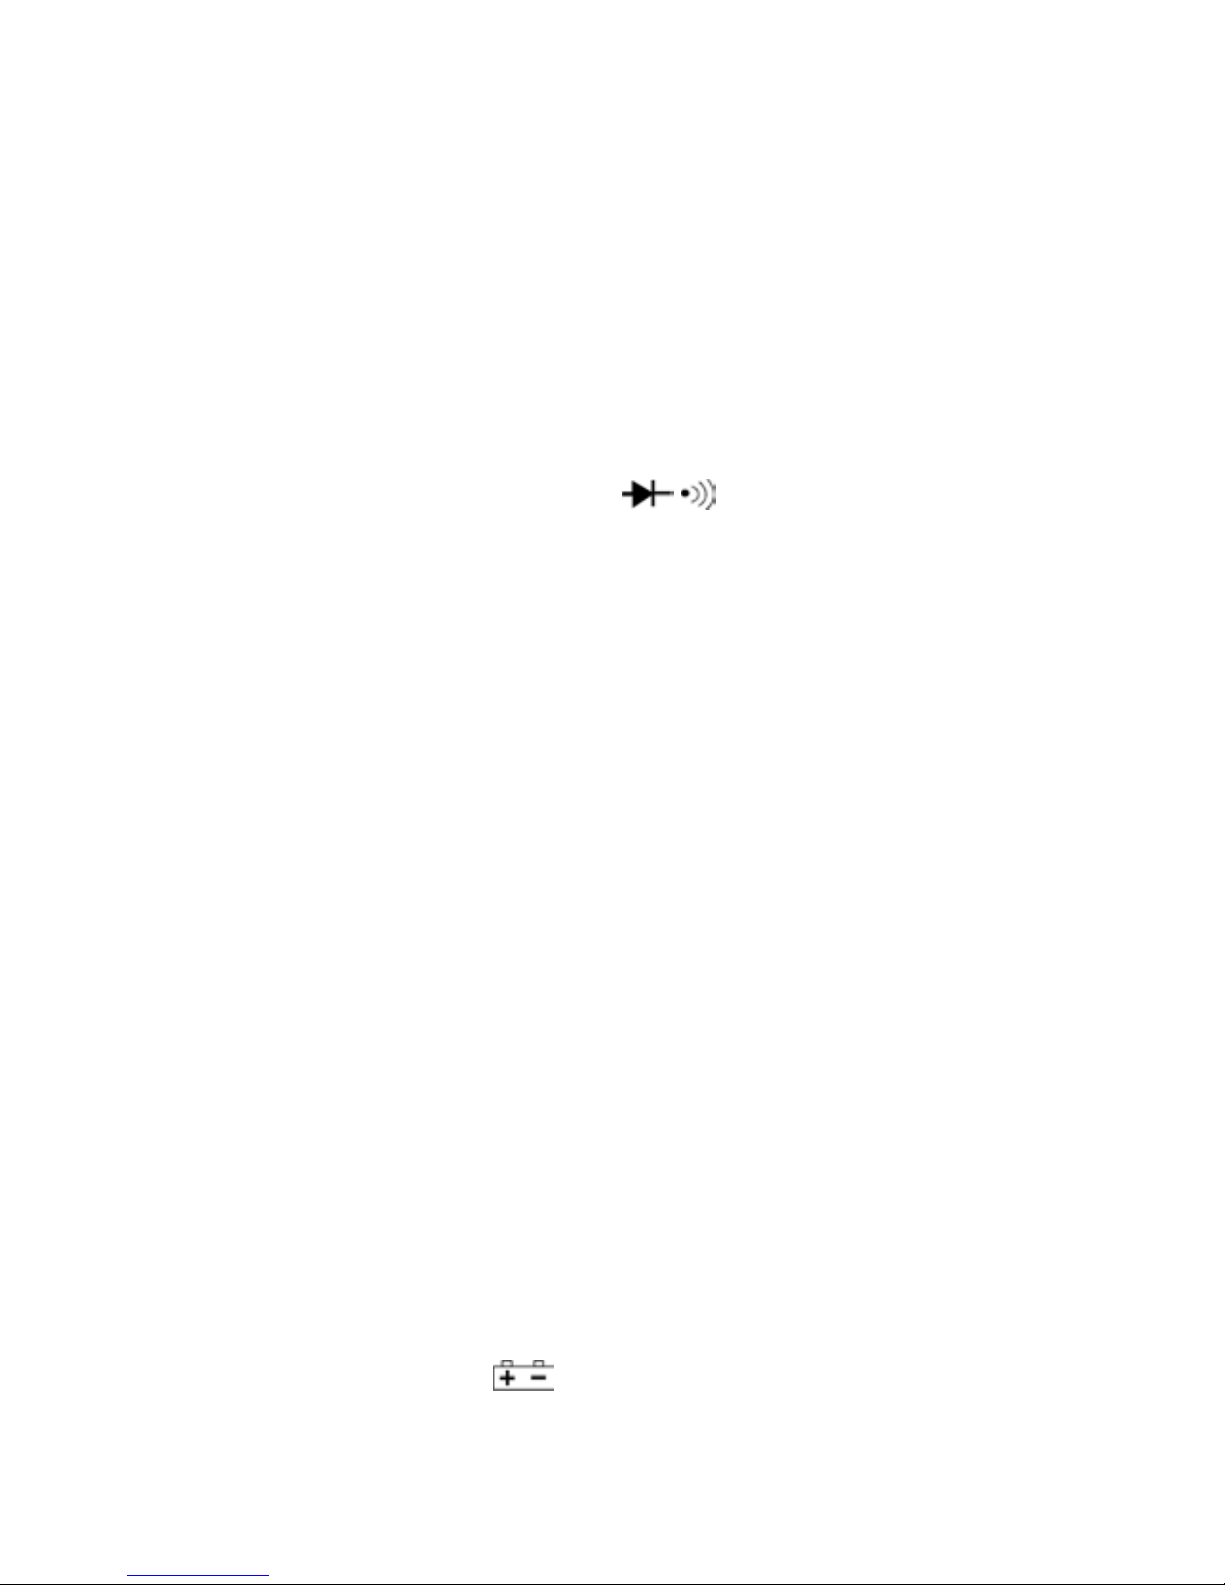
Doorverbindings- of diode test
1) Verbind het zwarte meetsnoer met de 'COM' aansluiting
en het rode meetsnoer met de V/Ω/F aansluiting. Zet de
draaischakelaar in de stand /en druk op de rode
toets met hetzelfde symbool om te kiezen voor diodetest
of doorverbindingstest.
2) Bij de doorverbindingstest geeft de meter een pieptoon
wanneer de weerstand kleiner is dan 40 Ohm.
3) Gelijkrichtdiodes en signaaldiodes kunnen getest worden
door het rode meetsnoer met de anode en het zwarte
meetsnoer met de kathode te verbinden. Op de display is dan
de voorwaartse spanningsval over de diode te zien. (bij
silicium diodes ca. 0,6V) Met het rode meetsnoer op de
kathode en het zwarte meetsnoer op de anode moet een
goede diode volledig blokkeren. In de display is dan 'OL'
zichtbaar.
Transistortest (hFE bepaling=versterkingsfactor)
1) Kies met de draaischakelaar de stand hFE.
2) Plaats de te testen transistor met de aansluitdraden in de
juiste openingen van het blauwe testvoetje. De meter is
geschikt voor het testen van zowel NPN als PNP transistoren.
3) Op de display is dan de hFE (versterkingsfactor) van de
transistor te zien. (basisstroom 10µA, collector/emitter
spanning 2,8 V)
VERVANGEN VAN DE BATTERIJ OF ZEKERING
Wanneer het symbool " " in de display verschijnt, raakt de
batterij uitgeput. Open de behuizing door de twee schroeven aan de
achterzijde los te draaien. Vervang de batterij en eventueel een
defecte zekering en schroef de achterzijde weer vast.

Read the Users Manual thoroughly before use.
SAFETY INFORMATION
The digital multimeter has been designed according to IEC-1010
concerning electronic measuring instruments with an over voltage
category (CATI) and pollution degree 1.
ELECTRICAL SYMBOLS
AC (Alternating Current)
DC (Direct Current)
Important safety information. Refer to the manual.
Dangerous voltage may be present.
Earth ground
Fuse
Conforms to European Union directives
Double insulated
Do not attempt to make any repairs yourself. This would invalid your warranty.
Do not make any changes to the unit. This would also invalid your warranty.
The warranty is not applicable in case of accidents or damages caused by
inappropriate use or disrespect of the warnings contained in this manual.
SkyTronic UK cannot be held responsible for personal injuries caused by a
disrespect of the safety recommendations and warnings. This is also applicable to
all damages in whatever form.

WARNING
To avoid possible electric shock or personal injury, follow these
guidelines:
•Do not use the meter if it is damaged. Before you use the
meter, inspect the case. Pay particular attention to the
insulation surrounding the connectors.
•Inspect the test leads for damaged insulation or exposed
metal. Check the test leads for continuity. Replace damaged
test leads before you use the meter.
•Do not use the meter if it operates abnormally. Protection
may be impaired. When in doubt, have the meter serviced.
•Do not operate the meter around explosive gas, vapour, or
dust.
•Do not apply more than the rated voltage, as marked on the
meter, between terminals or between any terminal and earth
ground.
•Before use, verify the meter's operation by measuring a
known voltage.
•When servicing the meter, use only specified replacement
parts.
•Use with caution when working above 30V ac rms, 42V
peak, or 60V dc. Such voltages pose a shock hazard.
•When using the probes, keep your fingers behind the finger
guards on the probes.
•Connect the common test lead before you connect the live
test lead. When you disconnect test leads, disconnect the
live test lead first.
•Remove the test leads from the meter before you open the
battery door.
•Do not operate the meter with the battery door or portions of
the cover removed or loosened.
•To avoid false readings, which could lead to possible electric
shock or personal injury, replace the batteries as soon as the
low battery indicator ( ) appears.

CAUTION
To avoid possible damage to the meter or to the equipment under
test, follow these guidelines:
•Disconnect circuit power and discharge all high-voltage
capacitors before testing resistance, continuity, diodes, or
capacitance.
•Use the proper terminals, function, and range for your
measurements.
•Before measuring current, check the meter’s fuses and turn
power OFF to the circuit before connecting the meter to the
circuit.
•Remove test leads from the Meter before opening the Meter
case.
MAINTENANCE
•Before opening the case, always disconnect the test leads
from all live circuits.
•For continue protection against fire, replace fuse only with
the specified voltage and current ratings: F 250mA/250V
(Fast Blown) ø5 x 20.
•Periodically wipe the case with a damp cloth and mild
detergent. Do not use abrasives or solvents.
GENERAL SPECIFICATIONS
Display: 3 1/2 digits LCD, Max. reading 1999
Over range indicate: Symbol “1” appear on the LCD
Zero adjustment: Automatic
Low battery indication: Symbol “ ” appears on the LCD
Power: 12V battery
Dimension: 100mm(L) x 50mm(W) x 20mm(D)
Weight: 60g (including battery)
TECHNICAL SPECIFICATIONS
Accuracy is specified for a period of one year after calibration and
at 18ºC~28ºC(64ºF~82ºF) with relative humidity up to 75%.
Accuracy specifications take the form of:
±([% of Reading]+[Number of Least Significant Digits])

DC VOLTAGE
Range Accuracy Resolution
200mV 100•V
2V 1mV
20V 10mV
200V
±(0.8%+1)
100mV
500V ±(1%+1) 1V
Input impedance: 1MΩfor all ranges.
AC VOLTAGE
Range Accuracy Resolution
200V 100mV
500V ±(1.5%+10) 1V
Input impedance: 452KΩ
Frequency range: 50Hz~200Hz
DC CURRENT
Range Accuracy Resolution
2mA 1µA
20mA ±(2%+2) 10µA
200mA ±(1%+2) 100µA
RESISTANCE
Range Accuracy Resolution
200Ω0.1Ω
2KΩ1Ω
20KΩ10Ω
200KΩ100Ω
2MΩ
±(1%+3)
1KΩ

DIODE AND AUDIBLE CONTINUITY TEST
Range Description Test Condition
The approx. forward
voltage drop of the diode
will be displayed on the
LCD.
The forward DC current
is approx. 1mA, the
reversed DC voltage is
approx. 2.8V.
If the resistance of the
circuit under test is less
than 40Ω, the built-in
buzzer will sound.
Open circuit voltage is
approx. 2.8V.
TRANSISTOR TEST
Range hFE Test Current Test Voltage
PNP & NPN 0~1000 1b=10µA Vce=2.8V
OPERATING INSTRUCTION
DC VOLTAGE MEASUREMENT
1. Connect the red test lead to the “VΩ” jack and the black test
lead to the “COM” jack
2. Set the range switch to the desired “ ” range. If the voltage
to be measured is not known beforehand, set the range
switch to the highest range and then turn down range by
range until satisfactory resolution is obtained.
3. Connect the test lead to the source or load to be measured.
4. Read the voltage value displayed on the LCD.
AC VOLTAGE MEASUREMENT
1) Connect the red test lead to the “VΩ” jack, and the black test
lead to the “COM” jack.
2) Set the range switch to the desired “ ” range. If the
voltage to be measured is not known beforehand, set
the range switch to the highest range and then turn down
range by range until satisfactory resolution is obtained.
3) Connect the test lead to the source or load to be measured.
4) Read the voltage value displayed on the LCD.

DC CURRENT MEASUREMENT
1) Connect the red test lead to the “mA” jack and the black test
lead to the “COM” jack.
2) Set the range switch to the desired “ ” range. If the
current to be measured is not known beforehand, set
the range switch to the range and then turn down range by
range until satisfactory resolution is obtained.
3) Open the circuit in which the current is to be measured, and
connect test leads in series with the circuit.
4) Read the current value displayed on the LCD.
RESISTANCE MEASUREMENT
1) Connect the red test lead to the “VΩ” jack and the black test
lead to the “COM” jack.
2) Set the range switch to the desired “Ω” range.
3) Connect the test leads to the circuit to be measured.
4) Read the resistance value displayed on the LCD.
DIODE TEST
1) Connect the red test lead to the “VΩ” jack and the black test
lead to the “COM” jack.
2) Set the range switch to the desired “ ” range.
3) Connect the red test lead to the anode of the diode to be
tested and the black test lead to the cathode of the diode.
The approximate forward voltage drop of the diode will be
displayed on the LCD. If the connection is reversed, only
figure “1” will be shown.
TRANSISTOR TEST
1) Set the range switch to the “hFE” range.
2) Determine whether the transistor to be tested is NPN or
PNP, and locate the E, B, C leads. Insert the leads into the
proper holes of the hFE socket on the front panel.
3) Read the approximate hFE value at the test condition of
base current 10µA and Vce 2.8V.

AUDIBLE CONTINUITY TEST
1) Connect the red test lead to the “VΩ” jack and the black test
lead to the “COM” jack.
2) Set the range switch to the “ ” range.
3) Connect the test leads to the two terminals of the circuit to
be tested. The resistance is less than about 40Ω, the built-in
buzzer will sound.
Battery & Fuse Replacement
If “ ” appears on the LCD, it indicates that the battery should be
replaced. To replace the battery, open the case, replace the
exhausted battery with the ratings specified: 12V, and then close
the case.
The fuse rarely needs to be replaced and is blown as a result of the
operator's error. To replace the fuse, open the case, replace the
blown fuse with the ratings specified: F 250mA/250V, and then
close the case.

Lire attentivement ce mode d’emploi avant la mise en service de ce
multimètre numérique SkyTronic.
Explication des symboles
AC (courant ou tension alternatifs)
DC (courant ou tension continus)
Attention ! Consultez le mode d’emploi
Attention ! Haute tension
Terre
Fusible
Sigle d’homologation CE
Double isolation
N’effectuez jamais de réparations vous-même et n’apportez jamais de
modifications sous peine d’invalider la garantie.
La garantie ne s’applique pas dans le cas de dommages sous quelque forme
que ce soit, qui ont été provoqués suite à une mauvaise utilisation et le non-
respect des avertissements et consignes de sécurité contenus dans ce manuel.
SkyTronic décline toute responsabilité en cas de dommages corporels suite au
non-respect des consignes de sécurité et des avertissements. Ceci s’applique
aussi aux préjudices ultérieurs éventuels.

MISES EN GARDE
Respectez les consignes de sécurité ci-dessous afin d’éviter tout
contact avec des tensions élevées dangereuses.
•Ne pas utiliser le multimètre lorsque le boîtier est
endommagé. Notamment l’isolation autour des connecteurs
est primordiale.
•Vérifiez si l’isolation des cordons n’est pas endommagée et
que le fil conducteur n’est pas dénudé.
•Vérifiez la continuité des cordons de mesure. Remplacez
immédiatement un cordon endommagé.
•Ne pas utiliser le multimètre en présence de liquides, gaz ou
matériaux inflammables.
•Ne pas brancher le multimètre sur des tensions qui excèdent
les limites indiquées afin de ne pas le détruire.
•Vérifiez régulièrement son bon fonctionnement en mesurant
une tension connue.
•Soyez prudent et évitez à tout moment de toucher des pièces
sous tension. La limite de sécurité généralement établie est
de 30Vac (cela correspond à 42Vac de crête) et 60Vdc pour
le courant continu. Des tensions qui dépassent ces limites
présentent un danger.
•Branchez d’abord le cordon noir et ensuite le rouge. Après la
mesure, débranchez d’abord le cordon rouge.
•Débranchez les cordons avant de changer la pile.
•Ne pas effectuer des mesures lorsque le boîtier du multimètre
est ouvert.
•Afin d’éviter des mesures erronées, changez immédiatement
la pile lorsque le symbole (” ”) « pile vide » s’affiche sur
l’écran.

QUELQUES RECOMMANDATIONS D’UTILISATION
Afin de protéger le multimètre et l’appareil mesuré, respectez les
consignes suivantes :
•Coupez l’alimentation de l’appareil à mesurer et déchargez
des condensateurs éventuels avant de mesurer la résistance
ou la diode.
•Utilisez les bonnes connexions et réglez le sélecteur sur la
fonction appropriée avant la prise de mesure.
•Les plages de mesure sont protégées par des fusibles en
verre de 5x20mm qui protègent le multimètre contre les
surcharges.
•Ne changez pas la position du sélecteur lorsque les cordons
de mesure sont encore connectés sur un circuit.
•Retirez les cordons de mesure avant d’effectuer un test de
transistor.
ENTRETIEN
•Retirez les cordons avant d’ouvrir le boîtier pour changer la
pile ou les fusibles.
•Remplacez les fusibles uniquement par des fusibles
identiques. (1 x 0,25A rapide 5x20mm)
•Nettoyez le multimètre avec un chiffon légèrement humide.
Ne pas utiliser de détergents ou de solvants.
CARACTERISTIQUES TECHNIQUES
Afficheur: 3 1/2 digits à cristaux liquides, Affichage max. 1999
Indication de dépassement de plage: le chiffre “1” apparaît
Indication de faible pile : Le symbole “ ” s’affiche.
Pile: Pile 12V de type 23A
Dimensions: 9,2 x 4,6 x 2,8 cm.
Poids: 82g (avec pile et cordons de mesure)
PRECISION
Le tableau ci-dessous indique la précision du multimètre pour les
différentes plages de mesure. Ces indications sont valables pour
une durée de 1 an suivant un étalonnage précis et dans le cadre
d’une plage de température de18 à 28° et d’une humidité relative de
75% max.

TENSION CONTINUE
Plage Précision Résolution
200mV 100•V
2V 1mV
20V 10mV
200V
±(0.8%+1)
100mV
500V ±(1%+1) 1V
Impédance d’entrée :: 1MΩsur toutes les plages.
TENSION ALTERNATIVE
Plage Précision Résolution
200V 100mV
500V ±(1.5%+10) 1V
Impédance d’entrée: 452KΩ
Plage de fréquences: 50Hz~200Hz
COURANT CONTINU
Plage Précision Résolution
2mA 1µA
20mA ±(2%+2) 10µA
200mA ±(1%+2) 100µA
RESISTANCE
Plage Précision Résolution
200Ω0.1Ω
2KΩ1Ω
20KΩ10Ω
200KΩ100Ω
2MΩ
±(1%+3)
1KΩ

TEST DE DIODE ET DE CONTINUITE AVEC BUZZER
Plage Description Courant de test
Le buzzer est activé
lorsque la résistance est
inférieure à 40 Ohms.
Tension de mesure env.
2,8V
La tension de passage
en avant d’une bonne
diode au silicium (env.
0,6V) s’affiche
Le courant de mesure
s‘élève à env. 1mA. La
tension DC inversée est
réglée sur env. 2,8V
TEST DE TRANSISTOR
Plage hFE
Courant de Tension de
PNP & NPN 0 ~ 1000 Ib ≈10µA Vce ≈2.8V
FONCTIONNEMENT
Mesures de tensions alternatives et continues.
Branchez le cordon noir sur la prise ‘COM’ et le rouge
sur la prise V/ΩF.
Tournez le sélecteur sur la position (tension
alternative) ou (tension continue) et sélectionnez la plage
appropriée. Commencez par la plage la plus élevée. Mettez les
pointes de mesure en contact avec le point sous tension. Pour les
mesures de tension continue, la tension négative est indiquée par le
symbole négatif sur l’afficheur.
Mesures de courants continus
1) Branchez le cordon noir sur la prise ‘COM’ et le rouge sur la
prise V/Ω/mA pour des mesures de courant jusqu’à env.
250mA. Pour des courants supérieurs à 250mA (jusqu’à
10A), vous devez utiliser la prise 10A.
2) Sélectionnez la plage appropriée. Si la valeur du
courant est totalement inconnue, sélectionnez d’abord la
plage la plus élevée. Branchez les cordons de mesure
en série avec les connecteurs de la source de tension
après charge. Lisez le courant mesuré sur l’afficheur.
Seul le courant continu est mesuré.

Mesures de résistance
1) Branchez le cordon noir sur la prise ‘COM’ et le rouge sur la
prise V/Ω/F. Note : Le cordon de mesure rouge est positif.
2) Réglez le sélecteur sur Ω. Branchez les cordons de mesure
sur la résistance à tester et lisez la valeur de résistance
mesurée.
Test de continuité et de diode
1) Branchez le cordon noir sur la prise ‘COM’ et le rouge sur la
prise V/Ω/F. Réglez le sélecteur sur la position /et
appuyez sur la touche rouge portant le même symbole
afin de choisir entre la continuité et la diode.
2) Dans le cas du test de continuité le multimètre émet un bip
lorsque la résistance est inférieure à 40 Ohms.
3) Les diodes de redressement et de signal sont testées en
branchant le cordon rouge sur l’anode et le cordon noir sur la
cathode. L’afficheur indique la chute de tension en avant de
la diode (env. 0,6V pour une diode au silicium). Avec le
cordon rouge sur la cathode et le cordon noir sur l’anode, une
diode en bon état doit bloquer complètement et ‘OL’ s’affiche.
Test de transistor (Mesure hFE)
1) Sélectionnez la position hFE .
2) Insérez les fils de connexion du transistor à tester dans les
trous appropriés de la prise de test. Le multimètre peut
mesurer aussi bien des transistors NPN que PNP.
3) L’afficheur indique le hFE (facteur d’amplification) du
transistor (courant de base 10µA, tension collecteur/émetteur
2,8V).
REMPLACEMENT DE LA BATTERIE OU DU FUSIBLE
Lorsque le symbole " " s’affiche, la pile est usée. Ouvrez le
boîtier en retirant les deux vis au dos. Changez la pile ou le fusible
s’il est défectueux et revissez le couvercle.
Other manuals for 600.005
1
Table of contents
Languages:
Other SKYTRONIC Multimeter manuals