SL TF Series User manual
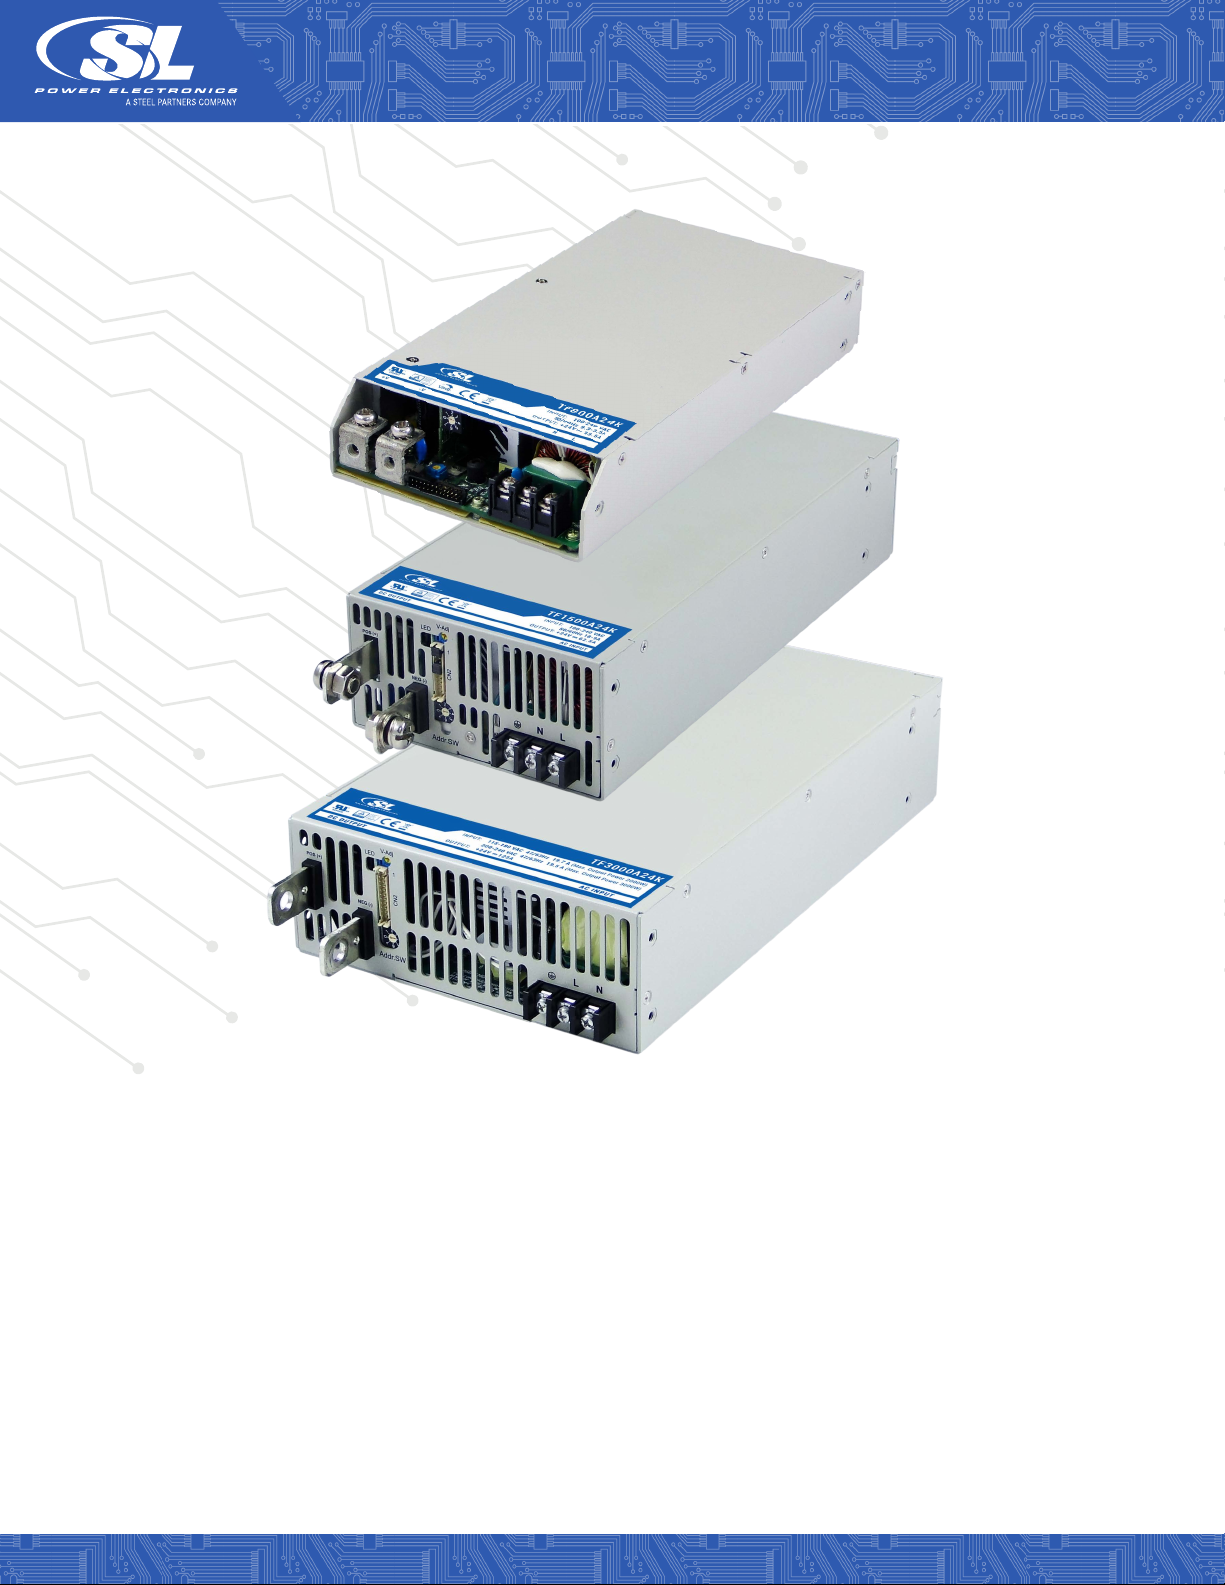


This manual suits for next models
3
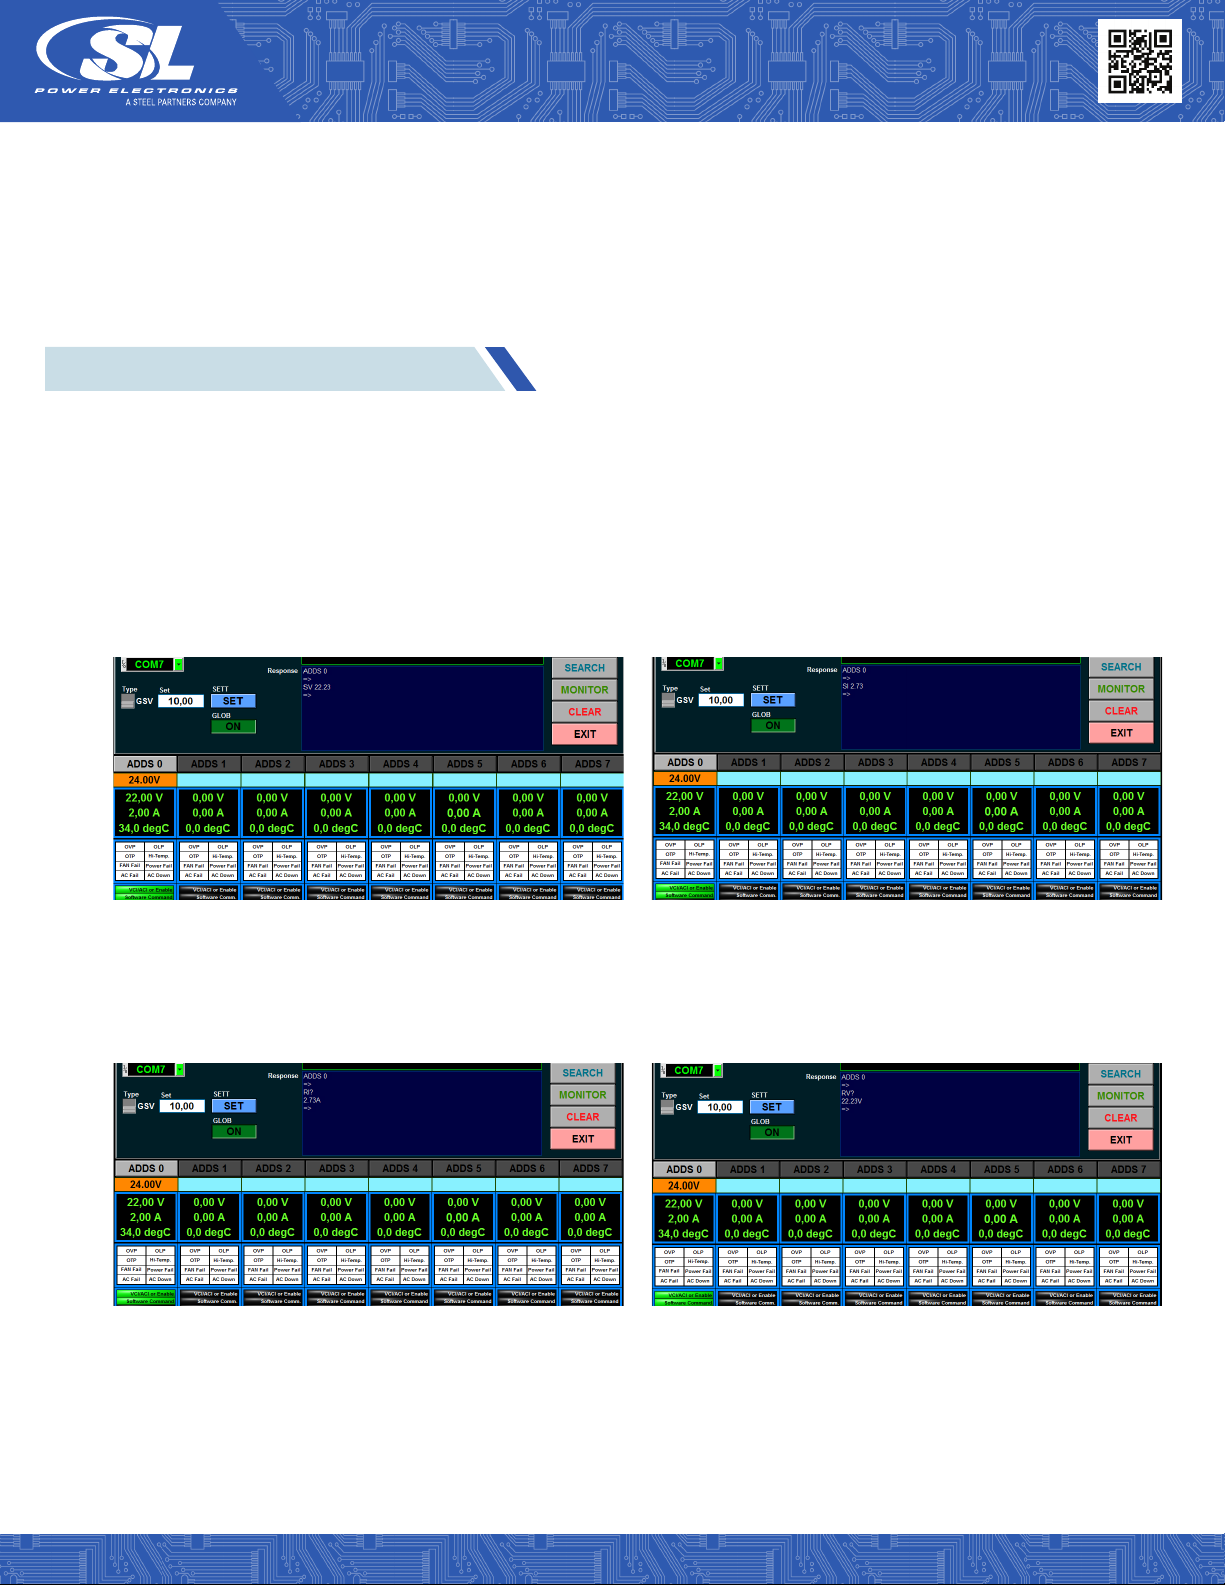
Table of contents
Other SL Power Supply manuals

Popular Power Supply manuals by other brands

Circuit-test
Circuit-test PSC-4120 Operation manual

Gallagher
Gallagher M35 instructions

Wealtec
Wealtec ELITE 200 Service & operation & instruction manual

Ametek
Ametek Sorensen Operation manual

Agilent Technologies
Agilent Technologies E3646A/47A user guide

Lumascape
Lumascape PowerSync LS6550 installation instructions

3B SCIENTIFIC PHYSICS
3B SCIENTIFIC PHYSICS 3B ELWE U33010 instruction sheet

Rohde & Schwarz
Rohde & Schwarz R&S NGM200 Series Getting started

NewMar
NewMar Phase Three PT-CE Series Installation & operation manual

TDK-Lambda
TDK-Lambda Genesys Series user manual

SFC Energy
SFC Energy EFOY Pro Series Hints & Tips

Kohler
Kohler MT80CHP Installation

Delta Elektronika
Delta Elektronika SM15K Series product manual

CREE LIGHTING
CREE LIGHTING SmartCast CSC-CPS-120V installation instructions

National Instruments
National Instruments NI PXI-1006 user guide

H3C
H3C PSR1600-54A-B user manual

Gofort
Gofort UA1100 user manual

Regulus
Regulus PG 1000 Installation and operation manual