SLE AEDI WASH GLOBUS 90 RGBW User manual

AEDI WASH GLOBUS 90 RGBW
User Manual
Please read the instructions carefully before use
Version 1.0

1
CONTENTS
1. SAFETY INSTRUCTION......................................................................................2
2. ABOUT THE PRODUCT.......................................................................................4
3. TECHNICAL SPECIFICATIONS........................................................................4
4. ACCESSORIES.......................................................................................................5
5. HOW TO SET THE FIXTURE.............................................................................6
5.1 CONTROL PANEL.........................................................................................6
5.2 MAIN FUNCTIONS........................................................................................7
6. HOW TO CONTROLTHE UNIT.......................................................................13
6.1 DMX controller..............................................................................................13
6.2 DMX 512 configuration.................................................................................15
7. DMX512 CONNECTIONS...................................................................................16
8. TROUBLESHOOTING........................................................................................17
9. FIXTURE CLEANING AND MAINTANCE.....................................................18
2
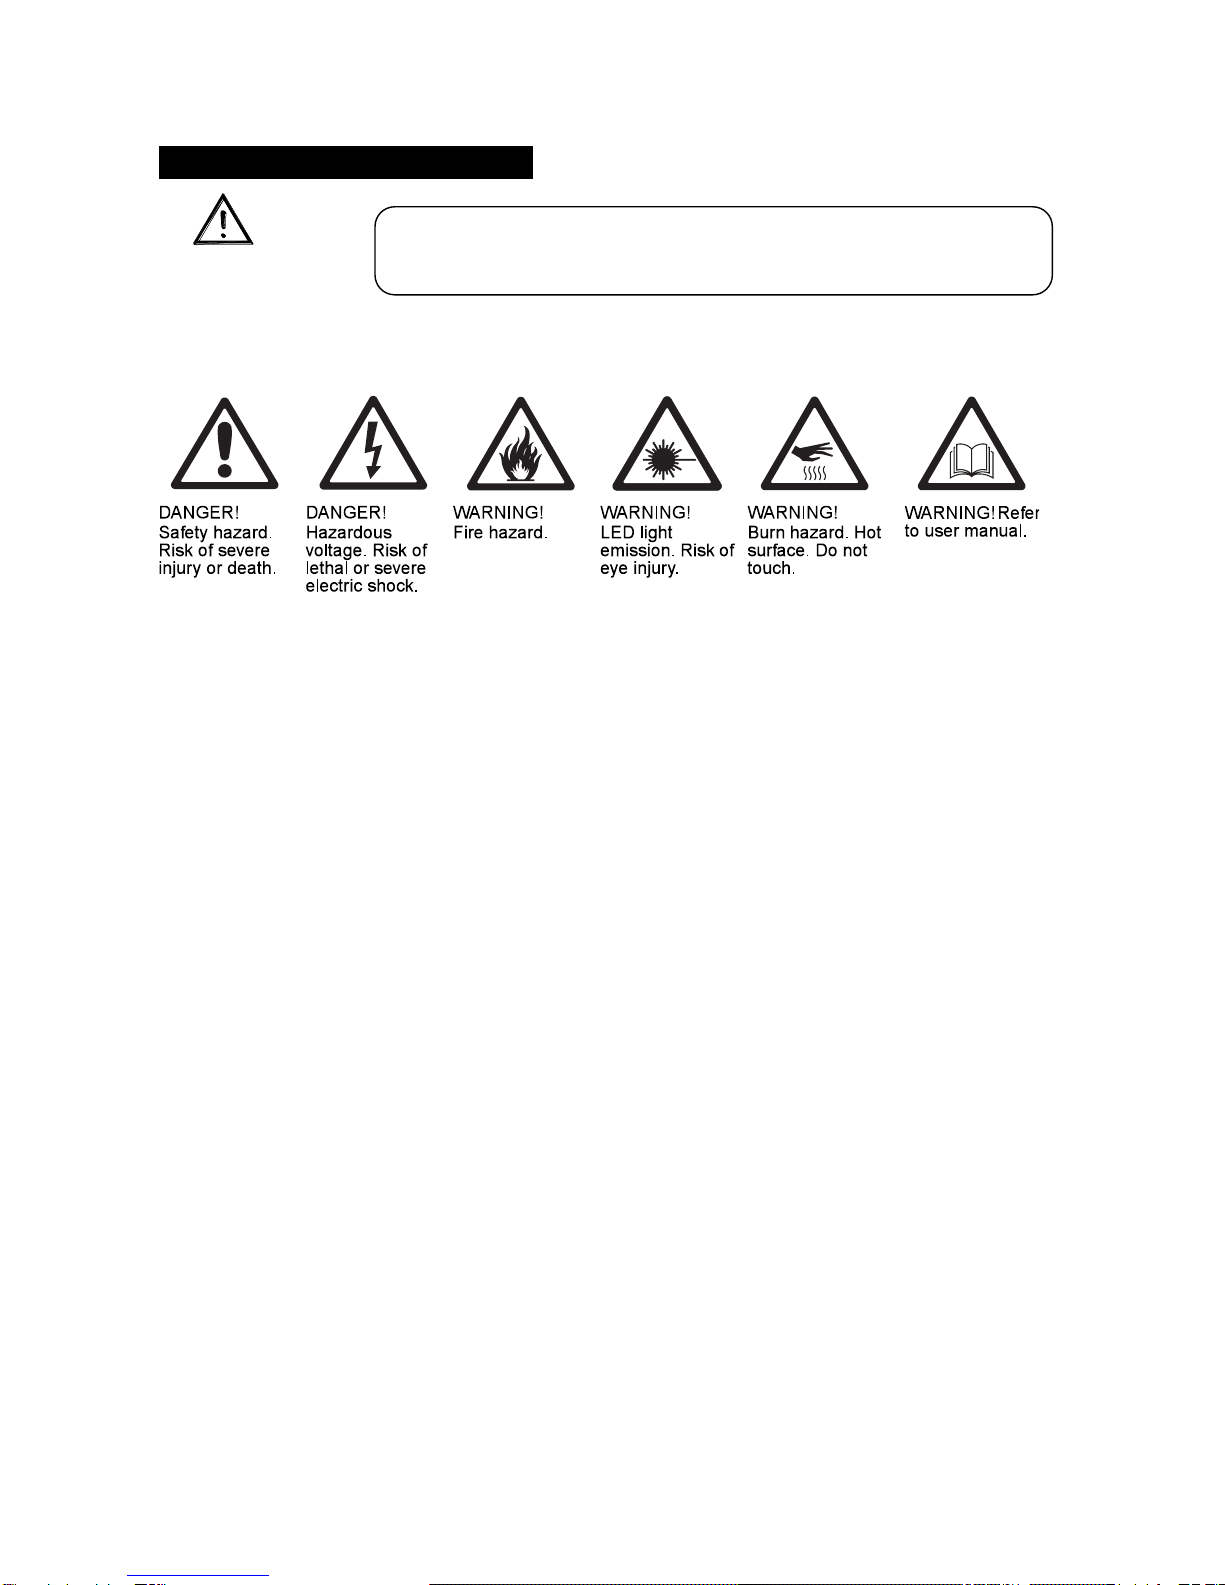
1. SAFETY INSTRUCTION
WARNING
Please keep this User Guide for future consultation. If you sell the unit to another user, be sure
that they also receive this instruction booklet.
Caution:
All fixtures are intact from the manufacturer, please operate follow up the user manual, artificial
fault are not under guarantee repair.
Unpack and check carefully that there is no transportation damage before using the unit per first
time.
DO install and operate by operator.
Use safety chain when fixes the unit.
The unit must be installed in a location with adequate ventilation, at least 50cm from adjacent
surfaces.
Before operating, ensure that the voltage and frequency of power supply match the power
requirements of the unit.
It’s important to ground the yellow/green conductor to earth in order to avoid electric shock.
Maximum ambient temperature Ta: 40°C. DO NOT operate it where the temperature is higher
than this.
DO NOT connect the device to any dimmer pack.
Make sure there are no flammable materials close to the unit while operating, as it is fire
hazard.
Look over power wires carefully, replace immediately if there is any damage.
Unit surface temperature may reach up to 60°C. DO NOT touch the housing bare-hand during
its operation.
Please read the instructions carefully which includes important
information about the installation, operation and maintenance.

3
Avoid any inflammable liquids, water or metal objects entering the unit. Once it happens, cut
off the mains power immediately.
DO NOT operate in dirty and dusty environment, also cleaning fixtures regularly.
DO NOT allow children to operate the fixture.
DO NOT touch any wire during operation as there might be a hazard of electric shock.
Avoid power wires together around other cables.
Replace fuse only with the same type.
In the event of serious operating problem, stop using the unit immediately.
The housing and the lenses must be replaced if they are visibly damaged.
DO NOT open the unit as there are no user serviceable parts inside. Never try to repair the unit
by yourself. Repairs carried out by unskilled people can lead to damage or malfunction. Please
contact the nearest authorized technical assistance center.
The manufacturer does not take responsibility if the device is operated under conditions other than
described in this manual. The product may suffer damage and the guarantee becomes void.
Installation:
The unit should be mounted via its screw holes on the bracket. Always ensure that the unit is
firmly fixed to avoid vibration and slipping while operating. Always ensure that the structure to
which you are attaching the unit is secure and is able to support a weight of 10 times of the
unit’s weight. Also always use a safety cable that can hold 12 times of the weight of the unit
when installing the fixture in the air.
The equipment must be fixed by professionals. And it must be fixed at a place where is out of
the touch of people and has no one pass by or under it.
If you use a 230V 50Hz power supply, DO NOT connect in series more than 12 units; use
another main supply for the next 12 fixtures.
If you use a 120V 60Hz power supply, DO NOT connect in series more than 6 units; use
another main supply for the next 6 fixtures.

4
2. ABOUT THE PRODUCT
The stylishly modern and unassuming exterior of AEDI WASH GLOBUS houses state-of-the-art
RGBW LED technology and made using the highest quality materials and construction methods.
Bringing the flexibility to outdoor application, this powerful lighting fixture is ideally suited to use
in landscape and building illumination, and IP66 ensures safe operation in even the most
demanding areas. With integral built-in AC/DC power supply of 230VAC.
3. TECHNICAL SPECIFICATIONS
- OMS R&D specialists have designed this fixture to replace the traditional outdoor 400W
discharge fixtures.
- Proper thermal management with active cooling system and heavy duty design to ensure reliable
performance under harsh environment
- It features 90pcsx3W CREE RGBW LEDs provides powerful output and excellent color
mixing.
- Great built-in programs for instant light shows.
- Different optical systems, ideal for different applications –for the illumination of buildings,
bridges, stadium, landscapes, theme parks and more.
- Die-cast housing and thermal management for the reliable performance.
- Power Electronics using 1 kHz refreshing frequency, flicker-free under HD camera
Table of contents


