Support:
www.slxtechnology.com/support
Applications
SLx Boosters incorporate a Class 3 lter to
reduce 4G interference and are suitable
for digital TV signals Ch21-59 (470-782MHz)
however if you wish to receive TV on Ch60
you should use a DigiLink SLx Booster with IR
Bypass. Which may need a Ch60 lter if you
are affected by 4G interference (currently
available from at800 free of charge).
Installation
Important note: attention is drawn to the
General Safety Precautions Panel above
which contains advice on safe installation
and operation of these products.
Location
Choose a location for the booster from which
it is convenient to run cables from the
antennas and to the system outlets.Typical
examples of suitable locations are a loft
space or a cupboard. In weak signal areas it
is best to keep the aerial cables as short as
possible.
Select a cool, dry location to install the
booster.This means a location where the
ambient temperature will remain between
-10°C and +40°C, and which is free from risk of
dripping or splashing water.
The xing location should allow adequate
access to the equipment for wiring and
maintenance. Clearance of at least 25mm
should be allowed around the left hand
side and top of the unit for ventilation. More
clearance will be needed on the other sides
to allow access for cables.
Fixing
The booster should be xed to a wall or other
suitable hard surface using the keyhole slots
on the back of the housing and suitable
screws and wall plugs, a template is provided
on page 4.
The booster should not be left supported by
its own wiring, nor should it be left resting on a
carpet or other insulating and/or ammable
surfaces.
Signal Connections
Input and output signal connections are
made using IEC coax connectors. Good
quality plugs and digital quality double
screened coaxial cable should be used to
ensure optimum performance from your
booster.
General Safety Precautions
To Prevent Overheating
The recommended clearances and other precautions given in these instructions must be
observed to prevent overheating. In addition, units should not be positioned where they are
likely to become covered by curtains, fabric or insulating material. The amp should not be
left resting on a carpet or any other fabric surface.
Other precautions
These appliances are not waterproof, they are intended for indoor use only and must not be
positioned where they could be exposed to dripping or splashing water. Objects containing
liquids should not be placed on or near the booster.
To prevent re, make sure the unit and attached cabling is installed well away from naked
ames and other heat sources.
Mains Plug
Your booster is supplied with a standard mains plug already tted, if you need to change
the plug use a competent professional (ELECSA or NICEIC) to make the connection.
If you need to change the fuse use a 3 Amp fuse to BS1362 carrying the ASTA or BSI
approved mark and ret the plastic fuse carrier.
Before Installing Please Note
1. Connect your TV aerial* downlead to the
“ANT IN” socket and connect the power
supply jack to the “DC12V” socket .
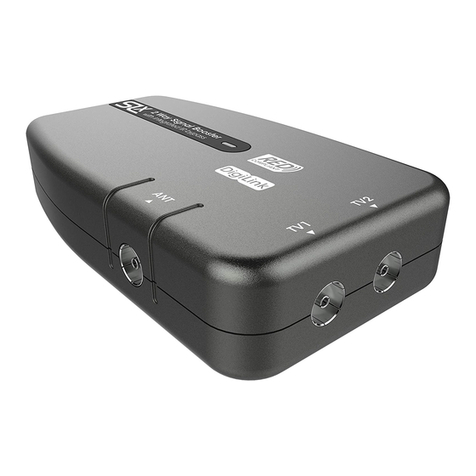
2. Connect your TVs/Freeview receivers/
satellite receivers to any of your booster”s
TV sockets (located on the top of the
booster) in any combination.
3. Plug the power supply into a mains wall
socket and switch on.
PLEASE NOTE: If your TV does not have a
built-in Freeview™ receiver you will need
to connect your TV to the booster via a
Freeview™ receiver or PVR.
*The boosters can also be used to amplify
FM/DAB radio signals
Support:
www.slxtechnology.com/support
2 3
Installing your Booster
Aerial signal distribution:
HDMI/
SCART
MAIN TV
TV Aerial
Freeview
™
Receiver/PVR
Satellite Receiver
DC12VANT IN
HDMI/
SCART
MAIN TV
TV Aerial
Freeview
™
Receiver/PVR
Satellite Receiver
TV
TVTV
DC12VANT IN
Aerial signal distribution to a single TV, Freeview receiver, PVR or satellite receiver,
choose one of the three connection options shown in black:
Aerial signal distribution to multiple TVs, receivers:


