manuals.online logo
Brands
  1. Home
  2. •
  3. Brands
  4. •
  5. SMAI
  6. •
  7. Home Gym
  8. •
  9. SMAI XF-WM-CUB User manual

SMAI XF-WM-CUB User manual

SOLO CHIN UP AND BAG
BRACKETS XF-WM-CUB
SOLO CHIN UP AND BAG BRACKETS
2
PART NUMBER DESCRIPTION QUANTITY
1MAIN FRAME 2
2SUPPORT ROD 2
3CHIN-UP BAR 1
4HOOK 2
5EXPANSION SCREW
M10*70 10
6HEX BOLT M10*70 4
PART NUMBER DESCRIPTION QUANTITY
7HEX BOLT M10*16 2
8BIG WASHER 10 2
9WASHER 10 8
10 LOCK NUT M10 6
11 ROUND PLUG 2
12 BOLT CAP M10 12
3
1
Remove all components from packaging. Check the parts list from the previous page to ensure all components are
accounted for.
2
The assembly requires at least 2.0m of space width-wise on a wall. Ensure you have a suitable location.
3
Take 1 of the MAIN FRAME (#1) components and test fit against the wall. You will need to determine the appropriate
height for the bracket. This will depend on your intended use or on the installation height of any bags you intend to
hang from the frame.
4
Once the adequate height has been determined, mark the location of the lowest bolt hole.
5
Remove the main frame from the wall. Use a ruler to mark the drill locations for the additional holes. These are spaced
225mm vertically as per the attached mounting diagram below. Use a spirit level, laser level or plumb bob if available
to ensure the mounting points are precisely vertical.
14mm
225mm
225mm
1140mm
SOLO CHIN UP AND BAG BRACKETS
4
6
The other MAIN FRAME (#1) must now be located. The mounting holes must be marked 1140mm away from the first
bracket mounting holes. This must be horizontal. A spirit level can be used to ensure the points are precisely horizontal.
7
Use a 14mm masonry bit to drill out the mounting holes. A 9/16” bit can be used as an alternative. These must be
drilled out to a minimum depth of 75mm.
8
Ensure that all debris are removed from the mounting holes.
9
The main frames can now be lifted into position and fixed to the wall using the supplied anchor bolts, EXPANSION
SCREW M10*70 (#5).
5
10
Install the CHIN UP BAR (#3). If there are issues with fitment, it can help to loosen the anchor bolts of one or both of
the main frames to allow some freedom of movement. Once the chin up bar is installed, ensure that these anchor bolts
are tightened back down appropriately.
11
Install the HEX BOLT M10*16 (#7) set screws to lock the chin up bar in position.
SOLO CHIN UP AND BAG BRACKETS
6
12
The SUPPORT ROD (#2) can now be lifted into position. Use the supplied HEX BOLT M10*70 (#6) bolt to fix the support
rod in position loosely.
13
Mark the position of the outer mounting hole. The inner mounting hole DOES NOT require an anchor bolt. Repeat for
both sides and remove the support rods for drilling.
14
Drill out the mounting holes as PER STEP 7.
7
15
Ensure that all debris are removed from the mounting holes.
16
Reinstall the support rod to the main frame using supplied HEX BOLT M10*70 (#6), WASHER 10 (#9), and a LOCK NUT
M10 (#10). Install these bolts loosely at first to ensure there are no alignment issues for the anchor bolt installation.
17
Install the EXPANSION SCREW M10*70 (#5) anchor bolts and tighten down securely.
18
Tighten the M10*70 bolts to fully secure the support rod to the main frame. Ensure both sides are fully secure.
SOLO CHIN UP AND BAG BRACKETS
8
19
Install the HOOK (#4) to the main frame using a BIG WASHER 10 (#8) and a LOCK NUT M10 (#10). Install on both sides
and ensure they are tightened securely
20
Be sure to install the ROUND PLUG (#11) cap over any exposed nuts/bolts that may cause injury.
21
Make sure to double check:
a. All fasteners are tightened appropriately.
b. You have used washers where necessary, and;
c. There are no left over parts.
22
Job done!

Other SMAI Home Gym manuals

SMAI AIR ROWER User manual

SMAI

SMAI AIR ROWER User manual

SMAI AIRFIT User manual

SMAI

SMAI AIRFIT User manual

Popular Home Gym manuals by other brands

Gregster GRG-TG-001 user manual

Gregster

Gregster GRG-TG-001 user manual

Bowflex The BOWFLEX Xtreme2 Owner's manual & fitness guide

Bowflex

Bowflex The BOWFLEX Xtreme2 Owner's manual & fitness guide

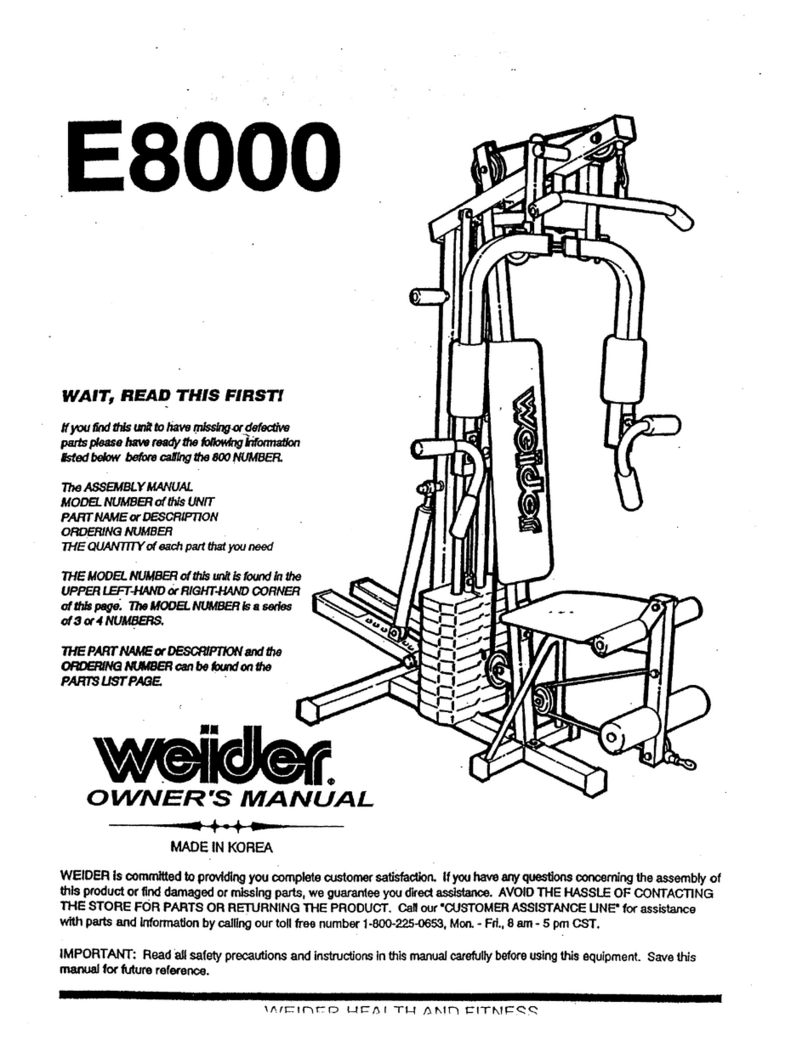
Weider E8000 Gym owner's manual

Weider

Weider E8000 Gym owner's manual

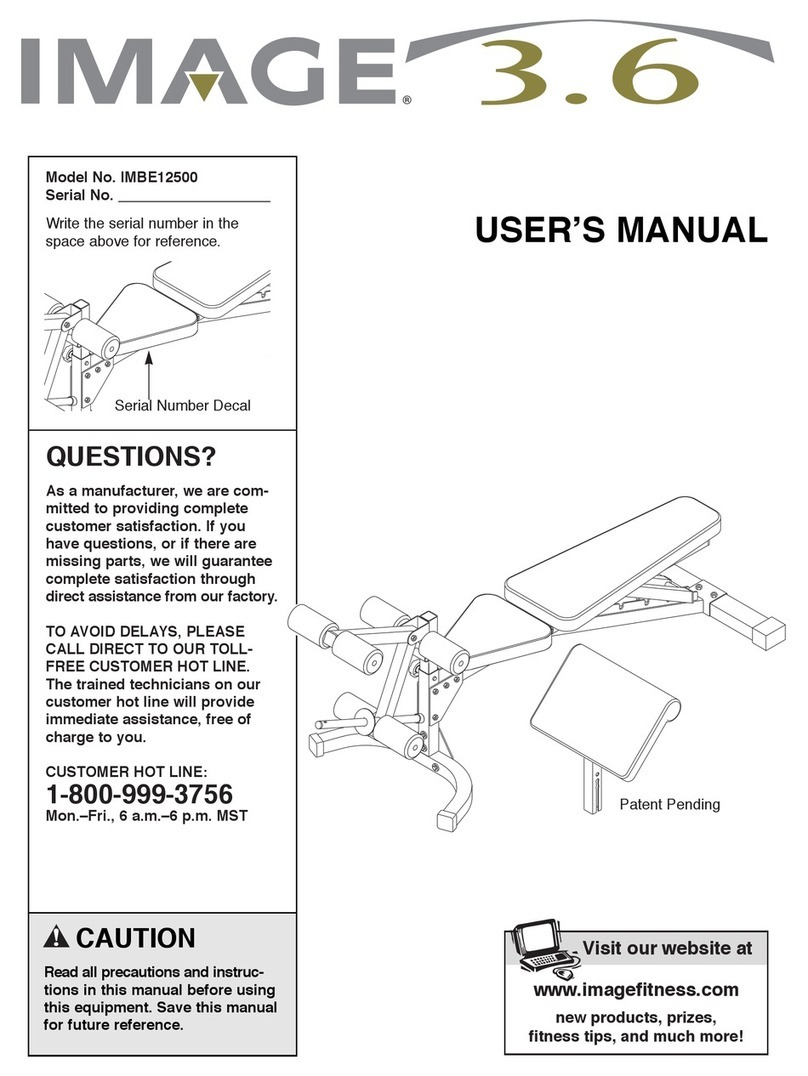
Image IMBE12500 user manual

Image

Image IMBE12500 user manual

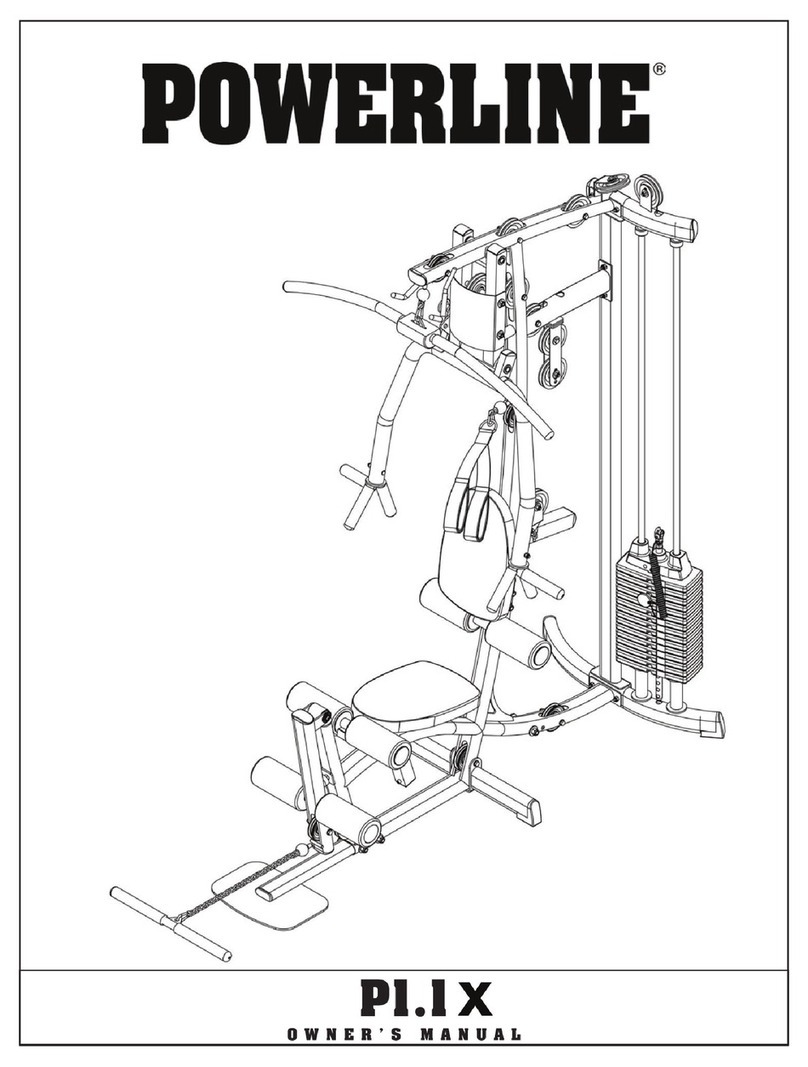
Powerline P1.1x owner's manual

Powerline

Powerline P1.1x owner's manual

Elite Fitness Stamina X Assembly manual

Elite Fitness

Elite Fitness Stamina X Assembly manual

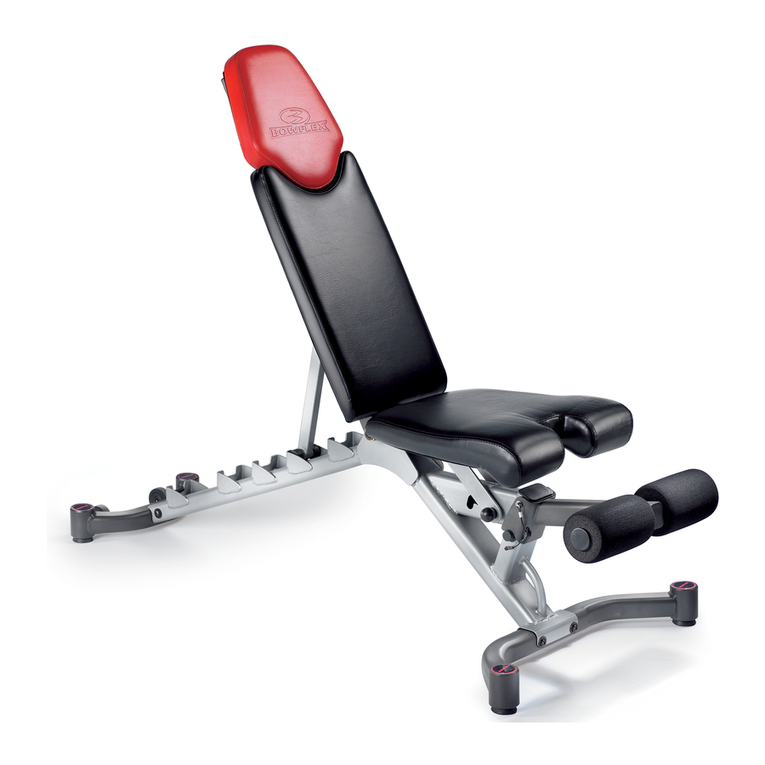
Bowflex SelectTech 5.1 Owner's/assembly manual

Bowflex

Bowflex SelectTech 5.1 Owner's/assembly manual

ParaBody 350 Assembly instructions

ParaBody

ParaBody 350 Assembly instructions

Trekkrunner ES-409 Assembly instructions

Trekkrunner

Trekkrunner ES-409 Assembly instructions

Weider WEBE0332.0 user manual

Weider

Weider WEBE0332.0 user manual

Impex MWB-214 owner's manual

Impex

Impex MWB-214 owner's manual

Master HERMES user manual

Master

Master HERMES user manual

VIRTUFIT Row 1.0 user manual

VIRTUFIT

VIRTUFIT Row 1.0 user manual

Bowflex Xtreme Assembly instructions

Bowflex

Bowflex Xtreme Assembly instructions

SportsArt Fitness ICARE E872MU manual

SportsArt Fitness

SportsArt Fitness ICARE E872MU manual

ParaBody PBF353 Assembly instructions

ParaBody

ParaBody PBF353 Assembly instructions

Smooth Fitness EVO RIO GRANDE II owner's manual

Smooth Fitness

Smooth Fitness EVO RIO GRANDE II owner's manual

ICON Health & Fitness NordicTrack RW600 user manual

ICON Health & Fitness

ICON Health & Fitness NordicTrack RW600 user manual

manuals.online logo
manuals.online logoBrands
  • About & Mission
  • Contact us
  • Privacy Policy
  • Terms and Conditions

Copyright 2025 Manuals.Online. All Rights Reserved.