manuals.online logo
Brands
  1. Home
  2. •
  3. Brands
  4. •
  5. Smart Comfort
  6. •
  7. Indoor Furnishing
  8. •
  9. Smart Comfort 1510 User manual

Smart Comfort 1510 User manual

WARNING! ENTRAPMENT OR CRUSHING RISK
Ensure there is no person, animal or item obstructing the area under
the footrest before operating this device.
Model: 1510
Assembly Instructions
ASSEMBLY INSTRUCTIONS
Please read these instructions carefully before operating.
• Never force the back or footrest to close faster than the electric motor.
• Before commencing cleaning or maintenance, ensure this product is disconnected from the power outlet and back is
in the full upright position.
• Disconnect this product from the power outlet before moving.
• Cease operation and disconnect from the power outlet if you ever detect a burning odour or smoke coming from the
product.
• Do not operate this product if liquid spillage occurs on or around it. Disconnect from the power outlet and allow
product to completely dry before reconnecting.
• Do not operate the power functions or charge station with wet hands.
• Check the condition of the power cord, electrical cords, transformer, plug and connector on a monthly basis. Do not
operate if wear is visible.
• Ensure the power cord, electrical cords and transformer are clear of moving parts and not trapped underneath the
base.
• Position the power cord to minimise a tripping hazard.
• Never attempt to open or disassemble electrical components.
• We recommend the use of a surge protector (not included).
SAFETY INSTRUCTIONS
ELECTRICAL SAFETY
Please read these instructions carefully before operating.
• Ensure there is no person, animal or item obstructing the area under the footrest before operating this product.
• Improper use or installation may result in the risk of fire, electric shock and/or injury. We assume no liability for any
eventual damages caused by improper use or inappropriate handling, or by any other non-compliance with the
instructions in this manual.
• This product is not intended for use by persons (including children) with reduced physical, sensory or mental
capabilities, or lack of experience and knowledge, unless they have been given supervision or instruction concerning
use of the product by a person responsible for their safety.
• Children should be supervised to ensure that they do not play with the product.
• This product contains moving parts. Keep fingers, hair and body parts well clear from moving parts. To reduce the
risk of injury, keep children and pets clear of the product when in use.
• Do not sit or place additional weight on the arms, back or open footrest.
• This product is very heavy. Only move this product by lifting the main body. Never drag by the footrest, back or arm
rest.
• Return this product to the full upright position to exit safely and prevent a tripping hazard.
• Do not operate this product if damage is visible in any form.
• Do not modify or use unauthorised substitute parts.
• This product has been designed and intended for indoor residential use only. It is not suitable for commercial or
outdoor use.
• This product is not intended to be used as part of a health care plan. Consult your medical professional before
operating if you are taking medication or have physical limitations.
• Do not exceed the maximum 120kg weight limit for this product.
Assembly Instructions
3 Seater
Please read these instructions carefully before assembling.
1. Attach the seat backs to the base by sliding the metal receivers Aover the metal posts B(Figure 1).
Ensure both sides align before pushing down firmly from the top to lock in place. The seat backs are
heavy. Ask a friend to hold the back in place if you need help aligning the receivers and posts. Repeat
across all seat backs. The console back on the 2 Seater is packed under the console.
2. Locate the power cords C1 and C2 attached to the seat back and the power cords D1 and D2 at the rear
of the seat base. Connect C1 to D1 and C2 to D2 (Figure 3). C1 and D1 can be identified by the red tape.
3. On the middle seat (3 Seater ONLY), locate the light cord E1 attached to the seat back and connect to
plug F1 at the rear of the seat base (Figure 2).
4. Locate the power cord G(3 Seater ONLY) and plug into a power outlet.
5. Check all connections are firm and secure before velcroing down the flaps on the backs of all seats.
6. Locate the transformer Pand connect to the cable at the rear of the arm. Plug the transformer into a
power outlet.
7. Your suite is now assembled and ready to be switched on at the power outlet. Please read the safety
instructions before operating.
ASSEMBLY INSTRUCTIONS
2 Seater Recliner
Figure 1 Figure 2 Figure 3
TROUBLE SHOOTING
If you are having any issues please try the following solutions.
• Unplug the suite for 5 minutes to reset all electrical components.
• Check that all plugs are plugged into a power outlet and are secure. Please check that the power outlet
is switched on. Try plugging the suite into a different power outlet.
• Check to ensure that all connection cords are properly connected, as per the step by step instructions.
There are multiple connections, any of which being too loose may cause performance issues.
• Ensure no cords are pulled too tight. If the cord does not reach its destination with ease you may be
trying to plug it into the wrong location. Please refer back to the step by step instructions to double
check. If it is still is too short/tight, please contact the store you purchased the suite from.
• Ensure there is nothing obstructing the recliner movement.
• Ensure the correct back is on the correct base –Eg: left back is on left base.
• The USB ports on the charge station are low voltage. Please use the 240V socket if you are charging a
larger device or require a faster charge.
• Please check all connections before contacting the store for more help.
If the suite continues to fail please contact the store from which it was purchased from.
Assembly Instructions
Synargy is a registered responsible supplier on ERAC. Electrical components within our products have
been tested and comply with all legal requirements imposed for electrical safety and EMC.
V2
OPERATION INSTRUCTIONS
Hand Controller Operation
Power Recline, Power Lumbar and Power Headrest can be operated from the hand controller on the outside of
the arm.
Front of suite
Open Close Open Close Open Close
Power Recline Power Lumbar Power Headrest
Charge Station (3 Seater Only)
A Charge Station is located in the drop down table of the 3 seater.
There are 2 x 240V outlets and 2 x USB ports. The light above the USB
ports will glow green when ready to charge and red when a device is
connected and charging.
For larger devices such as tablets and laptops, we recommend using
the 240V outlets to charge.
USB Charger (2 Seater Only)
A USB Charger is located in the console of the 2 Seater. There are 2
USB ports. Connect a device to automatically begin charging.
LED Reading Lights (3 Seater Only)
The LED Reading Lights are controlled from a touch switch on the
drop down table. Three brightness levels are available. Lights will
automatically turn off 2 hour after last operation.
LCD Screen Operation (2 Seater Only)
1. Menu - Select which seat is being controlled - Right, Left or Both at the same time. Press once to cycle
through options.
2. Memory - Press once to return the seat to the programmed position. Two positions can be programmed -
M1 and M2. To program a position, select the seat to be set and use the Head, Foot and Lumbar controls
to adjust the seat to the desired position. Press and hold M1 for 3 seconds until a sound is heard. Your
position is now memorised. Repeat the process to set M2.
3. Cup Holder - Press once to turn the cup holder LED light on/off.
4. Lock - Press and hold for 3 seconds until a sound is heard. Button operation is now locked. Repeat the
process to unlock.
5. Home - Press and hold to return all seat functionality to the reset position.
6. Head - Press and hold the arrow to raise/lower the headrest.
7. Foot - Press and hold the arrow to raise the footrest and recline/close the footrest and return to the
seated position.
8. Lumbar - Press and hold the arrow to extend/retract the lumbar.
Left Seat Only
Right Seat Only
1 2 3
4 5
6 7 8

Other Smart Comfort Indoor Furnishing manuals

Smart Comfort CAMERON User manual

Smart Comfort

Smart Comfort CAMERON User manual

Smart Comfort PAVILION LOUNGE 581210 User manual

Smart Comfort

Smart Comfort PAVILION LOUNGE 581210 User manual

Smart Comfort SADLER LIFT CHAIR User manual

Smart Comfort

Smart Comfort SADLER LIFT CHAIR User manual

Smart Comfort SADLER RECLINER User manual
Smart Comfort

Smart Comfort SADLER RECLINER User manual

Smart Comfort 1752 User manual

Smart Comfort

Smart Comfort 1752 User manual
Smart Comfort MIA LOUNGE 328480 User manual

Smart Comfort

Smart Comfort MIA LOUNGE 328480 User manual

Smart Comfort Titan Lounge User manual
Smart Comfort

Smart Comfort Titan Lounge User manual

Smart Comfort LANGDON User manual

Smart Comfort

Smart Comfort LANGDON User manual
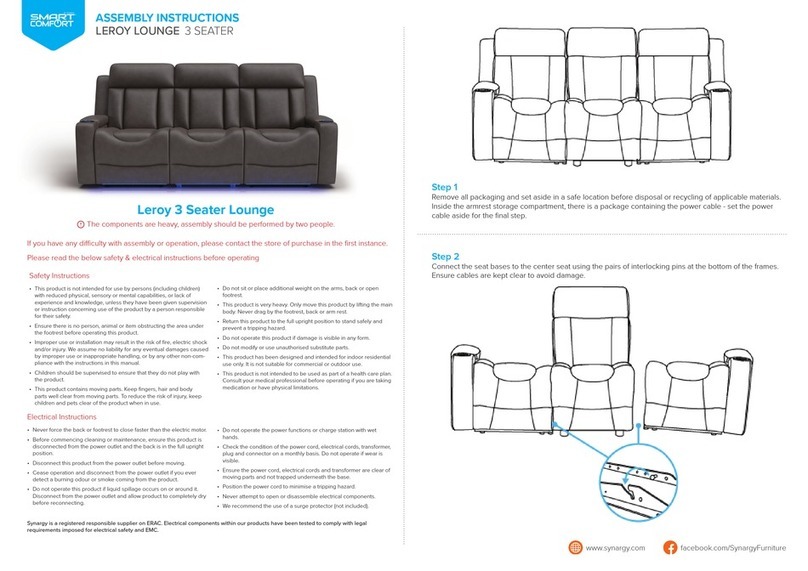
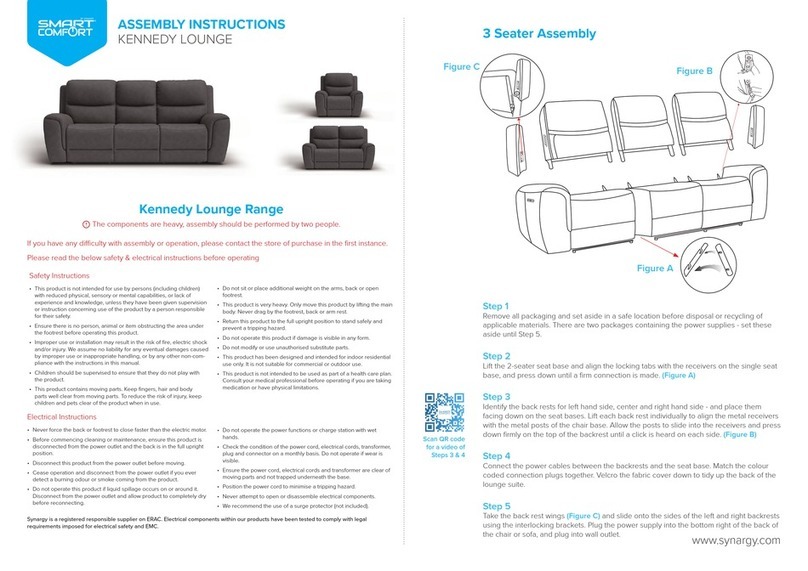
Smart Comfort Leroy Lounge 3 Seater User manual
Smart Comfort

Smart Comfort Leroy Lounge 3 Seater User manual

Smart Comfort Kennedy Lounge Range User manual

Smart Comfort

Smart Comfort Kennedy Lounge Range User manual

Smart Comfort ATLANTIC 321280 User manual

Smart Comfort

Smart Comfort ATLANTIC 321280 User manual

Smart Comfort 556038 User manual

Smart Comfort

Smart Comfort 556038 User manual

Smart Comfort LUCY JF1116 User manual

Smart Comfort

Smart Comfort LUCY JF1116 User manual

Popular Indoor Furnishing manuals by other brands

Songmics HSR11 General Guidelines

Songmics

Songmics HSR11 General Guidelines

HAIDER BIOSWING Beauty instruction manual
HAIDER BIOSWING

HAIDER BIOSWING Beauty instruction manual

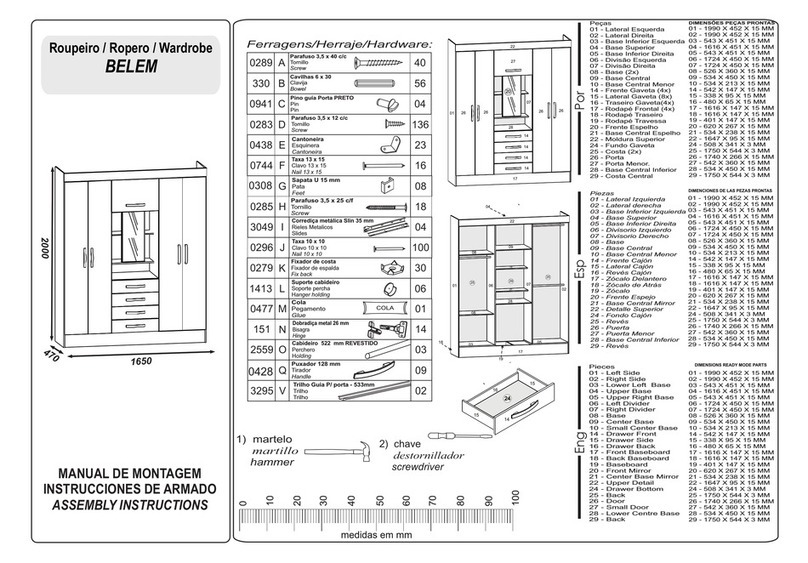
MICA BELEM Wardrobe Assembly instructions
MICA

MICA BELEM Wardrobe Assembly instructions

Lutron Electronics Sivoia QED Installation instructions manual

Lutron Electronics

Lutron Electronics Sivoia QED Installation instructions manual

New Classic Furniture YORK S1219-BS Assembly instructions
New Classic Furniture

New Classic Furniture YORK S1219-BS Assembly instructions

RiverRidge 06-025 Assembly instructions
RiverRidge

RiverRidge 06-025 Assembly instructions

Demeyere 157119 0 Assembling instructions
Demeyere

Demeyere 157119 0 Assembling instructions

Anmytek H0037 Assembly & instruction manual
Anmytek

Anmytek H0037 Assembly & instruction manual

Uberhaus 68635092 Operator's manual

Uberhaus

Uberhaus 68635092 Operator's manual
Casalista banos BBRT010000WEWETRC2 Assembly & instruction manual
Casalista

Casalista banos BBRT010000WEWETRC2 Assembly & instruction manual

Target 249-14-0039 Assembly instructions
Target

Target 249-14-0039 Assembly instructions

RoomTec Murphy Bed Accessories Installation instructions manual
RoomTec

RoomTec Murphy Bed Accessories Installation instructions manual

BERNSTEIN TIM 165395 Instructions for mounting and use
BERNSTEIN

BERNSTEIN TIM 165395 Instructions for mounting and use

Cooper Lighting PORTFOLIO QD19 specification
Cooper Lighting

Cooper Lighting PORTFOLIO QD19 specification

IMG Relaxer Chair Assembly instructions

IMG

IMG Relaxer Chair Assembly instructions

Babylo Westland Cot Bed instruction manual

Babylo

Babylo Westland Cot Bed instruction manual

Lifa Living VIDAR manual

Lifa Living

Lifa Living VIDAR manual
Marco Kyndall Laine 5FS55-G Assembly instructions

Marco

Marco Kyndall Laine 5FS55-G Assembly instructions

manuals.online logo
manuals.online logoBrands
  • About & Mission
  • Contact us
  • Privacy Policy
  • Terms and Conditions

Copyright 2025 Manuals.Online. All Rights Reserved.