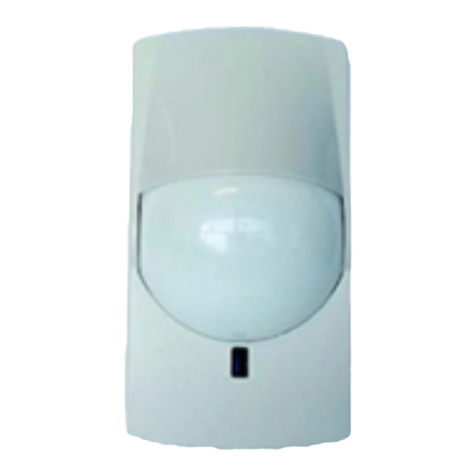
Smart Sensor AR8100 User manual

MODEL:AR8100
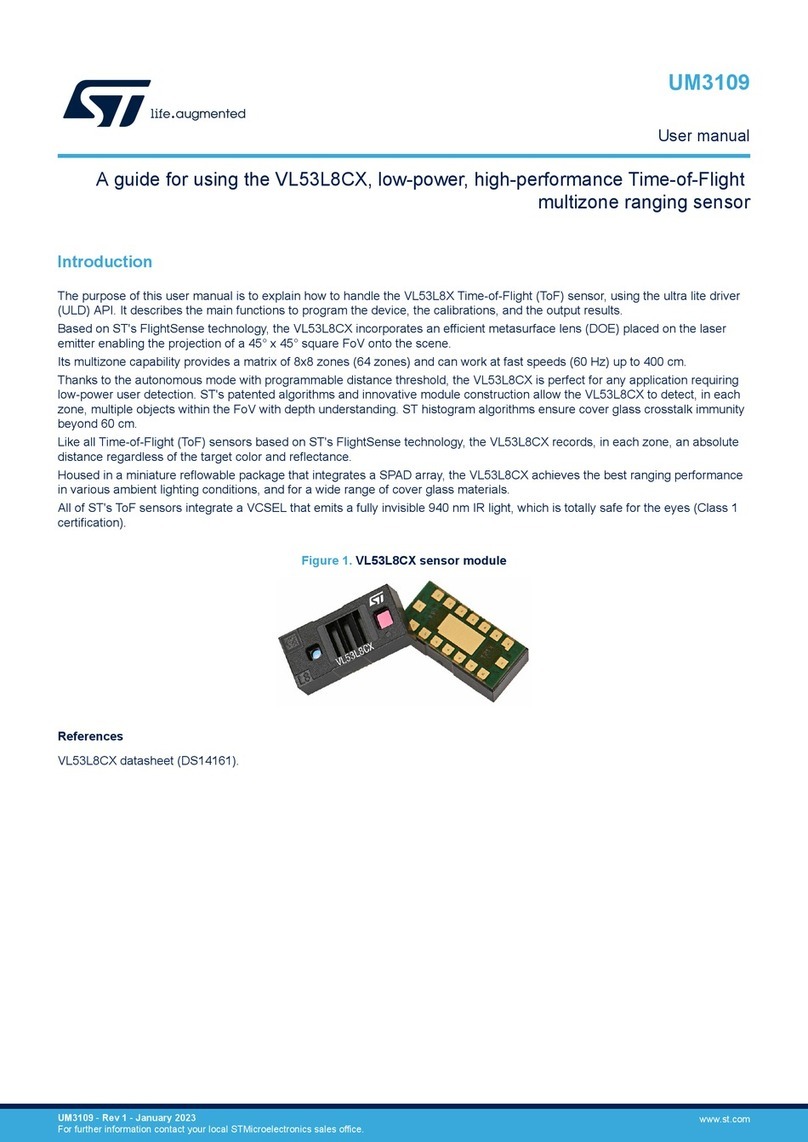
SENSOR
SMART
4 . I n t r o d u c t i o n
T h i s o x y g e n ( O ) d e t e c t o r can de t e c t t h e oxygen
2
c o n t e n t b e t w e e n the 0~25% (t h e u n i t o f v o l u m e
s i z e ) and it s h o w s t h e o x y g e n v o l u m e w i t h a n L C D .
T h e p r o d u c t features:
● A s i t u s e s t h e i m p o r t e d oxygen sensor ,i t i s v e r y
p r e c i s e and it s p e r f o r m a n c e i s s t a b l e .
● I t uses th e i n t e l l e c t u a l i z e d d e s i g n a n d h a s
g o t t e n multiple functions.
● W i t h highlight backlight di s p l a y a n d a c o u s t i c - o p t i c
a l a r m i n g ,it is e a s i l y c o n f i g u r e d .
● Th e e m b e d d e d t e m p e r a t u r e c o m p e n s a t i o n c a n
m a k e the me t e r m e a s u r i n g t h e c o r r e c t v a l u e i n t h e
e n v i r o n m e n t tempe r a t u r e of-20~5 0℃.
● A s i t s c a s e i s e r g o n o m i c a l l y d e s i g n e d ,it lo o k s
h a n d s o m e ,feels good an d i s e a s y t o c a r r y.
SENSOR
SMART
Oxygen Dete ctor
AR8100
MODE T / R
Oxygen Detector
Instruction manual
As this device is an intellectual precise measurement
apparatus, it is very important that you read through
th e s e in s t ruc t ion s b efo r e usi n g thi s d evi c e.
3.Explanation of the display
SENSOR
SMART
Oxygen D etec tor
AR81 00
MODE T / R
⑨
②
④
⑤
⑥
⑧
⑩
①
③
⑦
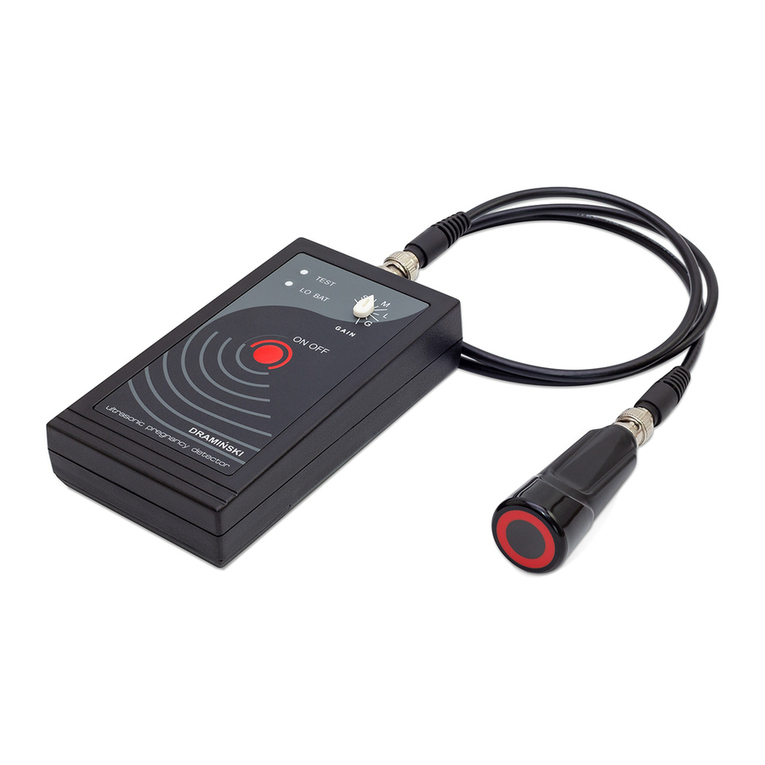
1.Explanation of the appearance
:ON/OFF
② Decrement button( )
③ Increment button / backlight ( )
④ MODE : Measurement mode button
⑤ The first siren (Blue indicator)
⑥ The second siren (red indicator)
⑦ Buzzer
⑧ LCD Display
⑨ Sensor
⑩ T / R: Temperature / relative humidity button
Battery compartment cover
①
●
O v e r measurement range di s p l a y : - - O L - -
●
A l a r m i n g m e t h o d : a c o u s t i c - o p t i c a l a r m i n g
●
Wo r k i n g p r i n c i p l e o f t h e s e n s o r : e l e c t r o c h e m i c a l
s e n s o r
●
Th e s e r v i c e l i f e o f t h e s e n s o r : 2 y e a r s ( i t c a n be
r e p l a c e d )
● P o w e r supply : 3 X 1. 5 V A A ba t t e r y
● B a t t e r y service life : ab o u t 1 0 0 h o u r s o f c o n t i n u o u s
u s e (when th e b a c k l i g h t i s o f f ) .
● S i z e :182*66*32 ( m m )
Black light
Battery
Measured value
C / F
Measurement prompt
Alarm
Temperature Measured value
Gas type
2. Technical parameters:
Detection of gas: O x y g e n ( O )
2
Measuring r an ge : 0-2 5%
R e s olu tio n: 0.1%
Basic error: Less than ± 0.1%
Response time: Less than 50 seconds
Recovery time: Less than 50 seconds
The principle of sensor: Electrochemical principle, life for two years
Battery:
Display: Large screen liquid crystal display
To alarm:
Acoustic, optical double alarm, can set the
alarm value, an alarm sound is divided into
80 dB
Working tem pe rat u re: -20 ~ 50 ℃
Working hum id ity: 0-9 5% R H ( Non Gel)
3 X 1.5V AA Battery

5.How to operate it
a.
1.5V AA battery in.
b.Power on/off
Press the to power on
c.Backlight On/Off
You can switch the backlight on or off by slightly touching
the
d.How to set up the alarming grade for the meter
Switch the meter to the preset status of the grade 4
alarming-line by slightly touching the MODE button
when the meter is in status of measurement SCAN and
the ALM shows in the display ; touch the Position
shift button and Figure Adjusting button (0-9) to set up
the data of the grade 4 alarming-line (if you touch the
MODE button now , you would give up setting up the
grade 4 alarming-line enters into the measurement
status); touch the MODE button to save the setup
value for the grade 4 alarming-line and switch the meter
to the status for setting up the grade 2 alarming-line and
ALM shows in the display .
Touch the position Shift button and Figure Adjusting
button (0~9) to set up the data of the grade 2
alarming-line (if you touch the MODE button now ,
you would give up setting up the grade 2 alarming-line
enters into the measurement status); touch the MODE
Push the cover downwards to open it and put new 3 X
Ap p li cat ion s:
● Oxyg en man u fa ctu rin g wo rk sho p
● Petr ole um r ef ini ng and pet roc he m ic a l plan ts
● Oxyg en con t en t de te c ti n g in tr ai n s and a ut omo bil es
● Oxyg en con t en t de te c ti n g in mi ne r al s
● Oxyg en con t en t de te c ti n g dur i ng m ou nta in
clim bin g an d in se al e d pla c e
● Othe r in du s tr ies an d pl ant s us in g ox yg e n.
6).If you are not going to use this meter for a long period
of time , turn off the meter and take out the batteries to
avoid damage due to the battery oozing liquid . If you take
out the batteries when the meter is on , the data preset
for the grade 4 and grade 2 alarming-line will be lost ;
when the meter is powered on and enabled , the previous
values preset for the grade 4 and grade 2 alarming will
return . If you are going to save the values preset for the
two grades of alarming lines , you must turn off the meter
normally once.
7).When there is a big difference between the displayed
value measured in the clean air by the meter and the 21%
value , a 21% calibration is required for the meter.
button to save the setup value for the grade 2
alarming-line and switch the meter to the status of 21%
calibration.
Touch the MODE button slightly to exit 21% calib
ration and the alarming line of the meter is set up.
(The factory default setup value for the grade 4
alarming-line is 19.5% and 18% for the grade 2
alarming-line.)
e.The 21% calibration for the meter (the oxygen content
in clean air is about 21% VOL)
Switch to the status of the grade 4 alarming-line by slightly
touching the MODE button when the meter is in the
status of SCAN then touch the MODE button to skip
the status for setting up the grade 4 and grade 2
alarming-line and enter into the status of 21% calibration ;
021.0 shows and flickers in the display ; you must keep
the meter in clean air for more than 1 minute and then
touch the MODE to save the value of 21%
calibration ; then the 21% calibration is finished.
The meter will switch to the status of measurement
SACN automatically.
f.Meter alarming
The meter alarming when the meter measurement value
is less than the preset value .The buzzer alarming and
the yellow indicator flickers when the meter measurement
value is less than the value preset for the grade 4
alarming-line ; and the buzzer alarms and the red
indicator flickers when the meter measurement value is
less than the value preset for the grade 2 alarming-line.
6.Attentions:
1).This meter is a precise measurement apparatus.
To avoid damaging the meter , keep it away from water
and hot objects (more than 60).
2).If the meter will be measuring for a long time , please
turn off the backlight to save power consumption and
prolong the service life of the battery.
3).When is displayed , the battery is fully ;
the small black frame in the battery sign reduces as the
battery power volume reduces . When is shown
the meter cannot work normally . Please promptly replace.
First turn off the meter , then take out the unused battery
and put new battery in.
4).The meter is automatically power off if no button is
pressed in 10 minutes.
5).When the buzzer alarms , the measured value is less
then the alarming-line you have set up ; so please take
,
measures to protect people s li ves a nd p roperty.
7.Explanation of the display
Oxygen content
( vol ) Explanation
Oxygen content in the normal clear air
environment
21%
The minimum value of Oxygen
content as per the labor safety and
hygiene standards
18%
14%~18%
Person breathes quicker and
deeper and limbs cannot be
moved properly
10%~14% Person may be tired and lose
attention
6%~10%
Person may be dizzy, nauseas,
lose consciousness and go into a
coma
Less than 6% Person may stop breathing and die
8. Pay special attention to
The Sensing tip is high precision parts,
When in use must be careful to protect,
Don't dirty broke. This component cannot
repair, not in warranty scope.
3 X AA 1.5V battery
