RL22 - Repair instructions for replacing the rear belt pulley
Version 1.0, last revised 03/2016
Number of work units required (1WU = 5 minutes = EUR 6.00 net):
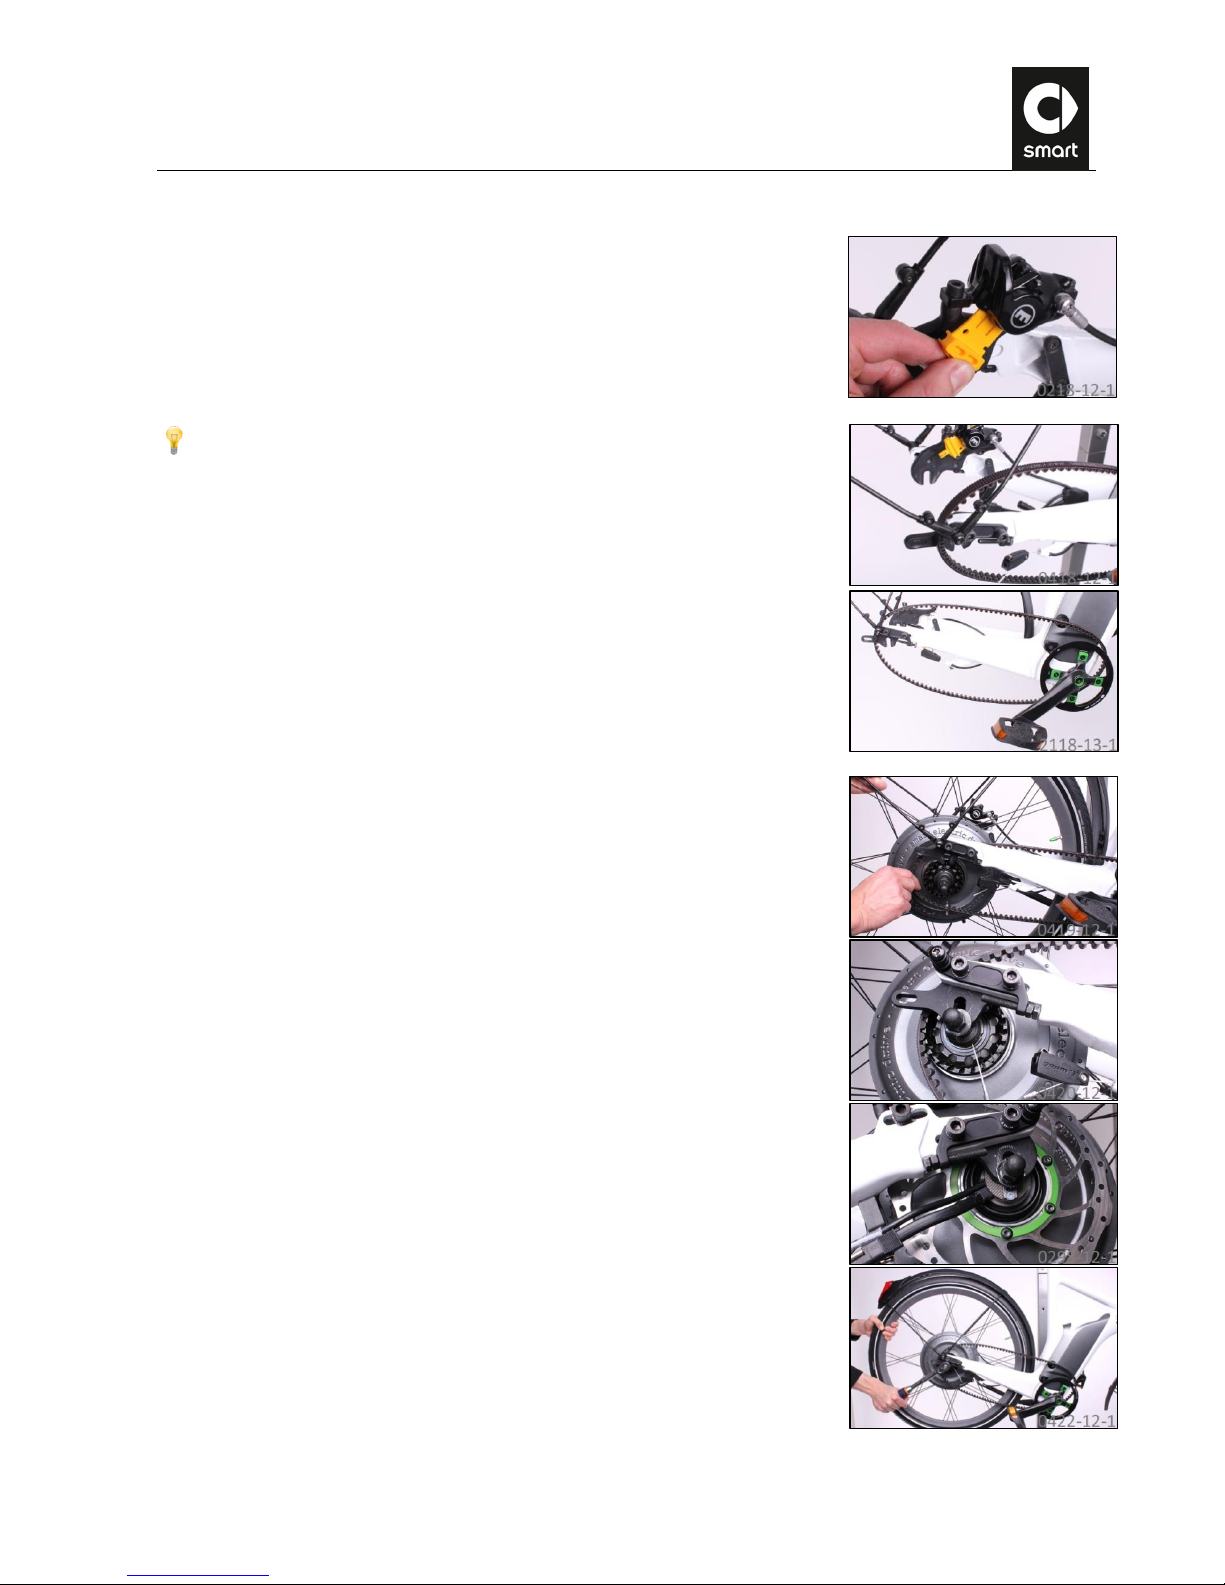
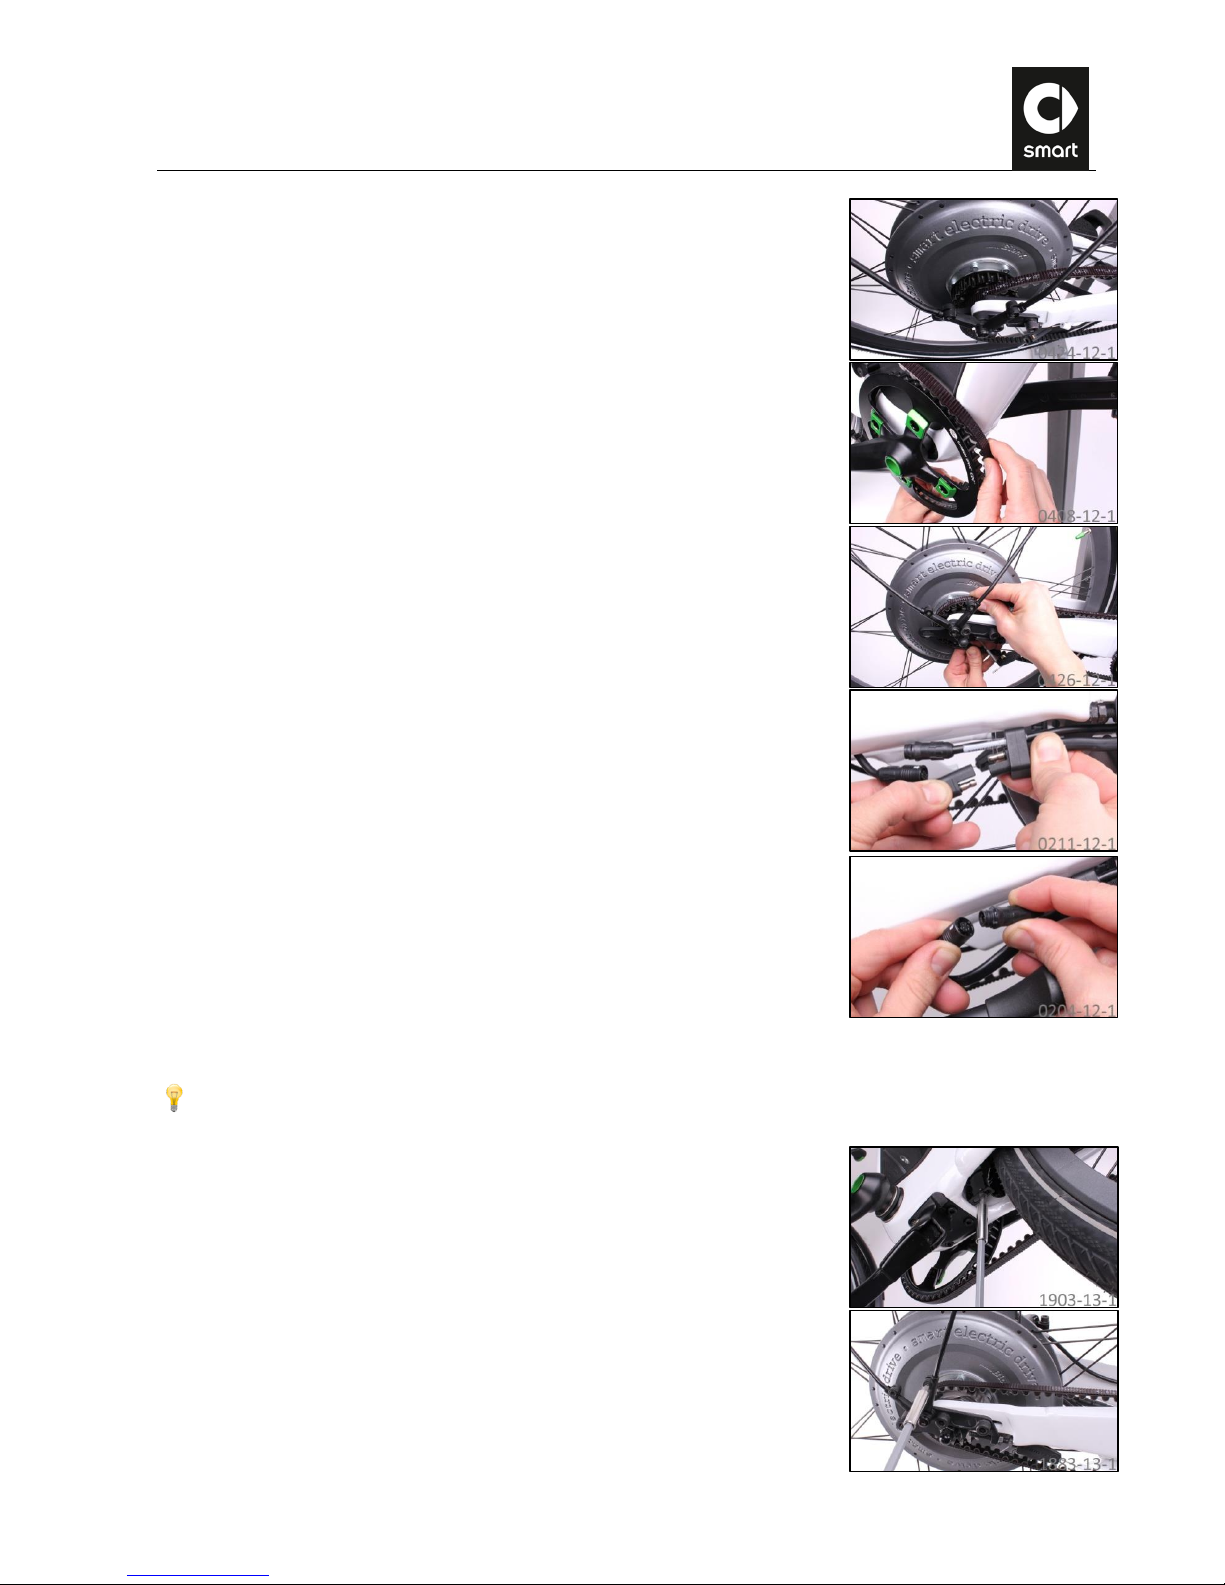
A. Removing the belt guard (only on models with belt guard)
B. Reducing the belt tension
C. Removing the belt guide
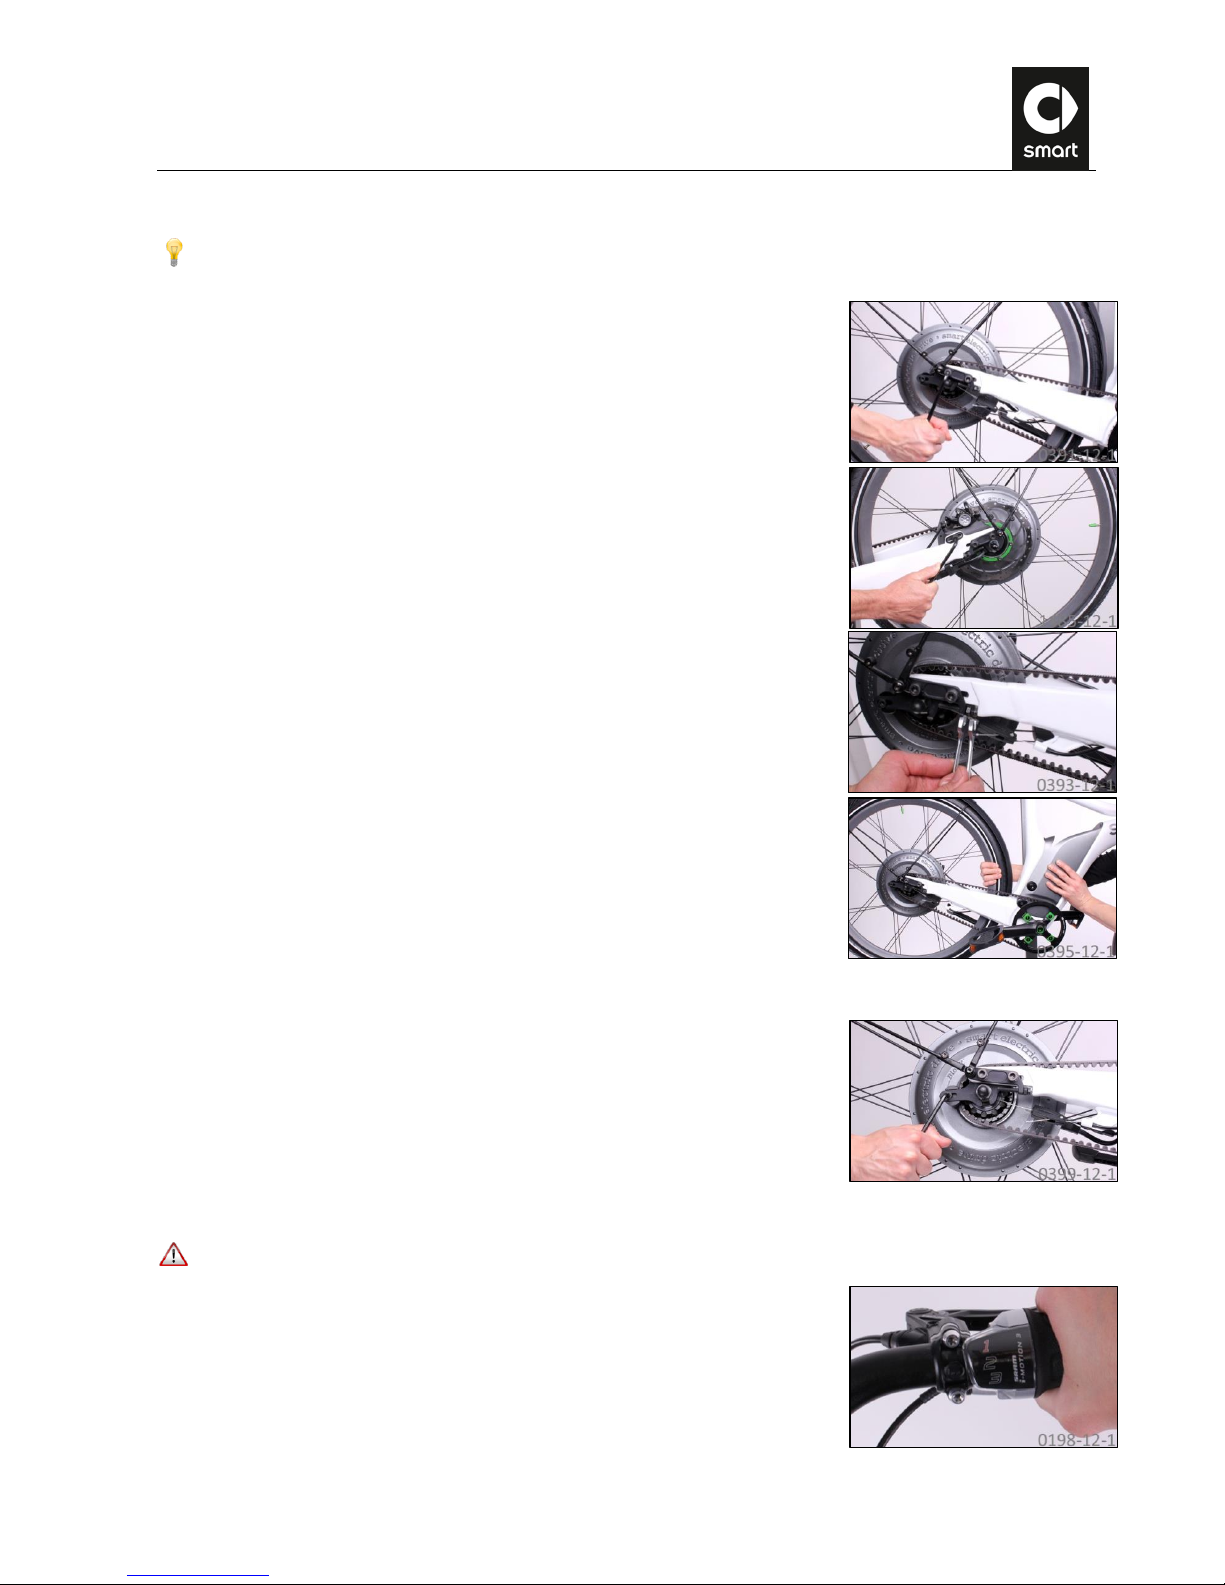
D. Removing the rear wheel
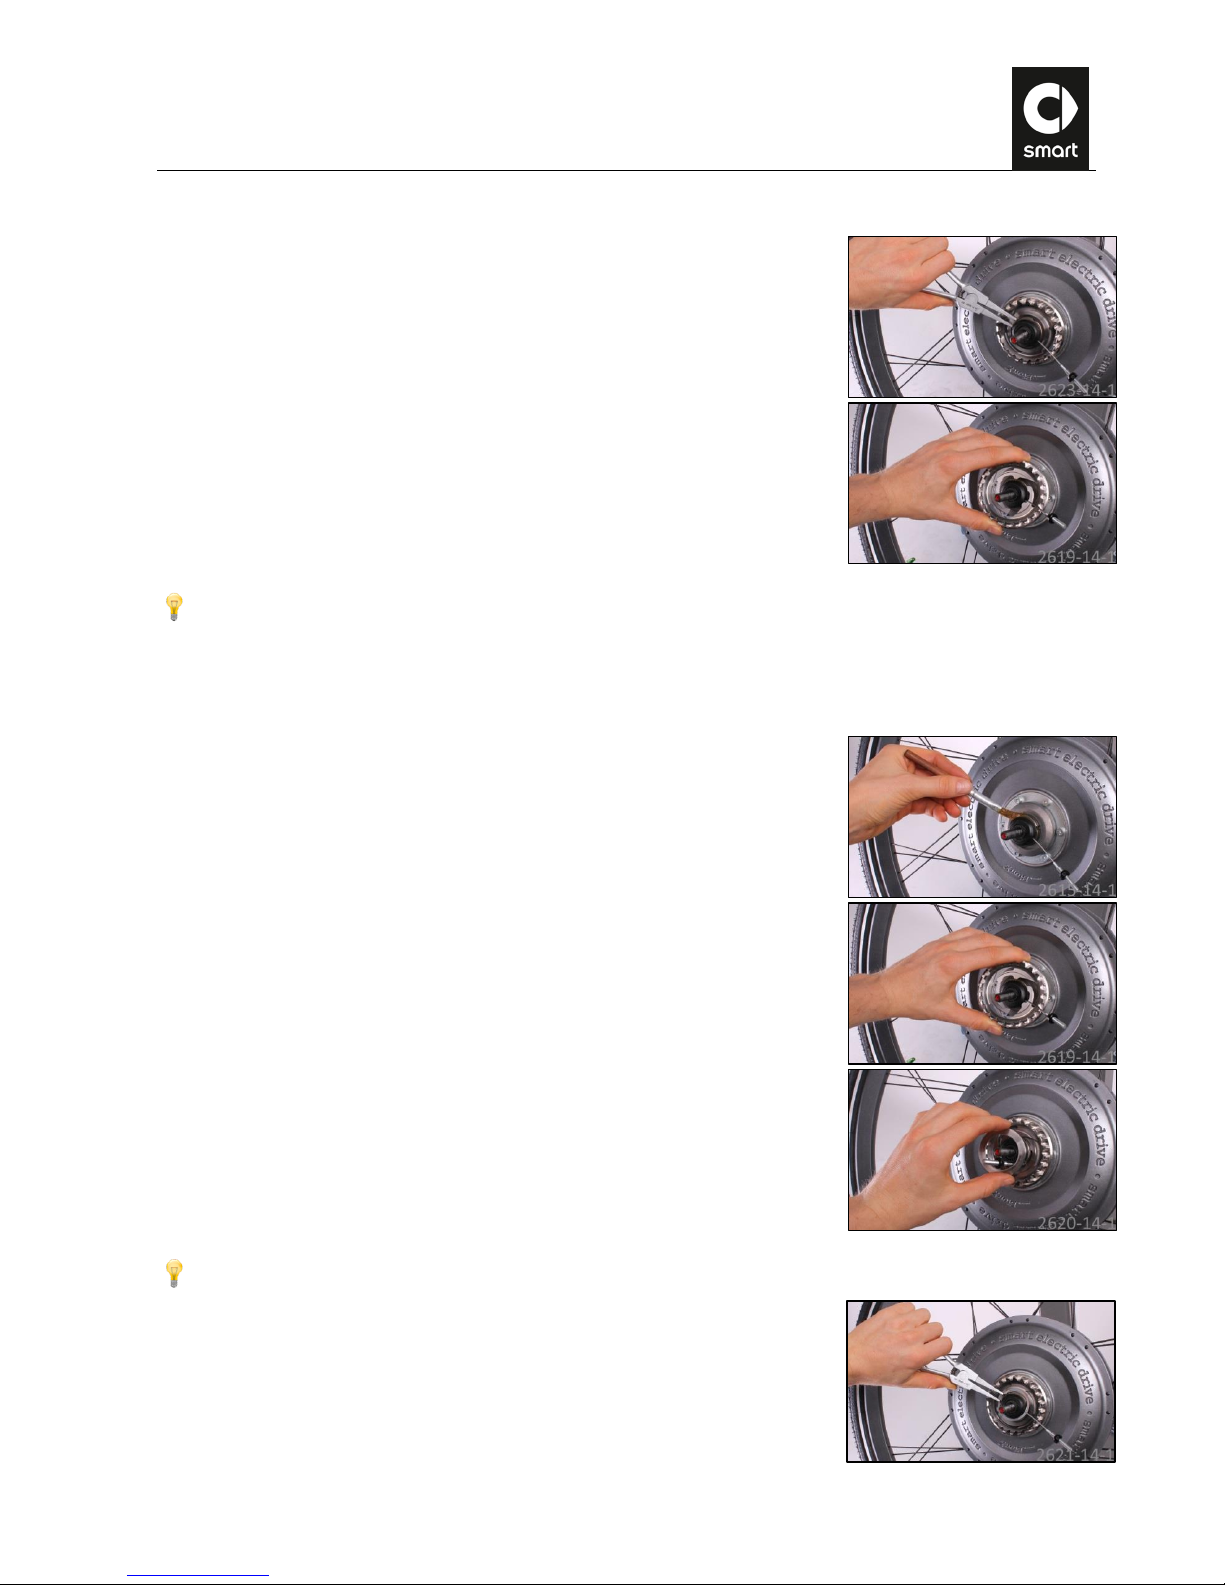
E. Removing the belt pulley
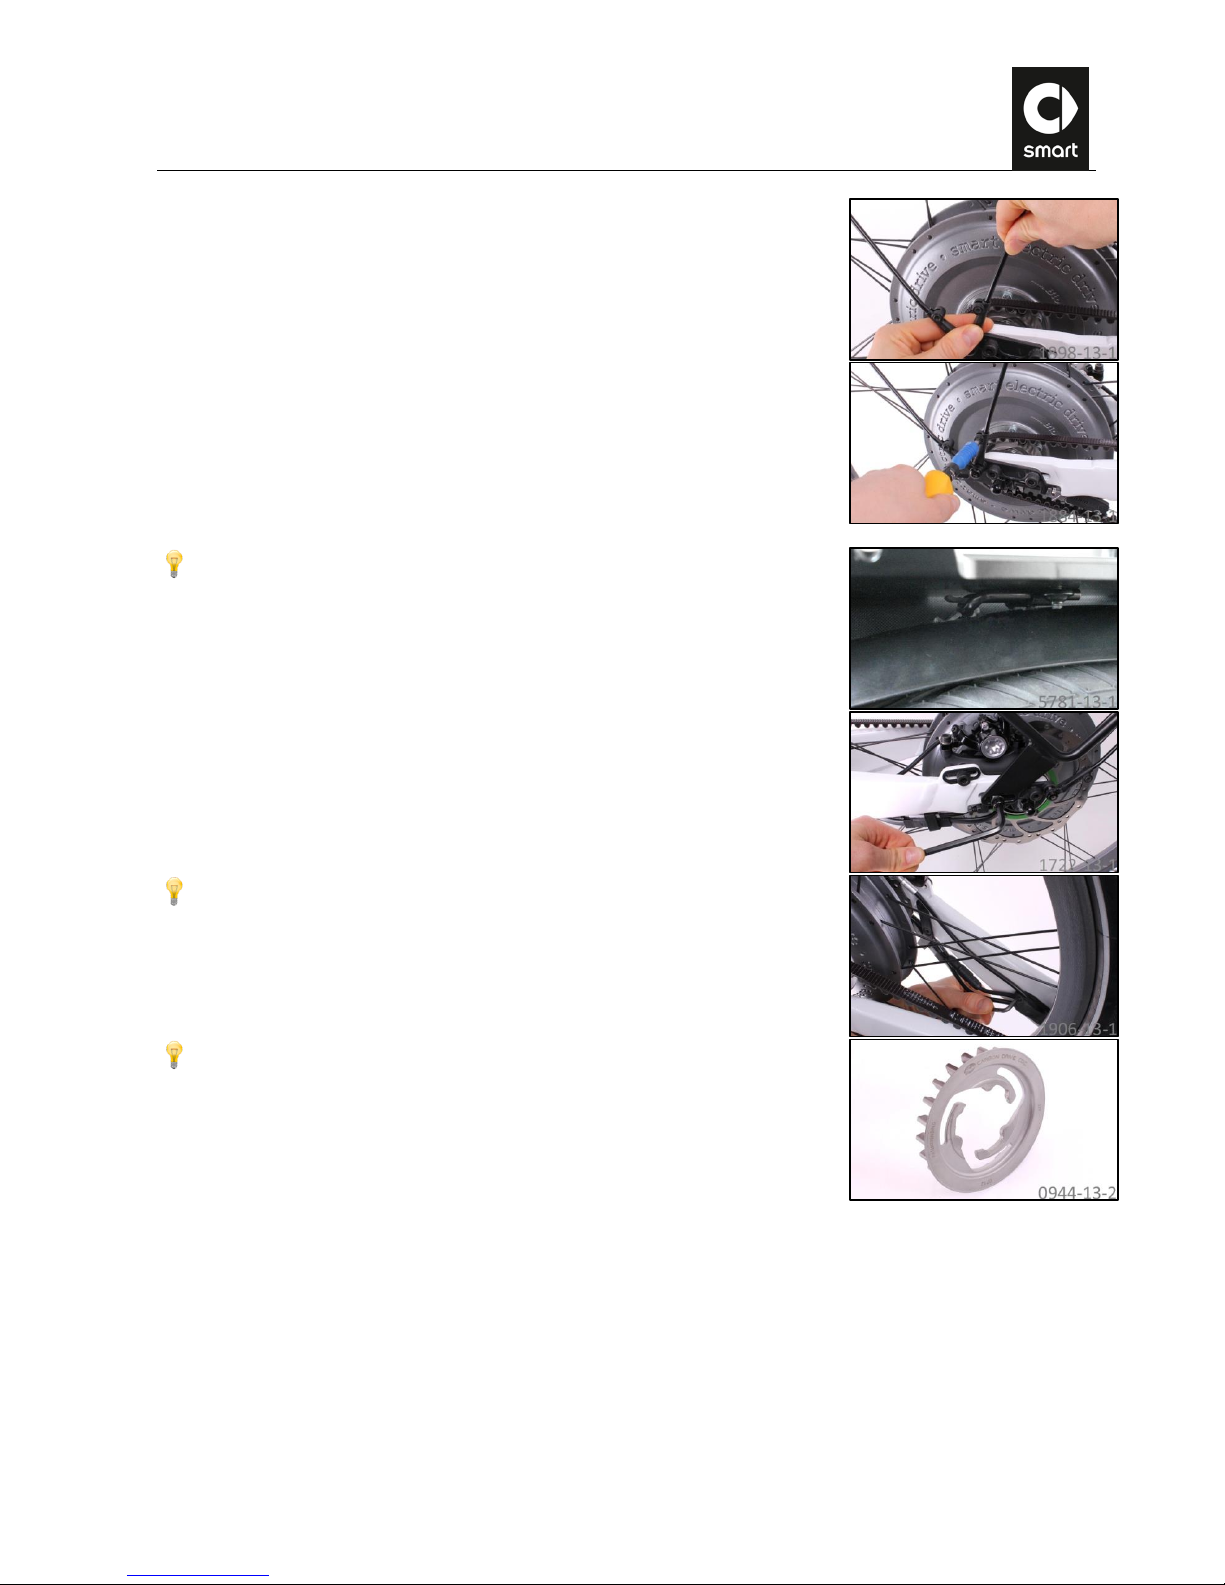
F. Installing the belt pulley
G. Installing the rear wheel
H. Aligning the mudguard stays
I. Aligning the belt
J. Adjusting the belt tension
K. Installing the belt guide
L. Adjusting the shift mechanism
M. Aligning the brake caliper
N. Installing the belt guard (only on models with belt guard)
Item number (Retailworld)
2 x box wrench/open end wrench, size 10
Torque Vario 22 Nm, 35 Nm
Allen wrench, size 2.5, 5, 6
Always remove the battery from the frame before performing repair and maintenance work on electrical components and
on the rear wheel.
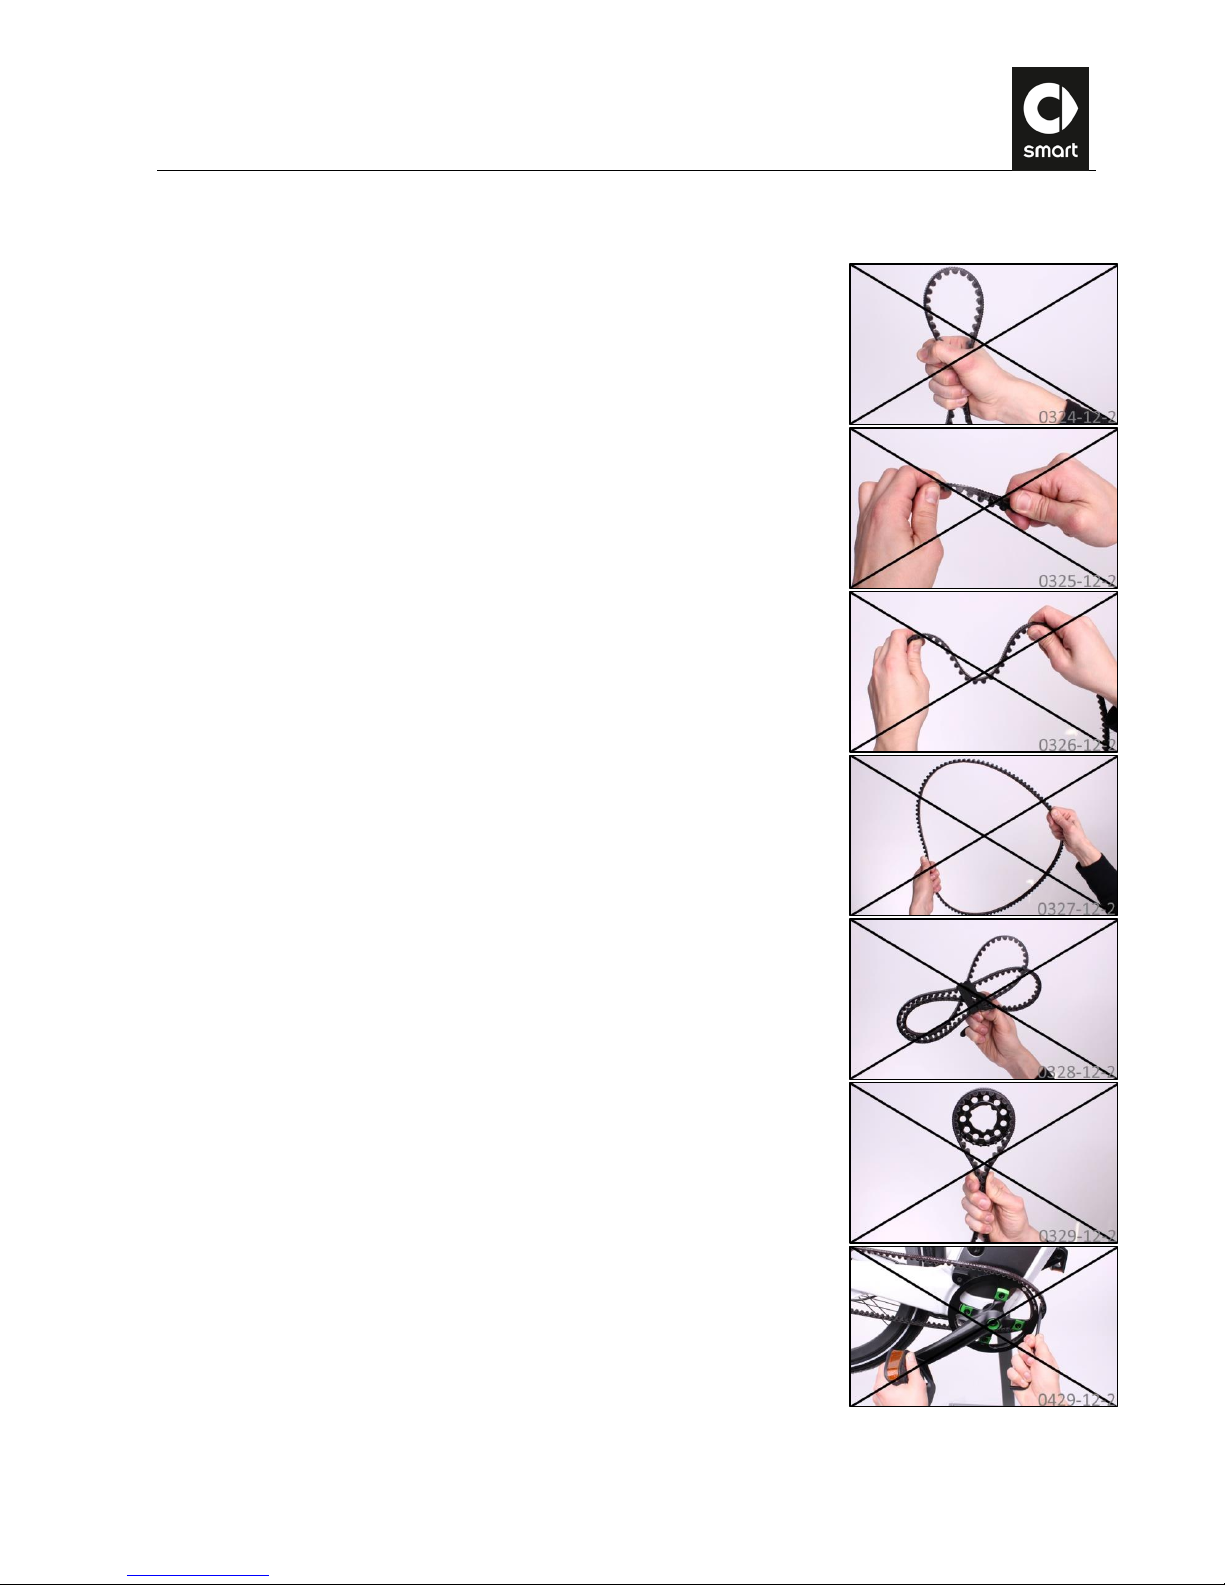
The basic requirement for proper and low-wear operation of the belt drive is a correctly adjusted belt tension.
If the tension of the belt is too low and the load too high, the belt can skip on the teeth of the rear belt pulley. Under
certain circumstances this can cause damage to the carbon fiber elements, resulting in irreparable damage to the belt. If
the belt has skipped, it should be replaced preemptively to minimize the risk of the belt breaking during operation.
If the tension of the belt is too high, bearings and seals inside the rear wheel hub could be damaged. Also, the system
will operate with noticeable resistance and will wear out more quickly.
The carbon fibers can withstand high tensile forces, but they are sensitive to bending loads, shearing forces, nicks and
impacts. Even though the carbon fibers in the belt are sheathed, the utmost care is necessary when handling the Carbon
Drive. All the points listed below can cause damage to the carbon fibers inside the drive belt. A drive belt which has been
damaged in this way could snap suddenly and unexpectedly under load while cycling. On no account should a damaged
drive belt be reused.