34-SW-33-03 Smartline Wireless Antenna Replacement Kit 3
Step –1: Honeywell recommends that the transmitter be removed from service and moved to a
clean area before servicing.
Step –2: Loosen the M3 locking set screw on the display end-cap. See item 1 in Figure 1.
Unscrew and remove the front end cap.
Step –3: Loosen the two screws on the electronic module. See items 2 in Figure 1.
Step –4: Remove the electronic module from the transmitter body and disconnect the antenna
connector from CN2 connector on the electronic module. See item 3 in Error! Reference source
not found..
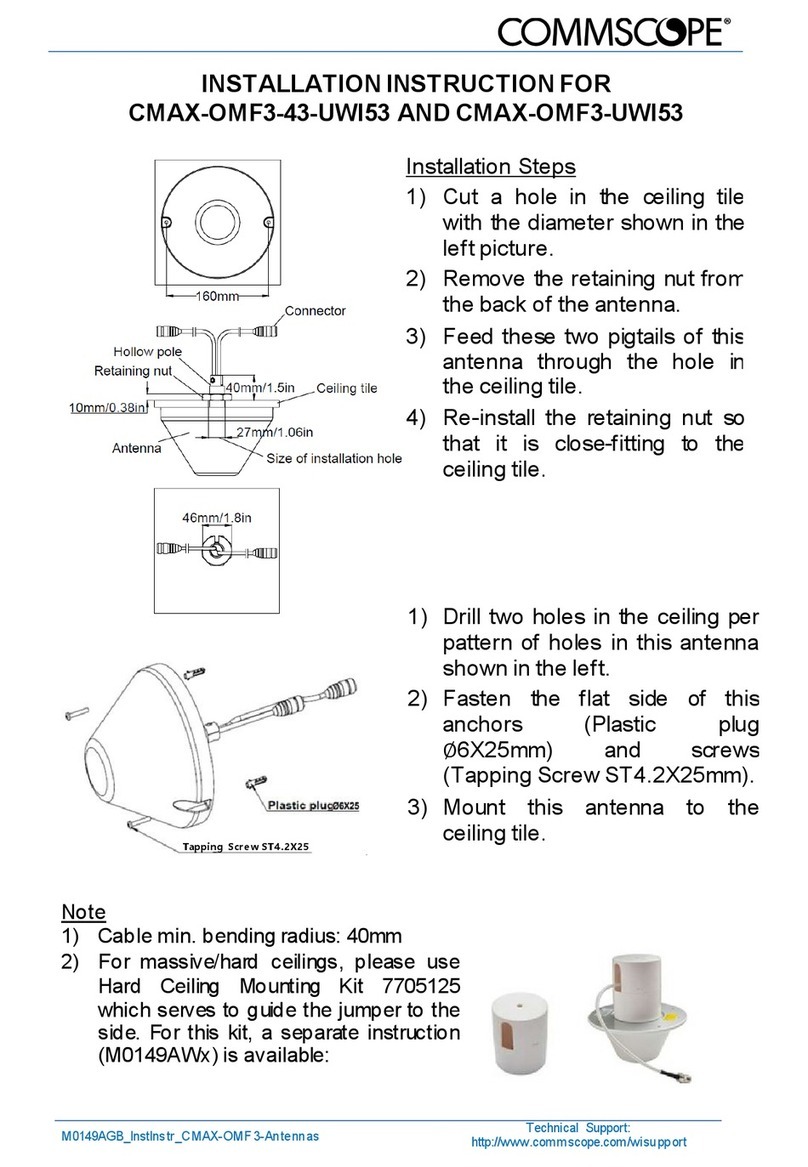
Step –5: Loosen the locking set screw at the antenna base. Unscrew the antenna from the
transmitter. Remove the antenna and its connector from the transmitter. See Error! Reference
source not found..
Step –6: Feed the new antenna’s connector through the antenna hole to the front of the
transmitter. Do not connect to electronic/display module yet. Lubricate with Silicone Grease such
as Dow Corning #55. Screw new antenna into transmitter body until finger-tight, then back off 180
degrees to permit adjustment later.
Step –7: Attach antenna connector to CN2 connector on electronic/display module. See item 3
in Error! Reference source not found..
Step –8: Insert electronic/display module. Orient in the proper viewing orientation before
tightening two sensor compartment screws. See items 2 in Error! Reference source not found..
Torque screws to 0,4 –0,6 N-M (3.5 –5.3 Lb-in).
Step –9: Replace the front end cap. Honeywell recommends lubricating the front end cap O-ring
with a Silicone Grease such as Dow Corning #55 or equivalent before replacing the end cap.
Step –10:Adjust antenna for best reception. Don’t rotate antenna more than 180 degrees either
direction or you could twist and break the antenna wiring inside. Tighten the antenna locking set
screw.
