ENInstruction manual
PARTS DESCRIPTION
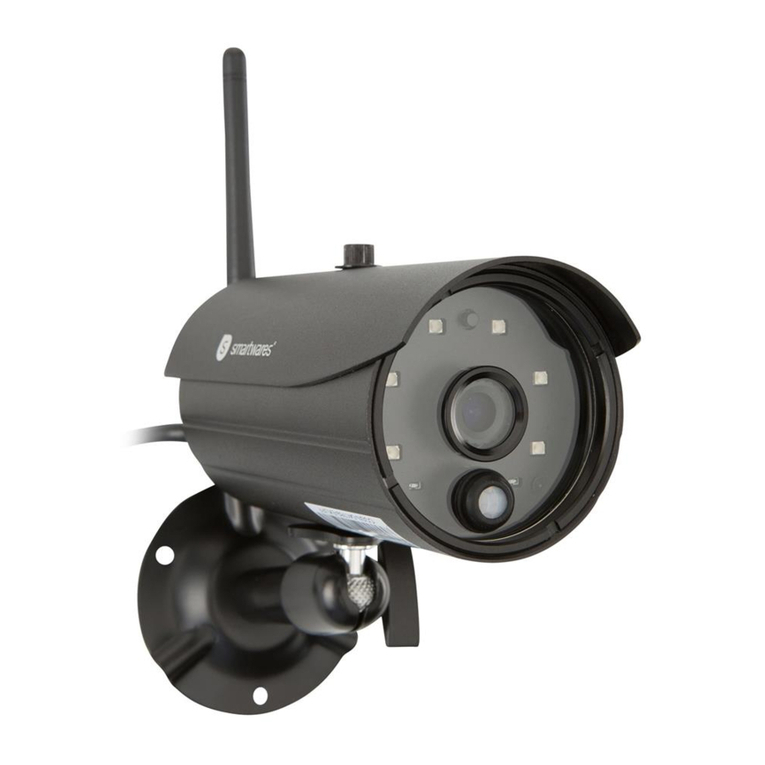
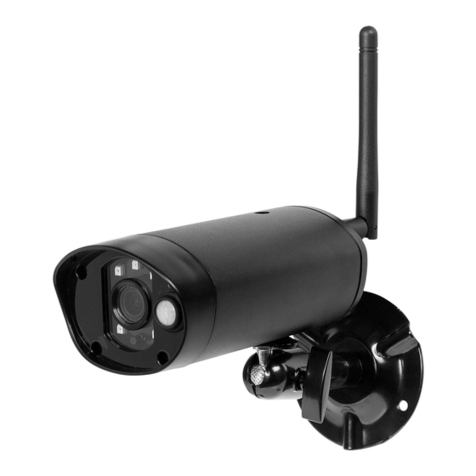
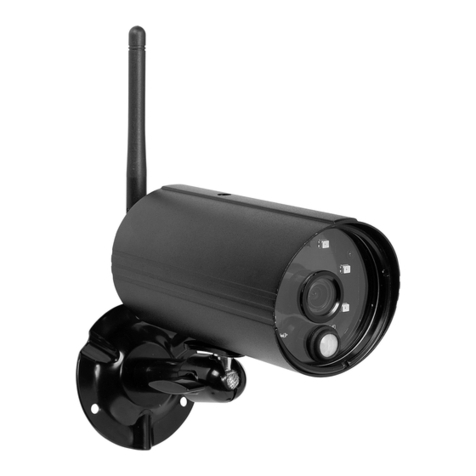
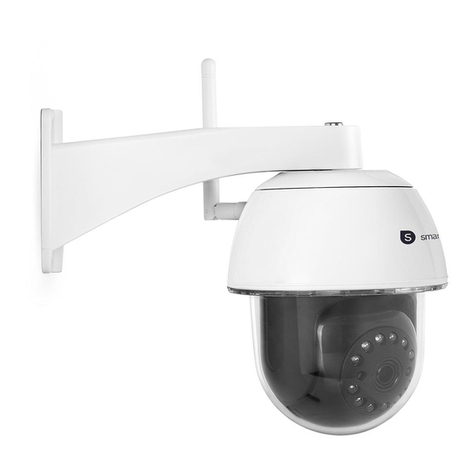
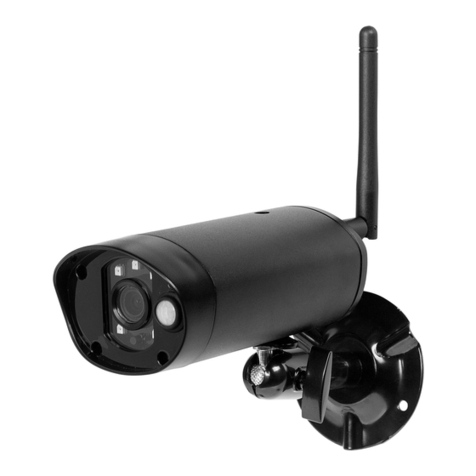
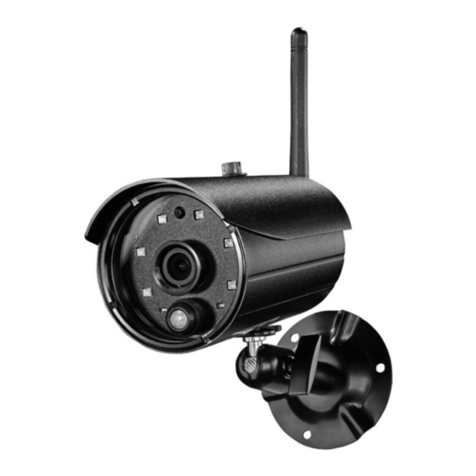
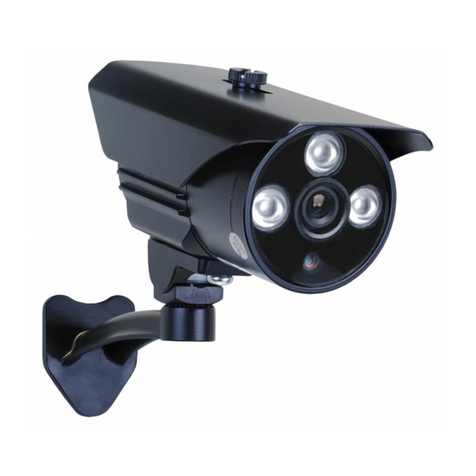
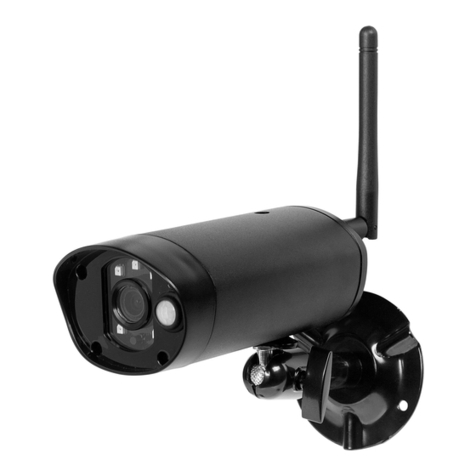
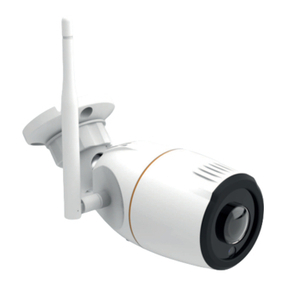
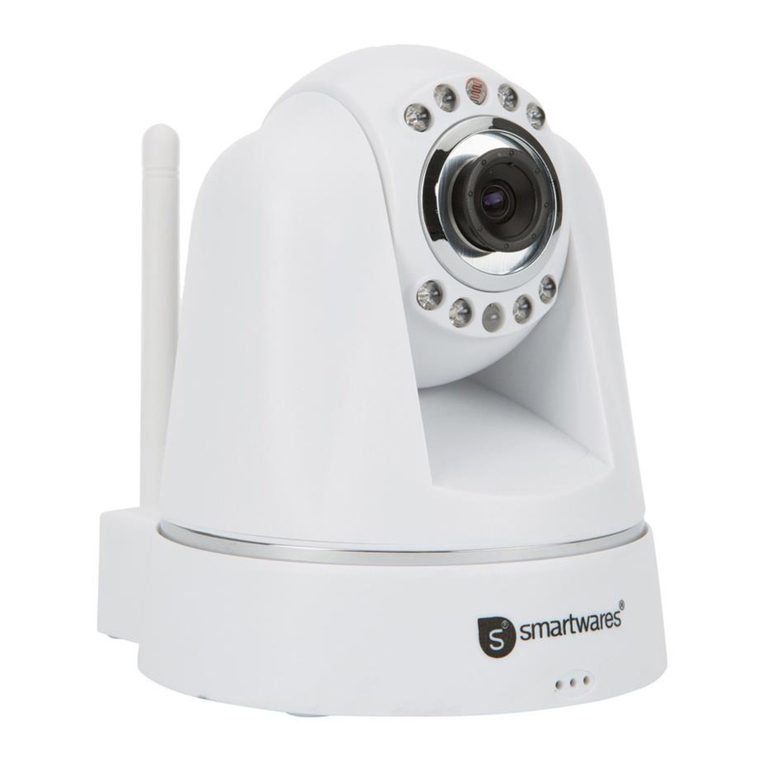
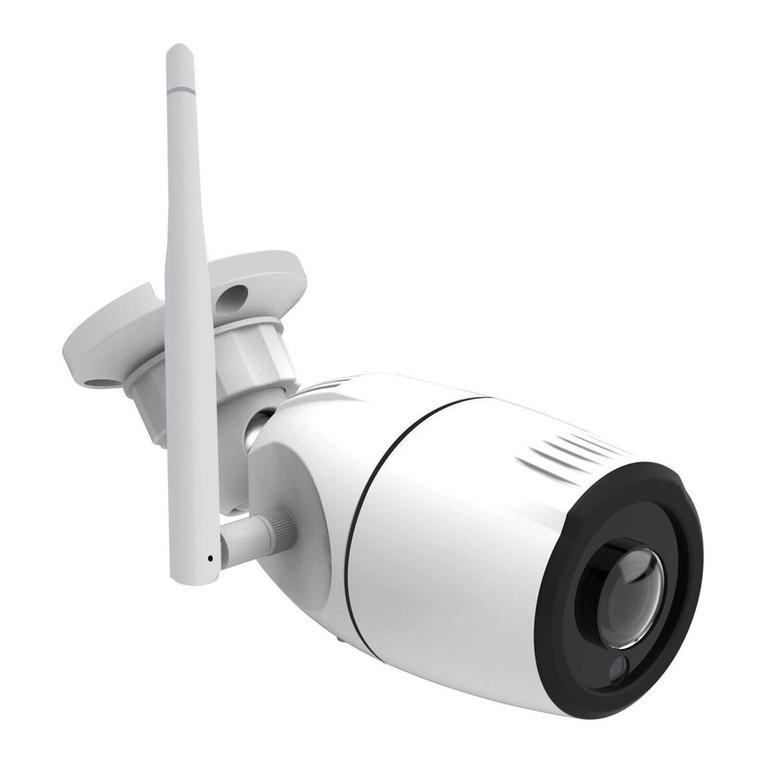
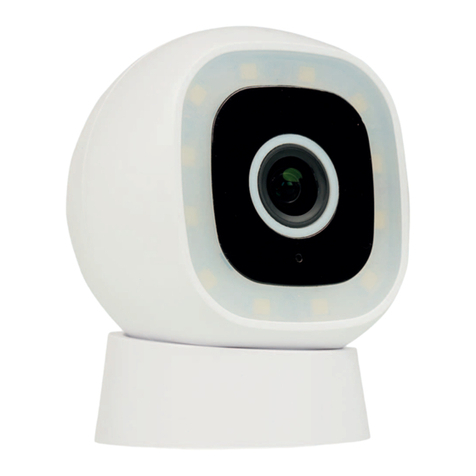
Camera
1. Antenna
2. LED light
3. Lens
4. Day/night sensor
5. Reset button
6. Power input
7. Power adaptor for camera DC12V 1A
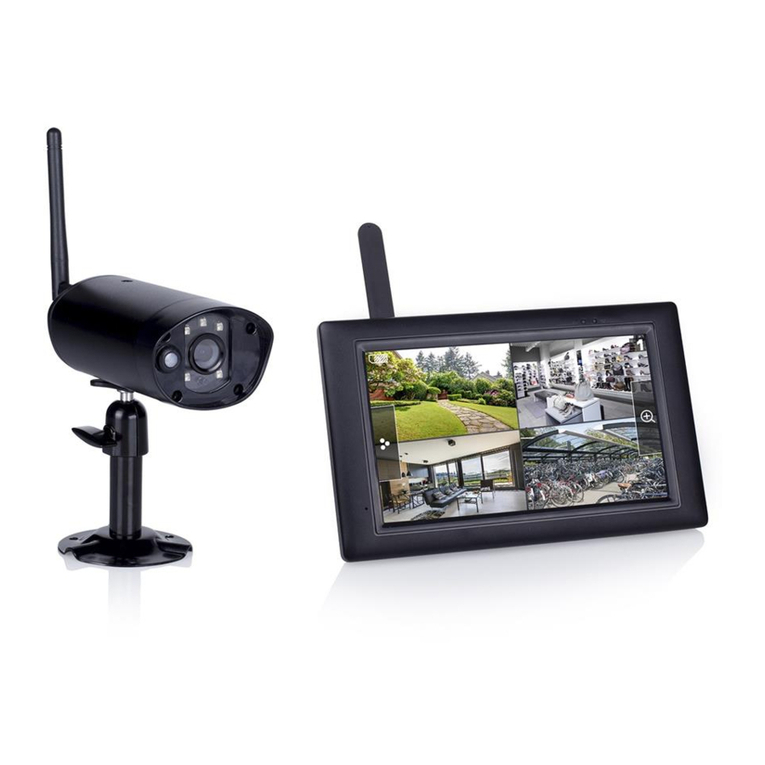
Monitor
1. Antenna
2. Touch screen
3. Microphone (not for use with this model)
4. LED battery indicator
5. LED recording indicator
6. USB slot
7. MicroSD slot
8. On/Off switch for battery use
9. AC adaptor input
10. Stand
11. Power adaptor for monitor DC5V 2.5A
INSTALLATION
The cameras are plug and play, they are already pre-paired to the
recorder.
1. Connect the monitor to the power supply by inserting AC adapter.
2. Optional: Insert a MicroSD card (not included) in the slot on the
right side of the monitor.
3. Screw the antenna onto the camera.
4. Connect the AC adaptor from the camera (7) to the power port (6)
and plug it in to a socket.
ðNOTE: Before mounting the camera to the wall, first check if the
wireless distance to the monitor is sufficient.
ON-SCREEN MENU
The on screen menu appears when you tap in the video feed.
No: Button Description
1 Speaker Select to mute/unmute the monitor speakers
2 Home Select to enter the main menu
3 Zoom Select to Zoom the video feed.
Tap once to select the zoom mode.
Tap again in the image to zoom.
Select the (-) icon to exit the zoom mode.
4 Playback Select to enter the Playback menu.
This will allow you to view recordings.
WIRELESS INTERNET
Do the procedure below to enable the wireless internet connection. This
feature is optional but it enables you to use the following features:
• App connectivity
• Time and date synchronization.
1. Make sure that you have an internet connected WIFI router, your
password and router name (SSID) available.
2. From the main menu: Select “System Setup”.
3. Select “Wireless Internet”.
4. Enable WLAN.
5. Select “Hotspot list”.
6. Find and select your wireless router.
7. Type your password.
ðNOTE: Only 2.4GHz networks are supported
8. Download the “SW360” app.
9. Open the app, register as a new user and follow the
instructions given in the app.
CONNECT ADDITIONAL CAMERAS
The monitor can pair up to 4 cameras.
1. Turn the camera on by connecting it to the mains supply.
2. Wait for 30 seconds.
3. You will now hear: “Start configuration mode”.
NOTE: if you don’t hear the voice, press the re-set button on the
camera for 6 seconds until you hear “Restore factory setting”.
4. On the monitor from the main menu: Select “Add Camera”.
5. Select “Add Camera”.
6. On the camera: If the above steps are done correctly, you will hear:
- “Wireless settings, please wait”
- “Wireless connection successful”
7. On the monitor: Wait for the pairing to complete.
MORE INFORMATION
For more information go to : www.smartwares.eu and search for
CMS-30400
DEBedienungsanleitung
TEILEBESCHREIBUNG
Kamera
1. Antenne
2. LED-Leuchte
3. Objektiv
4. Tag-/Nacht-Sensor
5. Reset-Taste
6. Leistungsaufnahme
7. Netzteil für die Kamera DC 1 2V 1 A
Monitor
1. Antenne
2. Touchscreen
3. Mikrofon (nicht zur Verwendung mit diesem Modell)
4. LED-Batteriestatusanzeige
5. LED-Aufnahmeanzeige
6. USB-Anschluss
7. MicroSD-Kartensteckplatz
8. Ein-/Aus-Schalttaste zur Batterienutzung
9. Netzteileingang
10. Ständer
11. Stromadapter für den Monitor DC 5 V 2,5 A
MONTAGE
Die Kameras sind Plug-and-Play-fähig, was bedeutet, dass sie bereits
mit dem Rekorder gekoppelt sind.
1. Schließen Sie den Monitor an die Stromversorgung an, indem Sie
das Netzteil einstecken.
2. Optional: Stecken Sie eine MicroSD-Karte (nicht im Lieferumfang
enthalten) in den Kartensteckplatz auf der rechten Seite des
Monitors.
3. Schrauben Sie die Antenne an der Kamera fest.
4. Verbinden Sie das Netzteil der Kamera (7) mit dem Netzanschluss (6)
und stecken Sie es anschließend in die Steckdose.
ðHINWEIS: Überprüfen Sie vor der Wandmontage der Kamera
zuerst, ob sie sich in einer ausreichenden Entfernung zum
Monitor für eine drahtlose Übertragung befindet.
BILDSCHIRMMENÜ
Das Bildschirmmenü erscheint, wenn Sie die Videoaufzeichnung antippen.
Nr.: Taste Beschreibung
1 Lautsprecher Dient zum Deaktivieren/Aktivieren der
Monitorlautsprecher
2 Start Dient zum Aufrufen des Hauptmenüs
3 Zoom Dient zum Einzoomen der Videoaufzeichnung.
Tippen Sie einmal, um den Zoommodus zu
wählen.
Zippen Sie erneut, um das Bild einzuzoomen.
Wählen Sie das Symbol (-), um den Zoommodus
wieder zu verlassen.
4 Wiedergabe Dient zum Aufrufen des Wiedergabemenüs.
So können Sie sich Ihre Aufzeichnungen
ansehen.
KABELLOSES INTERNET
Verfahren Sie wie folgt, um die kabellose Internetverbindung zu aktivieren.
Diese Funktion ist optional, ermöglicht jedoch die Nutzung folgender
Features:
• App-Konnektivität
• Uhrzeit- und Datumssynchronisierung
1. Achten Sie darauf, dass Sie einen mit dem Internet verbundenen
WLAN-Router, Ihr Passwort und den Routernamen (SSID) zur Hand
haben.
2. Im Hauptmenü: Wählen Sie „Systemkonfiguration".
3. Wählen Sie „Kabelloses Internet".
4. Aktivieren Sie „WLAN“.
5. Wählen Sie „Hotspot-Liste“.
6. Suchen Sie Ihren WLAN-Router und wählen Sie ihn aus.
7. Geben Sie Ihr Passwort ein.
ðHINWEIS: Es werden nur 2,4-GHz-Netzwerke unterstützt.
8. Laden Sie sich die App „SW360“ herunter.
9. Öffnen Sie die App, melden Sie sich als neuer Benutzer an und
befolgen Sie die Anweisungen in der App.
WEITERE KAMERAS VERBINDEN
Der Monitor kann mit bis zu 4 Kameras synchronisiert werden.
1. Schalten Sie die Kamera ein, indem Sie sie an der
Spannungsversorgung anschließen.
2. Warten Sie 30Sekunden.
3. Sie hören Folgendes: „Konfigurationsmodus starten“.
HINWEIS: Falls Sie keine Ansage hören, drücken Sie die Reset-Taste
an der Kamera 6Sekunden lang, bis Sie Folgendes hören:
„Werkseinstellungen wiederherstellen“.
4. Im Hauptmenü des Monitors: Wählen Sie „Kamera hinzufügen“.
5. Wählen Sie „Kamera hinzufügen“.
6. An der Kamera: Bei korrekter Ausführung der Schritte oben hören Sie
Folgendes:
- „Wireless settings, please wait“ (Funkeinstellungen. Bitte warten)
- „Wireless connection successful“ (Funkverbindung erfolgreich)
7. Am Monitor: Warten Sie, bis die Synchronisierung abgeschlossen ist.
WEITERE INFORMATIONEN
Für weitere Informationen, gehen Sie zu: www.smartwares.eu und suchen
Sie nach CMS-30400
NLGebruiksaanwijzing
BESCHRIJVING VAN ONDERDELEN
Camera
1. Antenne
2. Ledlamp
3. Lens
4. Dag-/nachtsensor
5. Resetknop
6. Ingang netstroom
7. Stroomadapter voor camera DC12V 1A
Monitor
1. Antenne
2. Aanraakscherm
3. Microfoon (niet voor gebruik met dit model)
4. Led batterij-indicator
5. Led opname-indicator
6. USB-slot
7. MicroSD-sleuf
8. Aan/uitschakelaar voor batterijverbruik
9. Ingang netstroomadapter
10. Standaard
11. Stroomadapter voor monitor DC5V 2,5A
INSTALLATIE
De camera's zijn plug&play, ze zijn reeds vooraf gekoppeld aan de
recorder.
1. Sluit de monitor aan op de stroomvoorziening door de
netstroomadapter erin te steken.
2. Optioneel: Plaats een MicroSD-kaart (niet bijgeleverd) in de sleuf aan
de rechterkant van de monitor.
3. Schroef de antenne op de camera.
4. Sluit de netstroomadapter van de camera (7) aan op de voedingskabel
(6) en steek de stekker in een stopcontact.
ðOPMERKING: Controleer, voordat u de camera aan de muur
monteert, eerst of de draadloze afstand tot de monitor toereikend
is.
ON-SCREEN MENU
Het on-screen menu wordt weergegeven als u op de videofeed tikt.
Nr: Knop Beschrijving
1 Luidspreker Selecteren om de monitorluidsprekers te
dempen/in te schakelen
2 Start Selecteren om het hoofdmenu te openen
3 Zoom Selecteren om in of uit te zoomen op de
videofeed.
Eén keer tikken om de zoommodus te selecteren.
Opnieuw op het beeld tikken om te zoomen.
Pictogram (-) selecteren om de zoommodus af te
sluiten.
4 Weergave Selecteren om het weergavemenu te openen
Hier kunt u opnamen bekijken.
DRAADLOOS INTERNET
Ga als volgt te werk om de draadloze internetverbinding in te schakelen.
Dit is optioneel, maar maakt het mogelijk de volgende functies te
gebruiken:
• App-connectiviteit
• Tijd- en datumsynchronisatie
1. Zorg ervoor dat u beschikt over een wifirouter die is verbonden met
internet, en dat u uw wachtwoord en routernaam (SSID) weet.
2. Vanuit het hoofdmenu: Selecteer 'System Setup' (Systeem
instellingen).
3. Selecteer 'Wireless Internet' (Draadloos internet).
4. Schakel WLAN in.
5. Selecteer 'Hotspot list' (Hotspot lijst).
6. Zoek en selecteer uw draadloze router.
7. Typ uw wachtwoord.
ðOPMERKING: Het apparaat biedt alleen ondersteuning voor
2,4Ghz-wifinetwerken.
8. Download de app SW360.
9. Open de app, registreer u als een nieuwe gebruiker en volg de
instructies uit de app.
AANSLUITEN EXTRA CAMERA'S
U kunt maximaal 4 camera's koppelen met de monitor.
1. Schakel de camera in door deze op de voeding aan te sluiten.
2. Wacht 30seconden.
3. U hoort nu het volgende: 'Start configuration mode'
(Configuratiemodus starten).
OPMERKING: Als u de stem niet hoort, houdt u de resetknop op de
camera 6seconden ingedrukt tot u 'Restore factory setting'
(Fabrieksinstellingen herstellen) hoort.
4. Op de monitor, vanuit het hoofdmenu: Selecteer 'Camera toevoegen'.
5. Selecteer 'Camera toevoegen'.
6. Op de camera: Als de bovenstaande stappen correct zijn uitgevoerd,
hoort u het volgende:
- 'Wireless settings, please wait' (Draadloze instellingen, een ogenblik
geduld)
- 'Wireless connection successful' (Draadloze verbinding tot stand
gebracht)
7. Op de monitor: Wacht tot de koppeling is voltooid.
MEER INFORMATIE
Ga voor meer informatie naar: www.smartwares.eu En zoek op
CMS-30400
FRManuel d'instructions
DESCRIPTION DES PIÈCES
Caméra
1. Antenne
2. Lumière LED
3. Objectif
4. Capteur jour/nuit
5. Bouton de réinitialisation
6. Entrée d'alimentation
7. Adaptateur d'alimentation pour caméraDC12V1A
Moniteur
1. Antenne
2. Écran tactile
3. Microphone (ne pas utiliser avec ce modèle)
4. Indicateur de pile LED
5. Indicateur d'enregistrement LED
6. Port USB
7. Port MicroSD
8. Interrupteur Marche/Arrêt pour utilisation de la pile
9. Entrée pour adaptateur AC
10. Support
11. Adaptateur d'alimentation pour moniteurDC5V2.5A
INSTALLATION
Les caméras sont prêtes à l'emploi, elles sont déjà appariées à
l'enregistreur.
1. Connectez le moniteur à l'alimentation électrique en insérant
l'adaptateur AC.
2. En option :: Insérez une carte MicroSD (non incluse) dans le port
situé sur le côté droit du moniteur.
3. Vissez l'antenne à la caméra.
4. Connectez l'adaptateur AC de la caméra (7) au port d'alimentation (6)
et branchez-le dans une prise.
ðREMARQUE : Avant de fixer la caméra au mur, vérifiez d'abord si
la distance sans fil avec le moniteur est suffisante.
MENU À L'ÉCRAN
Le menu à l'écran apparaît lorsque vous appuyez sur le signal vidéo.
N°: Bouton Description
1 Haut-parleur Sélectionner pour activer/désactiver le mode
silencieux des haut-parleurs de l'écran
2 Accueil Sélectionner pour accéder au menu principal
3 Zoom Sélectionner pour zoomer sur le signal vidéo.
Sélectionner une fois pour sélectionner le mode
zoom.
Taper à nouveau sur l'image pour zoomer.
Sélectionner l'icône (-) pour quitter le mode
zoom.
4 Lecture Sélectionner pour accéder au menu Lecture.
Ceci vous permettra de visualiser les
enregistrements.
INTERNET SANS FIL
Procéder comme suit pour mettre en place une connexion Internet sans fil.
Cette fonction est en option, mais vous offre les possibilités suivantes:
• Connectivité des applications
• Synchronisation de l'heure et de la date.
1. Assurez-vous de disposer d'un routeur WIFI connecté à l'Internet, de
votre mot de passe et nom de routeur (SSID).
2. À partir du menu principal: Sélectionner «Configuration du
système».
3. Sélectionner «Internet sans fil».
4. Activer WLAN.
5. Sélectionner «Liste de points chauds».
6. Trouver et sélectionner votre routeur sans fil.
7. Saisir votre mot de passe.
ðREMARQUE: Seuls les réseaux 2,4 GHz sont compatibles
8. Télécharger l'appli «SW360».
9. Ouvrir l'application, s'enregistrer en tant que nouvel utilisateur et
suivre les instructions de l'application.
CONNEXION DE CAMÉRAS SUPPLÉMENTAIRES
L'écran peut être couplé à 4 caméras au plus.
1. Mettre la caméra sous tension en la branchant sur le secteur.
2. Attendre 30 secondes.
3. Vous allez entendre: «Lancer le mode de configuration».
REMARQUE: si vous n'entendez pas la voix, appuyer sur le bouton
de réinitialisation sur la caméra durant 6 secondes jusqu'à ce que
vous entendiez «Rétablir le réglage d'usine».
4. Sur l'écran, à partir du menu principal: Sélectionner: «Ajouter
Caméra».
5. Sélectionner: «Ajouter Caméra».
6. Sur la caméra: Une fois les étapes ci-dessus menées à bien, vous
allez entendre:
- «Configuration sans fil, veuillez attendre»
- «Connexion sans fil réussie»
7. Sur l'écran: Attendre que le couplage soit terminé.
PLUS D'INFORMATIONS
Pour plus d'informations, consultez : www.smartwares.eu et cherchez
CMS-30400
ESManual de instrucciones
DESCRIPCIÓN DE LOS COMPONENTES
Cámara
1. Antena
2. Luz LED
3. Lente
4. Sensor de día / noche
5. Botón de reinicio
6. Entrada de energía
7. Adaptador de corriente para cámara de 12 V 1 A en CC
Monitor
1. Antena
2. Pantalla táctil
3. Micrófono (no se utiliza con este modelo)
4. Indicador LED de batería
5. Indicador LED de grabación
6. ranura USB
7. Ranura para MicroSD
8. Interruptor de encendido/apagado para el uso de la batería
9. Entrada para el adaptador de CA
10. Soporte
11. Adaptador de alimentación para monitor de 5 V 2,5 A en CC
INSTALACIÓN
Las cámaras son para enchufar, conectar y usar; ya están preparadas
para la grabadora.
1. Conecte el monitor a la fuente de alimentación insertando el
adaptador de CA.
2. Opcional:Inserte una tarjeta MicroSD (no incluida) en la ranura del
lado derecho del monitor.
3. Atornille la antena a la cámara.
4. Conecte el adaptador de corriente de la cámara (7) al puerto de
energía (6) y enchúfelo a una toma de corriente.
ðIMPORTANTE: Antes de instalar la cámara en la pared,
compruebe si la distancia inalámbrica al monitor es la adecuada.
MENÚ EN PANTALLA
El menú en pantalla se muestra al tocar el vídeo.
N.º: Botón Descripción
1 Altavoz Selecciónelo para silenciar/activar el sonido de
los altavoces del monitor.
2 Inicio Selecciónelo para acceder al menú principal.
3 Zoom Selecciónelo para hacer zoom en el vídeo.
Tóquelo una vez para seleccionar el modo de
zoom.
Toque de nuevo en la imagen para hacer zoom.
Seleccione el icono (-) para salir del modo de
zoom.
4 Reproducir Selecciónelo para acceder al modo de
reproducción.
Podrá ver las grabaciones.
INTERNET INALÁMBRICA
Realice el siguiente procedimiento para habilitar la conexión inalámbrica a
Internet. Esta función es opcional, pero le permite utilizar las siguientes
características:
• Conectividad de la aplicación
• Sincronización de fecha y hora.
1. Compruebe que dispone de un router WIFI conectado a Internet, su
contraseña y el nombre del router (SSID).
2. Desde el menú principal: Seleccione "Configuración del sistema".
3. Seleccione "Internet inalámbrica"
4. Habilite la WLAN.
5. Seleccione "Lista de puntos de acceso".
6. Busque y seleccione su rúter inalámbrico.
7. Escriba su contraseña.
ðIMPORTANTE:Solo se admiten redes de 2,4 GHz
8. Descargue la aplicación "SW360".
9. Abra la aplicación, regístrese como nuevo usuario y siga las
instrucciones dadas en la aplicación.
CONECTAR CÁMARAS ADICIONALES
El monitor se puede emparejar hasta con 4 cámaras.
1. Conecte la cámara a la fuente de alimentación para encenderla.
2. Espere 30 segundos.
3. Escuchará: “Start configuration mode” (Iniciar modo de configuración).
NOTA: Si no escucha la voz, pulse el botón de restablecimiento de la
cámara durante 6 segundos hasta que escuche “Restore factory
setting” (Restablecer configuración de fábrica).
4. En el menú principal del monitor: Seleccione “Código de asociación”.
5. Seleccione “Código de asociación”.
6. En la cámara: si ha realizado correctamente los pasos anteriores,
escuchará:
- “Wireless settings, please wait” (Configuración inalámbrica. Espere)
- “Wireless connection successful” (Conexión inalámbrica correcta)
7. En el monitor: espere hasta que el emparejamiento haya finalizado.
INFORMACIÓN ADICIONAL
Si desea más información, puede consultar: www.smartwares.eu y buscar
CMS - 30400
ITIstruzioni per l'uso
DESCRIZIONE DELLE PARTI
Telecamera
1. Antenna
2. Luce LED
3. Obiettivo
4. Sensore giorno/notte
5. Pulsante di ripristino
6. Ingresso di alimentazione
7. Adattatore di alimentazione per telecamera DC12V 1A
Monitor
1. Antenna
2. Touch screen
3. Microfono (non per uso con questo modello)
4. Indicatore di batteria a LED
5. Indicatore di registrazione a LED
6. Slot USB
7. Slot MicroSD
8. Interruttore di accensione/spegnimento per l'utilizzo della batteria
9. Ingresso adattatore CA
10. Supporto
11. Adattatore di alimentazione per monitor DC5V 2.5A
INSTALLAZIONE
Le telecamere sono plug and play e sono già precedentemente accoppiate
al registratore.
1. Connetti il monitor all'alimentazione inserendo l'adattatore CA.
2. Opzionale:: inserisci una scheda MicroSD (non inclusa) nello slot sul
lato destro del monitor.
3. Avvita l'antenna sulla telecamera.
4. Connetti l'adattatore CA della telecamera (7) alla porta di
alimentazione (6) e collegalo a una presa di corrente.
ðNOTA: prima di montare la telecamera a parete, verifica se la
distanza wireless dal monitor è sufficiente.
MENU A VIDEO
Toccando l'immagine video sullo schermo compare il menu.
Nr: Pulsante Descrizione
1 Altoparlante Disattiva/riattiva l'audio degli altoparlanti del
monitor
2 Home Accede al menu principale
3 Zoom Effettua lo zoom sull'immagine video.
Toccare una volta per selezionare la modalità
zoom.
Toccare nuovamente l'immagine per ingrandire.
Selezionare l'icona (-) per uscire dalla modalità
zoom.
4 Riproduzione Accede al menu per
guardare le registrazioni.
INTERNET SENZA FILI
Eseguire la procedura seguente per abilitare la connessione internet
wireless. Questa funzione è opzionale, ma consente di utilizzare le
seguenti funzioni:
• Connettività dell'app
• Sincronizzazione di data e ora.
1. Sono necessari router Wi-Fi connesso a Internet, la password e il
nome del router (SSID).
2. Nel menu principale: Selezionare "Sistema".
3. Selezionare “Internet senza fili”.
4. Abilitare WLAN.
5. Selezionare “Elenco degli hotspot".
6. Individuare e selezionare il router wireless.
7. Digitare la password.
ðNOTA: Sono supportate solo reti a 2,4 GHz
8. Scaricare l'app “SW360”.
9. Aprire l’app, registrarsi come nuovo utente e seguirne le
istruzioni.
CONNETTI TELECAMERE AGGIUNTIVE
Al monitor è possibile associare fino a 4 videocamere.
1. Accendere la videocamera collegandola alla rete elettrica.
2. Attendere 30 secondi.
3. Il dispositivo emetterà il messaggio: “Start configuration mode”, (Avvio
della modalità di configurazione).
NOTA: se non si sente il messaggio, premere il pulsante di
reimpostazione (reset) sulla videocamera per 6 secondi fino a quando
viene emesso il messaggio "Restore factory setting", (Ripristino delle
impostazioni di fabbrica).
4. Nel menu principale del monitor: Selezionare “Match code” (Aggiungi
videocamera).
5. Selezionare “Match code” (Aggiungi videocamera).
6. Sulla videocamera: Se i passaggi precedenti sono stati eseguiti
correttamente, si sentirà:
- “Wireless settings, please wait” (Impostazioni wireless, attendere)
- “Wireless connection successful” (Connessione wireless avvenuta
correttamente)
7. Sul monitor: Attendere il completamento dell'associazione.
MAGGIORI INFORMAZIONI
Per maggiori informazioni andare su: www.smartwares.eu e cercare
CMS-30400
SVInstruktionshandbok
BESKRIVNING AV DELAR
Kamera
1. Antenn
2. LED-lampa
3. Lins
4. Dag/natt-sensor
5. Återställningsknapp
6. Strömingång
7. Strömadapter för kamera DC12V 1A
Monitor
