Use
44
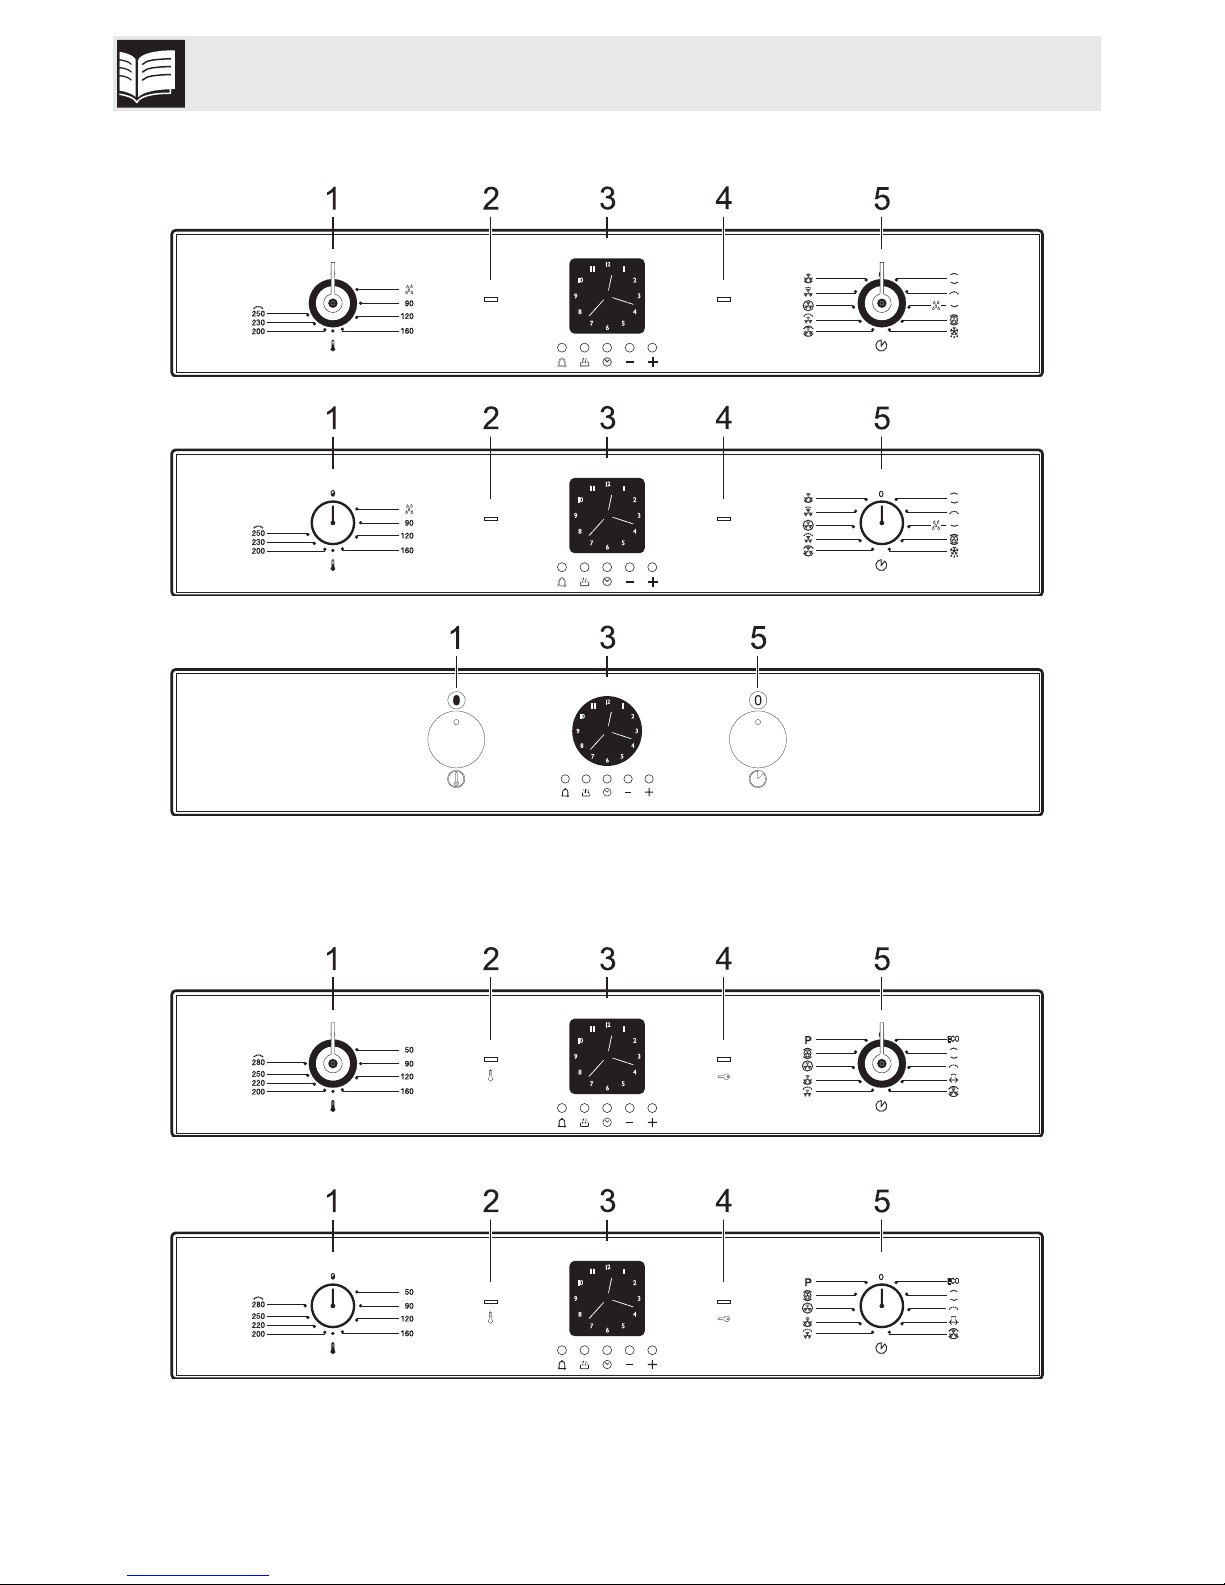
3 Use
3.1 Instructions
3.2 First use
1. Remove any protective film from the
outside or inside of the appliance,
including accessories.
2. Remove any labels (apart from the
technical data plate) from trays, dripping
pans and the cooking compartment.
3. Remove and wash all the appliance
accessories (see 4 Cleaning and
maintenance).
4. Heat the empty oven at the maximum
temperature to burn off any residues left
by the manufacturing process.
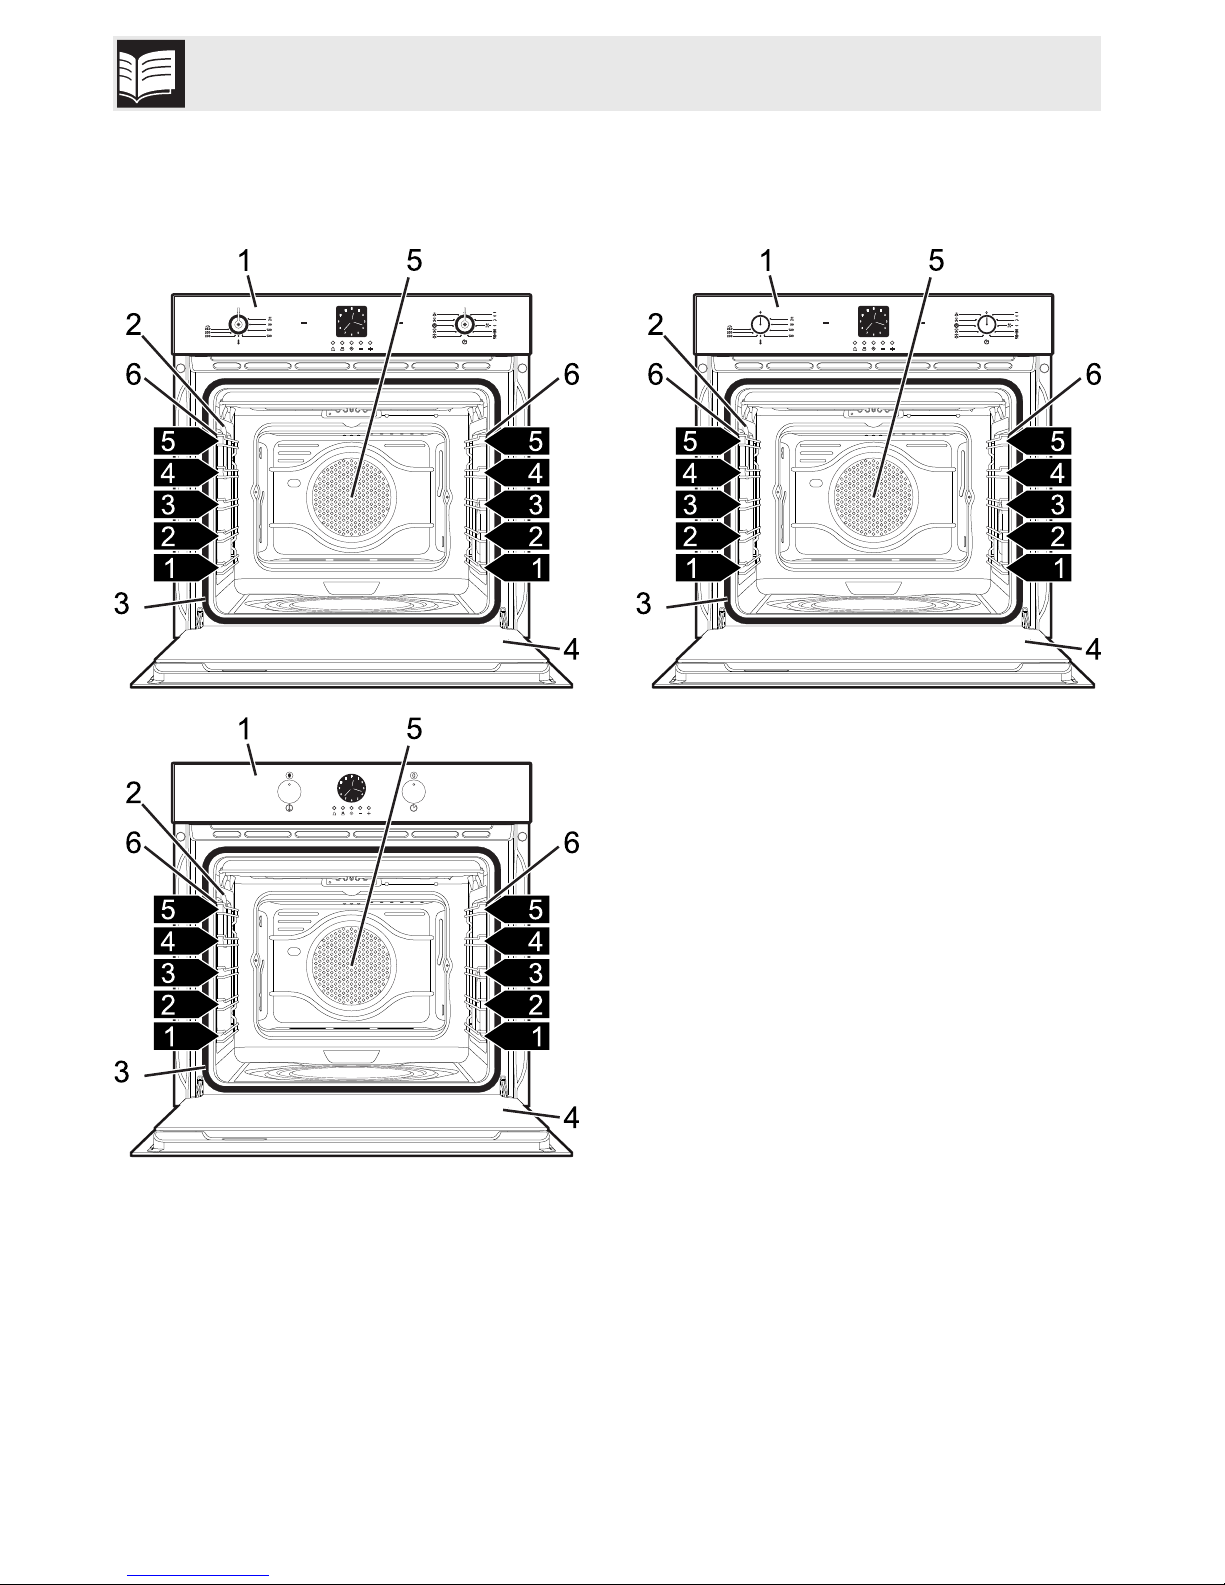
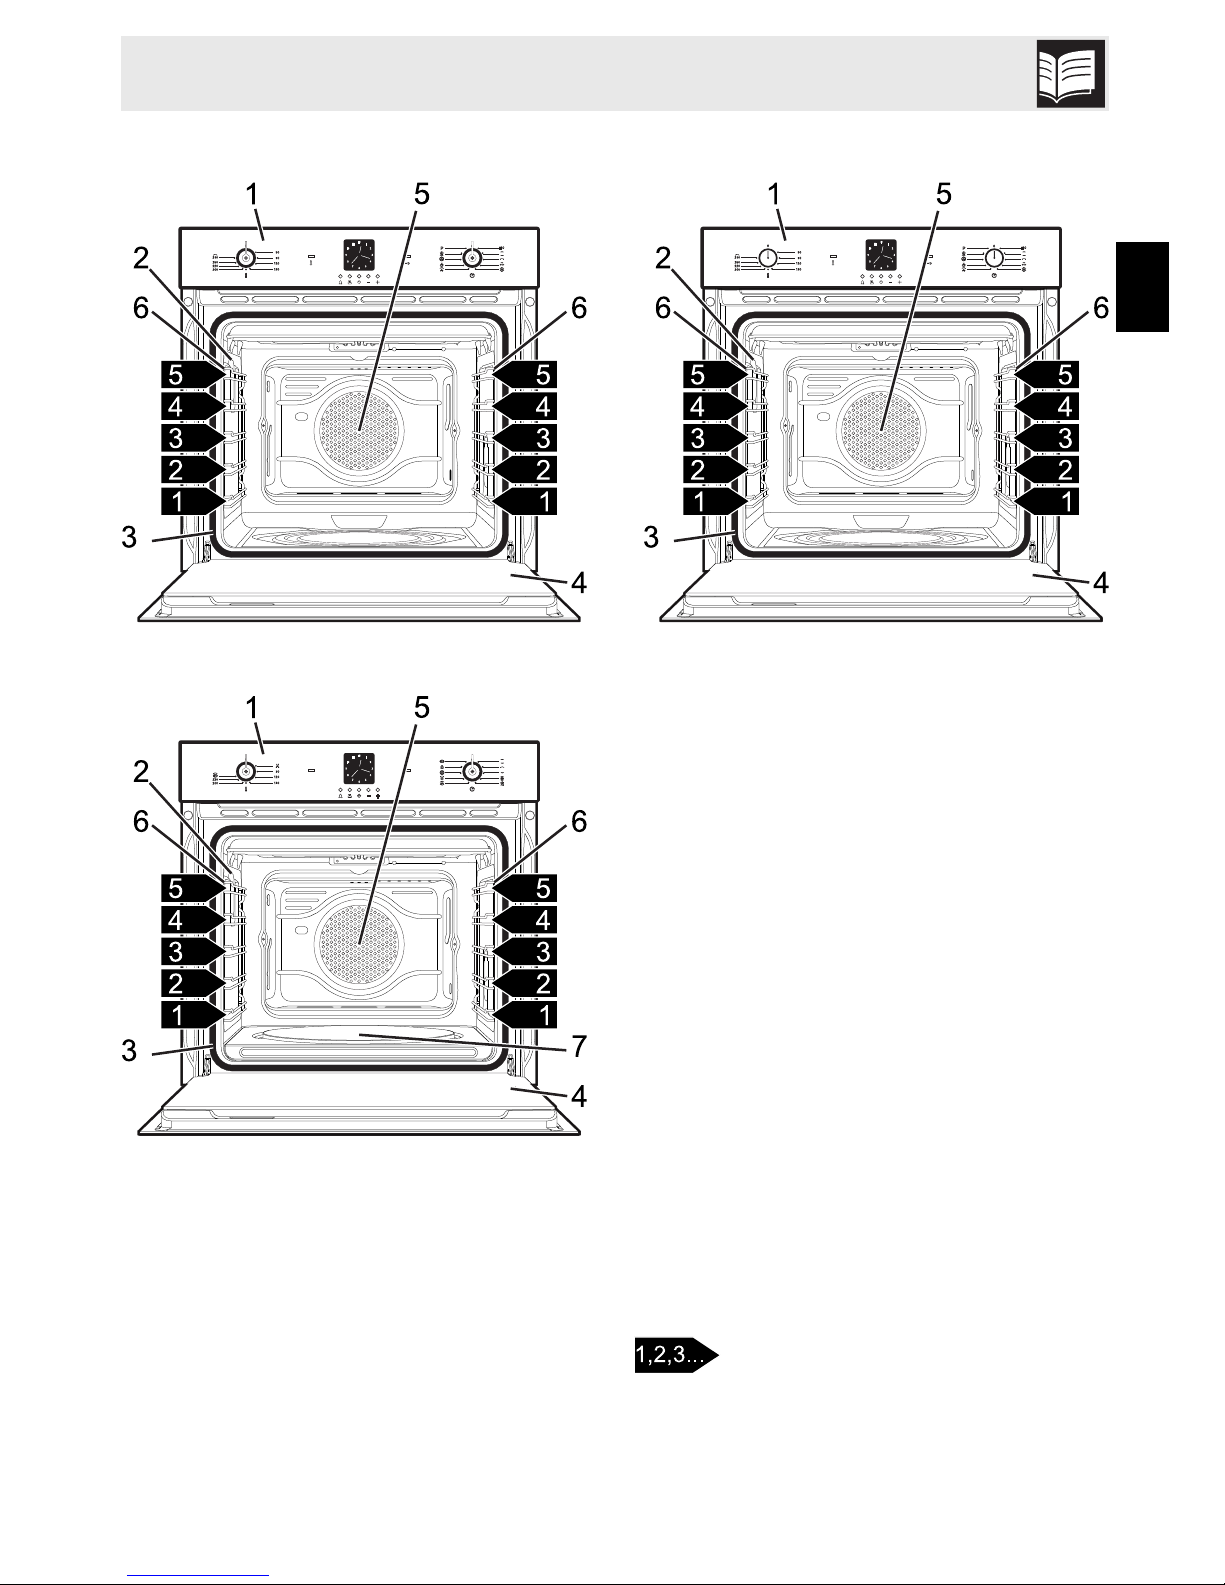
3.3 Using the accessories
Racks and trays
Racks and trays have to be inserted into the
side guides until they come to a complete
stop.
• The mechanical safety locks that prevent
the rack from being taken out
accidentally have to face downwards
and towards the oven back.
High temperature inside the oven
during use
Danger of burns
• Keep the oven door closed during
cooking.
• Protect your hands using heat resistant
gloves when moving food inside the
oven.
• Do not touch the heating elements inside
the oven.
• Do not pour water directly on very hot
trays.
• Do not allow children to get near the
oven when it is in operation.
High temperature inside the oven
during use
Danger of fire or explosion
• Do not spray any spray products near
the oven.
• Do not use or leave flammable materials
near the oven.
• Do not use plastic kitchenware or
containers when cooking food.
• Do not put sealed tins or containers in
the oven.
• Do not leave the oven unattended
during cooking operations where fats or
oils could be released.
• Remove from the oven compartment all
trays and racks not used during cooking.
Improper use
Risk of damage to enamelled
surfaces
• Do not cover the bottom of the oven with
aluminium or tin foil sheets.
• If you wish to use greaseproof paper,
place it so that it will not interfere with the
hot air circulation inside the oven.
• Do not place pans or trays directly on
the bottom of the cooking compartment.
• Do not pour water directly on very hot
trays.