34 / EN Washing Machine / User’s Manual
A
CAUTION!
• Use only detergents manufactured
specifically for washing machines.
• Do not use soap powder.
Adjusting detergent amount
The amount of washing detergent to be used
depends on the amount of laundry, the degree
of soiling and water hardness.
• Do not use amounts exceeding the dosage
quantities recommended on the detergent
package to avoid problems of excessive
foam, poor rinsing, financial savings and
finally, environmental protection.
• Use lesser detergent for small amounts or
lightly soiled clothes.
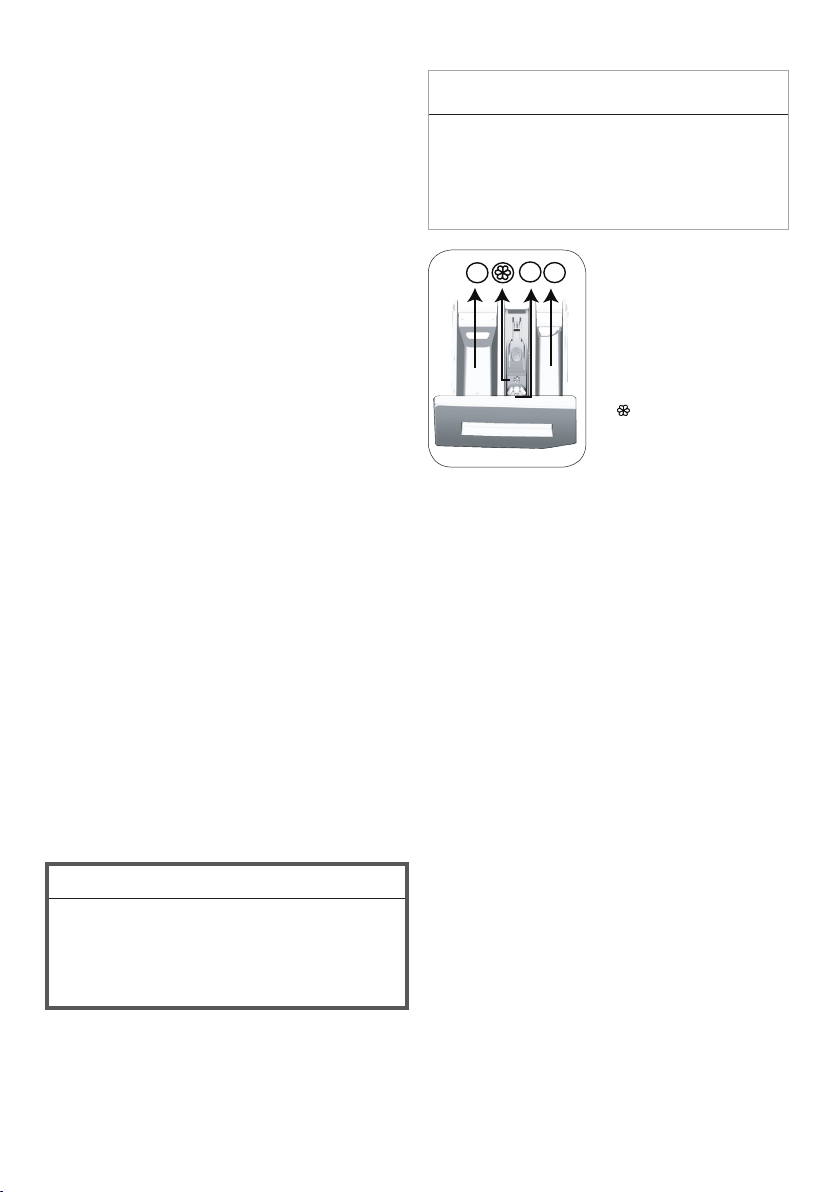
Using softeners
Pour the softener into the softener
compartment of the detergent drawer.
• Do not exceed the (>max<) level sign on the
softener compartment.
• If the softener has lost its fluidity, dilute it with
water before putting it in the detergent drawer.
Using liquid detergents
If the product contains a liquid detergent cup:
• Put the liquid detergent container into the
compartment no “2”.
• If the liquid detergent lost its fluidity, dilute
it with water before putting it into the
detergent container.
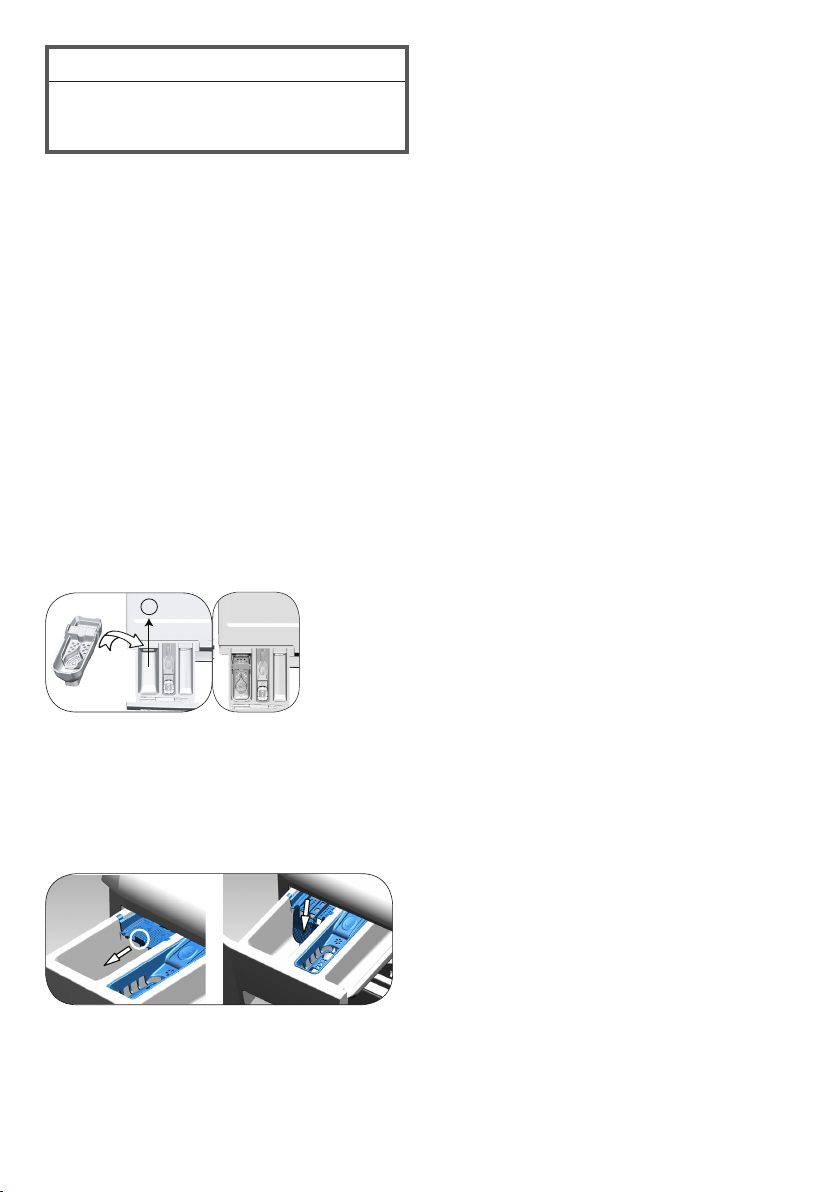
If the product is equipped with a liquid
detergent part:
• When you want to use liquid detergent, pull
the apparatus towards yourself. The part
that falls down will serve as a barrier for the
liquid detergent.
• If required, clean the apparatus with water
when it is in place or by removing it.
• If you will use powder detergent, the
apparatus must be secured at top position.
If the product does not contain a liquid
detergent cup:
• Do not use liquid detergent for the prewash
in a programme with prewash.
• Liquid detergent stains your clothes when
used with Delayed Start function. If you are
going to use the Delayed Start function, do
not use liquid detergent.
Using gel and tablet detergent
•
If the gel detergent thickness is fluidal and
your machine does not contain a special liquid
detergent cup, put the gel detergent into the
main wash detergent compartment during
first water intake. If your machine contains a
liquid detergent cup, fill the detergent into this
cup before starting the programme.
• If the gel detergent thickness is not fluidal or
in the shape of capsule liquid tablet, put it
directly into the drum before washing.
• Put tablet detergents into the main wash
compartment (compartment nr. "2") or
directly into the drum before washing.
Using starch
• Put the liquid soda, powder soda or the
fabric dye into the softener compartment.
Do not use softener and starch together in a
washing cycle.
Wipe the inside of the machine with a damp
and clean cloth after using starch.
Using limescale remover
• When required, use limescale removers
manufactured specifically for washing
machines only.
Using bleaches
Add the bleach at the beginning of the
washing cycle by selecting a prewash
program. Do not put detergent in the
prewash compartment. As an alternative
application, select a programme with extra
rinse and add the bleaching agent while the
machine is taking water from the
detergent
compartment during first rinsing step.
• Do not use bleaching agent and detergent
by mixing them. Use just a little amount
(approx. 50 ml) of bleaching agent and
rinse the clothes very well as it causes skin
irritation. Do not pour the bleach onto the
laundry and do not use it with the colored items.
• When using oxygen-based decolorant,
select a program which washes the laundry
at a low temperature.