OPERATION
When a SMINN transmitter’s code is received, the
receiver checks the integrity of that code and if it is
registered in the memory. Once verified, it activates the
corresponding relay.
INSTALLATION
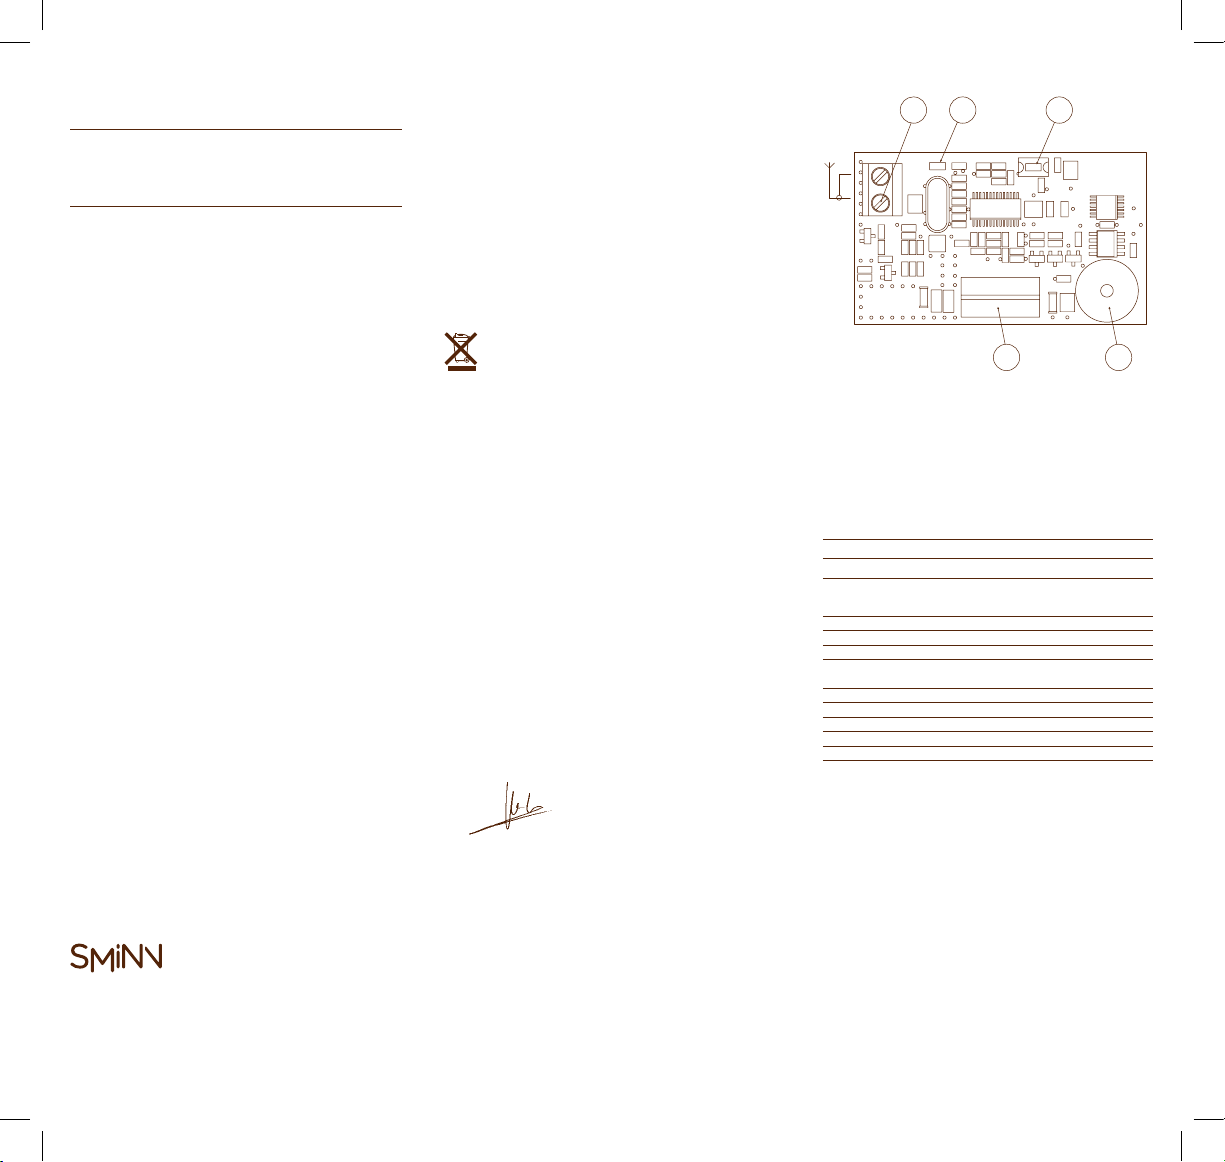
SMINN radio cards have a 7-way connector compatible
with most motor controllers’ radio socket. Its use is
only possible in other manufacturers’ controllers when
they meet the connection and powering requisites of
the card. Screw the antenna into the corresponding
terminal and adapt it into the box avoiding sharp bends.
Proximity to metallic elements should be avoided. It
should be separated as far as possible of the electric
circuit to get the best reception.
Reinforced concrete, metallic components and/
or any other receiving device reduce dramatically
the radiofrequency signal, so installation close to
these elements should be avoided.
Power must be disconnected before inserting or
detaching the receiver card from the socket. Make sure
that the memory is inserted and properly configured.
ERASE MEMORY
Stored SMINN transmitters’ codes can only be deleted
completely by erasing the memory. To do so, these
steps should be followed:
Disconnect the power supply of the equipment.1.
Press and hold the programming button (PROG).2.
Connect the power supply while holding (PROG).3.
Wait 8 seconds until the LED is switched on.4.
Release the programming button (PROG) for 25.
sconds.
Press and hold the programming button (PROG).6.
The LED turns off.7.
Wait 8 seconds until the LED flashes.8.
Release the programming button (PROG).9.
Wait for the validation beep.10.
After this process, the receiver has been erased and
the memory checked, leaving it ready to register
transmitters.
TRANSMITTER PROGRAMMING
SMINN’s TRSH B series receiver cards can store up to
a total of 35 transmitters with compatible PIN. Before
registering transmitters, make sure they have the same
PIN.
If it is the first installation, previously we have to delete
and, optionally, customize the receiver’s memory. Repeat
the process for as many transmitters as we want to
register.
If we try to register more than 35 transmitters, the
receiver will answer with a long beep indicating that the
memory is full. The first registered transmitter indicates
the working channel of the card. The rest of transmitters
must be registered using the same channel key as the
first transmitter.
MANUAL PROGRAMMING
To register transmitters manually using the
programming button, proceed as follows:
Turn on the device and wait 5 sec.1.
Press and hold the receiver’s programming button2.
(PROG).
Press and hold the button of the transmitter’s3.
channel on the (transmitter/one) we want to
register.
Check that the led is blinking (SCAN mode).4.
Wait for the valid registration beep.5.
Release the transmitter button.6.
Release the programming button of the receiver7.
(PROG).
REGISTRATION VIA RADIO
Only a registered transmitter can invite or grant self-
registration capabilities to other SMINN transmitters
with the same PIN.
Registration by permission
Press and hold the already registered transmitter’s1.
1st and 2nd buttons.
Wait for 5 seconds until the led is on in the2.
transmitter.
Release 1st and 2nd buttons of the transmitter (the3.
LED remains on).
Ensure you are close to the receiver to guarantee4.
communication (1 to 10m).
Press and hold the transmitter’s 1st button.5.
Wait for the validation beep (learning mode for 86.
sec).
Press and hold the corresponding button on the7.
transmitter channel we want to register.
Wait for the validation beep.8.
Release the transmitter button.9.
Registration by invitation
Press and hold the registered transmitter’s 1st and1.
2nd buttons (MASTER transmitter).
Press and hold the new transmitter’s 1st and 2nd2.
buttons (it must have the same PIN).
Wait for 5 seconds until the LED is on in both3.
transmitters.
Release 1st and 2nd buttons of both transmitters4.
(the leds remain on).
Take the Master transmitter’s led near the new5.
transmitter’s SYNC area.
Press and hold the Master transmitter’s 1st button.6.
Wait until the new transmitter’s led flashes 5 times.7.
Release the Master’s button.8.
Ensure you are close to the receiver to guarantee9.
communication (1 to 10m).
Press and hold the new transmitter’s button that10.
corresponds to the channel that you want to
register.
Wait for the validation beep11.
Release the button of the new transmitter12.
CODE REPLACEMENT DUE TO LOSS
This function allows to replace a transmitter code stored
in the receiver with a new one, be it due to loss or
mislaying. The replacement of a transmitter code is only
possible with a SMINN programming console. Knowing
the PIN of the installation and the code number of the
lost transmitter is required.
TRSH 868/434/315 B
RECEIVER CARD
INSTRUCTION MANUAL
DESCRIPCIÓN
SMINN’s TRSH B series receivers are
developed using state-of-the-art
devices. They include a memory with
capacity to store up to 35 transmitters.
Its memorization capability via radio
or using a simple push-button makes it
easy and handy. They have a robust copy
protection and anti-burglar system. They
are designed to send the activation/
deactivation order to SMINN motor
controllers, alarm systems, access control
systems, home automation systems, etc.
These devices are built using high quality
materials and components and the latest
technology. They are devices that observe
the current regulations for usage in
residential, commercial and light industry
environments.
innovative in electronics