manuals.online logo
Brands
  1. Home
  2. •
  3. Brands
  4. •
  5. Morgan
  6. •
  7. Fryer
  8. •
  9. Morgan MAF-MINI 2A User manual

Morgan MAF-MINI 2A User manual

USER MANUAL
Air
Fryer MAF-MINI 2A
E-mail: electrical.appliance@dksh.com
www.morgan.my
Market Expansion
Services by
www.dksh.com.my
facebook.com/morganappliances
32
Thank you for purchasing a quality MORGAN appliance. We trust that you will have a pleasant
experience with your new pro uct. To ensure safety an best efficiency, please rea this manual
carefully an keep a copy for future reference.
INTRODUCTION
C O N T E N T S
3
4
4
5
5
6
6
7
Introduction
Important Safeguards
Parts Identification
Preparation
perating Instructions
Setting
Care and Cleaning
Trouble Shooting
The new Morgan Air Fryer MAF-MINI 2 features a fat-free frying method that will help you to cook food
healthier. The fat-free frying principle uses heated air combined with high speed air cycling (fast air
change) to provide comprehensive heating. As such, there is no need to add oil for cooking for most
foods. Now with an additional roasting plate, you can make various other delicious foods more
conveniently!
ATTENTION
Please read these instructions carefully before operating this appliance and retain for future reference.
Always exercise safety precautions when using an electrical product.
CAUTION
1. To protect against electric shock do not immerse cord, plugs, or appliance in water or other liquids.
2. Do not allow water or other liquids to flow into the appliance to avoid electrical shock circuits.
3. Do not cover the air inlet and outlet openings during operation.
4. Never pour oil into the appliance as this may cause fire.
5. Do not touch the inside of the appliance while operating to prevent burns and scalding.
6. This appliance is manually operated, thus do not connect with external timer or independent remote-
control system.
WARNING
1. Before inserting the power plug into the power supply, ensure that the power voltage and rating
comply with the rated electric parameter shown on the appliance label.
2. Do not operate any appliance with a damaged cord or plug or after the appliance malfunctions or
is dropped or damaged in any manner. Return appliance to the manufacturer or your nearest
authorized service agent for examination, repair or electrical or mechanical adjustments.
3. This appliance is not intended for use by persons (including children) with reduced physical,
sensory or mental capabilities, or lack of experience and knowledge, unless they have been given
supervision or instruction concerning use of the appliances by a person responsible for their safety.
4. The appliance must be properly grounded.
5. Never place the appliance against the wall or next to other electrical appliances. Ensure at least
10 cm of free space for the rear, left/right sides, and top of the appliance.
6. Do not place heavy objects on top of the appliance.
7. The use of the appliance must always be supervised during operation.
8. When fat-free frying, heated steam will escape from the air outlets. Ensure hands and face are
away from the steam and the air outlets. Always exercise precaution when moving the appliance.
9. This appliance should only be used on a flat and stable heat resistant surface
10. Do not touch hot surfaces of the appliance. Always use handles or knobs.
11. Unplug from the power supply when not in use and before cleaning. Allow to cool before attaching
or detaching parts, and before cleaning the appliance.
12. Do not use appliance for other than intended use.
54
IMPORTANT SAFEGUARDS
PARTS IDENTIFICATION
PREPARATION
1. This appliance is intended for H USEH LD USE only, and not for commercial purposes.
2. Any modifications or unauthorized repairs to the appliance, electric wiring, and power plug is
dangerous and therefore voids the warranty of the appliance.
3. Always follow the operating instructions. Failure to do so with result in negligence and therefore, void
the warranty of the appliance.
4. Always unplug the power cord from the power supply after every use.
5. Allow the appliance to cool down for at least 30 minutes before cleaning the appliance.
BEFORE USING FOR THE TIME
1. Remove all packing material.
2. Remove the glue and labels on the appliance.
3. Clean the frying basket and the frying pan thoroughly with hot water, using mild detergent and non-
abrasive sponge.
4. Clean the inside and outside of the appliance with a damp cloth.
5. The fat-free fryer uses superheated air technology. Never pour oil into the fryer for cooking.
8
1
9
7
4
6
3
2
5
1. Air Inlet
2. Power Indicator
3. Timer Knob
4. Temperature Knob
5. Frying Pan
6. Handle
7. Grill
8. Air utlet
9. Power Cord
1. Place the appliance on a level and stable heat-resistant surface.
2. Attach the frying basket into the fryer correctly.
3. Detach the wire out of the wire capsule at the bottom of the appliance.
4. Never pour oil or other liquid into the fryer.
5. Never place heavy objects on top of the appliance to avoid obstructing the air flow and reduce the
effect heating effect.
OPERATION INSTRUCTIONS
The Morgan Air Fryer can be use to cook various types of foo . Please refer to the a itional
section on cooking for a better un erstan ing.
FAT-FREE FRYING
1. Insert the power plug into the power supply.
2. Detach the frying pan carefully from the air fryer.
3. Place the desired food ingredients into the frying basket.
4. Insert the frying pan back to the air fryer.
5. Adjust the right temperature by turning the temperature control knob. Please refer to “Settings”.
6. To turn on the appliance, adjust the timer to determine cooking duration.
– If the appliance starts with cold food, the cooking time should be 3 minutes longer.
– By this time, the power wire indicator lamp and the heating indicator lamp will turn on.
– During operation, the heating indicator lamp will turn on and off continuously to maintain optimal
temperature.
– Any excess oil from the food ingredients will be collected at the bottom of the frying pan.
7. Some food ingredients require overturning midway through cooking (refer to “Settings”).
– Hold the handle and detach the frying pan from the appliance to overturn the ingredients.
– After that, attach the frying pan back to the air fryer.
8. The timer will sound once preset time is achieved. Detach the frying pan and place it on a heat-
resistant surface.
9. Check to see if the food ingredients are properly cooked.
10. To pour out small size food ingredients (e.g. chips), press the release button of the frying basket
and detach the frying basket from the frying pan
NOTE:
– Do not overturn the frying basket before releasing the frying pan to prevent any excess oil
collected at the bottom of the frying pan to leak onto the food ingredients.
– CAUTI N: Hot steam may escape after cooking with the air fryer.
11. Empty the food ingredients in the frying basket all into bowls or plates.
NOTE: Use tongs to lift fragile food items from the frying basket.
7
TROUBLE SHOOTING
6
OPERATING INSTRUCTIONS
12. After completing cooking of one batch of food items, the appliance can begin cooking another
batch.
NOTE
1. Small size food ingredients will require less time for cooking.
2. During operation, overturning small size food items can produce better results as food is more evenly
distributed.
3. For crispier food, add a little oil to the food and leave it for a few minutes before frying.
4. Any foods cooked using an oven can also be cooked using the air fryer.
5. Sandwiches can be prepared quickly and conveniently by using pre-fermented dough. Compared
with homemade dough, pre-fermented dough requires a shorter cooking time.
NOTE
• It is recommended to clean the appliance after each use.
• The frying pan, frying grill and appliance are all covered with non-stick coating. Do not use sharp
metal scrapers or abrasive cleaning materials for cleaning to avoid damaging the non-stick coating.
1. Detach the power plug from the power socket and allow the appliance to cool down.
NOTE: Remove the frying pan to cool down the appliance quickly.
2. Use a damp cloth to scrub the exterior of the appliance.
3. Clean the frying pan or the bottom of the frying pan with hot water, detergent and non-abrasive
sponge. For stubborn stains, use hot water with detergent.
4. Attach the frying grill into the frying pan and soak the frying pan and frying grill for 10 minutes.
5. Clean the interior of the appliance using hot water and non-abrasive sponge.
6. Use a cleaning brush to clean the heating components and to remove any food residues.
SETTING
CARE AND CLEANING
Type Min-Max food Time Temperature Overturning Additional
ingredients amount (Minute) (ºC) information
Frozen Chips 200g-500g 12-20 200◦C Yes
Beef steak 140g-400g 10-20 180◦C Yes
Hamburger 100g-400g 10-20 180◦C Yes Add ½ spoon
of oil
Sausage Rolls 200g-300g 5-10 180◦C Yes Add ½ spoon
of oil
Chicken breast 200g-300g 15-20 200◦C Yes
Spring Rolls 200g-250g 8-10 180◦C Yes
Vegetable 200g-400g 10-15 200◦C Yes
Note: Cooking time shoul be 3 minutes longer for col /frozen foo s.
PROBLEM POSSIBLE CAUSES SOLUTION
The air fryer The appliance is not Insert the power plug into an earthed power socket
does not work plugged in
Timer is not set Turn the timer knob to the desired time to switch on
the appliance
The ingredients fried The amount of Put smaller batches of ingredients in the basket.
with the air fryer are ingredients in the basket Smaller batches are fried more evenly
not done is too big.
The set temperature is Turn the temperature control knob to the required
too low. Temperature setting (refer to ‘settings’ )
Cooking Duration is too Turn the timer knob to set desired cooking duration
too short. Temperature setting (refer to ‘settings’ )
Fried food is not Such foods must be Add some oil to the food to increase crispiness.
crispy cooked in the traditional
fryer
The ingredients are Certain types of Ingredients that lie on top of or across each other
fried unevenly in ingredients need to be (e.g. fries) need to be shaken halfway through the
the air fryer shaken halfway through preparation time. (refer to ‘settings’ )
the preparation time .
White smoke comes Greasy ingredients. When you fry greasy ingredients in the Air Fryer., a
out from the air fryer large amount of oil will leak into the pan. The oil
produces white smoke and the pan may heat up
More than usual. This does not affect the appliance
or the end result.
The pan still contains White smoke is caused by grease heating up in the
grease residues from pan. Make sure you clean the pan properly after
previous use each use.
Fresh fries are fried You did not use fresh Use fresh potatoes and make sure that they stay
unevenly in the potatoes. firm during frying.
air fryer
You did not rinse the Rinse the potato sticks properly to remove starch
potato sticks properly from the outside of the sticks.
before you fried them.
Fresh fries are not The crispiness of the Make sure you dry the potato sticks properly before
crispy when they fries depends on the you add the oil.
come out of the amount of oil and water
air fryer in the fries. Cut the potato sticks smaller for a crispier result
Add slightly more oil for a crisper result.
Other Morgan Fryer manuals

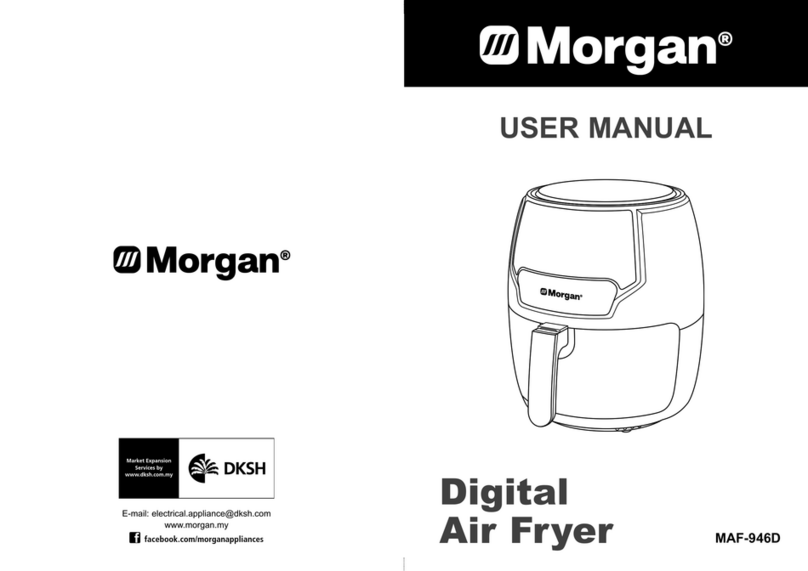
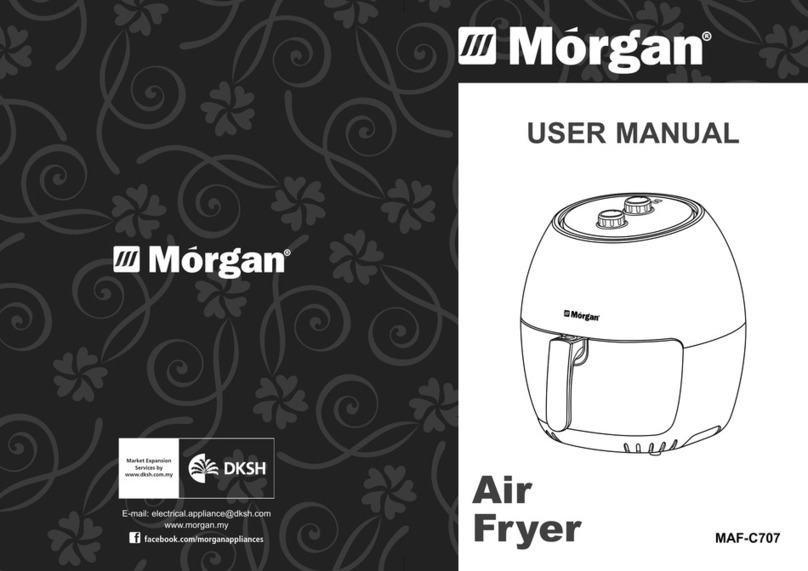
Morgan MAF-C707 User manual

Morgan

Morgan MAF-C707 User manual

Morgan MAF-C607 User manual

Morgan

Morgan MAF-C607 User manual

Morgan MAF-932D User manual

Morgan

Morgan MAF-932D User manual

Morgan MAF-EROS 8 User manual

Morgan

Morgan MAF-EROS 8 User manual

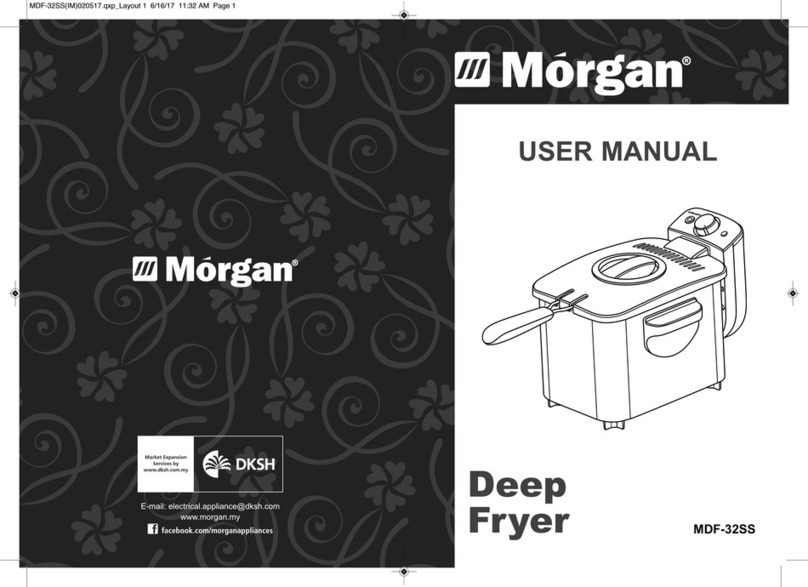
Morgan MDF-32SS User manual

Morgan

Morgan MDF-32SS User manual

Morgan MAO-VORTEX PRO22 User manual

Morgan

Morgan MAO-VORTEX PRO22 User manual

Morgan MDF-SB31P User manual

Morgan

Morgan MDF-SB31P User manual

Morgan MAF-OPTIMAL 8 User manual

Morgan

Morgan MAF-OPTIMAL 8 User manual

Morgan MAF-946D User manual

Morgan

Morgan MAF-946D User manual

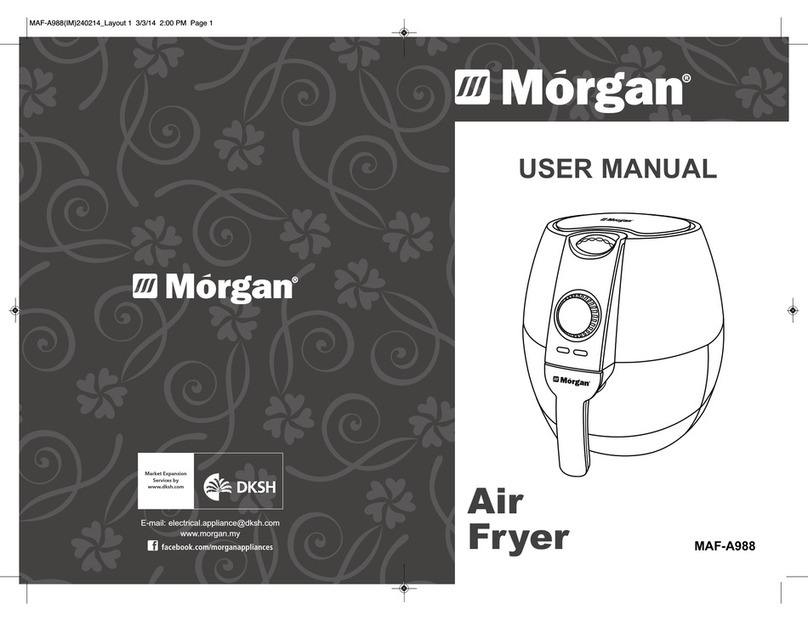
Morgan MAF-A988 User manual

Morgan

Morgan MAF-A988 User manual

Popular Fryer manuals by other brands

ULTRAFRYER F-E21-14 Operation instructions

ULTRAFRYER

ULTRAFRYER F-E21-14 Operation instructions

Cosori CS158-AF user manual

Cosori

Cosori CS158-AF user manual

Lotus F18-94ETX Installation and operating instructions

Lotus

Lotus F18-94ETX Installation and operating instructions

Tower Hobbies T17099 user manual

Tower Hobbies

Tower Hobbies T17099 user manual

Henny Penny EVOLUTION ELITE EEE-182 Technical manual

Henny Penny

Henny Penny EVOLUTION ELITE EEE-182 Technical manual

Teesa TSA8053 owner's manual

Teesa

Teesa TSA8053 owner's manual

Sharp AF-GS404A user manual

Sharp

Sharp AF-GS404A user manual

Ninja MAX quick start guide

Ninja

Ninja MAX quick start guide

B+K precision FORTALIT Instructions for the Safe Use

B+K precision

B+K precision FORTALIT Instructions for the Safe Use

HIGH ONE 971202 Instructions for use

HIGH ONE

HIGH ONE 971202 Instructions for use

Emeril Lagasse AirFryer GLA-308 user manual

Emeril Lagasse

Emeril Lagasse AirFryer GLA-308 user manual

Bayou Classic 700-725 owner's manual

Bayou Classic

Bayou Classic 700-725 owner's manual

Mayer MMAF3 user manual

Mayer

Mayer MMAF3 user manual

HOMCOM 800-120V70 Assembly instruction

HOMCOM

HOMCOM 800-120V70 Assembly instruction

Fritel FR 1375 user manual

Fritel

Fritel FR 1375 user manual

Daewoo HEA1032 user manual

Daewoo

Daewoo HEA1032 user manual

Bimar FR37 Instruction booklet

Bimar

Bimar FR37 Instruction booklet

Moffat Waldorf FN8226GE Technical data sheet

Moffat

Moffat Waldorf FN8226GE Technical data sheet

manuals.online logo
manuals.online logoBrands
  • About & Mission
  • Contact us
  • Privacy Policy
  • Terms and Conditions

Copyright 2025 Manuals.Online. All Rights Reserved.